
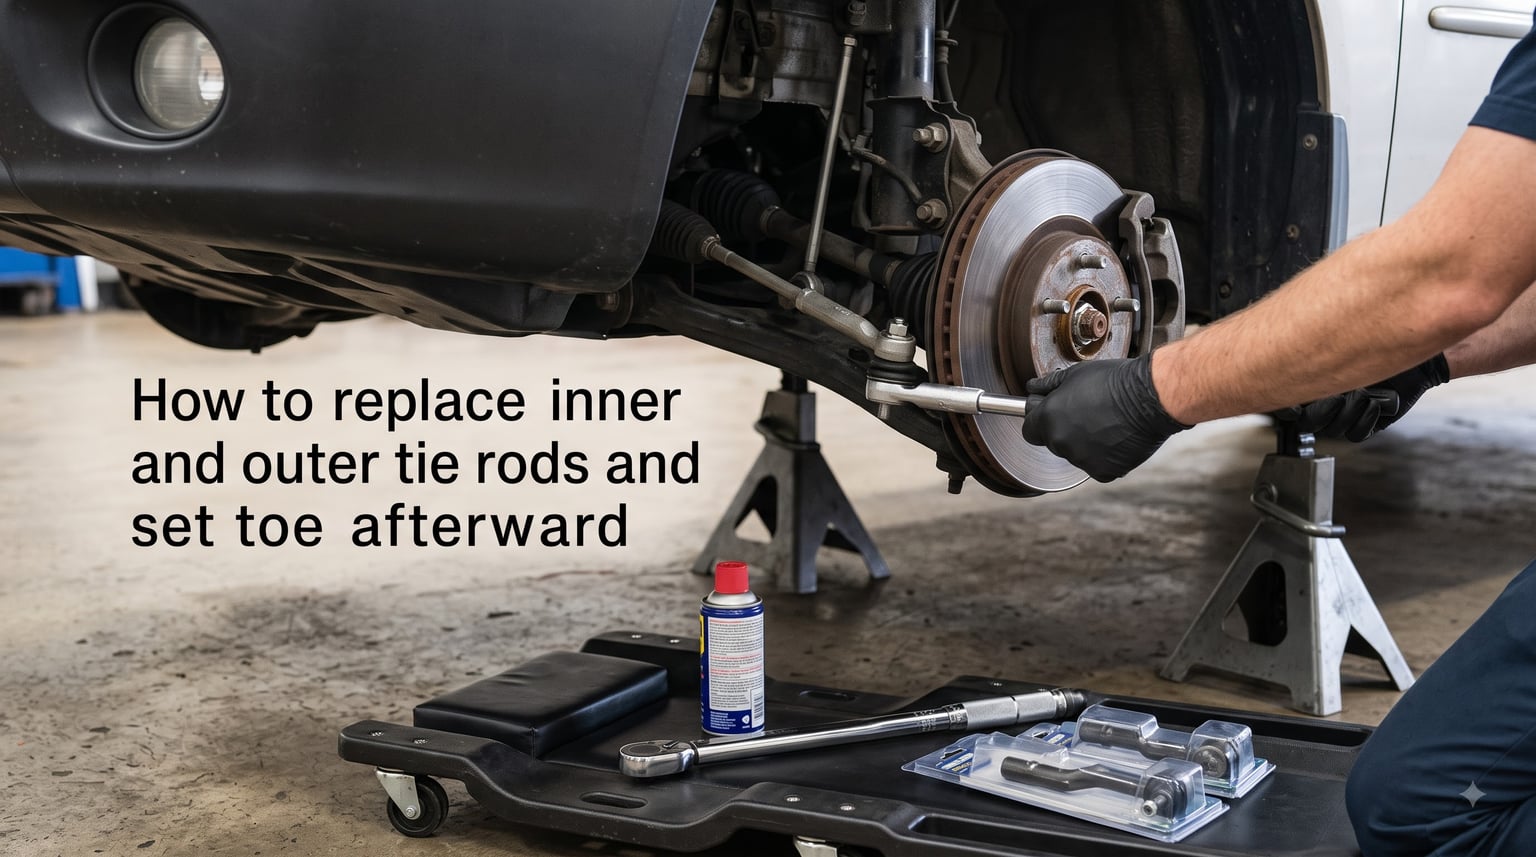
Worn tie rods are one of the most common steering complaints I see in our shop. A loose or clunky steering feel, uneven tire wear, or a steering wheel that won’t quite center after a bump usually trace back to the inner and outer tie rods. In this guide, I’ll walk you through how to replace inner and outer tie rods and set toe afterward, using the same approach our team uses on everything from a daily-driver Civic to a 250k-mile Silverado. The job is intermediate-level DIY, takes about 2 to 4 hours per side, and saves you the $400 to $800 a shop typically charges.
If you’ve never replaced tie rods before, don’t worry. The actual mechanical work is straightforward: remove one bolt, spin off an old part, spin on a new part, and torque everything back up. The tricky part is the toe alignment afterward, which is why I’ll spend real time on the thread counting method most pros use as a starting point. Stick with me and you’ll have a steering system that feels tight and tracks straight before you ever pull into a shop for the final alignment.
Table of Contents
Tools You Need to Replace Inner and Outer Tie Rods
Having the right tools is the difference between a 2-hour job and a 6-hour fight. I learned this the hard way on my first Saginaw rack job in 2009 when I tried to muscle an inner tie rod off with a pipe wrench and a pickle fork. Here’s what I keep on the bench now.
Inner tie rod removal tool: A 1-3/8 inch or 1-5/16 inch crowfoot-style tool (depending on vehicle) or a dedicated inner tie rod socket set. The Pittsburgh kit from Harbor Freight runs about $30 and handles most domestic racks.
Tie rod end pickle fork or puller: For popping the outer tie rod end out of the steering knuckle. A ball joint separator works just as well.
Two large adjustable wrenches or jam nut wrenches: One to hold the inner rod, one to loosen the jam nut.
Torque wrench: Rated for at least 100 ft-lbs. Tie rod end castle nuts typically torque to 35-50 ft-lbs, and jam nuts to 55-65 ft-lbs.
Needle-nose pliers and a small pick: For removing and installing the cotter pin.
Jack, jack stands, and a creeper: Never work under a car supported only by a jack.
Penetrating oil (PB Blaster or Kroil): Spray the jam nut and tie rod threads the night before. Cold-soaked threads are the #1 reason this job goes sideways.
Brake cleaner, rags, and a tube of silicone grease: For the boot and a light coat on the threads.
Measuring tape or thread pitch gauge: Used for the thread counting alignment method we’ll cover below.
A second person (optional but helpful): To turn the steering wheel while you’re under the car.
Don’t forget fresh cotter pins. The hardware store ones are usually fine, but I prefer MOOG or Dorman because they fit the castle nut slots more cleanly. Also, if your vehicle uses a sealed boot with a built-in clamp, buy the replacement clamp ahead of time — the old one rarely survives removal.
How to Diagnose a Bad Inner or Outer Tie Rod?
Before you start turning wrenches, you need to know whether you’re replacing just the outer tie rod end, just the inner tie rod, or both. Here’s how I diagnose it on a customer’s car. With the front wheels off the ground, grab each tire at the 3 and 9 o’clock positions and shake it. Play in the outer tie rod end usually shows up as a visible clunk or a ticking sound when you rotate the steering back and forth.
For the inner tie rod, the play is harder to detect because the boot hides it. The most reliable method is to start the engine, turn the steering wheel hard left, then hard right, and listen. A popping or snapping sound coming from behind the engine bay points to the inner tie rod. You can also disconnect the outer tie rod end from the knuckle and move the inner rod by hand — any free play means it’s worn.
Common signs that point to a bad tie rod include uneven tire wear (feathered across the tread), a wandering steering wheel at highway speed, and clunking over bumps during slow-speed turns. If you only have symptoms at low speed with sharp steering input, the outer tie rod end is the prime suspect. If the symptoms show up mostly at highway speed as wandering or vibration, the inner tie rod is more likely. When in doubt, replace both sides at the same time — the labor overlap is minimal and you’ll save yourself a second alignment in six months.
Safety check: If your tie rod separated while driving or you have severe play, do not drive the car to the shop. Tow it. A failure at highway speed is how people lose control and end up in a ditch.
How to Remove the Inner Tie Rod?
Removing the inner tie rod is the part most home mechanics struggle with, because the inner joint sits inside the steering rack boot and there’s usually not enough room for a standard wrench. The dedicated inner tie rod tool is sized to fit down through the boot and onto the flats of the inner rod. Here’s the sequence I follow.
Step 1. Loosen the outer tie rod end first while the joint is still connected. This takes tension off the inner joint and makes life easier later. Loosen the jam nut where the inner and outer rods meet, then spin the outer tie rod end off the inner rod and count the turns as you go. Write this number down — it’s the baseline for your thread counting alignment.
Step 2. Separate the outer tie rod end from the steering knuckle using the pickle fork or ball joint separator. Remove the cotter pin, loosen the castle nut a few turns (don’t fully remove it yet), then strike the knuckle sharply to pop the tapered stud out. The nut stays on to catch the stud if it pops violently.
Step 3. With the outer tie rod end out of the way, you now have straight access to the inner tie rod boot. Peel back the boot clamps or cut the old ones (you’re replacing them anyway) and slide the boot back to expose the inner joint.
Step 4. Fit your inner tie rod tool onto the flats of the inner rod. The tool is a tube with internal flats that slips over the inner rod and engages just inside the rack housing. Turn counterclockwise to break the inner rod loose from the rack piston. This is where penetrating oil the night before pays off.
Step 5. Spin the inner rod out by hand once it’s broken free. Watch for any fluid loss from the power steering rack — if it’s dripping, you’re losing fluid and will need to top off and bleed the system later.
How to Remove the Outer Tie Rod End
By the time you get to this step, you’ve already loosened the outer tie rod end from the steering knuckle and removed the jam nut. If you disconnected it earlier (Step 1 above), this section is mostly a recap. If you didn’t, start here.
Step 1. Remove the cotter pin from the castle nut on the outer tie rod end stud. Use needle-nose pliers and straighten the bent ends first. Throw the old cotter pin away — they’re single-use.
Step 2. Loosen the castle nut, but leave it on the last few threads. Strike the side of the steering knuckle near the stud with a hammer. The shock pops the tapered stud loose. If it doesn’t pop, apply penetrating oil and try again. Forcing the stud out with a pry bar damages the knuckle.
Step 3. With the stud free, finish removing the castle nut and pull the outer tie rod end down and out of the knuckle.
Step 4. Loosen the jam nut where the outer end meets the inner rod. Hold the inner rod with one wrench and turn the jam nut with another. Once loose, spin the outer tie rod end off the inner rod while counting every single turn.
Pro tip: Write the thread count on the inner rod with a silver Sharpie before you remove the old end. Our team has a rule: never trust memory when alignment is on the line. A $3 marker beats a $90 alignment bill every time.
How to Install the New Inner and Outer Tie Rods?
Installation is essentially the reverse of removal, with a few critical checks along the way. The biggest mistake I see DIYers make is forgetting to clean the boot and check for damage, which leads to a contaminated inner joint and a repeat repair six months later.
Step 1. Before installing anything, inspect the boot. If it’s torn, cracked, or full of dirty grease, replace it now. A new inner tie rod with a damaged boot is a return visit waiting to happen. Clean the boot housing with brake cleaner and a rag.
Step 2. Apply a thin coat of silicone grease to the inner rod threads. This prevents seizing and makes future adjustments easier. Avoid getting grease on the tapered stud of the outer tie rod end — oil on the taper causes the wheel to come loose.
Step 3. Thread the new inner tie rod into the steering rack piston by hand until it seats. Tighten it with the inner tie rod tool to the manufacturer-specified torque, typically 50 to 75 ft-lbs on most domestic racks. Don’t over-tighten — you’ll damage the rack piston.
Step 4. Install a new boot if needed, secure with new clamps, and slide the boot back into place. Make sure the boot isn’t twisted — a twisted boot rubs against the inner rod and wears through prematurely.
Step 5. Thread the outer tie rod end onto the inner rod using the exact same number of turns you counted during removal. This brings you close to the original alignment. Hand-tighten the jam nut against the outer end.
Step 6. Drop the outer tie rod end stud into the steering knuckle, install the castle nut, and torque to spec (typically 35 to 50 ft-lbs). Tighten just enough to align the cotter pin slot — never loosen to align the slot, always tighten further.
Step 7. Install a fresh cotter pin and bend both legs over the nut to lock it in place. Trim the excess length with side cutters.
Step 8. Torque the jam nut to 55 to 65 ft-lbs (varies by vehicle — check your service manual). Hold the inner rod stationary with one wrench while torquing the jam nut with the other.
How to Count Threads for Toe Alignment
The thread counting method is what separates a botched DIY job from a passable one. The principle is simple: the inner and outer tie rods are a single threaded assembly, and the number of exposed threads on the inner rod directly controls the toe angle. Count the threads on the inner rod before removal, install the new parts with the same count, and your toe will be very close to where it started.
Here’s the exact method I use. With the old outer tie rod end still in place, count the visible threads between the jam nut and the inner shoulder of the outer rod end. Write this number down. Some mechanics also measure the gap between the jam nut and the outer rod end with calipers as a backup. Now thread the new outer rod end onto the inner rod until the same number of threads is exposed.
For extra accuracy, mark both the inner rod and the jam nut with a paint pen before removal. When you reinstall, line up the marks the same way they were. This handles cases where the thread count is hard to read because of grease or damage.
Real-world accuracy: The thread counting method typically gets you within 1/16 inch of total toe, which is close enough to drive safely to an alignment shop. It’s not a substitute for a four-wheel alignment, but it prevents the dangerous “car pulls hard left at 50 mph” scenario that happens when toe is way off.
How to Set Toe After Replacing Tie Rods?
Setting toe at home is possible for a rough adjustment, but a professional alignment is always the final step for a vehicle you’ll drive daily. Here’s how to get toe close enough to drive to the shop safely.
Step 1. With the wheels still off the ground, turn the steering wheel until the front wheels point straight ahead. Use a level against the steering wheel rim or check that the steering wheel logo is centered.
Step 2. Measure the distance between the front edges of the front tires at axle height, then between the rear edges of the same tires. The difference between these two measurements is the toe. Positive toe (front edges closer together) is toe-in, negative is toe-out.
Step 3. Loosen the jam nut on each side. Turn the inner rod with a wrench while a helper watches the front wheel position. Quarter-turn adjustments make a noticeable difference — go slow.
Step 4. Target zero toe for most street vehicles, with a tiny amount of toe-in (1/32 inch) on rear-wheel-drive cars to compensate for acceleration thrust. For a typical commuter car, getting toe within 1/16 inch total is good enough to drive to the shop.
Step 5. Once toe is close, torque the jam nuts and double-check that the steering wheel is still centered. If the wheel is off-center after setting toe, the adjustment is uneven between left and right — correct by rotating one side more than the other until the wheel centers.
Step 6. Drive slowly to a tire shop for a four-wheel alignment. Don’t skip this step. Thread counting gets you close, but a Hunter or HawkEye alignment machine measures caster, camber, and toe on both sides simultaneously, and that’s the only way to ensure even tire wear.
ADAS Calibration: What Newer Vehicles Require After Tie Rod Replacement
If your vehicle is a 2016 or newer model with lane-keeping assist, adaptive cruise control, automatic emergency braking, or any other ADAS feature, there’s a step most DIY guides skip: ADAS recalibration. Changing the toe angle changes the geometric relationship between the camera, radar sensors, and the road. After a tie rod replacement, lane departure warnings may trigger falsely, adaptive cruise may misjudge following distance, or forward collision alerts may activate at the wrong time.
Most manufacturers require a static or dynamic ADAS calibration after any suspension or steering geometry change. Static calibration uses a target board placed at a precise distance in front of the vehicle, while dynamic calibration uses a programmed road drive. Either way, this is a shop job with specialized equipment costing $150 to $400 on top of the alignment.
Before you start the job, check your owner’s manual or a service information database for your specific vehicle’s ADAS calibration requirements. Some systems self-calibrate with a normal drive cycle, others require dealer-level tools. Skipping this step on a newer vehicle can leave you with a car that drives straight but has a dashboard full of false alerts — and a tech telling you the systems need recalibration anyway.
Frequently Asked Questions
Do I need an alignment after replacing inner and outer tie rods?
Yes, you need a four-wheel alignment after replacing inner and outer tie rods. The thread counting method only gets you close enough to drive to the shop safely — a professional alignment machine is required to set precise toe, camber, and caster angles and to prevent uneven tire wear.
How difficult is it to replace inner and outer tie rods?
Replacing inner and outer tie rods is an intermediate-level DIY job. The outer tie rod end is straightforward with basic hand tools. The inner tie rod requires a dedicated inner tie rod removal tool because of limited space inside the boot. Most home mechanics complete the job in 2 to 4 hours per side.
How long should it take to change inner and outer tie rods?
Plan on 2 to 4 hours per side for a first-time DIY, or 3 to 5 hours for both sides in a single session. An experienced mechanic can finish both sides in about 90 minutes. Add 30 to 60 minutes for a professional alignment afterward.
Do you have to replace both inner and outer tie rods at the same time?
You don’t always have to replace both, but it’s strongly recommended when one side has failed. Inner and outer tie rods wear at similar rates, and replacing only the failed side often leads to a return repair within months. Replace both sides at the same time to save labor and ensure even steering feel.
How do you count tie rod threads for alignment?
Count the visible threads on the inner rod between the jam nut and the inner shoulder of the outer tie rod end before removal. Write the number down, then thread the new outer end onto the inner rod until the same number of threads is exposed. This brings toe close to its original setting.
Final Thoughts on Replacing Tie Rods and Setting Toe
Replacing inner and outer tie rods is one of those jobs that rewards patience. The mechanical part — swapping the rods, torquing the castle nuts, installing fresh cotter pins — is well within reach of any home mechanic with a Saturday afternoon and a decent tool set. The real win comes from the thread counting method, which gets you close enough to drive to the shop without destroying a set of brand-new tires on the way.
Take your time with the diagnosis, count the threads, replace the boot if there’s any doubt, and finish with a four-wheel alignment. On newer vehicles with ADAS, plan for a calibration appointment as well. Do all of that and you’ll have steering that feels tight, tracks straight, and wears tires evenly for the next 50,000 miles.