
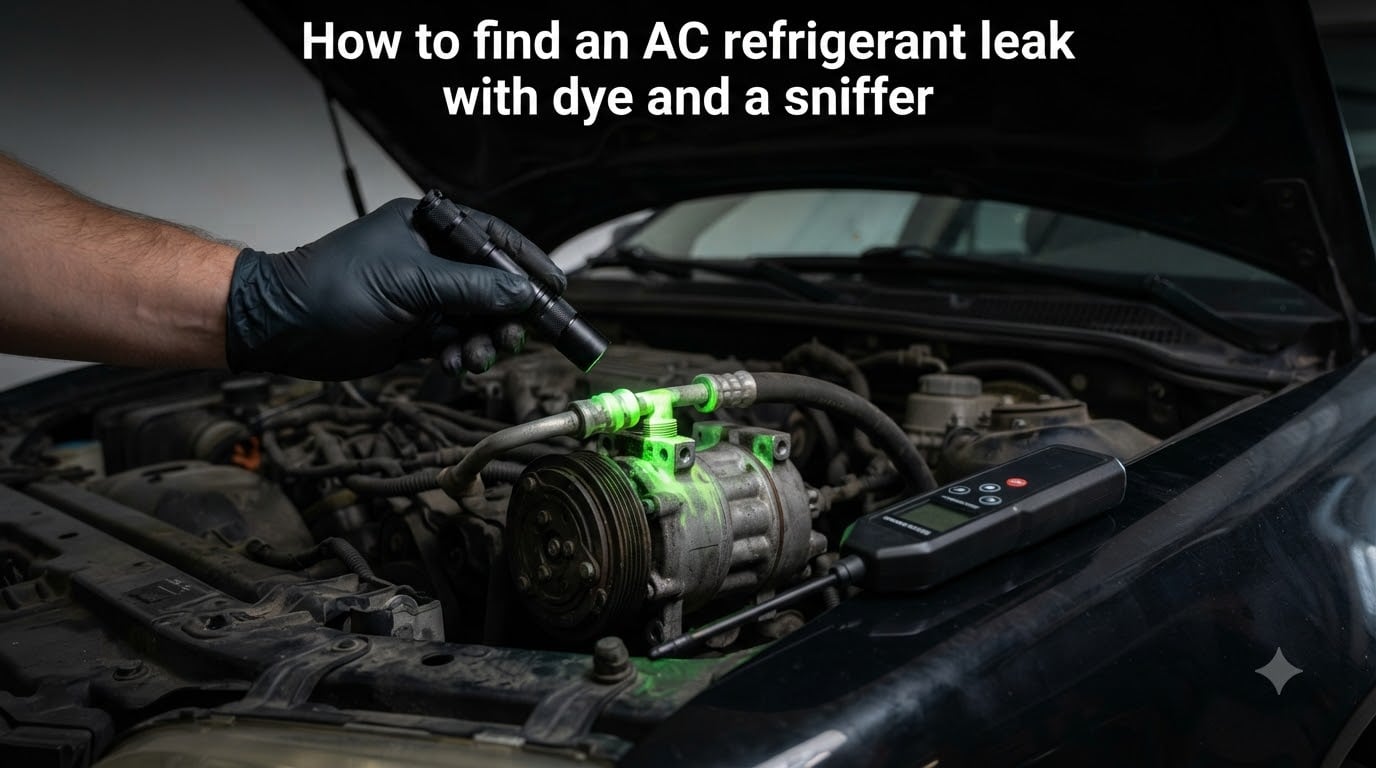
Learning how to find an AC refrigerant leak with dye and a sniffer can save you hundreds of dollars in unnecessary recharges and prevent catastrophic compressor failure. I have spent years working on automotive and residential AC systems, and the combination of UV fluorescent dye and an electronic leak detector is hands down the most reliable diagnostic approach available.
Most people try one method or the other and give up when they cannot pinpoint the leak. The truth is that dye and sniffers each have blind spots. Dye struggles with slow seepage at hidden joints, while a sniffer can produce false positives in windy or contaminated environments. Used together, they cover each other’s weaknesses.
In this guide, I will walk you through exactly how both technologies work, which dye type is right for your system, the full step-by-step procedure, and where the most common leaks hide. Whether you are a DIYer tackling your car’s AC or a homeowner troubleshooting a split system, you will have a clear action plan by the end.
Table of Contents
Signs Your AC System Has a Refrigerant Leak
Before you invest time in leak detection, confirm that you actually have a leak. Refrigerant does not get consumed like fuel. If your system is low on charge, the refrigerant went somewhere.
Watch for these telltale symptoms:
Warm air from vents when the AC is set to maximum cooling
Hissing or bubbling sounds near the compressor, lines, or evaporator
Oily residue on fittings, hoses, or the compressor body (refrigerant oil escapes with the gas)
Compressor cycling on and off rapidly due to low-pressure switch activation
Visible dye or green tint if a previous service already injected UV dye
Bubbles in the sight glass (on systems equipped with one)
If two or more of these symptoms show up together, you almost certainly have a leak that needs tracking down.
How UV Fluorescent Dye Works?
UV fluorescent dye is a tracer chemical designed to mix with the refrigerant oil already circulating inside your AC system. When the refrigerant escapes through a leak, it carries the dye with it. The dye accumulates at the leak point while the refrigerant evaporates into the atmosphere.
Here is the science behind the glow. The dye molecules absorb ultraviolet light in the 365 to 400 nanometer wavelength range. This energy excites the electrons in the dye, and as they return to their normal state, they emit visible green or yellow light. A quality UV lamp makes even microscopic dye traces glow brilliantly against the dark background of metal components and hoses.
The key advantage of dye is permanence. Once the dye exits the leak point, it stays there as a stain. You can come back hours or even days later and the evidence remains. This makes dye especially effective for slow leaks that take days to produce enough accumulation to see.
I have found leaks weeks after injection simply by rechecking with a UV lamp. No other method gives you that kind of delayed verification.
How an Electronic Sniffer Works?
An electronic leak detector, commonly called a sniffer, is a handheld device that senses refrigerant vapor in the air around components. The sensor head uses either a heated diode or corona discharge technology to detect halogen-based refrigerant molecules. When refrigerant contacts the heated sensor, it changes the electrical current in a measurable way, triggering an audible alarm.
The sniffer’s biggest strength is speed. You can sweep an entire engine bay or condenser coil in minutes and get instant feedback. There is no waiting for dye circulation, no need to add anything to the system, and no UV lamp required.
The tradeoff is environmental sensitivity. Wind, humidity, residual refrigerant from a recent recharge, and even some engine bay chemicals can trigger false alarms. Experienced technicians learn to move the probe slowly, about one inch per second, and to recheck suspected areas multiple times to confirm readings.
Dye vs Electronic Sniffer: Which Method Wins
Neither method is objectively better. The right choice depends on the situation, and professionals rely on both.
UV Dye advantages:
Pinpoints exact leak location with visible evidence
Works on slow leaks that a sniffer would miss
Leaves a permanent trace you can recheck days later
Effective in enclosed or windy areas where sniffers struggle
UV Dye limitations:
Requires system circulation time before results show
Needs a UV lamp and dark conditions for best visibility
Can be messy if spilled during injection
Adding too much dye can affect oil viscosity
Electronic Sniffer advantages:
Instant results with no system modification
Fast sweep of large areas like condenser coils
Nothing added to the system, so no contamination risk
Works on systems where adding dye is impractical
Electronic Sniffer limitations:
False positives from wind, contamination, and other chemicals
Cannot detect very slow leaks below sensitivity threshold
Evaporator leaks are hard to reach with the probe
Sensors degrade over time and need periodic replacement
The professional approach is to use the sniffer first for a quick sweep, then confirm and pinpoint with UV dye. This is exactly how I approach every diagnosis, and it eliminates guesswork.
PAG Oil vs POE Oil: Getting Dye Compatibility Right
This is where DIYers get into trouble. Using the wrong dye for your system type can cause contamination and reduce cooling performance.
PAG oil (polyalkylene glycol) is used in automotive AC systems running R-134a or R-1234yf refrigerant. If you are working on a car, truck, or SUV, you need dye formulated for PAG oil. PAG oil is hygroscopic, meaning it absorbs moisture from the air, so keep dye containers sealed tightly.
POE oil (polyol ester) is used in residential and commercial HVAC systems running R-410A or older R-22 refrigerant. If you are working on a home split system, central air unit, or commercial refrigeration, you need POE-compatible dye. POE oil is also hygroscopic but has different chemical properties that require a matching dye formulation.
Mixing a PAG dye into a POE system or vice versa can cause the dye to separate from the oil, creating clumps that clog expansion valves and capillary tubes. Always check the dye package for compatibility before injecting. Universal dyes exist, but even those have specific refrigerant listings on the label.
How to Find an AC Refrigerant Leak with Dye and a Sniffer: Step-by-Step
This is the core procedure I use every time. Follow these steps in order for the most reliable results.
Step 1: Gather Your Tools and Safety Gear
You will need a UV dye kit compatible with your refrigerant type, a UV lamp (365nm wavelength is ideal), yellow-tinted UV safety glasses, an electronic leak detector, disposable nitrile gloves, and a refrigerant manifold gauge set. Park your vehicle in a shaded area or work on your HVAC unit with the power off before beginning.
Step 2: Inject UV Dye into the System
Connect your manifold gauge set to the low and high side service ports. Most dye kits include a dye injection port that screws onto the low-side service hose. Add the amount specified by the manufacturer, typically one quarter ounce for automotive systems and up to one ounce for residential HVAC. Push the dye in using system pressure or a UV dye injection gun. Never exceed the recommended amount, as too much dye thins the oil and reduces lubrication.
Step 3: Run the AC to Circulate the Dye
For automotive systems, start the engine and set the AC to maximum cooling with the blower on high. Let it run for at least 15 to 20 minutes so the dye circulates fully through the compressor, condenser, expansion valve, and evaporator. For residential HVAC, turn the thermostat to cooling mode and let the system run for 20 to 30 minutes. The dye needs to reach every corner of the system before you can detect leaks at the farthest points.
Step 4: Scan with Your UV Lamp
Put on your UV safety glasses and turn on the UV lamp. Work in the dimmest conditions possible. Direct sunlight washes out the fluorescence, so evening or garage work is best for automotive. Systematically sweep every connection, fitting, hose, the compressor shaft seal, the condenser, and the service ports. Look for bright green or yellow glowing traces. Take photos of any glowing spots for documentation.
Pay special attention to the compressor body seams, the condenser tube-to-header joints, and the evaporator drain tube (dye dripping from the drain indicates an evaporator leak).
Step 5: Confirm with the Electronic Sniffer
Turn on your electronic leak detector and let it warm up per the manufacturer instructions. Slowly sweep the probe across every component, moving about one inch per second. When the sniffer alarms, slow down and circle the area to narrow down the exact source. Compare sniffer hits with dye stains. When both methods agree on the same location, you have confirmed your leak.
Step 6: Mark and Document Leak Locations
Use a paint pen or chalk to mark confirmed leak sites. Photograph each location with the UV lamp illuminating the dye trace. This documentation helps whether you are repairing it yourself, ordering replacement parts, or handing the information to a professional technician. After repairs are complete, recharge the system and recheck with both methods to verify the fix held.
Common Leak Sites to Inspect
Leaks do not happen randomly. Certain components fail far more often than others. Here is my checklist of the most frequent leak locations:
Service ports: Schrader valves leak constantly. Always check these first.
Compressor shaft seal: The seal behind the clutch pulley wears over time and weeps oil.
Condenser: Road debris strikes and vibration cracks the tube-to-header joints.
Evaporator: Hidden inside the dash or air handler, check for dye at the condensate drain tube.
Hose crimp fittings: The rubber-to-aluminum crimp connections degrade from vibration and heat cycling.
Expansion valve or orifice tube: Internal seals can fail and leak at the connection points.
Accumulator or receiver-drier: Weld seams and fittings are common failure points.
If your sniffer or dye check comes up empty at all the easy-to-reach spots, the evaporator is usually the culprit. It is the hardest to access but one of the most common leak sources.
Soap Bubble Test: A Free Alternative Method
If you do not have dye or a sniffer yet, the soap bubble test costs nothing and works well for accessible fittings. Mix liquid dish soap with water at a 50/50 ratio and brush it onto suspected leak points with the system running. Bubbles forming within seconds indicate a leak.
This method only works on visible, accessible connections. It will not detect evaporator leaks or pinhole cracks inside a condenser. Use it as a quick first check, then move to dye and sniffer methods for a thorough diagnosis.
EPA Regulations and Certification Requirements
If you are working on residential or commercial HVAC systems in the United States, you need EPA Section 608 certification to legally handle refrigerants. This certification covers refrigerant recovery, recycling, and proper disposal. Working on these systems without certification can result in significant fines.
Automotive AC work has a separate requirement. The EPA Section 609 certification covers mobile vehicle air conditioning, and many auto parts stores will not sell you small refrigerant cans without seeing proof of certification.
It is also illegal to knowingly vent refrigerant into the atmosphere. Always recover refrigerant properly using recovery equipment before opening a system for repairs. The environmental impact of refrigerant emissions is significant, and the regulations exist for good reason.
Cost Breakdown: DIY vs Professional Leak Detection
Doing the job yourself requires an upfront investment in tools but saves money over time if you work on multiple vehicles or systems.
DIY UV dye kit: Typically ranges from $20 to $50 for a multi-use automotive kit
Quality UV lamp: $25 to $75 depending on brightness and wavelength quality
Electronic leak detector: $40 for a budget model, $150 to $300 for professional-grade heated diode units
Professional AC dye test at a shop: Usually $100 to $200 for labor and materials
Full professional leak diagnosis with repair quote: $150 to $350 depending on system complexity
If you only need to find one leak on one car, paying a shop is often more cost-effective than buying all the equipment. If you work on multiple vehicles or your own home HVAC, the tools pay for themselves quickly.
Troubleshooting: Why Your Leak Detection Failed
Sometimes you run the full procedure and find nothing. Here are the most common reasons for false negatives and how to fix them:
Insufficient circulation time: Dye needs at least 15 minutes of continuous operation to reach all components. For very slow leaks, recheck after 24 to 48 hours.
Too much ambient light: UV fluorescence is invisible in bright sunlight. Move to a garage or wait until dusk.
Dirty or wrong UV lamp: Cheap LED UV flashlights often output the wrong wavelength. Use a 365nm lamp for best results, and keep the lens clean.
Sniffer sensor worn out: Heated diode sensors degrade after 30 to 50 hours of use. Replace the sensor tip if readings become unreliable.
System too low on charge: If almost all refrigerant has escaped, there is not enough pressure to push dye or vapor through the leak. You may need to add a small charge first.
Patience matters. Some leaks only reveal themselves after multiple checks over several days.
FAQs
How to find freon leak with dye?
Inject UV-compatible fluorescent dye into the AC system through the low-side service port, run the system for 15 to 20 minutes to circulate the dye, then scan all components with a 365nm UV lamp while wearing UV safety glasses. The dye glows bright green or yellow at the exact leak location, making even tiny leaks visible.
Do AC sniffers work?
Yes, electronic leak detectors (sniffers) work effectively for finding refrigerant leaks. They detect refrigerant vapor in real time and are especially fast for sweeping large areas like condenser coils. They work best when used alongside UV dye, since dye pinpoints exact locations while the sniffer provides quick initial detection.
How much does an AC dye test cost?
A professional AC dye test at a repair shop typically costs $100 to $200 including labor and materials. Doing it yourself with a UV dye kit costs $20 to $50 for the dye plus $25 to $75 for a quality UV lamp, making DIY far cheaper if you already own basic AC service tools.
How long does it take for AC leak dye to work?
UV dye needs 15 to 20 minutes of continuous AC operation to circulate fully through the system before you can detect leaks. For very slow seepage leaks, you may need to wait 24 to 48 hours and recheck with the UV lamp to see dye accumulation at the leak point.
Conclusion
Mastering how to find an AC refrigerant leak with dye and a sniffer gives you a professional-grade diagnostic process that works on both automotive and residential systems. The dye method provides permanent, visible evidence at the exact leak point, while the electronic sniffer delivers fast initial detection across large areas. Together they eliminate the blind spots each method has alone.
Start with the sniffer for a quick sweep, inject UV dye to pinpoint exact locations, and always verify your findings with both methods before committing to a repair. Use the correct dye for your oil type (PAG for automotive, POE for residential HVAC), follow EPA certification requirements, and be patient with slow leaks that need days to reveal themselves.
With this approach, you will find leaks that other people miss and avoid throwing money at unnecessary compressor replacements. Grab your UV lamp and sniffer, follow the steps above, and you will have your leak located before the end of the day.