
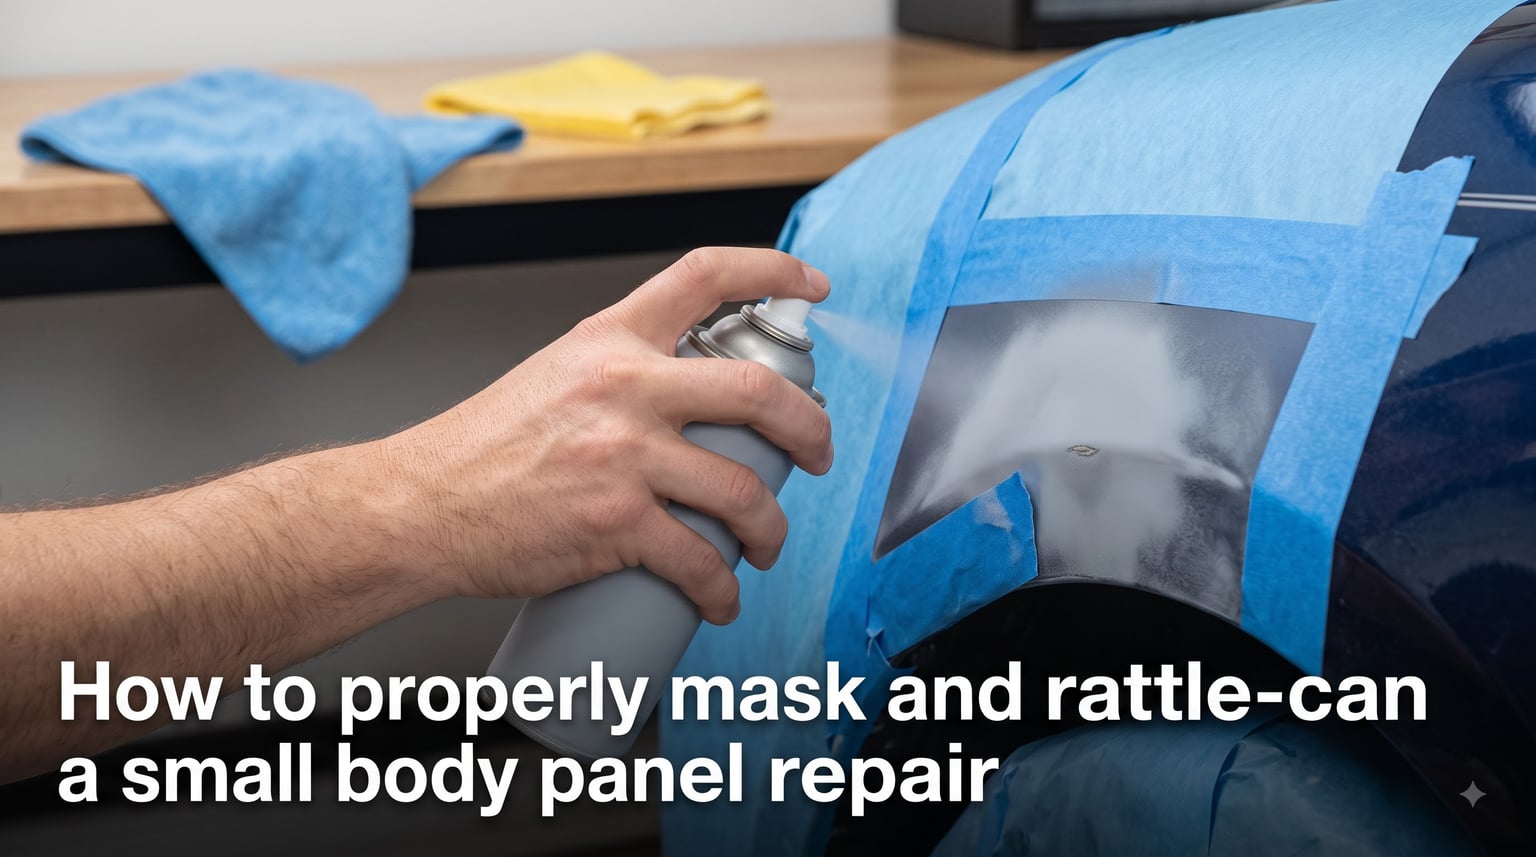
I have rattle-canned dozens of small panels over the past 15 years, from rust spots on truck fenders to rock chips on door handles. The difference between a professional-looking finish and a mess usually comes down to technique, not expensive equipment. In this guide, I will walk you through how to properly mask and rattle-can a small body panel repair so the result looks like it came out of a body shop.
If you have ever ended up with orange peel, runs, a visible hard edge, or paint that peeled off in six months, the problem is almost always in prep or application order. We will fix that today.
Table of Contents
What Is Rattle Can Automotive Painting and Why It Works?
Rattle can automotive painting is the practice of using aerosol spray cans to apply primer, color-matched base coat, and clear coat for small body panel repairs instead of a professional HVLP spray gun. It works because modern aerosol paint chemistry has caught up with gun-applied finishes. Many manufacturers now offer 2K (two-component) aerosols that mix hardener into the stream at the nozzle, giving you a true catalyzed clear coat from a can.
This method is best for spot repairs, single panels, rust patches, and rock chip coverage. It is not a substitute for a full respray, but for a quarter-panel repair or a scuffed bumper cover, it can produce results that hold up for years when done right.
Tools and Materials Checklist for a Panel Repair
Before you touch the panel, gather everything you need. The fastest way to ruin a paint job is running inside mid-coat to grab a forgotten item and coming back to dust nibs. Here is my go-to list for a small body panel repair:
Sandpaper in 80, 180, 320, 400, 600, 1000, 1500, and 2000 grit
Sanding block or dual-action sander with interface pad
Body filler (Bondo or equivalent) and a plastic spreader
Wax and grease remover (pre-paint prep solvent)
Isopropyl alcohol or pre-paint cleaner
Tack cloth
Masking tape (1/2 inch fine line, 1 inch and 2 inch automotive grade)
Masking paper or plastic sheeting
Self-etching primer or epoxy primer aerosol
Color-matched base coat aerosol
Clear coat aerosol (1K or 2K depending on budget)
Nitrile gloves, safety glasses, and a NIOSH-approved organic vapor respirator
Microfiber towels and a buffing pad for color sanding
Plan on spending roughly forty to eighty dollars on supplies if you do not own them already. That is a fraction of what a body shop would charge for the same repair.
Surface Preparation: Cleaning, Degreasing, and Rust Repair
Surface preparation is where ninety percent of rattle can paint jobs succeed or fail. Skip this step and the paint will lift, peel, or fisheye within weeks. I learned this the hard way painting a tailgate in my twenties, only to watch the clear coat slide off in sheets three months later.
Start by washing the panel with soap and water to remove road grime. Dry it with a clean microfiber towel. Then wipe the repair area thoroughly with wax and grease remover on a fresh rag. Let it flash off for five minutes before the next step.
If you are dealing with rust, grind or sand it back to clean bare metal. Anything left behind will bleed through the new paint. Treat any bare metal spots with a rust converter if you cannot get fully to shiny steel, then move to body filler if the dent needs filling.
Sanding Techniques and Grit Progression Chart
Sanding grit progression is the single most-confused step for first-time DIY painters. You cannot jump from 80 grit straight to clear coat. Each grit level removes the scratches left by the previous one. Stop too early and the scratches telegraph through your topcoat as visible lines.
Here is the grit sequence I use for a typical small body panel repair:
80 grit: shaping body filler and removing heavy paint runs (do not use on bare sheet metal)
180 grit: knocking down filler and feathering paint edges around the repair
320 grit: smoothing filler and prepping for primer
400 grit: sanding primer before base coat
600 grit: final base coat prep before clear coat (some painters go 800 here)
1000 to 1500 grit: wet sanding clear coat to remove orange peel
2000 grit: final polish prep before buffing compound
Always sand in a crosshatch pattern and finish each section by hand sanding with a block to avoid low spots. After each grit step, wipe the panel with a tack cloth to remove dust.
Masking Procedures and the Soft-Edge Blending Technique
Masking is what separates a visible patch from a seamless repair. The goal is to protect areas you are not painting while leaving enough room to blend the new paint into the old finish. Hard masking lines produce hard edges. Soft-edge masking produces an invisible transition.
Start by taping off the panel edges, badges, glass, trim, and wheels. Use 2 inch automotive masking tape for broad areas and 1/2 inch fine line tape for tight curves. Press the tape edges down firmly with a fingertip or plastic spreader so paint cannot seep underneath.
For a soft-edge blend zone, follow this trick that Hagerty popularized: after masking your boundary, lightly press the tape edge with your finger to break the adhesive seal on the outermost half inch. Then back the tape up about a quarter inch so the inner edge is no longer glued down. This creates a feathered transition zone where overspray can fade into the existing paint. Remove the tape only after the final coat has flashed off but before it is fully cured.
Cover the rest of the car with masking paper or plastic sheeting hung from the roof rails. Tape the bottom edge of the paper to the rocker panel so overspray does not drift underneath.
Priming the Panel Properly (Self-Etching vs Epoxy)
Primer does two jobs: it adheres to bare metal and it gives the base coat something to bite into. Choose the wrong primer and the paint peels off in a year. Choose the right one and the repair will outlast your ownership of the car.
Self-etching primer is ideal for spot repairs over bare metal. It contains acid that micro-etches the surface for chemical adhesion. Spray two light coats, waiting five minutes between them. Do not build it up heavy.
Epoxy primer is the better choice for larger patches or when you want maximum corrosion resistance. It takes longer to cure (usually overnight) but creates a harder base for the color coat.
Whichever primer you use, let it dry for at least thirty minutes before wet or dry sanding with 400 grit. Knock down any orange peel or dust nibs before moving to base coat.
Base Coat Application: How Many Coats and How to Spray?
The base coat is your color. Get this step wrong and the repair will always look like a repair. The rule for rattle can base coats is the same as for a professional spray gun: multiple thin coats beat one heavy coat every time.
Shake the can for at least two minutes after the ball starts rattling. Warm the can in a bucket of lukewarm water for five minutes to improve pressure and flow. Hold the can 8 to 10 inches from the panel, parallel to the surface. Trigger the nozzle fully and move at a steady pace across the panel, overlapping each pass by about fifty percent.
Apply four to five light coats for full coverage on a metallic or pearl color, and three to four coats for a solid color. Wait ten minutes between coats. The base coat should look slightly translucent between coats; full opacity builds up gradually.
If you see a run forming, stop and let it flash off. Do not try to sand it out until the next day. Spraying too heavy is the number one rookie mistake with rattle cans, and it is not fixable on the fly.
Clear Coat Application and Curing
Clear coat protects the base coat from UV damage, chemicals, and minor scratches. It also gives the repair its gloss. Apply it the same way as the base coat: thin, even passes from 8 to 10 inches out.
For most rattle can repairs, three to four coats of clear will give you enough film build for color sanding. If you are using a 2K clear (highly recommended for durability), you get one shot per can because the hardener activates once the can is sprayed. Two coats of 2K is plenty.
Wait fifteen to twenty minutes between clear coats. After the final coat, let the panel cure for at least 24 hours before any handling. Full chemical cure takes two to four weeks depending on temperature and humidity, so avoid washing or waxing the new paint during that window.
Color Sanding and Buffing for a Professional Finish
Color sanding is the optional step that takes a good rattle can repair and makes it look factory. Once the clear coat has cured for at least 48 hours, wet sand with 1500 grit to remove orange peel and dust nibs, then follow with 2000 grit to refine the surface.
Use a foam pad with rubbing compound to remove the sanding scratches, then follow with polishing compound and finally a finishing glaze. Buff at low speed with a dual-action polisher or by hand if you do not have one.
This step is how body shops get that liquid-glass look. Skip it and the repair is acceptable. Do it and the repair is invisible.
Common Mistakes When Painting With Rattle Cans (And How to Avoid Them)
After years of watching DIY painters on forums and helping friends fix their projects, I have seen the same mistakes over and over. Here are the most common ones and how to avoid each:
Skipping wax and grease remover. Always clean with a solvent-based prep wipe before any sanding or painting.
Spraying too close. Hold the can 8 to 10 inches away. Closer than that and you get runs and sags.
Spraying too heavy. Multiple thin coats only. If it looks wet, you applied too much.
Painting in direct sunlight or wind. Work in a shaded, low-dust area between 60 and 80 degrees Fahrenheit.
Not waiting between coats. Ten minutes minimum between base coats, fifteen to twenty between clear coats.
Using the wrong primer. Use self-etching on bare metal, epoxy for larger patches.
Taping too tight. Soft-edge the masking line so overspray can feather into the existing finish.
Skipping clear coat. Without it, base coat fades within a year from UV exposure.
Avoiding these eight errors will put you ahead of ninety percent of first-time rattle can painters.
Frequently Asked Questions
What is the best masking tape for car bodywork?
The best masking tape for car bodywork is a 1 inch or 2 inch automotive-grade paper masking tape with a rubber-based adhesive. Fine line tape (1/2 inch) works best for curves and panel gaps. Avoid generic household masking tape because it lets paint bleed under the edge and leaves adhesive residue.
How many coats of rattle can clear should you put on an automotive repair?
Apply three to four coats of standard 1K clear coat for proper film build and UV protection. If you are using a 2K clear coat, two coats is enough because each pass lays down a thicker catalyzed layer. Always wait fifteen to twenty minutes between coats.
How long should I wait between rattle can coats?
Wait ten minutes between base coats and fifteen to twenty minutes between clear coats. The previous coat should be dry to the touch but not fully cured. Spraying over a tacky coat causes solvent pop and runs.
Can I get a factory-looking finish with rattle cans?
Yes, with proper prep, color-matched paint, soft-edge masking, and color sanding, a rattle can repair can look nearly indistinguishable from factory paint. The key is multiple thin coats, correct temperature, and finishing with 1500 to 2000 grit wet sanding followed by buffing.
How do I find my car’s paint code for a rattle can match?
Your paint code is on a sticker inside the driver’s door jamb, under the hood, or in the glove box. It is usually a four-digit code or a letter-number combination. Take that code to an auto paint supplier who can mix a factory-match aerosol for roughly twenty-five to forty dollars.
Final Thoughts on Rattle Can Panel Repairs
Knowing how to properly mask and rattle-can a small body panel repair is one of the most useful skills a DIY car owner can learn. The cost is low, the tools fit in a corner of the garage, and the result can last for years when you respect the process. Start with clean prep, work through the grit progression, mask with a soft edge, and build up thin coats of primer, base, and clear. Finish with a color sand and buff and the repair will fade into the rest of the car.
Take your time on your first repair. The second one will be twice as fast, and the third will look better than most body shop jobs you have paid for.