
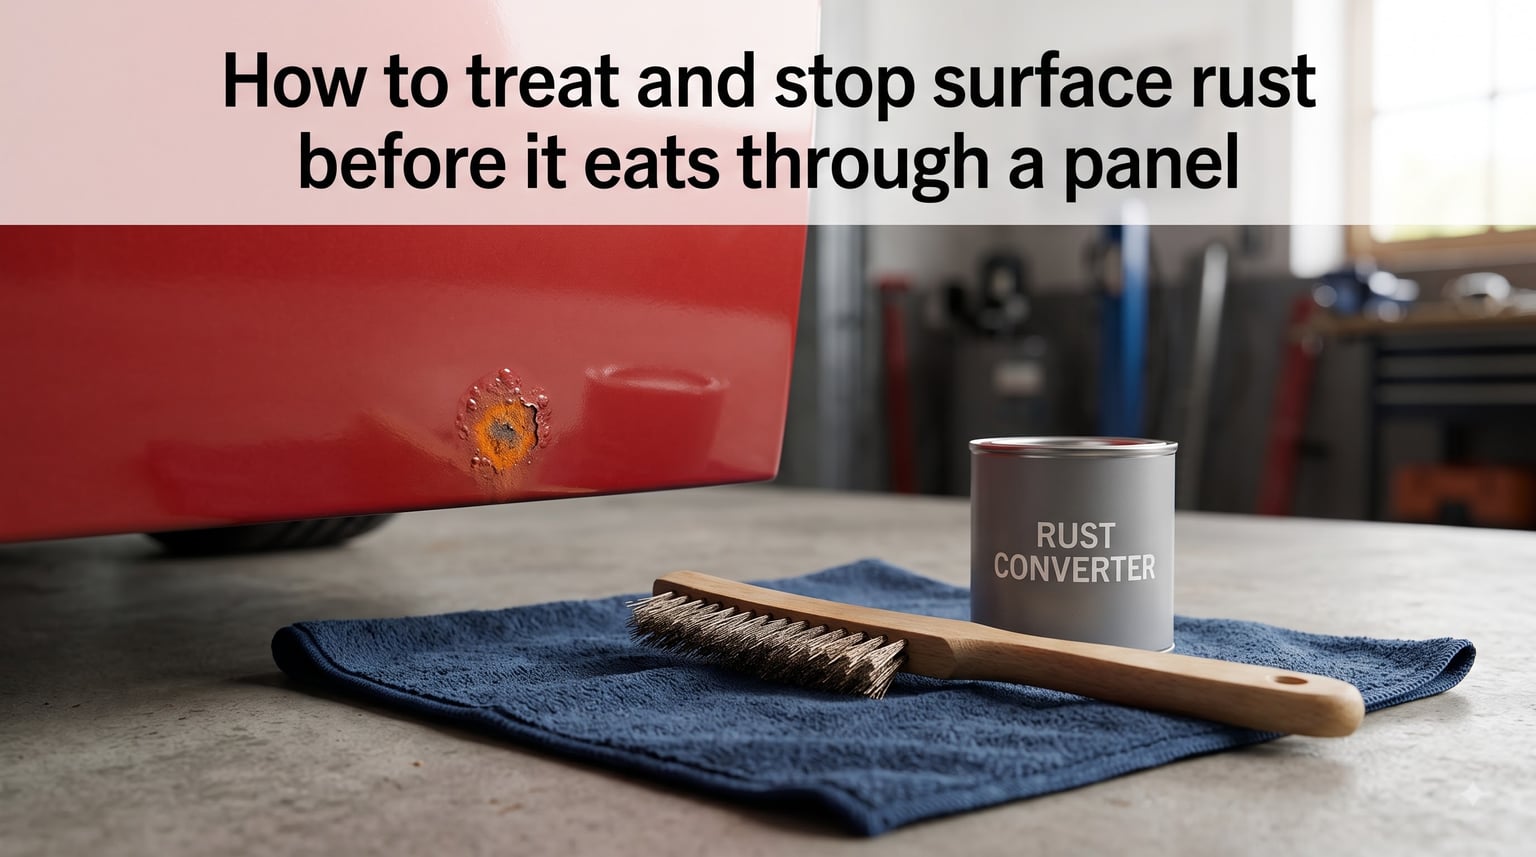
I learned the hard way that surface rust is not just a cosmetic problem. By the time I noticed the orange freckles on my driver’s door, the corrosion had already begun working its way under the paint. A small spot the size of a pencil eraser turned into a bubbling crater within one winter.
This guide walks through how to treat and stop surface rust before it eats through a panel on your car. I have used these methods on my own vehicles and on customer cars over the last ten years, and they work if you catch the rust early. You will learn what surface rust actually looks like, which tools and products to grab, and the exact step-by-step process that stops the corrosion cycle for good.
Table of Contents
How to Treat and Stop Surface Rust Before It Eats Through a Panel?
To treat and stop surface rust before it eats through a panel, you need to remove the oxidized top layer, neutralize any remaining rust with a converter or neutralizer, and seal the bare metal with primer and paint. The whole job takes a few hours and prevents a minor spot from turning into a hole in the metal.
Surface rust is the earliest stage of corrosion on steel body panels. It shows up when the factory paint or protective coating is breached, exposing raw metal to oxygen and moisture. The chemical reaction creates iron oxide, which is the orange-brown powder you see flaking off the panel. Because this layer sits on top of the metal rather than eating through it, it is the most treatable stage of rust.
The urgency is real. Once iron oxide forms, it pulls moisture from the air and holds it against the panel. That moisture keeps the corrosion reaction going, even under a coat of paint. I have seen tiny surface spots double in size within a single winter of road salt exposure.
What Surface Rust Looks Like and Why Early Action Matters
Surface rust looks like a reddish-brown or orange stain on top of the paint, sometimes with light flaking or bubbling. It feels slightly rough compared to surrounding paint and often appears around wheel wells, door bottoms, and panel seams. The metal underneath is still mostly intact at this stage, which is why early treatment works.
Catching rust early is the difference between a Saturday afternoon repair and a body shop invoice. I have watched customers wait six months on a “small spot” and end up needing a patch panel welded in.
The Three Stages of Automotive Rust
Knowing where your rust sits on the spectrum tells you how aggressive you need to be with treatment.
Surface rust is the first stage. The oxidation sits on top of the metal with minimal pitting. You can usually treat it at home with mechanical removal and a rust converter.
Scale rust is the middle stage. The metal begins to pit, and you can feel roughness when you run a fingernail across the spot. Paint around the area often bubbles or flakes off. DIY is still possible but takes more time.
Penetrating rust is the final stage. Holes form in the panel and the metal crumbles when pressed. At this point the panel usually needs cutting and welding or full replacement.
Where Surface Rust Typically Appears on a Car
The most common spots are wheel arches, lower door panels, the rear quarter panel lip, and the front of the hood. I also see it frequently around windshield trim, sunroof seals, and where rubber bumpers meet paint. Any location that traps moisture or collects road grime is a candidate.
Check the underside of the car too. Surface rust on chassis components spreads faster than body rust because it lives in a constantly wet, salty environment.
Tools and Materials You Will Need for Surface Rust Treatment
Before you start, gather your tools and materials. Having everything ready turns a multi-stage repair into a smooth workflow. Here is what I keep in my rust kit.
Microfiber towels and a bucket of soapy water
Automotive masking tape and plastic sheeting
Safety glasses, nitrile gloves, and an N95 dust mask
Random orbital sander or sanding block
Assorted sandpaper (80, 180, 320 grit)
Wire brush or wire wheel attachment
Rust converter (phosphoric acid based) or rust encapsulator
Etching primer or epoxy primer
Touch-up paint matched to your vehicle’s color code
Clear coat and applicator brushes
I recommend spending more on the rust converter than on the paint. Cheap converters leave active corrosion underneath the coating, and the rust returns within months.
Step-by-Step: How to Treat and Stop Surface Rust Before It Eats Through a Panel?
Follow these steps in order. Skipping ahead or combining steps is the single biggest reason I see DIY repairs fail within a year.
Step 1: Wash and Dry the Affected Area
Wash the rusty spot with soapy water and rinse thoroughly. Dirt and grease left on the panel will contaminate your sandpaper and clog your rust converter. Dry the area completely with a microfiber towel and let it air dry for at least 30 minutes.
Mask off the surrounding paint with tape and plastic sheeting. You will create dust and chemical overspray, and protecting adjacent areas makes cleanup much faster.
Step 2: Remove Loose Rust and Paint
Scrape off any flaking paint and loose rust with a wire brush. Press firmly but do not gouge the metal. Once the loose material is gone, sand the area with 80-grit sandpaper to get down to bare, shiny metal.
Feather the edges of any surrounding paint so the repair blends smoothly. I sand at least two inches past the visible rust to catch the leading edge of the corrosion that has not yet turned orange.
Wipe away all dust with a clean microfiber towel. Any dust left behind will interfere with primer adhesion.
Step 3: Treat With a Rust Converter or Neutralizer
Apply a phosphoric acid based rust converter to the bare metal with a brush. The converter reacts with any remaining iron oxide and turns it into a stable, black compound that you can paint over. Let it dry fully according to the manufacturer’s instructions, usually 24 hours.
For areas where you cannot remove all the rust (inside boxed sections, seams, behind brackets), use a rust encapsulator instead. Encapsulators seal the rust under a protective barrier rather than converting it. They are slightly less durable than converters but they reach everywhere you spray them.
Step 4: Apply Primer and Paint to Seal the Repair
Spray two light coats of etching primer over the treated area, waiting 10 minutes between coats. Etching primer bonds to bare metal and gives your topcoat something to grip. Let the primer cure for the time listed on the can.
Apply your touch-up paint in thin, even coats. I usually do three to four light coats rather than one heavy coat to avoid runs and color mismatch. Finish with two coats of clear coat to seal the color and add UV protection.
Remove the masking tape while the final coat is still tacky for the cleanest edge. Let the repair cure for at least 48 hours before exposing it to rain or washing.
Mechanical vs Chemical Rust Removal Methods Compared
Mechanical removal uses abrasion to strip rust from the panel. Sanding, wire brushing, and media blasting all fall in this category. It is fast, predictable, and works on any metal thickness. The downside is that you lose a thin layer of steel each time you go over the panel, and blasting requires equipment rental.
Chemical removal uses acids or converters to dissolve or neutralize rust. Phosphoric acid eats iron oxide, oxalic acid works well on light surface rust, and commercial converters do both in one step. Chemical methods reach into pits and seams that sanding cannot touch. The trade-off is longer cure times and more careful handling.
For most DIY jobs on body panels, I use a hybrid approach. I sand the surface clean, then apply converter to the pits and edges where abrasion cannot reach. This combination gives the cleanest, longest-lasting repair.
What to Use to Stop Surface Rust From Coming Back?
Prevention matters more than the repair itself. A treated spot that is not sealed properly will rust again within a season. Here is how I lock in my repairs.
Wax and seal the panel twice a year. A quality automotive wax creates a water-repellent barrier over the paint. I wax my daily drivers every spring and fall.
Wash the car often in winter. Road salt is the single biggest accelerator of automotive rust. Wash your car every two weeks during salt season, paying special attention to the wheel wells and undercarriage.
Fix paint chips immediately. The factory paint is your first line of defense. A small chip that takes five minutes to touch up today prevents a rust crater next year.
Store the car indoors when possible. Garage-kept cars rust roughly five times slower than cars parked outside. If indoor storage is not an option, a breathable car cover helps.
Apply cavity wax to hidden areas. Inside door panels, frame rails, and boxed sections trap moisture forever. A spray-on cavity wax reaches these areas and displaces water. Most body shops offer this as an add-on service.
Common Mistakes That Make Surface Rust Worse
Painting over rust without removing it is the number one mistake I see. The rust keeps growing under the paint, and within months a bubble appears right where you “fixed” it.
Skipping primer is the second biggest issue. Paint does not bond to bare metal well, and it lets moisture through to the steel underneath. Always use an etching primer on bare metal before topcoat.
Using household products as a permanent fix is another common error. Vinegar and baking soda can clean light surface rust, but they leave moisture behind and do not seal the metal. Use them only as a temporary step before proper treatment.
Ignoring the surrounding paint is a subtle mistake. Surface rust almost always extends past the visible spot under the paint film. If you only treat the orange area, you leave a corrosion halo waiting to bloom.
When DIY Surface Rust Repair Is Not Enough?
DIY works well for isolated spots smaller than a quarter. If the rust covers a large area, the metal feels thin when pressed, or you can see holes forming, take the car to a professional body shop.
Structural rust on frame rails, suspension mounts, and load-bearing panels should always be inspected by a professional. These areas affect the safety of the vehicle, and the repair usually involves cutting out the bad metal and welding in a patch.
If your car has widespread bubbling paint, multiple rust spots, or previous amateur repairs that failed, the panel may already be too far gone. A body shop can tell you whether you need a patch panel, a new quarter, or a different car.
FAQs
Can you stop rust once it starts?
Yes, you can stop rust in its earliest stages with prompt treatment. Surface rust is the most treatable form because the corrosion has not yet eaten through the metal. Remove the loose rust, apply a phosphoric acid converter, and seal the area with primer and paint. Once rust progresses to scale or penetrating stages, repair becomes significantly more involved.
How to treat surface rust before paint?
Treat surface rust before paint by first sanding the area down to bare, shiny metal with 80-grit sandpaper. Wipe away all dust, then apply a rust converter to any remaining oxidation. Once the converter dries, spray two coats of etching primer, then apply your topcoat and clear coat. This sequence prevents the rust from reactivating under the new paint.
What to use to stop surface rust?
To stop surface rust, use a phosphoric acid based rust converter on bare metal, then seal the repair with etching primer and paint. For prevention, regular waxing, prompt repair of paint chips, and undercarriage washing during winter all slow the corrosion cycle. Cavity wax sprayed inside hidden panels adds another layer of protection.
What eats surface rust?
Phosphoric acid eats surface rust by reacting with iron oxide and converting it into a stable black compound. Oxalic acid and citric acid work similarly but at different speeds. Mechanical methods like sanding and wire brushing physically remove rust rather than chemically dissolving it. For best results, combine mechanical removal with a chemical converter to catch rust in pits and edges that sanding cannot reach.
Stop Surface Rust Before It Becomes a Hole in Your Panel
Learning how to treat and stop surface rust before it eats through a panel is one of the highest-value skills you can pick up as a car owner. The process is straightforward, the materials are affordable, and the alternative (a body shop repair or a rusted-through panel) is far more expensive than an afternoon of prevention.
Start by inspecting your car today. Look at the wheel wells, lower doors, and around the windshield trim. If you spot any orange freckles, sand them down and seal them before the next rain. The small effort you make now is the difference between a clean panel and a welding project next year.