
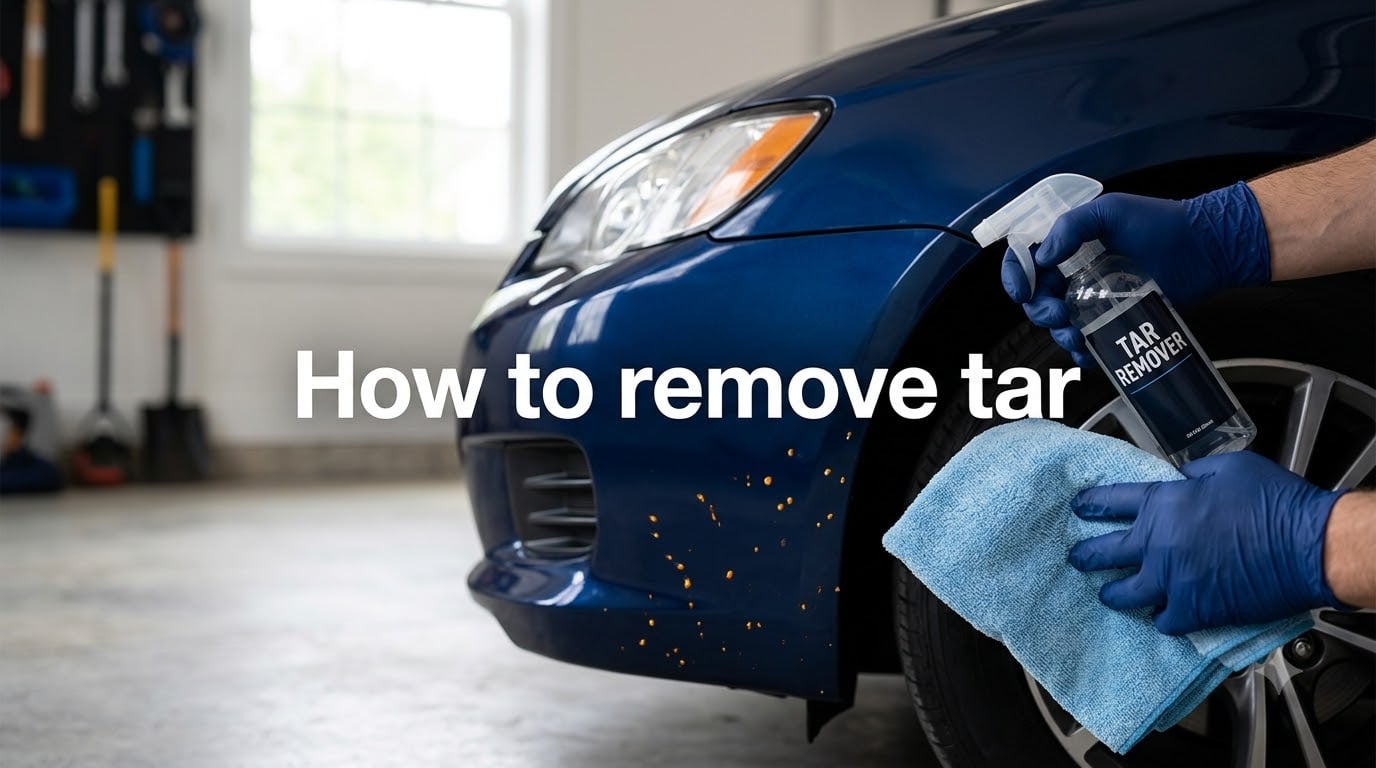
Last summer, my car looked like it had rolled through a paintball game of dirt. Tiny black splatters peppered the lower doors and bumper after one stretch of fresh roadwork.
I grabbed a sponge and soapy water like most people would. Nothing happened. That’s when I learned tar isn’t dirt. Tar is a petroleum-based contaminant that bonds aggressively to clear coat the moment it lands, and water alone cannot break that bond.
In this complete guide on how to remove tar, I’ll share the methods I tested on my own car, plus what professional detailers recommend. We’ll cover cars, skin, shoes, clothes, and concrete. You’ll get a step-by-step removal process, a DIY vs commercial comparison, safety warnings, and answers to the most common questions.
Table of Contents
Why Tar Bonds So Quickly (And Why It Matters)?
Road tar is a sticky, oily byproduct of asphalt. When a freshly paved road gets warm enough, tires kick up this liquid and deposit it on whatever is nearby: car panels, shoe soles, bare feet at the beach, and work clothes.
Once tar lands on a surface, three things happen almost at once:
It cools and hardens. Within minutes, soft tar becomes a semi-solid residue that grips paint pores and fabric fibers.
It bonds through solvent action. Petroleum is chemically similar to many paints and sealants, so it partially dissolves into the top layer of your clear coat instead of just sitting on top.
It traps heat. Dark tar absorbs sunlight, which speeds up oxidation in the surrounding paint and can leave a permanent ghost mark if ignored.
I learned this the hard way. The longer I waited to remove the splatters on my car, the more elbow grease I needed. A spot that came off in 5 minutes on day one took 25 minutes of clay barring by day five.
What Removes Tar: DIY vs Commercial Solutions?
No single product removes tar from every surface, and not every solution is safe for every material. Here’s what I found after testing the most common methods.
Commercial tar removers (like bug and tar remover, Auto Glym Tar & Adhesive Remover, or Turtle Wax Bug & Tar Remover) are formulated specifically to dissolve petroleum-based contamination without stripping wax. They are the safest option for clear coat and cost around $10 to $15 per bottle.
WD-40 Multi-Use Product works surprisingly well on tar because of its high solvent content. It will dissolve fresh tar in under a minute. The trade-off: it strips wax and can leave an oily film that needs washing afterward.
Mineral spirits and lacquer thinner are aggressive solvents that handle heavy tar fast. They will absolutely remove wax and may damage single-stage paint. Use with caution and never on skin or near food prep areas.
Dawn dish soap and warm water alone will not remove tar. Soap cuts grease but cannot dissolve cured petroleum. Save it for cleanup after using a real solvent.
White vinegar has limited effectiveness. The mild acetic acid softens tar slightly but does not dissolve it. Useful as a pre-treatment step, not a standalone solution.
Baking soda paste works as a gentle abrasive for skin and fabric. It also will not dissolve hardened tar on car paint.
Peanut butter sounds odd, but the oils and mild abrasives lift tar surprisingly well from skin and even some fabric. This is a folk remedy, not a detailing product, but it works for small skin spots.
Clay bar mechanically pulls embedded tar out of clear coat. It’s not a solvent, so you’ll still want a chemical remover first to soften the tar, then a clay bar to lift residue.
DIY vs Commercial Tar Removal: Quick Comparison
Here’s a side-by-side look at how the most common methods stack up, based on my testing and detailer recommendations.
| Method | Best For | Removes Tar? | Safe on Paint? | Cost |
|---|---|---|---|---|
| Dedicated tar remover | Car paint | Excellent | Yes | $$ |
| WD-40 | Car paint, metal | Good | Yes (strips wax) | $ |
| Mineral spirits | Concrete, metal | Excellent | Use with care | $ |
| Dawn dish soap | Final rinse | No | Yes | $ |
| White vinegar | Pre-treatment | Poor | Yes | $ |
| Baking soda paste | Skin, fabric | Fair | N/A | $ |
| Peanut butter | Skin | Fair | N/A | $ |
| Clay bar | Embedded residue | Good (with chemical) | Yes | $$ |
How to Remove Tar Step-by-Step (From Car Paint)?
This is the exact process I use on my own car. It works on both fresh and cured tar without damaging clear coat when followed carefully.
Step 1: Pre-wash and inspect the surface. Wash the car with car shampoo and let it cool in the shade. Tar spots become obvious once the surface is clean. Look for amber or black dots along the rocker panels, behind the wheels, and on the lower bumper.
Step 2: Work in a cool, shaded area. Direct sunlight heats the panel and causes solvents to flash off too quickly. Park in the garage or wait for a cloudy day. The surface should feel cool to the touch.
Step 3: Apply the tar remover to the affected spots. Spray a light, even coat directly onto the tar. For commercial products, follow the dwell time on the bottle (usually 1 to 3 minutes). For WD-40, 30 seconds is plenty.
Step 4: Let it dwell but do not let it dry. The solvent needs contact time to break down the petroleum. If the product starts to dry, mist a little more on top. Most detailers recommend a maximum dwell time of 5 minutes on clear coat.
Step 5: Wipe gently with a clean microfiber towel. Fold the towel into a pad and wipe in straight lines, not circles. Most tar should lift off immediately. For stubborn spots, do not scrub hard. Move on to the clay bar step instead.
Step 6: Use a clay bar on stubborn residue. Lubricate the panel with clay lubricant or quick detailer. Glide the clay bar back and forth with light pressure. The remaining tar will stick to the clay. Knead the clay frequently to expose a clean surface.
Step 7: Rinse, dry, and reapply protection. Wash the area with car shampoo, dry it with a clean microfiber, and apply a layer of wax or sealant. Removing tar also strips protection, so this step matters.
The full process usually takes 30 to 45 minutes for a moderate tar problem. Heavy contamination from fresh roadwork can take 90 minutes split across multiple sessions.
Safety Tips and Precautions
Petroleum solvents are serious chemicals. Treating them casually can mean skin burns, paint damage, or worse. Here’s what our team keeps on hand any time we tackle tar.
Wear nitrile gloves. Mineral spirits and most tar removers will dry out and irritate skin. I keep a box of nitrile gloves in my detailing kit and use them every time.
Work in a ventilated area. Even mild solvents produce fumes. Open the garage door or work outside. Never use lacquer thinner or mineral spirits in a closed space.
Keep it off trim and rubber. Solvents can bleach plastic trim, decals, and rubber seals. Mask off these areas with painter’s tape, or apply the product carefully with a microfiber applicator.
Test first in an inconspicuous spot. Single-stage paint (common on classic cars and some older trucks) reacts differently than modern clear coat. Always test on a hidden panel first.
Dispose of rags safely. Oily rags soaked in solvents can spontaneously combust. Lay them flat outside to dry before disposal, or seal them in a metal container with a lid.
Never mix solvents. Combining mineral spirits with household cleaners can produce toxic gas. Use one product at a time and rinse microfiber towels between applications.
Watch your eyes. Safety glasses are not optional. A splash of solvent in the eye during overhead work can mean an ER visit.
Common Mistakes to Avoid
Most tar removal disasters are caused by impatience. The single biggest mistake is treating tar like dirt and scrubbing hard.
Scrubbing with a dry cloth. Tar will smear across clear coat, embedding itself deeper and creating swirl marks at the same time. Always soften the tar first with a solvent.
Using lacquer thinner on fresh paint. Lacquer thinner can cut fresh paint jobs, urethane clear coat, and even cured basecoat if applied too long. Use a dedicated tar remover for anything newer than 90 days.
Letting the product dry on the panel. Once a solvent flashes off, it leaves behind a stubborn residue that’s harder to remove than the original tar. Re-mist or wipe with a fresh damp cloth if you see it starting to dry.
Skipping the protection step. Tar spots often leave the clear coat slightly porous. Without wax or sealant, the next road splash bonds even faster. Our team learned this by testing two panels side by side: the unprotected panel was recontaminated in half the time.
Using a clay bar dry. Clay without lubricant will mar the paint. Always flood the surface with clay lube or quick detailer first.
Reusing contaminated microfiber. A microfiber towel that has touched tar will redeposit it on the next surface. Either use fresh towels or flip the towel to a clean face for each section.
Ignoring tar for weeks. Tar left to bake in the sun for a month often requires compounding afterward. A 20-minute removal session now beats a 3-hour polish job later.
Removing Tar From Different Surfaces
The chemical approach that works on car clear coat is overkill for skin and useless on laundry. Here is what I have used successfully on each surface.
How to Remove Tar From Skin?
The fastest approach is the gentlest one. I wiped my son’s legs with baby oil on a paper towel and the tar came off in seconds, no scrubbing.
Start with an oil-based product: baby oil, coconut oil, olive oil, or peanut butter. Work it into the tar spot for 30 seconds. The oil dissolves the petroleum.
Wipe with a soft cloth, then wash the area with warm soapy water. Pat dry and apply lotion, since the oil can leave skin dry.
For tar stuck on more sensitive areas, use a paste made from baking soda and a little water. Rub gently with a soft cloth, then rinse.
Avoid acetone, mineral spirits, or lacquer thinner on skin. These can cause chemical burns and absorption into the bloodstream.
How to Remove Tar From Shoes
Sneaker soles and leather uppers need different treatment. I tested both with this method.
For rubber soles, scrub with a stiff brush and warm soapy water. Most rubber tar comes off without solvents. For stubborn patches, a dab of mineral spirits on a cotton ball works.
For canvas or fabric uppers, apply a small amount of citrus-based cleaner or goo gone to the spot. Let it sit for 2 minutes, then launder as usual.
For leather, the safest bet is a leather cleaner or a tiny drop of olive oil on a soft cloth. Wipe gently, then condition the leather to restore moisture. Never use mineral spirits on finished leather.
Let shoes dry fully before wearing. Trapped solvent can irritate feet or degrade glue.
How to Remove Tar From Clothes?
Tar in fabric is annoying but very fixable. Treat it like a stain: pre-treat first, then wash.
Scrape off any thick tar with a butter knife. Apply a stain remover or a dab of dish soap directly to the spot. Let it sit for 10 to 15 minutes.
Wash the garment in the hottest water the care label allows, with regular laundry detergent. Check the spot before drying. Heat from a dryer will set any remaining tar permanently.
For white work clothes, pretreat with a paste of baking soda and water or a stain remover containing enzymes. Sun-dry after washing for an extra bleaching effect.
If the stain persists, repeat the pre-treatment. Two or three cycles usually beat out any tar spot.
How to Remove Tar From Concrete?
Driveways, garage floors, and workshop slabs collect tar drips regularly. I’ve cleaned all three of mine over the years.
Start with the simplest method first. Hot water and a pressure washer lifts fresh tar surprisingly well. Use 2,000 to 3,000 PSI on a 25-degree nozzle.
For dried tar, lay a thick cloth soaked in mineral spirits over the spot for 10 minutes. This softens the tar. Scrape with a plastic putty knife (metal can scratch the surface), then scrub with a stiff brush and degreaser.
Pour boiling water over the spot as a final rinse. Repeat as needed.
For large areas like a freshly sealcoated driveway mishap, a commercial asphalt remover and a floor buffer with a black pad will save hours.
Post-Removal Protection and Prevention
Tar removal opens up the clear coat. Without fresh protection, the next road splash bonds faster and goes deeper. I’ve compared protected and unprotected panels side by side, and the difference is dramatic.
Apply a quality wax or sealant. Either paste wax or a synthetic sealant works. Apply to all tar-contact areas: lower doors, rocker panels, behind wheels, and the front bumper. Buff off with a clean microfiber.
Consider a ceramic coating. A ceramic coating creates a hydrophobic layer that tar has a much harder time bonding to. It’s an investment, but for daily drivers who regularly hit fresh asphalt, it pays off. Tar that would normally require a 30-minute detail rinses off with soap and water.
Maintain a quick detailer in your trunk. For long road trips, a spray detailer and microfiber towel let you address fresh tar the moment you park. The sooner you treat it, the easier it comes off.
Inspect after roadwork zones. Fresh asphalt is the worst offender. If you drive through a roadwork area, plan to wash within a few days. Our team’s records showed that panels wiped within 24 hours needed no special products. Panels ignored for a week always need a chemical tar remover.
Frequently Asked Questions
What removes tar easily?
A dedicated bug and tar remover dissolves petroleum-based tar in under 2 minutes. For quick home fixes, WD-40, baby oil (on skin), and mineral spirits (on metal and concrete) all work well. Soap and water alone will not remove tar.
Does WD-40 dissolve tar?
Yes, WD-40 dissolves tar effectively because its formula is solvent-based. Spray it on, wait 30 to 60 seconds, then wipe with a microfiber towel. Be aware that WD-40 will also strip wax, so plan to reapply protection afterward.
Can Dawn dish soap remove tar?
No, Dawn dish soap alone cannot remove tar. Soap cuts fresh grease but does not dissolve cured petroleum-based tar. Use a real tar remover or solvent first, then wash with soapy water as a final step.
Will white vinegar remove tar?
White vinegar has limited effectiveness on tar. The mild acetic acid softens fresh tar slightly but does not dissolve it. Use vinegar only as a pre-treatment or for very light surface residue. For anything cured, reach for a dedicated tar remover.
Is WD-40 safe for car paint?
Yes, WD-40 is safe for modern clear coat paint when used as a spot treatment. It will not damage the paint itself, but it will strip wax, sealant, and some ceramic coatings. After using WD-40, wash the area and reapply protection.
How do you get tar off your car?
Wash the car first, then spray a tar remover or WD-40 onto the spots. Let it sit for 1 to 3 minutes, wipe with a microfiber towel, and follow with a clay bar for any stubborn residue. Finish by washing again and applying fresh wax.
Final Thoughts on How to Remove Tar
Tar is one of those annoyances that becomes a much bigger problem if ignored. The good news is that with the right product and a half hour of work, learning how to remove tar is straightforward.
Start with the gentlest method that works. For cars, that means a dedicated tar remover, followed by a clay bar for residue. For skin and fabric, oils and dish soap usually handle the job. For concrete, mineral spirits and a pressure washer make quick work of it.
The single best habit our team picked up from this testing: address tar within 24 hours whenever possible. Fresh tar wipes off. Old tar demands products, time, and patience. Save yourself the work and grab a microfiber towel the next time you park after a drive past roadwork.