
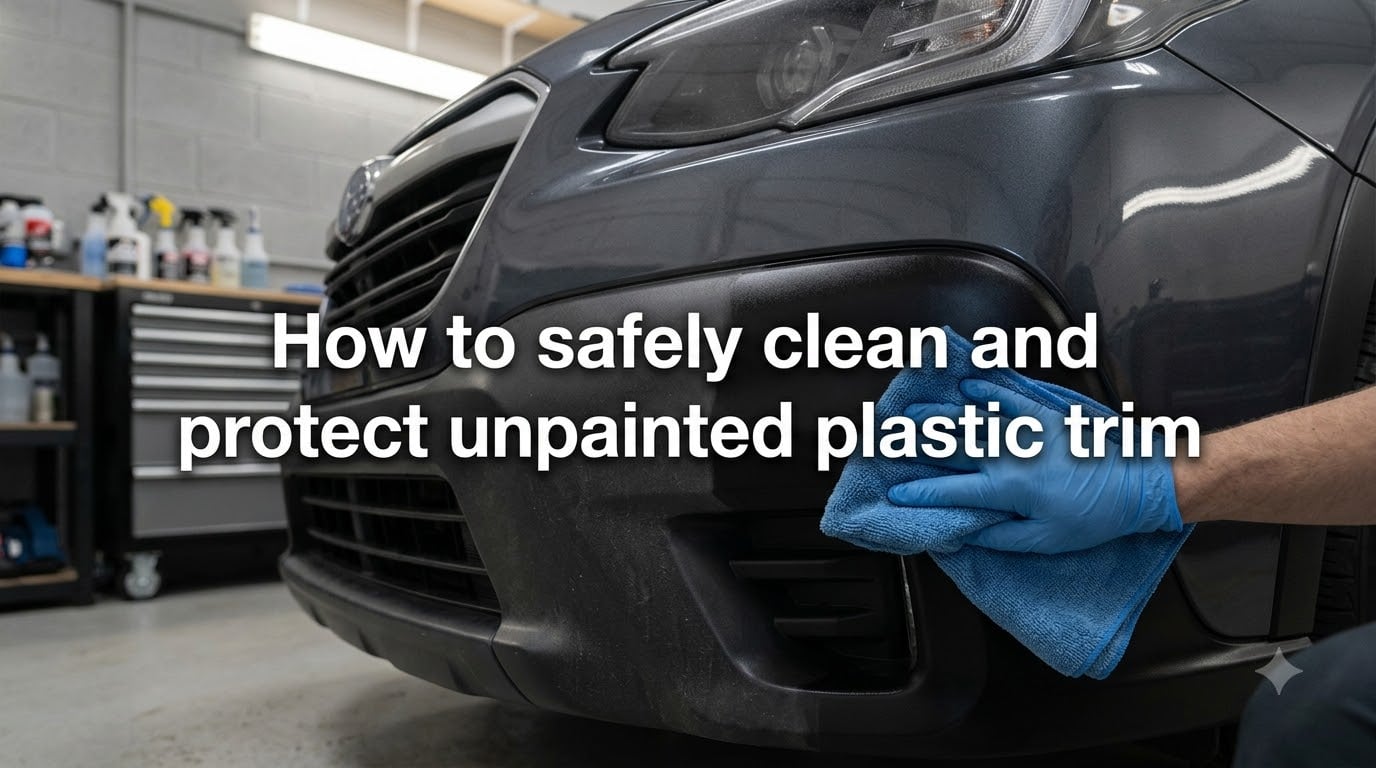
I have spent more weekends than I want to admit scrubbing grey, chalky bumpers back to black. After testing dozens of cleaners, dressings, and sealants on my own fleet of daily drivers, I put together this guide on how to safely clean and protect unpainted plastic trim so you do not waste money on products that fade in two weeks or, worse, damage the plastic.
Plastic trim is everywhere on modern vehicles, and almost none of it has a protective clear coat. That means UV rays, road salt, and heat attack the bare plastic directly. Get the routine right, and your trim looks new for years. Get it wrong, and it fades faster than ever.
Table of Contents
What Is Unpainted Plastic Trim and Why Does It Need Special Care?
Unpainted plastic trim is any bare plastic surface on your vehicle that does not have a layer of paint or clear coat on top. You will find it on bumpers, door handles, wheel arches, fender flares, mirror housings, window surrounds, and roof rails.
Most of these pieces are made from polypropylene or ABS plastic. Both materials are lightweight and cheap to mold, but they are porous and absorb UV radiation easily. Without protection, the polymer chains break down at the surface and the plastic releases its black pigment, leaving a chalky grey haze. This process is called UV degradation.
I learned this the hard way on my old pickup truck. The bumpers looked brand new when I bought it, but two Arizona summers later they turned pale grey. The fix is a two-step approach: clean the contamination off first, then seal the plastic so UV cannot reach it again.
What Causes Black Plastic Trim to Fade and Turn Grey?
Three things attack unpainted plastic: ultraviolet light, heat, and chemical contamination. Knowing what you are fighting helps you pick the right product instead of just grabbing whatever is on the shelf.
UV radiation breaks the chemical bonds in the polymer and bleaches the carbon black pigment that gives trim its dark color. Heat accelerates this reaction, which is why cars parked outside in sunbelt states fade twice as fast as garage-kept vehicles.
Road salt, calcium chloride, and bug splatter add chemical corrosion on top of UV damage. In northern winters I have seen trim pieces that look almost white after a single season. Detailing forums are full of users asking how to fix this, and the answer is always the same: clean first, then protect, and keep protecting.
Tools and Products You Need for the Job
You do not need a professional-grade kit. Here is the basic list I keep in my detailing caddy:
A dedicated plastic trim cleaner (citrus-based or all-purpose cleaner diluted 10:1)
Several plush microfiber cloths (keep separate from paint towels to avoid cross-contamination)
A soft detailing brush or toothbrush for textured trim
A foam applicator pad for protectant application
A trim protectant of your choice (dressing, ceramic sealant, or hybrid)
A pressure washer or garden hose for pre-rinse
The single most important item is a microfiber cloth you never use on paint. Detailers on Reddit swear by this rule. Cross-contamination from old wax or polish leaves white streaks on matte plastic that take hours to buff out.
How to Safely Clean Unpainted Plastic Trim: Step-by-Step Process
Follow these seven steps for a safe, scratch-free clean. I run through this routine every six weeks on my own cars.
Step 1: Rinse the trim with water. Start with a cool rinse to remove loose dirt and grit. Skipping this step is the fastest way to grind debris into soft plastic during scrubbing.
Step 2: Apply a dedicated plastic trim cleaner. Spray the cleaner directly onto the surface or onto your microfiber. Avoid degreasers or harsh solvents, since they can dry out the plastic and speed up fading.
Step 3: Agitate with a soft brush. Work the cleaner into textured areas like fender flares and bumper inserts using a detailing brush. The goal is to lift contamination out of the pores, not just smear it around.
Step 4: Wipe with a clean microfiber. Flip the cloth often. A loaded towel will redeposit grime back into the grain of the plastic.
Step 5: Rinse again if you used a strong cleaner. Some all-purpose cleaners leave residue that interferes with protectant bonding. A quick rinse ensures a clean surface.
Step 6: Dry the trim completely. Water spots on plastic are tough to remove once they bake in. Use a fresh microfiber and blot rather than drag.
Step 7: Inspect for remaining oxidation. If the trim still looks grey or chalky after cleaning, you need a dedicated restorer before you seal it. Plain cleaning will not bring dead pigment back.
This routine works on both glossy and matte trim. The only adjustment is brush pressure: use lighter strokes on glossy finishes to avoid micro-marring.
How to Restore Faded or Oxidized Plastic Trim?
Cleaning removes dirt but not oxidation. Once the pigment is gone, you have three realistic options to bring the dark color back.
Option 1: Trim dressing (quick fix). A silicone or water-based dressing darkens the surface immediately and adds light UV protection. It is the cheapest option but lasts only two to four weeks before needing reapplication.
Option 2: Trim restorer dye (medium-term). These products contain pigment that soaks into the plastic. Expect three to six months of dark color per application. Cerakote Trim Coat and Solution Finish are popular choices among forum users for their staying power.
Option 3: Heat gun restoration (DIY method). Carefully heating faded trim with a heat gun releases the oils trapped deeper in the plastic and brings the dark color back to the surface. Hold the gun 6 to 8 inches away, keep it moving, and never stop in one spot. I have done this on dozens of bumpers and it works, but you can scorch the plastic in seconds if you are not paying attention.
Option 4: Ceramic trim sealant (long-term). Ceramic coatings bond to the plastic and form a hard, hydrophobic layer that blocks UV. Properly applied, they last a year or more. They cost more upfront and require strict prep, but the durability is unmatched in my testing.
For a one-time weekend project on a daily driver, Option 2 followed by Option 4 gives the best mix of appearance and longevity.
How to Protect Plastic Trim After Cleaning?
Protection is the step that actually keeps trim looking new. The right product depends on how much maintenance you want to do and how shiny you like the finish.
Silicone-based dressings: Cheap, glossy, easy to apply. They wash off quickly in rain and can migrate onto paint, causing fish-eyes during future waxing. I use them only on engine bay components where long-term looks do not matter.
Water-based dressings: Dry to a natural satin finish, last longer than silicone, and do not interfere with paint correction. Most daily-driver owners are happiest with this category.
Ceramic sealants: Bond chemically to the plastic, last up to 12 months, and resist car wash soap. Application takes longer and requires perfect prep, but you only do it once or twice a year.
Application is simple either way. Put a few drops on a foam applicator, spread thinly across the trim, let it flash for five to ten minutes, then buff off any excess with a clean microfiber. Less is more: heavy application leads to streaking and dust attraction.
In my own cars, ceramic sealants win on bumpers and door handles (high-exposure pieces), and a water-based dressing handles wheel arches and lower trim where I do not mind reapplying monthly.
Interior vs Exterior Plastic Trim: Different Care Requirements
Interior plastic trim lives a different life than exterior trim. It sees UV through the windshield, plus skin oils, spilled drinks, and dust. Most owners ignore it until it looks permanently shiny with grime.
For interior trim, skip the strong degreasers. A mild all-purpose cleaner diluted 20:1, a soft brush, and a microfiber are usually enough. Follow with a water-based dressing to restore a factory satin look. Avoid high-gloss silicones on dashboards: they create glare that makes driving on sunny days uncomfortable.
Door panels and center consoles benefit from the same ceramic sealants used on exteriors. They resist hand oils and wipe clean much easier than bare plastic.
Common Mistakes That Damage Plastic Trim
I have made most of these mistakes myself. Save yourself the regret and avoid them from the start.
Using olive oil or cooking oils. Old garage wisdom says olive oil restores black plastic. It does, for about a day. Then it goes rancid, attracts dust, and feeds bacterial growth. I tried it once on a door handle and learned my lesson.
Spraying WD-40 on trim. WD-40 darkens plastic briefly but the petroleum distillates dry the plastic out and accelerate cracking. It is great for freeing stuck nuts, terrible for trim.
Pressure washing too close. A pressure washer held six inches from textured trim can blow pieces of plastic off. Keep a 12-inch minimum distance and use a wide fan nozzle.
Using a single towel for paint and trim. Wax residue on a trim towel leaves white smears that take hours to buff out. Keep a dedicated stack.
Skipping protectant in winter. Road salt and calcium chloride stick to bare plastic. A sealed surface sheds brine far more easily than unsealed plastic.
Applying Armor All to hot trim in the sun. The dressing flashes too fast, streaks badly, and bakes onto the surface. Always work on cool trim in the shade.
FAQs
How to make plastic trim look new again?
Clean the trim with a dedicated plastic cleaner and a soft brush, then apply a trim restorer that contains pigment. For long-term results, follow with a ceramic trim sealant that blocks UV and locks the dark color in for up to a year.
How to protect plastic trim?
After cleaning, apply a water-based trim dressing for monthly maintenance or a ceramic trim sealant for year-long protection. Both create a UV-resistant barrier that prevents oxidation and keeps the pigment from breaking down.
Does olive oil restore black plastic trim?
Olive oil will darken plastic temporarily but goes rancid within days, attracts dust, and feeds bacterial growth. It does not restore the polymer or pigment and can make the trim look worse over time.
What should I use to clean the plastic trim on my car?
Use a dedicated plastic trim cleaner or a citrus-based all-purpose cleaner diluted 10:1. Apply with a microfiber cloth, agitate textured areas with a soft detailing brush, and rinse clean before applying any protectant.
Does WD-40 restore plastic trim?
WD-40 darkens plastic briefly but the petroleum distillates dry out the polymer and accelerate cracking and fading. It is not a suitable trim restorer and can shorten the lifespan of plastic components.
How long does trim restorer last?
A quality trim restorer dye lasts three to six months per application. A ceramic trim sealant layered on top can extend protection to twelve months or longer, depending on climate and car wash frequency.
Final Thoughts on Keeping Plastic Trim Looking New
Learning how to safely clean and protect unpainted plastic trim is less about fancy products and more about a consistent routine. Clean gently, restore pigment when needed, and seal against UV before the damage starts.
Pick one method from this guide, stick with it every few weeks, and your bumpers will still look factory-fresh when your neighbor’s have gone grey. If you have questions about a specific product or a stubborn piece of trim, drop a comment below and I will help you figure out the right approach.