
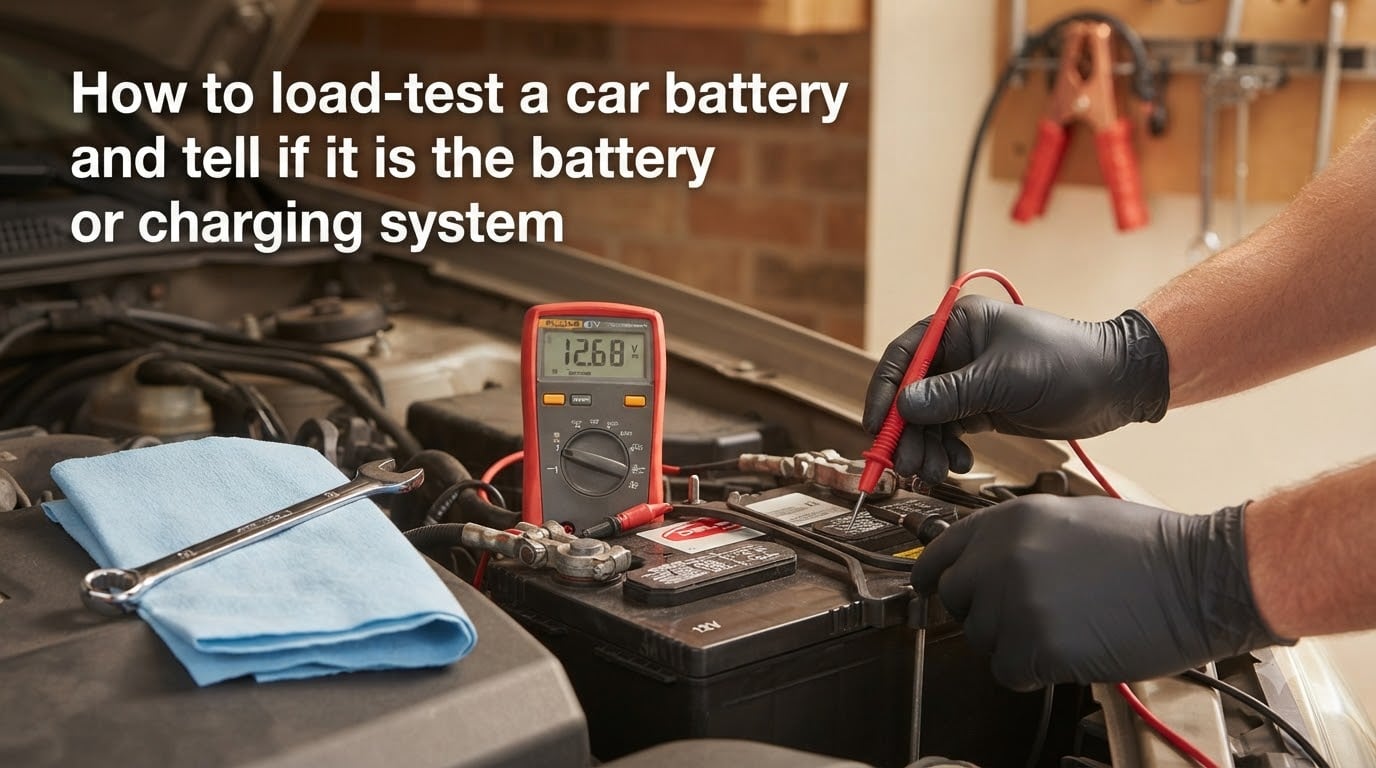
You turn the key and get nothing but a sluggish groan. Or maybe the engine cranks fine one morning and is completely dead the next. The first question every car owner faces is whether the battery is the problem or the charging system has failed. Getting this wrong means buying a battery you did not need, or worse, being stranded again next week because you replaced the wrong part.
Learning how to load-test a car battery and tell if it is the battery or charging system is one of the most useful diagnostic skills any vehicle owner can develop. The process is not complicated, but it does require understanding a few voltage numbers and knowing how to test each component separately. I have spent years diagnosing no-start conditions, and the same confusion comes up every time. People assume “dead car” equals “dead battery” and stop there.
This guide walks through the full diagnostic process from start to finish. You will learn what voltage readings actually mean, how to perform a proper load test with and without specialized tools, how to test your alternator, and how to work through a decision tree that narrows down the problem in minutes instead of guessing.
Table of Contents
Understanding Car Battery Basics: Voltage, CCA, and State of Charge
Before testing anything, you need to know what a healthy battery looks like. A fully charged 12-volt car battery at rest should read between 12.6 and 12.8 volts. That range represents what is called “state of charge” or SOC. Below 12.4 volts, the battery is partially discharged. Below 12.0 volts, it is significantly discharged and may struggle to start the engine.
Here is a quick voltage reference I use when diagnosing batteries:
12.6 to 12.8 volts: Fully charged, healthy state of charge.
12.4 to 12.5 volts: About 75% charged, acceptable but should be recharged soon.
12.2 to 12.3 volts: About 50% charged, borderline for reliable cold starts.
12.0 to 12.1 volts: About 25% charged, likely will not crank reliably.
Below 12.0 volts: Deeply discharged, needs immediate charging before testing.
One common mistake is reading voltage immediately after driving. The alternator pushes voltage up to 14+ volts while running, and that higher voltage lingers on the battery surface for a while. This is called “surface charge” and it gives you a falsely optimistic reading. To get an accurate open circuit voltage, either let the car sit for 4 to 6 hours after driving or turn on the headlights for 2 minutes with the engine off to bleed off that surface charge.
CCA, or Cold Cranking Amps, is the other number that matters. It tells you how much current the battery can deliver at 0 degrees Fahrenheit for 30 seconds while staying above 7.2 volts. A typical sedan battery has 500 to 700 CCA. You need to know this number because a proper load test applies a load equal to half the CCA rating.
Battery type also affects how failures show up. Traditional flooded lead-acid batteries tend to degrade gradually, giving you warning signs like slower cranking over weeks. AGM (Absorbent Glass Mat) batteries, which are common in newer vehicles with start-stop systems, can fail suddenly with almost no warning. Many drivers on the MechanicAdvice forums report their AGM battery worked fine one day and would not hold a charge the next, which is normal behavior for this type at end of life.
How to Load-Test a Car Battery Step by Step
Load testing is the most reliable way to determine if a battery is healthy or failing. A voltage test alone tells you the state of charge, but a load test tells you whether the battery can actually deliver power under demand. That is the difference between knowing the battery reads 12.6 volts and knowing it can still start your car in the cold.
What You Need
You have three options for load testing, and they range from most to least accurate:
Dedicated carbon pile load tester: Applies a precise controlled load. This is what professional shops use.
Digital multimeter: Measures voltage. You can simulate a load test by cranking the engine.
No tools at all: A manual headlight method that gives a rough indication.
Method 1: Load Testing With a Dedicated Load Tester
This is the gold standard. Here is the procedure step by step:
Step 1: Make sure the battery is at least 75% charged (12.4 volts or higher). A load test on a discharged battery will always fail and tells you nothing about the battery’s actual health. Charge it first if needed.
Step 2: Remove surface charge by turning on the headlights for 2 minutes with the engine off, then turn them off.
Step 3: Connect the load tester clamps directly to the battery terminals. Red to positive, black to negative. Make sure the connection is clean and tight. A poor connection is the number one cause of false test failures.
Step 4: Set the load to half the battery’s CCA rating. For a 600 CCA battery, that means a 300-amp load.
Step 5: Apply the load for exactly 15 seconds while watching the voltage reading on the tester.
Step 6: Read the voltage at the end of the 15 seconds. This is where the numbers matter.
Here is how to interpret the results:
Above 9.6 volts: The battery passed. It is healthy and can deliver cranking power.
9.0 to 9.6 volts: The battery is borderline. It may work in warm weather but could fail in cold conditions. Consider replacement soon.
Below 9.0 volts: The battery failed the load test. It needs replacement.
Temperature affects the pass threshold. At 70 degrees Fahrenheit, the cutoff is 9.6 volts. At 40 degrees, it drops to 9.4 volts. At 0 degrees, it is 8.5 volts. Most consumer testers assume around 70 degrees, so adjust your interpretation if testing in cold conditions.
Method 2: Load Testing With a Multimeter
If you do not own a dedicated load tester, you can use a multimeter to simulate a load test using the starter motor itself. This is the method most DIYers use because a multimeter is inexpensive and versatile.
Step 1: Set the multimeter to DC volts in the 20-volt range.
Step 2: Connect the red probe to the positive battery terminal and the black probe to the negative terminal with the engine off.
Step 3: Record the resting voltage. It should be above 12.4 volts. If it is lower, charge the battery first.
Step 4: Have someone crank the engine while you watch the multimeter. The voltage will drop during cranking. That is normal.
Step 5: Note the lowest voltage reading you see during cranking.
Interpret the cranking voltage drop the same way as a load test. If voltage stays above 9.6 volts while cranking, the battery is healthy. If it drops below 9.0 volts, the battery is weak. If the engine cranks at a good speed and voltage stays above 10 volts, the battery is in good shape.
One important note: if the engine does not crank at all, you cannot use this method. You would need a dedicated load tester or you need to investigate the starter and connections first.
Method 3: Manual Load Test Without Tools
You can do a rough load test with just your car’s headlights. It is not precise, but it can tell you whether the battery is clearly bad or probably fine when you have no tools available.
Step 1: Turn on the headlights with the engine off and the car in park.
Step 2: Observe the headlight brightness for 10 to 15 minutes.
Step 3: If the headlights dim significantly within a few minutes, the battery is weak and cannot sustain a load. If they stay bright for 10+ minutes, the battery has reasonable capacity.
Step 4: Try starting the car. If the headlights dim severely when you crank and the engine turns slowly, the battery is likely failing under load.
This method only catches obvious failures. A battery that passes the headlight test could still fail a proper load test, so use this as a quick screening tool only.
How to Test Your Car’s Charging System (Alternator)
If the battery passes its load test but you are still having starting or electrical problems, the charging system is your next suspect. The alternator is responsible for recharging the battery while the engine runs and powering all electrical systems. A failing alternator will slowly drain the battery until the car will not start.
The Running Voltage Test
This is the simplest alternator test and requires only a multimeter.
Step 1: Start the engine and let it idle.
Step 2: Set your multimeter to DC volts in the 20-volt range.
Step 3: Connect the red probe to the positive battery terminal and the black probe to the negative terminal.
Step 4: Read the voltage with the engine running.
A healthy charging system should produce between 13.8 and 14.4 volts at idle. This is higher than the battery’s 12.6-volt resting voltage because the alternator is actively charging. Read what the numbers mean:
13.8 to 14.4 volts: Charging system is working correctly.
13.0 to 13.7 volts: Borderline. The alternator may be weak or there could be a connection issue. Test under load.
Below 13.0 volts: The alternator is not charging. Could be the alternator, voltage regulator, wiring, or belt.
Above 14.8 volts: Overcharging. The voltage regulator has failed and will damage the battery if not addressed.
The Loaded Alternator Test
An alternator that produces good voltage at idle might still fail under heavy electrical load. This test checks whether it can keep up when everything is running.
Step 1: Start the engine and let it idle.
Step 2: Turn on the headlights, rear defroster, blower fan on high, and heated seats if equipped.
Step 3: With all accessories running, read the voltage at the battery terminals.
Step 4: Voltage should stay above 13.2 volts under full load. If it drops below 13.0 volts with everything turned on, the alternator is struggling to keep up and may need replacement.
The Voltage Drop Test
If your alternator tests fine but the battery keeps dying, you might have a voltage drop in the wiring between the alternator and battery. This test finds resistance in the charging circuit.
Step 1: Start the engine and turn on the headlights and blower motor to create electrical load.
Step 2: Set your multimeter to DC volts.
Step 3: Connect the red probe to the alternator output post (the large stud on the back of the alternator where the main wire connects) and the black probe to the positive battery terminal.
Step 4: Read the voltage. It should be less than 0.3 volts. Anything higher means there is excessive resistance in the wiring, usually from corrosion or a loose connection.
This test catches problems that the simple running voltage test misses. I have seen cases where the alternator was fine but a corroded cable was preventing the charge from reaching the battery.
Battery or Alternator? The Diagnostic Decision Tree
This is where most guides leave you hanging. They explain how to test each component but never connect the dots into a single diagnostic flow. Here is the decision tree I use to diagnose every no-start condition, built from years of real-world testing and forum research.
The Diagnostic Decision Tree
Follow this sequence from top to bottom. Stop at the first result that matches your situation:
Step 1: Test resting battery voltage (engine off, no surface charge).
If below 12.0 volts, charge the battery fully and retest. If it will not accept a charge, the battery is bad. Replace it.
If 12.4 to 12.8 volts, proceed to Step 2.
Step 2: Perform a load test on the battery.
If the battery fails the load test (drops below 9.6 volts at room temperature), the battery is bad. Replace it. Then verify the charging system is working with the new battery installed.
If the battery passes the load test, proceed to Step 3.
Step 3: Test the charging system (engine running).
If running voltage is below 13.0 volts, the charging system is not working. Proceed to Step 4 to narrow it down.
If running voltage is 13.8 to 14.4 volts, the charging system is healthy. If you are still having problems, the issue may be a parasitic drain, starter, or wiring. Proceed to Step 5.
If running voltage is above 14.8 volts, the voltage regulator has failed. Replace the alternator (the regulator is built in on most modern vehicles).
Step 4: Charging system failed. Isolate the cause.
Check the alternator belt for slipping or breakage. Check all connections at the alternator and battery for corrosion or looseness. Perform a voltage drop test on the charging wire. If belt and wiring are good, the alternator needs replacement.
Step 5: Both battery and alternator test fine. Look deeper.
Test for parasitic battery drain (something staying on when the car is off). Test the starter for excessive current draw. Check battery cables for internal corrosion. A cable that looks fine on the outside can be heavily corroded inside, causing voltage drop under load.
Battery vs Alternator: Symptom Comparison
Symptoms overlap, which is why testing matters. But patterns can point you in the right direction before you pick up a tool.
Symptoms pointing to the battery:
Car cranks slowly, especially in the morning.
Electrical accessories work but engine will not turn over fast enough.
Jump-starting gets the car running and it stays running fine.
Battery is more than 3 to 5 years old.
Voltage reads below 12.4 volts at rest after sitting overnight.
Symptoms pointing to the alternator or charging system:
Car starts fine after a jump but dies after a short drive.
Lights dim or brighten noticeably while driving.
Battery warning light or “check charging system” message appears on the dash.
Battery tests good but keeps going dead after a day or two.
Running voltage is below 13.5 volts with the engine on.
Symptoms that could be either:
Car will not start at all, no crank.
Clicking sound when turning the key.
Dashboard lights flicker.
Radio or infotainment system resets randomly.
Real-World Case Studies From Forums
I have tracked hundreds of diagnostic threads on MechanicAdvice and related communities. Three patterns repeat constantly.
Case 1: The misdiagnosis. A driver replaced their battery because the car would not start. One week later, same problem. The alternator was not charging, so the new battery drained just like the old one. Testing the charging system first would have caught this. Always test the alternator after replacing a battery, especially if the old battery failed prematurely.
Case 2: The sudden AGM failure. An AGM battery worked perfectly one day and was completely dead the next. No warning signs, no slow cranking. The owner assumed it was the alternator because the failure was so sudden. A load test confirmed the battery had failed internally. AGM batteries fail this way more often than flooded batteries.
Case 3: The cable that looked fine. A car passed both battery and alternator tests but still would not start reliably. The problem was a corroded positive battery cable. It looked clean on the outside but had green corrosion inside the insulation. A voltage drop test across the cable revealed 1.2 volts of resistance, which was stealing cranking power. Replacing the cable fixed it.
When to Replace the Battery vs Repair the Charging System?
Once you have identified the problem, the decision of what to do next depends on test results and context. Here is how I approach it.
Replace the Battery When
The battery fails the load test and is more than 3 years old. At this age, internal plate degradation is the likely cause, and replacement is the right call.
The battery fails the load test but the charging system tests fine. This confirms the battery itself is the problem.
The battery will not accept a charge at all. If a charger connected for several hours cannot bring it above 12.0 volts, a cell has likely shorted internally.
You see physical signs of failure: swollen case, cracked housing, heavy corrosion that returns after cleaning, or a rotten egg smell indicating internal damage.
Repair or Replace the Charging System When
Running voltage is below 13.0 volts and the battery tests fine. The alternator is not producing enough output.
The battery keeps dying after being charged and the car is driven regularly. This means the alternator is not replenishing what the starter and accessories use.
Running voltage is above 14.8 volts. Overcharging cooks the battery and will destroy a new one quickly if not fixed first.
Before replacing the alternator, always check the belt, wiring connections, and fuses. A slipping belt can cause low output that looks like alternator failure. A blown fusible link in the charging circuit can prevent output from reaching the battery. These are cheap fixes compared to an alternator replacement.
When to Seek Professional Diagnosis
If both the battery and alternator test within spec but the problem persists, the issue is likely a parasitic drain or a wiring problem that requires more advanced testing. A parasitic draw test involves measuring current flow with everything off and pulling fuses one at a time to isolate the circuit drawing power. Most parts stores will test your battery and charging system for free using professional equipment, which is a good way to confirm your home test results before spending money on parts.
FAQs
Does a battery need to be fully charged for a load test?
Yes. A battery should be at least 75% charged (12.4 volts or higher) before load testing. Testing a discharged battery will always produce a failing result because it cannot deliver adequate current, but this does not mean the battery is bad. Charge it fully first, then test.
How do I know if my car charging system is bad?
Start the engine and measure voltage at the battery terminals with a multimeter. A healthy charging system reads between 13.8 and 14.4 volts. If the reading is below 13.0 volts, the alternator is not charging the battery. If it is above 14.8 volts, the voltage regulator is overcharging and needs attention.
How to tell if a battery is bad with a load tester?
Connect the load tester, apply a load equal to half the battery’s CCA rating for 15 seconds, and read the voltage. If voltage stays above 9.6 volts at room temperature, the battery is good. If it drops below 9.0 volts, the battery has failed and needs replacement.
How do I manually load test a battery without a load tester?
Turn on the headlights with the engine off and watch them for 10 to 15 minutes. If they dim significantly within a few minutes, the battery is weak. Then try starting the car. If the headlights go very dim during cranking and the engine turns slowly, the battery likely cannot hold up under load.
Can a bad alternator destroy a new battery?
Yes. An alternator that overcharges (above 14.8 volts) will boil the electrolyte and damage the battery plates. An alternator that undercharges will leave the battery in a chronic state of partial discharge, which also shortens battery life. Always test the charging system before and after replacing a battery.
Why does my car start with a jump but die shortly after?
This is a classic sign of alternator failure. The jump provides enough power to start the engine, but once running, the alternator cannot maintain the charge or power the electrical systems. The car runs on whatever charge the battery had until it is depleted, then stalls. Test the charging system immediately.
Conclusion
Knowing how to load-test a car battery and tell if it is the battery or charging system saves you from buying parts you do not need. The process comes down to two tests: load test the battery first, then check charging voltage with the engine running. If the battery passes its load test and the alternator produces 13.8 to 14.4 volts, both are healthy and you need to look elsewhere for the problem.
Keep a multimeter in your car and bookmark the voltage thresholds from this guide. The next time your car struggles to start, you will know exactly what to test and what the numbers mean instead of guessing. That five minutes of testing can save you a tow bill and an unnecessary battery purchase.