
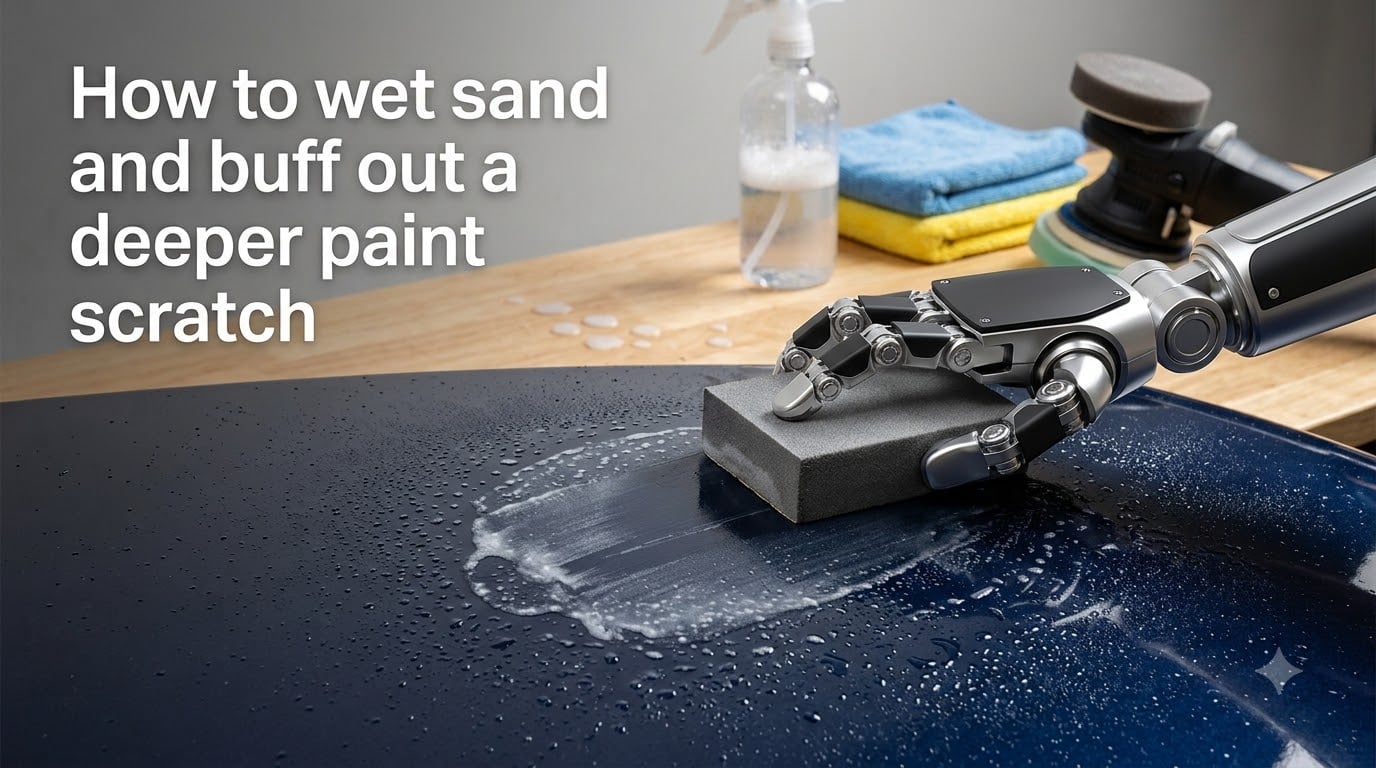
Learning how to wet sand and buff out a deeper paint scratch can save you hundreds of dollars in body shop bills. The process involves leveling the clear coat around the scratch with fine grit wet sandpaper, then compounding and polishing to bring back the gloss. When done right, the scratch disappears and your paint looks factory fresh.
The key is knowing whether your scratch is actually a candidate for wet sanding. Not every scratch can be fixed this way. If the damage has gone through the clear coat into the base coat or primer, wet sanding alone will not solve the problem. You need to diagnose the depth before touching sandpaper to your paint.
In this guide, I will walk you through the entire process from start to finish. We will cover scratch diagnosis, tool selection, the correct grit progression, step-by-step wet sanding technique, compounding, polishing, and final protection. I have spent years working on paint correction projects, and the method I share here is the same one I use on my own vehicles. By the end, you will know exactly how to wet sand and buff out a deeper paint scratch safely.
Table of Contents
Does Wet Sanding Remove Deep Scratches?
Yes, wet sanding removes scratches that are contained within the clear coat layer. It works by physically leveling the surrounding clear coat until the scratch is no longer visible against the surface. The sanding leaves behind fine marks that you then remove with compound and polish.
However, wet sanding cannot fix scratches that penetrate beyond the clear coat into the base coat or primer. The clear coat on most modern vehicles is only 1.5 to 2 mils thick. That is roughly the thickness of a piece of tape. Once the scratch goes deeper than that, you are looking at touch-up paint or a professional respray.
Think of wet sanding as the most aggressive form of paint correction. It removes material to create a level surface. The trade-off is risk: every pass of sandpaper removes clear coat you cannot add back. That is why diagnosis comes first and sandpaper comes last.
How to Tell If Your Scratch Is Too Deep
Before you pick up any sandpaper, you need to determine the depth of the scratch. This single step separates a successful repair from a costly mistake. The most reliable method detailers use is the fingernail test.
Run your fingernail across the scratch at a 90-degree angle. If your nail catches or drops into the groove, the scratch is moderate to deep. If your nail slides over it smoothly with zero catching, the scratch is shallow and may respond to compound alone without sanding.
Here is a five-level scratch severity guide to help you decide on the right approach:
Level 1: Micro-marring and swirl marks. These are surface-level marks in the clear coat. A light polish or finishing compound will remove them. No sanding needed.
Level 2: Light clear coat scratch. Your fingernail does not catch. A medium compound with a polishing pad usually eliminates these. Try polishing first before considering sandpaper.
Level 3: Moderate clear coat scratch. Your fingernail catches slightly. This is where wet sanding enters the conversation. Start with 3000 grit and proceed carefully.
Level 4: Deep clear coat scratch. Your fingernail catches firmly and the scratch may appear white or a different color than the surrounding paint. Wet sanding is possible but risky. Proceed only if the base coat color is still intact underneath.
Level 5: Through the clear coat. You can see primer or bare metal. Wet sanding will not fix this. You need touch-up paint, and possibly a professional repair.
A good flashlight helps here. Shine light at an angle across the scratch and look for reflections. If the scratch distorts the reflection but does not break it completely, you likely have a clear coat scratch that can be sanded.
When Wet Sanding Makes Sense (and When to Walk Away)?
Wet sanding makes sense when you have a Level 3 or Level 4 scratch that is fully contained within the clear coat. It also works well for isolated deeper scratches caused by keys, branches, or minor parking lot contact. The goal is to level the raised edges around the scratch so the surface becomes uniform.
You should avoid wet sanding in these situations:
If the scratch exposes base coat color that looks different from the surface. Once you sand into the color layer, the paint will look cloudy and dull permanently without repainting.
If the scratch is on a panel that has already been repainted or had previous body work. Aftermarket paint jobs often have thinner clear coat and burn through much faster than factory paint.
If you are working on matte or satin finishes. Wet sanding creates gloss, which will leave a permanent shiny patch on a matte surface. Matte paint requires specialized repair techniques.
If you are dealing with widespread scratching across a large area. Spot sanding is manageable. Sanding an entire panel by hand is a recipe for uneven results and clear coat failure.
The golden rule from experienced detailers: always try compounding first. If a compound and polishing pad remove 80 percent of the scratch visibility, you may not need to sand at all. Wet sanding is the last resort, not the first step.
Tools and Materials You Need to Wet Sand and Buff
Having the right tools makes the difference between a clean repair and a damaged panel. Here is what you need before you start.
Wet/dry sandpaper: You need automotive-grade wet/dry sandpaper in 1500, 2000, and 3000 grit. Some detailers also keep 5000 grit for finishing. Never use dry sandpaper or wood sandpaper on car paint.
Sanding block: A small foam or rubber sanding block is essential. It distributes pressure evenly and prevents your fingertips from digging grooves into the clear coat. Even a small pen-style sanding block works for localized scratches.
Soapy water in a spray bottle: Mix a few drops of dish soap or car wash soap into a spray bottle filled with water. The soap lubricates the sandpaper and prevents it from grabbing the paint.
Cutting compound: You need an aggressive compound to remove the sanding marks. A heavy-cut compound designed for 1500-3000 grit scratches is what you want.
Finishing polish: A fine polish removes the micro-haze left by the compound and restores full gloss.
Dual action polisher: A DA polisher makes compounding and polishing far more effective than doing it by hand. If you do not own one, a random orbital polisher works too.
Buffing pads: You need at least two pads: an orange or yellow cutting pad for compounding and a white or black finishing pad for polishing.
Microfiber towels: Keep several clean microfiber towels on hand for wiping compound, polish, and water between steps.
Masking tape: Automotive masking tape protects trim, rubber seals, and adjacent panels from compound splatter and sanding damage.
Good lighting: A work light or LED inspection light lets you see the scratch clearly and monitor your progress as you sand.
How to Wet Sand and Buff Out a Deeper Paint Scratch: Step by Step?
This is the core process. Follow each step in order and resist the urge to rush. The entire procedure typically takes 45 to 90 minutes for a single scratch, depending on severity.
Step 1: Wash and decontaminate the area. Wash the panel thoroughly with car wash soap. Any dirt or grit left on the surface will get trapped under your sandpaper and create deeper scratches. Use a clay bar on the immediate area if it feels rough. Dry completely with a microfiber towel.
Step 2: Mask off the surrounding area. Apply masking tape around the work zone, leaving about 2 to 3 inches of clearance around the scratch. This protects adjacent paint and trim from accidental sanding contact. Press the tape edges down firmly.
Step 3: Start wet sanding with the correct grit. For most deeper clear coat scratches, begin with 3000 grit. Soak the sandpaper in your soapy water for 2 to 3 minutes first. Wrap the sandpaper around your sanding block. Spray the area generously with soapy water. Sand using light pressure in straight lines or a cross-hatch pattern, never in circles.
Step 4: Check progress frequently. After every 10 to 15 seconds of sanding, wipe the area with a microfiber towel and inspect. The scratch will start to look wider and more uniform rather than deep and sharp. The sanded area will appear cloudy or milky. This is normal. Stop sanding when the scratch is no longer visible against the reflected light.
Step 5: Switch grits if needed. If 3000 grit is not cutting it, step up to 2000 grit. Sand carefully, then return to 3000 grit to refine the marks. If the scratch is very deep and 2000 grit is insufficient, you can go to 1500 grit. Always finish your sanding with the finest grit possible, ideally 3000 or higher, to minimize compounding work.
Step 6: Compound the sanded area. Apply a dime-sized amount of cutting compound to your buffing pad. Work the compound into the sanded area using your DA polisher at a low speed setting (1 or 2) to spread it, then increase to speed 4 or 5. Use overlapping passes for about 30 to 60 seconds. The compound removes the sanding haze and begins restoring clarity. Wipe clean and inspect under light.
Step 7: Polish to restore full gloss. Switch to a clean finishing pad and apply finishing polish. Work the polish at medium speed for 30 to 60 seconds using overlapping passes. This step removes the micro-haze from compounding and brings back the factory shine. Wipe clean with a fresh microfiber towel.
Step 8: Apply wax or sealant. The freshly corrected paint is now unprotected. Apply a quality carnauba wax, synthetic sealant, or ceramic coating to lock in the finish and provide UV protection.
Grit Progression: Which Sandpaper to Use and When?
Choosing the right grit is one of the most common sources of confusion. The grit number refers to the particle size in the sandpaper. Lower numbers mean more aggressive cutting. Higher numbers mean finer refinement.
1500 grit is the most aggressive grit you should consider for wet sanding car paint. Reserve this for deep Level 4 scratches where 2000 grit is not making enough progress. You must always follow 1500 grit with 2000 and then 3000 grit before compounding. Jumping from 1500 directly to compound leaves deep sanding marks that are extremely difficult to remove.
2000 grit is a solid middle ground for moderate to deep clear coat scratches. It removes material faster than 3000 grit but still leaves manageable sanding marks. Follow up with 3000 grit to refine before compounding.
3000 grit is the sweet spot for most DIY wet sanding. Detailers on forums consistently recommend 2500 or 3000 grit as the starting point for beginners. It removes clear coat scratches effectively while leaving fine enough marks that a compound can clean up without excessive work.
5000 grit is a finishing grit that minimizes compounding time. If you have it, use it as your final sanding step. The marks it leaves are so fine that some compounds can remove them with minimal effort.
The critical rule: never skip more than one grit level. If you start at 1500, do 2000 then 3000 before compounding. Each grit removes the scratches left by the previous one. Skipping grits leaves marks that compound alone may not fully eliminate, which is a pain point many forum users report.
Hand Polishing vs Machine Polishing After Wet Sanding
You can compound and polish by hand or with a machine. The choice affects both your results and the time investment required.
Hand polishing works for small areas and light sanding marks. If you only sanded a coin-sized area with 3000 grit, hand compounding with a microfiber applicator can get the job done. The downside is that hand polishing takes significantly longer and may not fully remove sanding haze from 1500 or 2000 grit marks. Expect to spend 5 to 10 minutes of vigorous rubbing for a small area.
Machine polishing with a dual action polisher is strongly recommended after wet sanding. A DA polisher delivers consistent speed and pressure that is nearly impossible to replicate by hand. It cuts through sanding marks faster, produces a more uniform finish, and reduces the risk of leaving haze. A typical machine compounding pass takes 30 to 60 seconds versus several minutes by hand.
If you are sanding anything larger than a few inches, a machine polisher is not optional. It is the difference between a professional-looking result and a cloudy patch that never fully clears up. Rotary polishers work too, but they require more skill and carry a higher risk of burning through paint. Stick with a DA polisher if you are newer to paint correction.
Common Mistakes and How to Avoid Them
Most wet sanding disasters come from a handful of predictable mistakes. Here are the ones I see most often, drawn from forum discussions and personal experience.
Sanding without a block. Using your fingertip directly on the sandpaper concentrates pressure in a tiny area. This creates uneven cutting and can dig grooves into the clear coat that are deeper than the original scratch. Always use a sanding block, even for small repairs.
Not using enough water. The soapy water is your lubricant. If the surface dries out while sanding, the sandpaper grabs and creates deep, random scratches. Spray the area continuously and keep the surface wet at all times.
Burning through the clear coat. This is the fear every detailer has. It happens when you sand too aggressively in one spot for too long. Prevent it by checking your progress every 10 to 15 seconds, keeping the sandpaper moving, and never lingering in one area. Factory clear coat is thin. Respect it.
Sanding haze that will not polish out. Forum users frequently report this issue. The cause is almost always improper grit progression. If you sanded with 1500 grit and jumped straight to polishing without compounding, those deep sanding marks will not come out. Go back with compound and a cutting pad. If that does not work, you may need to re-sand with a finer grit.
Using circular motions. Sand in straight lines or a controlled cross-hatch pattern. Circular sanding creates visible swirl marks in the clear coat that are harder to compound out and more noticeable in sunlight.
Rushing the compounding step. Many people give up too early on compounding. The first 20 seconds may look like nothing is happening. Keep going with consistent pressure and overlapping passes. The haze will start to clear after 30 to 45 seconds of proper machine compounding.
What to Do If You Sand Through the Clear Coat
Sanding through the clear coat happens when you remove too much material. The first sign is a change in appearance. The area will look cloudy, dull, or a slightly different shade than the surrounding paint. In advanced cases, you may see the color layer or primer underneath.
Stop sanding immediately if you notice any of these signs. You cannot undo clear coat removal. But you can manage the damage.
For minor burn-throughs where only a small area is affected, touch-up paint is the most practical fix. Clean the area thoroughly, apply a thin layer of clear coat touch-up using a fine brush or applicator, and let it cure. You can then lightly level the touch-up with 3000 grit and polish. This will not be invisible, but it will protect the base coat from moisture and UV damage.
For larger burn-throughs or areas where the base coat is exposed, you need professional help. A body shop can spot-paint the affected area and blend it into the surrounding panel. This costs more than DIY, but it is the only way to achieve a seamless result when the damage is significant.
The best strategy is prevention. Sand conservatively, check often, and remember that you can always sand more but you cannot add clear coat back.
Protecting Your Paint After Correction
Once you have sanded, compounded, and polished the scratch, the corrected area is fresh and vulnerable. Wet sanding removes any existing wax or sealant from the work zone. The newly exposed clear coat needs protection immediately.
Apply a protective layer right after the final polish step. Your options include carnauba wax for a warm, deep shine, synthetic sealants for longer-lasting protection, or ceramic coatings for the most durable defense. Any of these will work for a localized repair.
If your car already has a ceramic coating and you sanded through it in the repair area, you will need to reapply coating to that spot. The surrounding coated area remains intact, but the sanded zone is now bare clear coat.
Regular maintenance matters too. Wash the corrected area with pH-neutral car wash soap, avoid automatic car washes with brushes, and reapply wax or sealant every few months. The corrected clear coat is slightly thinner than factory spec, so ongoing protection keeps it safe from UV degradation and future scratches.
FAQs
Does wet sanding remove deep scratches?
Wet sanding removes scratches that are contained within the clear coat layer. It levels the surrounding clear coat until the scratch blends into the surface. If the scratch penetrates through the clear coat into the base coat or primer, wet sanding alone cannot fix it.
Can a deep scratch be buffed out?
A deep scratch can be buffed out only if it is within the clear coat. Use the fingernail test: if your nail catches firmly but the base coat color is still intact underneath, compounding and polishing after wet sanding can remove it. If you can see primer or bare metal, buffing will not work and you need touch-up paint.
How to sand down a deep scratch?
Start with 3000 grit wet sandpaper wrapped around a sanding block, soaked in soapy water. Sand the area in straight lines with light pressure, checking every 10 to 15 seconds. If 3000 grit is not enough, step up to 2000 grit, then refine with 3000 grit. Always finish with the finest grit before compounding.
How to fix a deep scratch in your paint?
First diagnose the depth using the fingernail test. For clear coat scratches, wet sand with 3000 grit, compound with a cutting pad, polish with a finishing pad, and apply wax or sealant. For scratches through the clear coat, clean the area, apply touch-up paint, let it cure, then level and polish. For exposed metal, consult a professional body shop.
What grit sandpaper should I use for wet sanding a car scratch?
Start with 3000 grit for most clear coat scratches. Use 2000 grit for deeper scratches where 3000 grit is not making enough progress. Reserve 1500 grit for the deepest clear coat scratches. Always progress from coarser to finer grits, and finish with 3000 grit or higher before compounding to minimize polishing work.
Is wet sanding safe for beginners?
Wet sanding is safe for beginners if you start with 3000 grit, use a sanding block, keep the surface wet, and check your progress frequently. The main risk is burning through the clear coat, which happens from sanding too long in one spot. Start conservatively and always try compounding first before reaching for sandpaper.
Wrapping Up
Learning how to wet sand and buff out a deeper paint scratch is a skill that pays for itself the first time you use it. The process comes down to five phases: diagnose the scratch depth, gather the right grits and tools, sand carefully with a block and plenty of water, compound and polish to restore gloss, and protect the corrected area.
The most important takeaway is to start conservative. Try compounding before sanding. Begin with 3000 grit before reaching for 1500. Check your progress every few seconds. You can always remove more clear coat, but you cannot add it back.
If your scratch passes the fingernail test and the base coat color is still visible underneath, you have a strong candidate for DIY wet sanding. Gather your materials, set aside an hour, and work patiently. The satisfaction of watching a scratch vanish under your polish is worth the effort.