
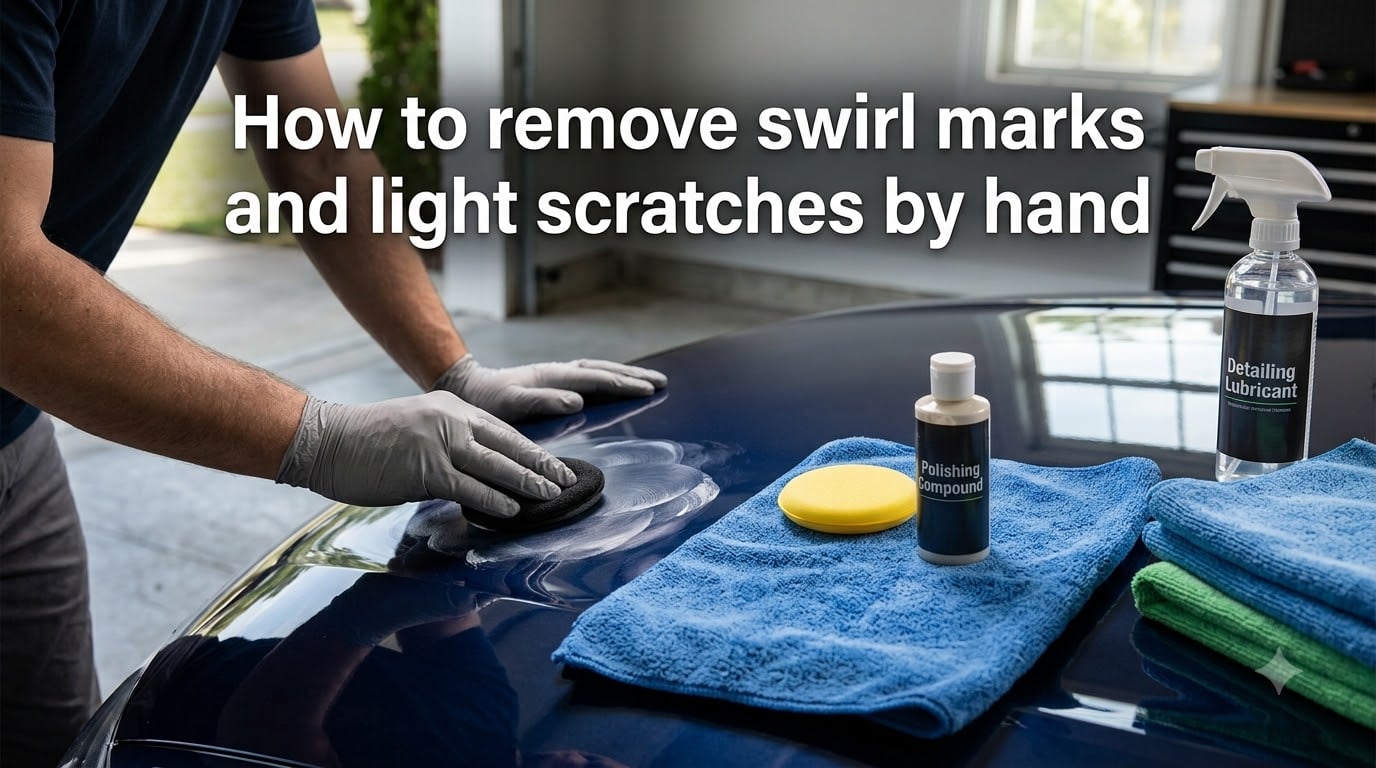
Swirl marks and light scratches are the most common paint defects on any daily-driven car. The good news is that you can remove swirl marks by hand without investing in a machine polisher, and the process takes only a few hours with no special skills required. Our team has hand-corrected dozens of vehicles over the years, and in this guide we walk you through exactly how to bring back that glossy, mirror-like finish using simple tools and a bit of elbow grease.
Table of Contents
What Are Swirl Marks and Light Scratches?
Swirl marks are fine, web-like scratches that sit in the top layer of your car’s paint, the clear coat. They form when small particles of dirt, dust, or grit get dragged across the surface during washing, drying, or even wiping off dust. Light scratches are slightly deeper but still confined to the clear coat in most cases.
Modern cars have three paint layers: a primer, the color coat (base coat), and a transparent clear coat on top. The clear coat is usually 30 to 50 microns thick and exists to protect the color from UV rays and minor abrasion. Because swirl marks live in this top layer, they can usually be leveled out with abrasive compounds and polishes without repainting the panel.
Swirl marks are most visible on dark colors like black, dark blue, and dark red because the contrast against the reflection is sharper. They appear as spider webs or circular patterns under direct sunlight or street lighting.
The Fingernail Test: Identifying Scratch Depth
Before you start polishing, you need to know whether a scratch is actually a swirl mark or something deeper. The fingernail test is a 30-second check that anyone can do at home and it tells you instantly whether hand polishing will fix the issue.
Run your fingernail across the scratch at a 90-degree angle. If your nail glides over the scratch without catching, it is in the clear coat and can be removed by hand. If your nail catches or you can feel a definite groove, the scratch has gone through the clear coat into the color layer, and hand polishing will not fully fix it. In that case, you would need wet sanding, a touch-up paint pen, or a professional detailer.
This single test saves you from wasting hours working on a scratch that was never going to budge. Test several spots across the panel because scratch depth can vary.
Supplies You Will Need
Gather everything before you start so you are not chasing tools mid-job. Here is the kit we recommend for hand swirl removal:
Two buckets with grit guards (for the two-bucket wash method)
Car wash soap (pH-neutral)
Clay bar or clay mitt with detailing spray lubricant
Light swirl remover or finishing polish (for mild defects)
Compound (optional, for slightly deeper defects)
Microfiber applicator pad or foam applicator pad
Several clean microfiber towels (short-pile, edgeless if possible)
Isopropyl alcohol or paint prep spray (for wiping down after polishing)
Paint sealant, carnauba wax, or ceramic spray (for protection)
Park in a shaded area or work in a garage. Direct sunlight will cause products to flash dry too quickly and make it harder to see your progress.
How to Remove Swirl Marks by Hand: Step-by-Step Process?
Follow these five steps in order. Do not skip the prep work, it is what separates a flawless finish from a patchy one.
Step 1: Wash the Car Properly
Use the two-bucket method: one bucket for soapy water, one for rinsing your wash mitt. Wash from the roof down so dirt falls away from cleaner panels. Dry with a clean microfiber drying towel using a patting motion rather than dragging.
Step 2: Clay Bar the Surface
Spray a 2 x 2 foot section with clay lubricant and gently glide the clay bar across the paint. You will feel it pick up embedded contaminants that washing alone cannot remove. When the clay glides smoothly, that section is done. Clay removes the bonded contamination so your polish can make full contact with the clear coat.
Step 3: Apply Polish to Your Applicator
Put four to five small drops of polish on a microfiber or foam applicator pad. Work in a 2 x 2 foot area, about the size of a dinner plate. Less product is more, you can always add more.
Step 4: Work the Polish In
Use straight back-and-forth motions first, then follow with a crosshatch pattern. Apply moderate pressure and work the product for 45 to 60 seconds per section. You will see the polish turn from milky to slightly translucent as the abrasives break down. Back-and-forth motion is preferred over circular because circular motions actually create the swirls you are trying to remove.
Step 5: Wipe Off and Inspect
Buff the residue off with a clean microfiber towel, then inspect under direct light. If swirls remain, repeat the process for a second pass. If the surface is clear, move to the next 2 x 2 foot section and repeat until the whole panel is done. Finish the car panel by panel.
Compound vs Polish: Which Should You Use?
Compound and polish are both abrasive products, but they cut at different levels. A compound has larger, more aggressive abrasives designed to remove deeper defects like oxidation, sanding marks, and heavier scratches. A polish uses finer abrasives to refine the finish after compounding or to remove very light swirl marks on its own.
Start with a finishing polish for mild swirls. If after two passes you still see the defects, step up to a light compound, then follow with a polish to restore gloss. Using only a compound for light defects often leaves hazing that then requires an extra polishing step anyway.
Common Mistakes to Avoid
Even careful DIYers make these errors. Here are the ones we see most often:
Using WD-40 as a scratch remover. WD-40 fills scratches with oil and makes them disappear temporarily, but it washes off in the first rain and offers no actual correction. It can also interfere with your polish bonding properly.
Polishing in direct sunlight. Heat causes the polish to flash dry, leaving streaks and making it almost impossible to work in.
Using circular motions. Circular motions create the exact pattern you are trying to remove. Always use straight back-and-forth and crosshatch motions.
Skipping the clay bar. Polishing over bonded contamination grinds particles into the clear coat and causes more scratches.
Using a dirty microfiber towel. A single grain of dirt trapped in your towel will recreate the swirls you just removed.
Applying too much pressure. Moderate pressure with the product doing the work is the right approach. Excessive pressure does not make it faster and risks burning through the clear coat.
Protect Your Paint After Correction
Once your paint is swirl-free, you need to seal it or the defects will return quickly. Wipe each panel down with an isopropyl alcohol panel wipe to remove any leftover polishing oils, then apply your protection of choice.
Carnauba wax gives a warm glow and lasts 4 to 6 weeks. A paint sealant lasts 4 to 6 months and offers more durability. A ceramic coating or ceramic spray sealant lasts 6 months to several years depending on the product, with the strongest hydrophobic properties. For a freshly corrected daily driver, a ceramic spray is the easiest balance of durability and ease of application.
How Often Should You Correct Paint by Hand?
For a daily-driven car, a full hand correction once every 12 to 18 months is plenty. Because every polishing step removes a thin layer of clear coat, you do not want to do it more often than necessary. In between full corrections, you can use a one-step polish or a swirl remover detail spray during your quarterly maintenance to keep the finish looking sharp without removing measurable clear coat.
Hand polishing is more labor-intensive than machine polishing, but it is also harder to damage the paint with. Plan on 3 to 5 hours for a full sedan in your driveway, and your arms will feel it. The result, a swirl-free finish that looks like glass, is worth every minute.
FAQs
Can you get rid of swirl marks by hand?
Yes. Most swirl marks live in the clear coat and can be removed by hand using a finishing polish, a microfiber applicator, and proper back-and-forth technique. Expect to spend 3 to 5 hours on a full sedan.
How do you remove light swirl marks?
Wash and clay the car first, then apply a finishing polish to a microfiber applicator and work it in 2 x 2 foot sections using straight back-and-forth motions for 45 to 60 seconds. Wipe off the residue and inspect. Repeat as needed, then seal the paint.
Does WD-40 really remove scratches?
No. WD-40 only fills the scratch with oil so it disappears temporarily. It washes off in the first rain and does not correct the defect. Use a dedicated swirl remover or polish for actual paint correction.
Can swirl marks be polished out?
Yes, in most cases. Light to moderate swirl marks polish out easily with a finishing polish. Very deep swirls that have gone through the clear coat into the color layer cannot be polished out and need professional repair.
Final Thoughts
Knowing how to remove swirl marks by hand gives you a skill that pays off every time you wash your car. Start with the fingernail test to be sure your scratches are clear-coat level, work in small sections with a finishing polish, and seal the paint when you finish. Skip the WD-40 shortcut and resist the urge to do it in direct sun. With a Saturday afternoon and a clean microfiber towel, you can make any daily driver look like it just rolled out of the showroom in 2026.