
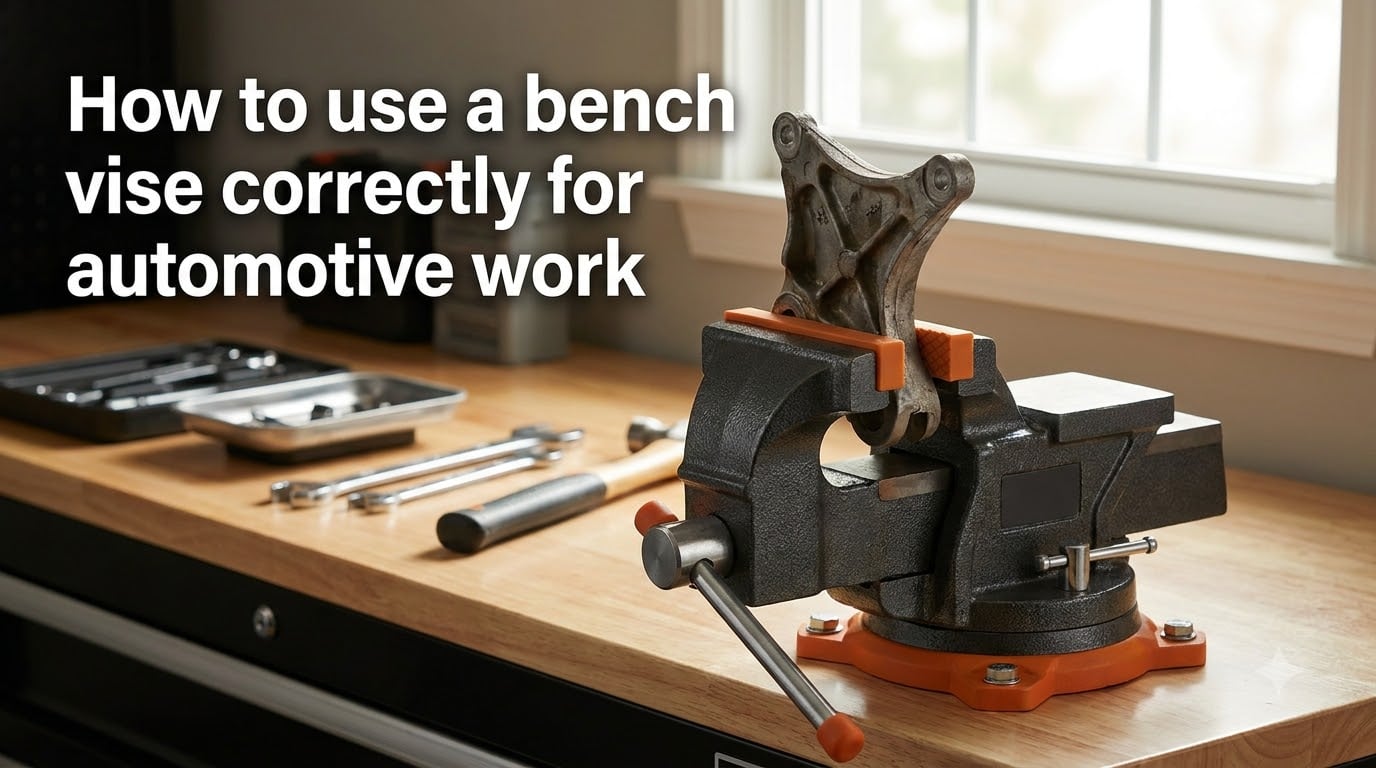
If you have ever tried to hold a rusted suspension bracket with one hand while filing a burr off it with the other, you already know why a bench vise is the unsung hero of any garage. That stubborn brake caliper bolt, the bent shift linkage, the fuel line fitting that refuses to budge — they all become manageable the moment you clamp them down properly. Yet most DIY mechanics treat their vise like a simple clamp instead of the precision tool it actually is.
In this guide, I will walk you through how to use a bench vise correctly for automotive work, covering everything from basic operation to holding polished engine parts without scratching them. Whether you are rebuilding a carburetor or bending a custom bracket, these techniques will save you time, frustration, and damaged parts.
The automotive angle matters because car parts come with their own set of challenges. Chrome-plated trim, aluminum engine housings, painted brackets, and braided fuel lines all require different clamping strategies. Generic vise tutorials do not cover these scenarios. I will, drawing on real-world repair experience and insights from mechanic communities.
Table of Contents
What Is a Bench Vise?
A bench vise is a mechanical clamping device bolted to a work surface, consisting of a fixed jaw and a movable jaw operated by a lead screw. Turning the handle rotates the screw, which slides the movable jaw toward the fixed jaw to grip a workpiece with significant clamping force. Most automotive vises also include a swivel base for rotation and an anvil surface for hammer work.
For automotive work, a bench vise becomes your third hand. It holds parts steady so you can use both hands for cutting, drilling, filing, or threading. The mechanical advantage of the lead screw means a simple turn of the handle generates hundreds of pounds of clamping pressure — enough to hold a transmission housing rock-solid while you work on it.
Key components you should know include the fixed jaw (the stationary back jaw), the movable jaw (the front jaw that slides), the lead screw (the threaded rod that drives the jaw), the swivel base (allows rotation), and the anvil (the flat steel surface behind the jaws for hammering). Understanding these parts helps you use the tool correctly and diagnose problems when they arise.
How to Use a Bench Vise Correctly for Automotive Work
Operating a bench vise is straightforward once you understand the mechanics. Turn the handle counterclockwise (to the left) to open the jaws, and clockwise (to the right) to close them. The lead screw converts your rotational force into linear clamping pressure, so each full turn moves the movable jaw a fraction of an inch.
Here is the step-by-step process I follow for every automotive part I clamp:
Step 1: Inspect the part and determine the correct jaw surface to use. Chrome, aluminum, or painted parts need soft jaws. Bare steel brackets can go directly against serrated jaws.
Step 2: Open the jaws wide enough to accept the part with room to spare. Position the workpiece so it sits centered between the jaws — off-center clamping reduces grip and can damage both the part and the vise.
Step 3: Turn the handle clockwise to close the jaws until they just contact the workpiece. Make sure the part is seated flat and not tilted.
Step 4: Continue tightening with moderate force. For most automotive parts, a firm hand-tight grip is sufficient. You should not need to strain or use a cheater bar on the handle.
Step 5: Test the grip by trying to move the part by hand. If it shifts, tighten a quarter turn more and recheck. If it holds firm, you are ready to work.
Step 6: When finished, turn the handle counterclockwise to release. Back the jaws off fully so the next part drops in cleanly without catching on the jaw faces.
One automotive-specific tip: when clamping irregular parts like steering knuckles or differential covers, use wood blocks or aluminum soft jaws as shims to create a flat clamping surface. This distributes pressure evenly and prevents the part from launching out of the vise when you apply force.
Mounting Your Bench Vise on a Garage Workbench
The best position for a bench vise is at the front-left corner of your workbench, mounted so the jaws sit flush with or slightly beyond the bench edge. This gives you clearance to work on long parts like exhaust tubing or control arms without the bench getting in the way. Left-handed mechanics may prefer the front-right corner.
Mounting hardware is where most installations fail. Forum mechanics consistently recommend using grade 8 bolts, not whatever hardware-store bolts happen to fit. The vise will experience significant force during automotive work, especially during hammering and bending operations. Undersized or soft bolts will stretch, loosen, and eventually cause the vise to wobble.
For a permanent garage setup, here is what I recommend: use four bolts through the swivel base into the workbench top, with washers and lock nuts on the underside. If your bench is wood, add a steel plate on the bottom side to prevent the bolts from pulling through the grain over time.
The swivel base lets you rotate the vise 360 degrees, which is invaluable for automotive work. When you are filing a complex bracket, rotate the vise so you can attack the workpiece from the most comfortable angle. When you are bending metal, position the vise so the bend direction aligns with your strongest pulling motion.
If you plan to do heavy hammering — like straightening a bent tie rod or driving out a stuck bushing — bolt the workbench itself to the wall or floor. A bench that walks across the garage under hammer blows is dangerous and makes precision work impossible.
Choosing the Right Jaw Type for Automotive Tasks
The jaws are where the vise meets your parts, and choosing the wrong type is the number one cause of damaged automotive components. Serrated steel jaws, soft jaws, pipe jaws, and V-jaws each serve a specific purpose.
Serrated Steel Jaws
These are the standard jaws that come on most vises. The cross-hatch serrations bite into metal to prevent slipping. Use them for bare steel parts like brackets, bolts, and unfinished stock. Never use serrated jaws on chrome, aluminum, painted surfaces, or any part where surface finish matters. The serrations will leave permanent marks.
Soft Jaws for Polished Engine Parts
Soft jaws are the secret weapon for automotive work. Made from aluminum, copper, lead, nylon, or even wood, they slip over the serrated jaws to protect delicate surfaces. Every mechanic community I have participated in recommends keeping multiple sets on hand.
For chrome-plated trim pieces, polished valve covers, and anodized aluminum components, copper or aluminum soft jaws are ideal. They conform slightly to the part surface and distribute clamping pressure without marring. For really delicate work, you can even use leather or thick cardboard as a jaw liner.
You can also make custom soft jaws from hardwood. Cut a V-groove into a pair of maple blocks and you have a dedicated cradle for holding round parts like shock absorber shafts or polished exhaust tips. Mechanics on garage forums regularly share DIY jaw designs for specific automotive tasks.
Pipe Jaws for Round Stock and Fuel Lines
Many automotive vises come with built-in pipe jaws — a V-shaped groove in the center of the jaw face designed to grip round material. These are perfect for holding fuel lines, brake lines, exhaust tubing, and threaded pipe during cutting or threading operations.
The V-groove contacts round stock at two points along its length, providing far better grip than flat jaws ever could. When clamping brake line for flaring, pipe jaws hold the tubing concentrically so your flare tool produces a clean, even flare.
V-Jaws for Angled Stock
Some vises feature V-jaws that combine a flat surface with a V-groove, giving you versatility for both flat and round parts. If your vise does not have them, you can create the same effect by placing a V-block on the fixed jaw before clamping angled or irregular automotive castings.
Automotive-Specific Vise Applications
This is where generic vise guides fall short. Automotive parts present unique challenges — irregular shapes, delicate finishes, mixed materials, and tight tolerances. Here is how to handle the most common garage scenarios.
Holding Engine Parts for Cleaning and Machining
Engine components like cylinder heads, intake manifolds, and water pump housings often need to be held securely for cleaning, gasket scraping, or light machining. These parts are typically cast aluminum or cast iron with machined mating surfaces that must stay pristine.
I always use aluminum soft jaws when clamping engine castings. Position the part so the clamping force goes through a non-critical area — a mounting ear, a thick casting wall, or a boss designed for a bolt. Never clamp across a machined gasket surface, even with soft jaws, because warping that surface means a leaking gasket later.
For degreasing and cleaning tasks, position the vise at the edge of the bench and rotate the swivel base so the part hangs over a drain pan. This keeps solvent and grime off your bench and lets you work from multiple angles without repositioning the part.
Bending Brackets and Metal Stock
Custom bracket fabrication is one of the most common automotive vise tasks. Whether you are making a custom transmission mount or bending a new clutch linkage rod, the vise is your bending fixture.
For clean bends in flat stock, clamp the material vertically with the bend line exactly at the top edge of the jaws. The jaw face becomes your bend edge. Use a dead-blow mallet or a wrench gripping the protruding end to make the bend. For tighter radius bends, use a piece of round stock clamped alongside the flat material as a mandrel.
The key insight from Popular Mechanics’ coverage of vise techniques: mark the center of your bend line on the workpiece and align it precisely with the jaw edge. Even a quarter-inch of misalignment produces a noticeable crooked bend.
For round stock like throttle cable brackets or shift linkage, use pipe jaws to hold the material and a bending bar or large wrench to make the bend. Always bend slowly and check the angle frequently — metal work-hardens as it bends, and over-bending then straightening back weakens the part.
Working with Fuel Lines and Brake Lines
Fuel and brake lines require careful handling because kinking or crushing them means a replacement. Clamp these only in pipe jaws or between soft wooden blocks shaped with a matching groove.
When flaring brake lines, the vise holds the line while your flare tool does the work. Position the line so exactly the right amount protrudes above the jaws for the flare type you are making. A depth gauge or even a small piece of tubing cut to the right length helps you get this right every time.
For cutting fuel lines, clamp the line in the pipe jaws at the cut location and use a tubing cutter rather than a hacksaw. The cutter produces a clean, square cut that seals properly when you install the fitting. A hacksaw leaves burrs that can restrict flow or cause leaks.
Using the Anvil for Light Hammer Work
The flat steel surface behind the jaws is the anvil, and it is designed for light hammer work. Use it for straightening small brackets, peening over rivet heads, or shaping small sheet metal patches.
Never use the jaws themselves as a hammering surface. The jaws are hardened but brittle, and hammering on them can chip or shatter the steel. The anvil face is specifically heat-treated to absorb hammer impacts.
For automotive work, the anvil is perfect for straightening bent thin brackets — the kind you find holding wiring harnesses or trim pieces. Lay the bracket flat on the anvil face and tap gently with a ball-peen hammer, checking your progress frequently. A straight bracket saves you the cost and time of fabricating a replacement.
Bench Vise Safety Tips
Safety with a bench vise comes down to respect for the forces involved. That lead screw generates enormous pressure, and a part that slips free under load becomes a projectile.
Always wear safety glasses when working with a vise. Filing, grinding, and cutting operations throw metal chips. A chip in the eye ends your project and potentially your sight. This is the single most repeated safety advice across every forum and professional resource.
Never use a bench vise as a press. Vises are designed for clamping, not for pressing bearings or bushings. The lead screw can generate enough force to crack the vise body or shatter the workpiece. Use a hydraulic press for pressing operations.
Never use a vise as a spreader. Some mechanics try to open the jaws in reverse to separate seized parts. Vise bodies are strong in compression (clamping) but weak in tension (spreading). Spreading can crack the body and destroy the tool.
Do not use a cheater bar on the handle. If you need a pipe extension to tighten the vise, you are exceeding its design capacity. Over-tightening crushes soft parts, distorts thin-walled tubing, and can damage the lead screw threads.
When clamping heavy parts, position them low in the jaws so they cannot tip or pivot. A heavy steering knuckle clamped at the top of the jaws can lever itself free when you apply lateral force. Seat it deep, tighten firmly, and test before committing to full-force work.
Finally, never strike the handle with a hammer to tighten the jaws. This is a common shortcut that damages the lead screw, bends the handle, and can cause the dynamic jaw to seize. Hand-tighten only.
Common Mistakes to Avoid
Even experienced mechanics develop bad habits. Here are the mistakes I see most often in garage forums and in person:
Over-tightening: Cranking the handle with full body force crushes aluminum housings, ovalizes tubing, and cracks castings. For most automotive parts, a firm hand-tight grip is more than enough. If the part slips, the issue is usually jaw surface or positioning, not clamping force.
Serrated jaws on soft materials: This is the leading cause of cosmetic damage. Those cross-hatch marks on your polished valve cover? Serrated jaws. Always keep a set of soft jaws mounted and ready.
Ignoring vise wobble: A loose vise is dangerous. If the swivel base shifts during use, the workpiece can twist free. Check mounting bolts monthly and tighten as needed. Loctite on the bolt threads prevents loosening from vibration.
Working off-center: Clamping parts to one side of the jaws reduces contact area and grip. It also puts asymmetrical stress on the lead screw. Center your workpiece every time.
Hammering on the jaws: Despite repeated warnings, mechanics still do this. The jaws chip, shatter, or develop stress fractures that eventually fail. Use the anvil face — that is what it exists for.
Maintenance and Care
A bench vise will outlast most tools in your garage if you maintain it. The lead screw is the most critical component to care for. Apply a light coat of grease to the screw threads every few months — wheel bearing grease works well. This keeps the screw turning smoothly and prevents rust in the threads.
Should you grease a vise? Yes, absolutely. A dry lead screw wears faster, requires more force to turn, and eventually binds. Apply grease to the screw, the thrust bearing at the base of the screw, and the sliding surfaces of the jaw channels. Wipe off excess to avoid attracting debris.
Clean the jaw faces regularly. Metal shavings, grease, and grit build up in the serrations and reduce grip. A wire brush removes most debris. For stubborn buildup, a quick pass with a flat file restores the jaw surface.
Inspect your vise periodically for cracks, especially around the fixed jaw body and the swivel base pivot. Stress fractures develop slowly in cast iron and can cause sudden failure under load. If you spot a crack, retire the vise — there is no safe way to repair structural cast iron damage.
In garage environments with humidity and temperature swings, rust is a constant threat. Wipe the vise down with an oiled rag after use. A light coat of WD-40 or similar corrosion inhibitor on bare metal surfaces keeps rust at bay. If rust appears, remove it immediately with a wire brush before it pits the surface.
Troubleshooting Common Vise Problems
Even a well-maintained vise develops issues over time. Here are the problems I encounter most and how to fix them:
Vise wobble: Tighten the mounting bolts first. If the wobble persists, check the swivel base lock-down mechanism — the wedge or screw that locks the rotation may be worn. Replace worn locking components rather than working around the problem.
Jaws not gripping: Clean the jaw faces first. If they are clean and still slipping, the serrations may be worn flat from years of use. You can re-cut serrations with a triangular file, or replace the jaw plates entirely on most quality vises.
Stiff or stuck lead screw: Remove the dynamic jaw, clean the screw thoroughly, and apply fresh grease. If the screw is rusted in place, penetrating oil and patience will free it. Forcing a stuck screw strips threads or breaks the handle.
Handle issues: A bent handle usually means someone used a cheater bar or hammered it. Straighten minor bends in a press or replace the handle. The handle should spin freely in the screw hub — if it binds, clean and lubricate the hub bore.
FAQs
How do you use a bench vice accurately?
To use a bench vise accurately, open the jaws by turning the handle counterclockwise, position your workpiece centered between the jaws, then turn clockwise to close. Tighten until the part is firmly held but not crushed. Always center the workpiece in the jaws for maximum grip, use soft jaws for delicate surfaces, and test the hold by trying to move the part before you start working on it.
What is the best position for a bench vise?
The best position for a bench vise is the front-left corner of your workbench, mounted so the jaws sit flush with or slightly beyond the bench edge. This gives you clearance for long parts and allows comfortable right-handed work. Left-handed mechanics should mount on the front-right corner. Position the vise at elbow height for maximum leverage and comfort during extended use.
Should you grease a vice?
Yes, you should grease the lead screw of your bench vise regularly. Apply a light coat of grease to the screw threads, the thrust bearing, and the sliding jaw channels every few months. This keeps the vise operating smoothly, prevents rust, and extends the tool’s life. Use standard wheel bearing grease and wipe off any excess to avoid attracting debris.
What are some common vise problems?
Common bench vise problems include vise wobble from loose mounting bolts or worn swivel locks, jaws that slip due to worn serrations or dirty jaw faces, a stiff or stuck lead screw from lack of lubrication or rust, and bent handles from cheater bar use. Most issues are fixable with basic maintenance: tighten bolts, clean jaws, lubricate the screw, and replace worn parts.
Conclusion
Learning how to use a bench vise correctly for automotive work transforms the tool from a simple clamp into an essential partner in every repair and fabrication project. The techniques covered here — from choosing the right jaw type for polished engine parts to mounting your vise solidly for heavy hammering — are what separate clean, professional results from frustration and damaged components.
Start by auditing your current setup. Check that your vise is bolted down with proper hardware, add a set of soft jaws to your arsenal, and make greasing the lead screw a regular habit. These small changes pay off on the very next bracket you bend or fuel line you flare. Your vise is ready to work — now you know how to get the most out of it.