
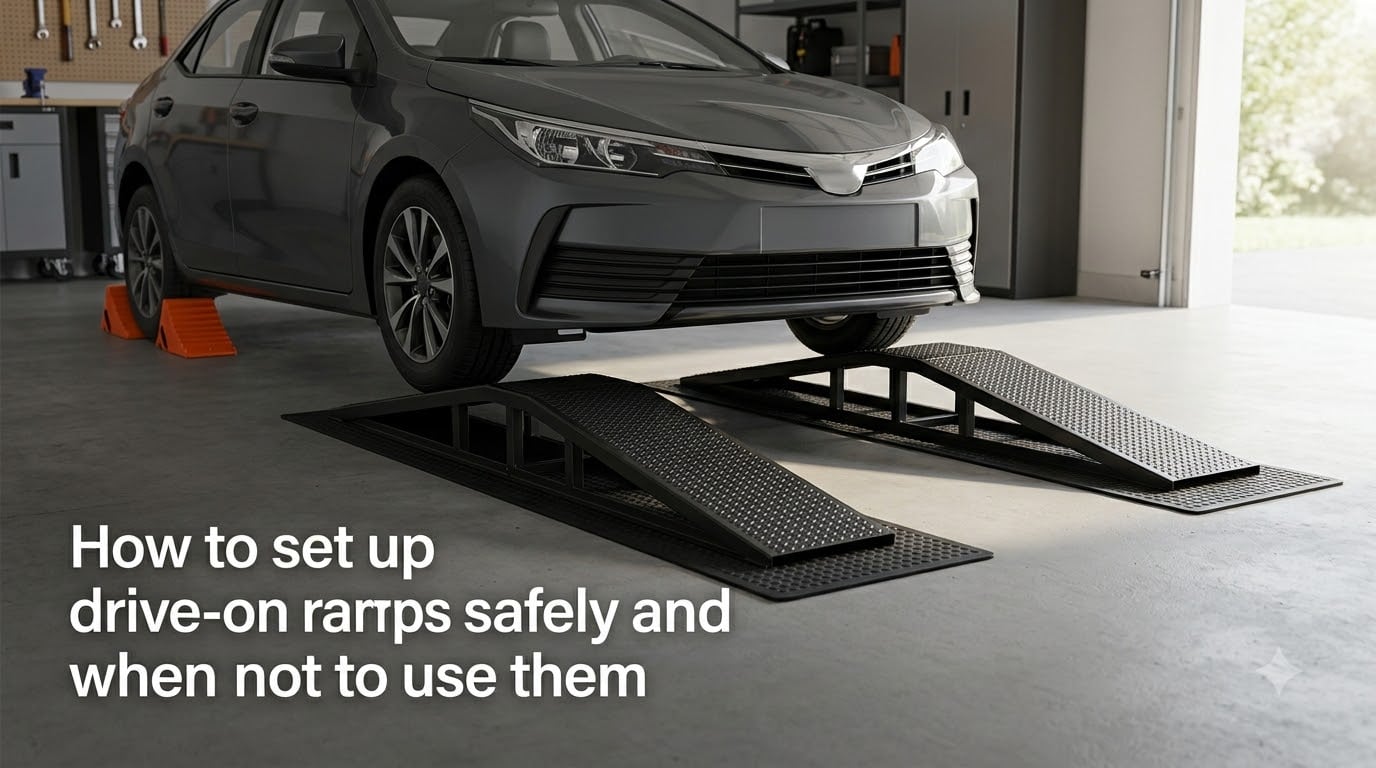
Drive-on ramps are one of the easiest ways to lift a car for an oil change, brake inspection, or undercarriage work at home, but only when you set them up correctly and only when the conditions are right. I have watched friends skip a single step and nearly drop a vehicle off a ramp, so this guide walks you through the safe setup first, then the situations where you should put the ramps back in the garage and grab jack stands instead.
In the sections below, I will show you the exact equipment you need, the step-by-step process for getting on and off the ramps, and the specific scenarios where drive-on ramps are the wrong tool. By the end, you will know exactly how to set up drive-on ramps safely and how to recognize the moments when you should not use them at all.
Table of Contents
What Are Drive-On Ramps and Why Use Them?
Drive-on ramps are inclined platforms that lift the front (or rear) of a vehicle so you can reach the oil pan, suspension, or exhaust without crawling on the ground. They are popular for DIYers because they are faster than jacking and placing jack stands, and they give you more working room under the car than a floor jack alone.
The most common home uses for drive-on ramps include oil changes, fluid checks, brake inspections, and undercarriage access for exhaust or sway bar work. Most ramps come in steel or heavy-duty plastic, with weight ratings from about 3 tons up to 6 tons or more for trucks and SUVs.
Compared to jack stands, ramps are quicker to set up but they only lift one axle. If you need to remove wheels or get the entire car off the ground, jack stands are still the safer choice. Think of ramps as a productivity tool for undercarriage work, not a substitute for proper support.
Critical Safety Precautions Before You Start
Before you even think about pulling your car onto a ramp, run through these non-negotiable safety checks. Skipping any one of them is how ramp accidents happen.
Confirm weight capacity: Your vehicle’s Gross Vehicle Weight (GVW) must be below the ramp’s rated capacity, with margin. A 4,000 lb car needs ramps rated for at least 2 tons per pair.
Inspect the ramps: Look for cracks, bends, rust, or damaged lips. Old plastic ramps especially can develop stress fractures you cannot see on the surface.
Use a flat, hard surface: Concrete or asphalt works. Grass, gravel, dirt, and sloped driveways do not.
Engage the parking brake before driving up, and keep it engaged the entire time the car is on the ramps.
Place wheel chocks on the wheels that stay on the ground. This is the single most common safety upgrade recommended by mechanics on forums.
Have a spotter stand outside the car and watch alignment while you drive up.
The combination of parking brake plus wheel chocks is what experienced home mechanics call the “belt and suspenders” approach. Either alone can fail; together they keep your car put even if one system slips.
Equipment You Need to Set Up Drive-On Ramps
Here is the complete checklist I use before every ramp job. Having all of these on hand before you start prevents the “I’ll just wing it” moments that lead to bent ramps or worse.
A pair of drive-on ramps rated for at least 75% of your vehicle’s curb weight per ramp
Wheel chocks sized for your tire width (rubber chocks grip better than plastic)
Rubber anti-slip mats or grip pads to place under each ramp base
Cinder blocks or heavy weights as a barrier in front of the ramps to stop forward slide
A second person as a spotter, especially the first few times you use a new ramp setup
A flashlight to confirm the ramp top is fully supporting the tire before you stop
Skip the anti-slip mat and you are gambling with whatever surface you are on. Many forum threads about ramps sliding on smooth garage floors trace back to a missing rubber pad or grip surface under the ramp base.
How to Set Up Drive-On Ramps Step by Step?
This is the exact sequence I follow every time. Take it slow on the first two feet of the climb; that is where alignment mistakes and ramp slides happen.
Step 1: Park on a flat surface. Pull the car onto level concrete or asphalt and put it in park (or first gear for manuals). Turn off the engine.
Step 2: Place the ramps in front of (or behind) the wheels. The incline should face the car. Make sure both ramps are parallel to each other and pointed straight ahead, not angled in or out.
Step 3: Set the anti-slip mats. Lay rubber grip pads under each ramp base to prevent sliding on smooth concrete.
Step 4: Add a barrier. Place cinder blocks or another heavy object directly in front of each ramp lip. This is what stops the ramp from kicking forward as the tires climb.
Step 5: Have your spotter stand to the side. They should watch the tire contact with the ramp and call out if the alignment drifts.
Step 6: Release the parking brake and slowly drive forward. Use the lightest throttle you can. Aim for under 1 mph as the tires climb.
Step 7: Stop when the tires are fully on the flat top portion of the ramp. You should see the entire tread width sitting on the level section. If you are still on the incline, you are not yet supported.
Step 8: Re-engage the parking brake and exit the vehicle. Place wheel chocks on the rear (or front, depending on which axle is up) tires immediately.
Step 9: Confirm the setup. Push the car gently from the side while in park. It should not move at all. If it shifts even slightly, redo the chock placement.
How to Safely Drive Off the Ramps
Driving off is just as important as driving on, and most guides skip it. Reverse off the ramps slowly and in a straight line. Do not turn the steering wheel while a tire is on the ramp incline; the side load can tip the ramp.
Keep the parking brake released during the descent so the wheels can roll freely, and have your spotter confirm the rear (or front) tires clear the ramp lip cleanly. Once both tires are back on flat ground, re-engage the parking brake and remove the chocks.
If you drove up on a slope by mistake, do not try to drive off. Lower the vehicle by other means first.
When NOT to Use Drive-On Ramps
This is the section most other guides leave out, and it is the one that matters most. If any of these conditions apply, do not use drive-on ramps that day.
On Sloped or Uneven Ground
Ramps require a level surface in both directions. A driveway with even a 2-degree slope changes the angle of attack and can cause the ramp to kick out at the bottom. Always confirm the ground is flat using a small bubble level if you have any doubt.
On Wet, Icy, or Soft Surfaces
Wet garage floors, snow, ice, grass, dirt, and gravel all cause ramp slippage. Even with rubber mats, a wet surface can hydroplane under load. If you would not walk on it in socks, do not drive your car up it.
On Smooth Polished Concrete Without Grip Aids
Polished or sealed concrete is too slick for most ramp feet. If your garage floor has a glossy sealer, you need both rubber mats and cinder blocks at the lip, not one or the other.
If Your Vehicle Exceeds the Ramp Rating
Never load a ramp to its stated capacity. A 6,000 lb truck on 6,000 lb ramps is asking for failure. Aim for at least 20% headroom.
If the Ramps Are Damaged or of Unknown Age
Old plastic ramps from a previous owner may have invisible stress cracks. If you do not know the history, do not trust them with your car. Steel ramps with rust pitting or bent lips are equally risky.
If You Have a Low-Clearance Vehicle That Bottoms Out
Sports cars, lowered sedans, and cars with front lip spoilers often hit the ramp before the tires reach the top. If your bumper scrapes during the test approach, the ramps will not work.
If You Plan to Work Under the Vehicle
This is the big one. Drive-on ramps are not jack stands. If you are going to put any part of your body under the car, you still need jack stands supporting the frame. Ramps can fail; jack stands are designed to hold a vehicle statically while you work.
Common Mistakes That Cause Ramps to Fail
Most ramp accidents I have read about on mechanic forums trace back to the same handful of errors. Avoid these and you are ahead of most home DIYers.
Skipping wheel chocks. People rely on the parking brake alone, then forget a loaded transmission can still creep. Chocks are cheap insurance.
No barrier at the ramp lip. Without cinder blocks or a heavy board in front, the ramp base can slide forward as the tire climbs. Reddit users with this exact problem consistently recommend adding a physical stop.
Buying the cheapest plastic ramps. Hollow plastic ramps can crack under heavy vehicles. Solid foam-filled or steel ramps are safer for anything over a small sedan.
Relying on ramps alone for undercarriage work. Even if you use ramps, add jack stands before you slide under. Mechanics in r/MechanicAdvice repeat this advice constantly.
Driving up too fast. Momentum does not help you here. A slow, controlled climb lets you feel alignment errors before they become disasters.
Low-Clearance Vehicle Tips and Alternatives
If you drive a sports car, a lowered sedan, or anything with a front lip, standard ramps may not work. The approach angle is too steep and the bumper hits first.
Look for low-profile drive-on ramps with a longer, shallower incline. Race Ramps and similar brands are specifically designed for lowered vehicles and use solid foam construction that resists cracking.
If low-profile ramps still bottom out your car, switch to jack stands. Lift the front of the car with a floor jack, place stands under the factory jack points, then lower onto the stands. It takes longer but it works on any vehicle.
For routine oil changes on low cars, a lift or service pit is the ideal solution, but for home use, jack stands are the safest fallback when ramps will not fit.
Frequently Asked Questions
Are drive-on car ramps safe?
Drive-on car ramps are safe when you use them on a flat, hard surface, with the parking brake engaged, wheel chocks on the non-lifted tires, and ramps rated above your vehicle’s weight. They are not safe substitutes for jack stands when you need to work under the vehicle.
How do I know when to stop on car ramps?
Stop when the entire tire tread width is sitting on the flat top portion of the ramp, not the incline. You should see level contact from edge to edge. If any part of the tire is still on the slope, drive forward a bit more.
How do I keep car ramps from sliding?
Place rubber anti-slip mats under each ramp base, then set cinder blocks or another heavy barrier directly in front of the ramp lip. This two-step approach prevents both backward kick-out at the top and forward slide during the climb.
What surface is safe to put car ramps on?
Flat, dry concrete or asphalt is the only reliable surface for drive-on ramps. Avoid grass, gravel, dirt, sloped driveways, wet floors, polished or sealed concrete without rubber mats, and any surface where the ramps can sink or slide.
When should you not use car ramps?
Do not use drive-on ramps on slopes, soft ground, wet or icy surfaces, or smooth floors without grip aids. Skip them if your vehicle exceeds the weight rating, if the ramps are damaged, if your car bottoms out on the approach, or if you need to work under the vehicle, in which case jack stands are required.
Final Thoughts on Drive-On Ramp Safety
Drive-on ramps are a fast, practical tool for at-home vehicle maintenance, but only when you set them up on the right surface, at the right weight rating, with chocks and a parking brake engaged. The list of when not to use them is just as important as the setup itself: slopes, slick floors, soft ground, overweight vehicles, damaged ramps, low-clearance cars, and any job that requires getting under the car.
Stick to flat concrete or asphalt, drive up slowly with a spotter watching, and add jack stands before you ever slide under the vehicle. Done this way, drive-on ramps will give you years of safe, productive service in your own driveway.