
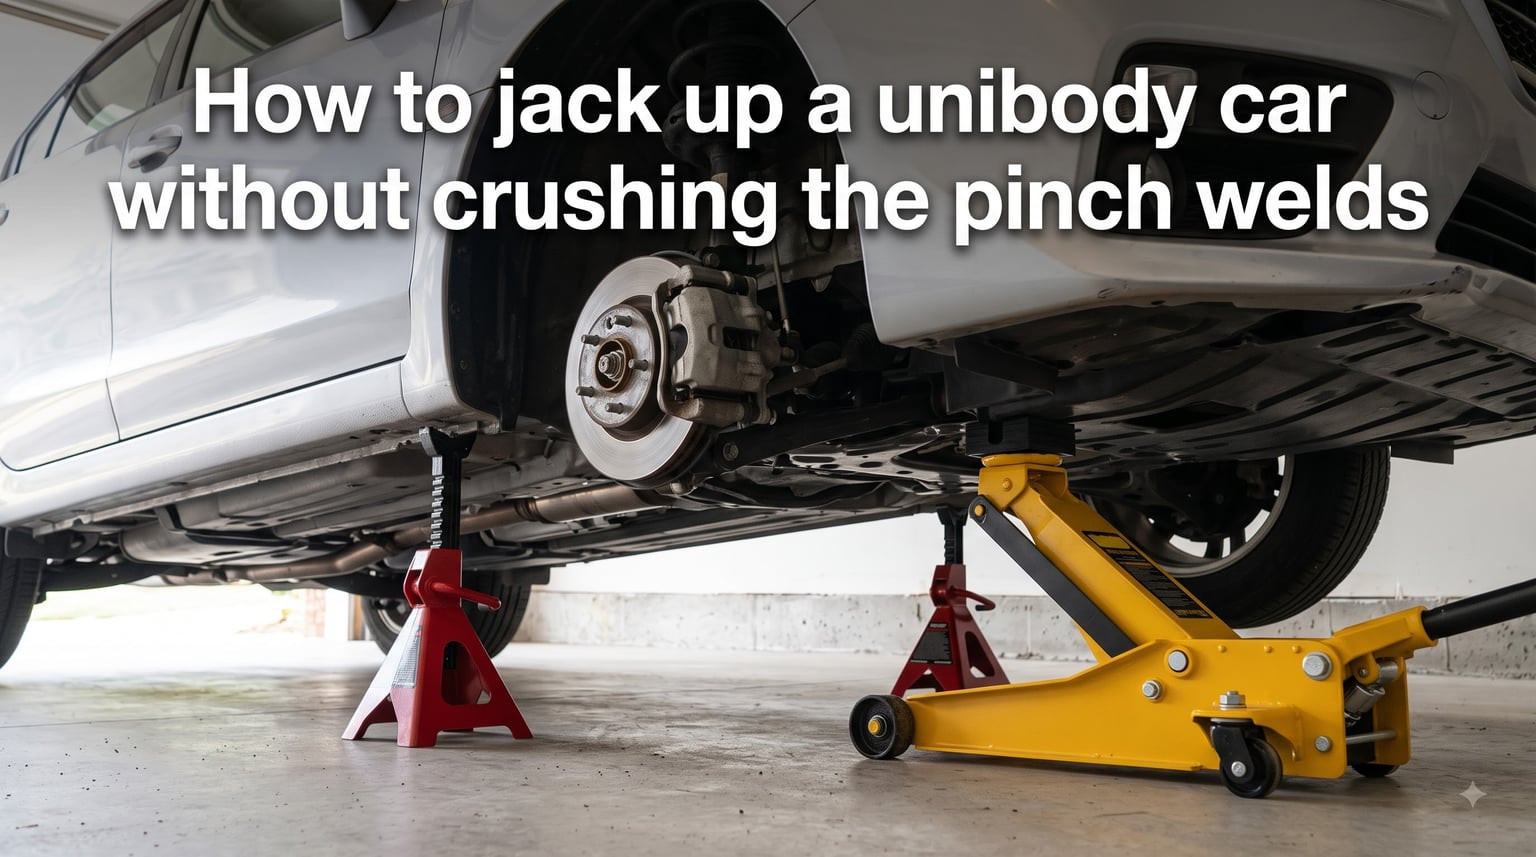
Most modern cars on the road today use unibody construction, and jacking one up wrong can cost you over $1,000 in floor pan repair. I have seen the damage firsthand — crushed pinch welds, bent sheet metal, and rocker panels folded inward because someone placed a hydraulic jack saddle in the wrong spot. The good news is that learning how to jack up a unibody car without crushing the pinch welds comes down to understanding where the reinforced lift points are and using the right adapter between your jack and the metal.
This guide walks you through everything from identifying factory-designated jacking points to building your own hockey puck adapter for under $10. Whether you are doing a tire rotation, brake job, or oil change, the steps below will keep your unibody chassis intact and you safe underneath it.
You will learn exactly where pinch welds live, why they crush so easily, which spots are strictly off-limits, and the step-by-step method I use every time I lift a unibody vehicle in my garage. I will also cover the 3/4 rule for floor jacks — a concept referenced across forums but never properly explained in any of the competing guides I reviewed.
Table of Contents
What Is Unibody Construction and Why It Matters for Jacking?
Unibody construction means the body of the car and its frame are one welded unit, rather than a separate body bolted onto a full ladder frame. Nearly every passenger car built since the late 1990s — sedans, hatchbacks, crossovers, minivans, and most modern SUVs — uses this design.
The benefit is lighter weight, better fuel economy, and improved crash energy absorption. The trade-off is that the load-bearing structure is integrated into the body panels themselves, which means the sheet metal is doing structural work. That thin metal is exactly why jacking technique matters so much.
On a traditional body-on-frame truck, you can place a heavy floor jack under a thick steel rail almost anywhere along the side and the vehicle will lift safely. On a unibody car, that same approach will punch a hole through your floor pan or crush a rocker panel instantly.
Unibody vehicles distribute weight through specific reinforced areas: the pinch welds along the rocker panels, the front and rear subframe crossmembers, and in some models, designated reinforced frame rail sections. Lifting anywhere else places concentrated force on sheet metal that was never engineered to hold the weight of the vehicle.
This is why I always tell people new to working on their own cars: treat every unibody like a piece of precision engineering, not a truck. The difference between a clean lift and a $1,200 body shop bill is often less than six inches of placement.
Understanding Pinch Welds: Where They Are and Why They Crush
Pinch welds are the vertical seams where two pieces of body metal are pressed and welded together during manufacturing. On most unibody cars, they run along the bottom of the rocker panels — the reinforced sills beneath the doors — and they form a raised ridge running the length of the vehicle’s side.
Not every inch of that ridge is a safe lift point, though. Manufacturers reinforce specific sections of the pinch weld at the factory, usually marked by small notches, triangles, or molded ribs on the plastic sill trim. Those reinforced spots are where the metal is thicker and designed to take the concentrated load of a jack saddle or jack stand.
The reason pinch welds crush so easily outside those reinforced zones is simple: the metal is thin. A typical unibody pinch weld is made from sheet steel roughly 0.7 to 1.0 millimeters thick. When you apply the focused pressure of a round hydraulic jack saddle — often less than three inches across — directly on that thin metal, it buckles.
Even at the reinforced points, the weld itself can deform if you place a bare jack saddle directly on it. The saddle’s curved surface concentrates force on the very top edge of the weld, which is exactly why adapters exist. The metal is strong enough to hold the car, but only when the load is spread across the weld correctly.
I always recommend running your hand along the underside of the rocker panel before jacking. You will feel the raised seam clearly. Look for the factory markings on the plastic trim above — usually a small triangle or cutout — and that marks the reinforced jacking point below.
How to Find Factory-Designated Jacking Points?
The single most reliable source for jacking point locations is your vehicle’s owner’s manual. Almost every manufacturer includes a diagram showing the exact reinforced lift points for both the jack and jack stands. If you lost your paper manual, a PDF version is almost always available on the manufacturer’s website or through a quick search of your year, make, and model plus “owner’s manual PDF.”
Most unibody cars share common jacking point patterns. The primary side points sit on the reinforced pinch weld sections, usually located just behind the front wheels and just ahead of the rear wheels. These are the spots you will use most often for routine work like tire rotations.
For lifting the entire front or rear of the vehicle at once, many cars have a central jacking point on the front subframe crossmember or the rear crossmember just ahead of the differential or exhaust. This point lets you raise one whole end of the car and place two jack stands in one operation.
Some vehicles also have designated lift pads on the reinforced frame rail sections under the engine bay or behind the rear suspension. These are flat rubber-padded circles pressed into the floor pan. They are meant for shop lifts but work fine with a floor jack and a rubber pad adapter.
When in doubt, look for areas with thicker metal, visible reinforcement ribs, or factory markings. If you tap the area with a wrench and it sounds solid rather than tinny, you are likely on a reinforced point.
Safe vs Unsafe Jacking Points: A Quick Reference
One of the fastest ways to cause catastrophic damage is jacking on a spot that looks sturdy but is not actually designed to bear weight. Below is a reference I use to quickly separate safe lift zones from guaranteed damage zones.
Safe jacking points: Reinforced pinch weld sections (factory-marked), front subframe crossmember, rear crossmember, designated frame rail lift pads, solid axle housing (on vehicles so equipped), and reinforced control arm mounting bosses.
Unsafe jacking points: Floor pan sheet metal, exhaust components and catalytic converter, suspension control arms (thin stamped steel arms especially), brake lines and fuel lines along the rocker, plastic splash shields, steering rack, oil pan, transmission pan, and the curved lower section of the rocker panel itself.
A good rule I follow: if the surface is curved, thin, or has wires and lines running near it, do not jack on it. Reinforced lift points are always flat or ridged and clear of any plumbing.
Using Pinch Weld Adapters and Jack Pads to Prevent Damage
The single best investment you can make for unibody jacking is a pinch weld adapter. These are small attachments — usually rubber, polyurethane, or aluminum — that sit on top of your jack saddle and cradle the pinch weld so the load spreads evenly along the seam instead of crushing it from the top.
There are three main types I have used over the years. Slotted rubber adapters have a groove down the middle that the pinch weld sits inside, which keeps the weld perfectly centered and protected. Aluminum pinch weld attachments with a slot are more durable and last forever. Polyurethane jack pads with a center groove offer a softer contact surface and are ideal for newer cars with painted welds.
If you do not want to buy an adapter, the hockey puck method is a proven DIY solution that forum mechanics have used for years. Take a standard hockey puck and cut a slot down the middle with a bandsaw or angle grinder, wide enough and deep enough to fit your pinch weld. Place the puck slot-down over the weld and position your jack saddle underneath the flat side. The puck distributes the force across the entire weld instead of concentrating it on one point.
A 2×4 wood block with a notch cut into it works the same way in a pinch, though I would only use wood once or twice. It compresses and splits over time, and a broken block mid-lift is a serious safety risk.
For jack stands, look for stands with a saddle notch or slot designed to accept a pinch weld. Many budget stands have a flat saddle that will crush the weld when the car’s weight settles onto it. A notched stand or a stand fitted with a rubber pinch weld adapter is the safe combination.
The 3/4 Rule for Floor Jacks Explained
The 3/4 rule for floor jacks is a safety guideline that says you should only use a hydraulic floor jack to lift loads up to roughly three-quarters of its rated capacity. So if your jack is rated for 3 tons (6,000 pounds), the 3/4 rule means you should keep the actual load under about 2.25 tons (4,500 pounds).
This matters because hydraulic jacks rely on seals, fluid pressure, and a relatively small contact saddle to hold massive weight. As a jack approaches its maximum rating, the hydraulic system works harder, the seals wear faster, and the stability of the load decreases. The 3/4 rule gives you a safety margin so the jack is never straining and the saddle never slips.
For most unibody cars weighing between 3,000 and 4,000 pounds, a 3-ton jack used at one corner at a time is well within the rule. But if you are lifting the entire front end of a heavy unibody SUV from a central crossmember point, you want a jack with at least that much headroom above the actual weight you are lifting.
Step-by-Step: How to Jack Up a Unibody Car Without Crushing the Pinch Welds
This is the procedure I follow every time I lift a unibody vehicle. It works for sedans, hatchbacks, crossovers, and minivans. Read through all the steps before you start so you have a clear plan.
Step 1 — Park on level ground. Concrete is best. Asphalt works in cool weather. Never jack on dirt, gravel, grass, or a hot asphalt driveway that can soften and let the jack sink. Set the parking brake and put the transmission in park or first gear.
Step 2 — Chock the wheels on the opposite end. If you are lifting the front, chock both rear wheels front and back. If you are lifting the rear, chock the front. Wheel chocks are non-negotiable — a car that rolls off a jack can kill you.
Step 3 — Locate the factory-designated pinch weld jacking point. Check your owner’s manual, then verify the spot by feel. Look for the raised seam along the bottom of the rocker panel and the factory triangle or notch marking on the trim above.
Step 4 — Inspect the pinch weld. If the metal is heavily rusted, flaking, or visibly bent from a previous bad lift, do not use that point. Move to the next reinforced section or use an alternative point like the subframe crossmember. Rust is covered in detail later in this guide.
Step 5 — Install your pinch weld adapter or hockey puck. Place the slotted adapter over the pinch weld so the seam sits inside the groove. If using a hockey puck, slot it over the weld the same way.
Step 6 — Position the floor jack saddle directly under the adapter. The saddle should be centered under the puck or adapter, not hanging off one edge. Misalignment is one of the most common causes of crushed welds.
Step 7 — Pump the jack slowly until the wheel just lifts off the ground. Stop and check that the adapter is still seated correctly on the weld and that the saddle has not shifted. Adjust if needed before continuing.
Step 8 — Continue pumping to your desired height. Only lift as high as you need. Excess height increases instability. Most routine work only needs the tire 2 to 4 inches off the ground.
Step 9 — Place jack stands at the designated support points. These are usually the same reinforced pinch weld sections, just positioned a few inches away from where the jack is. Use notched stands or stands with pinch weld adapters. Never rely on the hydraulic jack alone to hold the car.
Step 10 — Lower the car slowly onto the stands. Release the jack’s pressure valve gradually so the vehicle settles gently onto the stand saddles. Confirm both stands are bearing weight evenly before you go underneath.
Step 11 — Give the car a firm shove. Before crawling under, push the vehicle hard sideways. If it shifts or rocks, reposition the stands. A stable car on proper stands will not move.
Step 12 — To lower, reverse the process. Jack the car up just enough to clear the stands, remove the stands, then lower slowly with the adapter still in place. Remove the adapter only after the wheel is back on the ground.
Where to Place Jack Stands on a Unibody Car
This is where most confusion lives, based on the forum threads I reviewed. People know how to jack the car up but then do not know where to put the stands. The short answer: jack stands go on reinforced support points, not on the same spot the jack is using.
On most unibody cars, the same reinforced pinch weld sections that work for jacking also work for stands — but you cannot use both at the exact same spot. The standard approach is to jack at one pinch weld point and place the stand on the next reinforced section a few inches forward or behind.
Many unibody cars have notches molded into the rocker panel specifically for jack stands. These look like rectangular indentations on the underside of the sill. Drop the stand saddle right into that notch and the car will sit securely.
For lifting the entire front or rear on stands, use the reinforced subframe crossmember contact points or the designated frame rail pads. These are flat reinforced areas that accept a stand saddle cleanly. Avoid placing stands on round control arms, sway bars, or any stamped suspension bracket.
I see one mistake constantly on forums: jack stands sliding off the pinch weld as the car is lowered. This happens when the stand has a flat saddle with no slot. The rounded top of the weld has nothing to grip, and as the car settles the stand walks sideways off the seam. A slotted stand or a stand with a pinch weld adapter eliminates this problem entirely.
Critical Safety Precautions Before You Lift
Before you even touch the jack, run through this checklist. Every item on it exists because someone was injured skipping it.
Surface: Level concrete only. The car must not be able to roll or tip in any direction. A slight slope is enough to cause a stand to slide out.
Parking brake and gear: Parking brake fully engaged, transmission in park (automatic) or first gear (manual). On a manual, chocks are even more important because park does not exist.
Wheel chocks: Both sides of the wheels on the opposite end from where you are jacking. I use solid rubber chocks — never improvised wood or bricks.
Jack and stand weight ratings: Every jack and every stand must have a rated capacity that exceeds the corner weight of the vehicle. A 3-ton jack and 3-ton stands are a safe minimum for most unibody passenger cars. Heavier SUVs need 4-ton or 6-ton equipment.
Never work under a car held only by a hydraulic jack. Hydraulic seals can fail without warning. A jack is for lifting, stands are for holding. This is the most important rule in this entire guide.
Inspect equipment before every use. Check the jack for fluid leaks, smooth pump action, and a tight pressure release. Check stands for cracked welds, bent posts, and a ratchet bar that locks positively into each tooth.
Dealing With Rusted or Damaged Pinch Welds
If you live in a snow-belt state where road salt eats cars, your pinch welds may be compromised. Rust is the wildcard that turns a routine lift into a structural failure. Here is how I evaluate rust severity before lifting.
Surface rust only: Orange discoloration on the metal but the weld feels solid when tapped with a wrench. Safe to jack normally, but use a rubber adapter to avoid grinding rust into the seam.
Scaling rust: Metal flakes off when scraped. The weld is still mostly intact but thinner than factory. Avoid the pinch weld entirely and use the subframe crossmember or a designated frame rail lift pad instead.
Severe corrosion: The weld is soft, bent, or visibly eaten through. Do not jack there under any circumstances. Use only the heavy front or rear crossmember, and consider having a professional welder reinforce the pinch weld before your next lift.
If all four pinch weld points are too far gone, the safest alternative is to lift from the center front or rear crossmember with a quality floor jack, place the stands on the reinforced subframe mounting points, and skip the rocker panel entirely. I have done this on rust-belt cars many times without issue.
EV-Specific Lifting Considerations
Electric vehicles add a wrinkle to unibody jacking: most EVs have a high-voltage battery pack mounted directly under the floor pan between the wheels. Jacking on the wrong spot does not just crush sheet metal — it can puncture a battery cell, which is a fire hazard that no floor jack adapter can save you from.
Every major EV manufacturer publishes specific lift point diagrams. Tesla, for example, designates four reinforced lift pads at the corners and a central rear lift point. Use only those points. The battery pack sits mere inches from the underside of the floor, and any point load off the designated pads risks contact with the pack casing.
EVs are also heavier than their gas counterparts. A Tesla Model 3 weighs about 4,000 pounds and a Model Y closer to 4,400. Make sure your jack and stands are rated accordingly. I use 3-ton minimum equipment on EVs and prefer 4-ton stands for the extra stability margin.
One more EV-specific note: many electric vehicles have a tow mode and a jack mode that disengages the electronic parking brake or air suspension. Engage this before lifting, or the car may try to level itself while you are underneath — a genuinely dangerous situation.
Common Mistakes and How to Avoid Them
The same mistakes show up again and again in forum threads and body shop invoices. Here are the ones I see most often, along with how to prevent them.
Jacking on the floor pan. The single most expensive mistake. A floor jack saddle punched through a floor pan typically costs $800 to $1,500 to repair at a body shop, plus interior removal. Always use a reinforced lift point or an adapter.
Using a bare saddle on the pinch weld. Even at the correct reinforced point, a bare curved saddle concentrates force on the top edge of the weld and bends it. Always use a slotted adapter or hockey puck.
Lifting on a slope. The car looks stable until it starts rolling as the weight transfers off the suspension. Always find level ground, even if it means driving somewhere else.
Going under the car with only the jack holding it. This is how people die. Hydraulic jacks fail. Always place stands before you go underneath, and give the car a shake to confirm the stands are loaded.
Using under-rated stands. A pair of 1-ton stands on a 4,000-pound car is a recipe for collapse. Match your equipment to the vehicle weight with margin to spare.
FAQs
How to protect pinch welds when jacking up a car?
Use a slotted pinch weld adapter, a rubber jack pad, or a DIY hockey puck with a slot cut down the middle. The slot cradles the weld and spreads the load along its full length instead of concentrating force on the top edge. Never place a bare hydraulic jack saddle directly on a pinch weld, even at a factory-designated point.
Where to jack up a car if pinch welds are rusted?
Use the front or rear subframe crossmember as an alternative central jacking point, or a designated reinforced frame rail lift pad. Avoid any section of the rocker panel where the metal is soft, scaling, or visibly eaten through. If all four pinch weld points are compromised, lift from the crossmember and place stands on the reinforced subframe mounting bosses.
Are you supposed to jack on pinch welds?
Yes, pinch welds are the factory-designated jacking points on most unibody cars, but only at the reinforced sections marked in the owner’s manual. The weld itself is strong enough to hold the vehicle when the load is distributed with a slotted adapter. Jacking on the weld without an adapter, or on non-reinforced sections, will crush the metal.
What is the 3/4 rule for floor jacks?
The 3/4 rule states that a hydraulic floor jack should only be used to lift loads up to roughly three-quarters of its rated capacity. A 3-ton jack should be kept under about 2.25 tons of actual load. This margin prevents the hydraulic system from straining, reduces seal wear, and keeps the load stable on the saddle.
What happens if I jack up my unibody car in the wrong spot?
Jacking on sheet metal instead of a reinforced point will punch through the floor pan, bend the rocker panel, or crush the pinch weld. Floor pan damage typically costs $800 to $1,500 to repair at a body shop. Suspension and exhaust components can also be bent or broken if used as lift points.
Can I use a scissor jack instead of a floor jack?
A scissor jack that came with the car is designed for emergency tire changes only and should be used at the factory-designated pinch weld points with the car on level ground. A hydraulic floor jack is more stable, faster, and works better with pinch weld adapters. For routine maintenance, a floor jack is the right tool.
How high should I lift my car?
Only as high as needed for the job. Most tire rotations and brake work only require the wheel to be 2 to 4 inches off the ground. Lifting higher than necessary increases instability and the risk of a stand shifting. Always place stands at the lowest height that gives you safe clearance.
What if I don’t have jack stands?
Do not go under the car. Hydraulic jacks can fail without warning and are for lifting only, not holding. If you do not have stands, do the work from outside the vehicle or borrow, buy, or rent a proper pair rated for your vehicle’s weight before crawling underneath.
Conclusion
Learning how to jack up a unibody car without crushing the pinch welds comes down to four things: using only factory-designated reinforced lift points, protecting the weld with a slotted adapter or hockey puck, placing jack stands on reinforced support points before going underneath, and matching your equipment weight ratings to the vehicle with margin to spare.
The next time you walk out to the garage for a tire rotation or brake job, run through the checklist, double-check your adapter placement, and never skip the stands. A clean lift takes five extra minutes; a crushed floor pan takes five weeks at the body shop.