
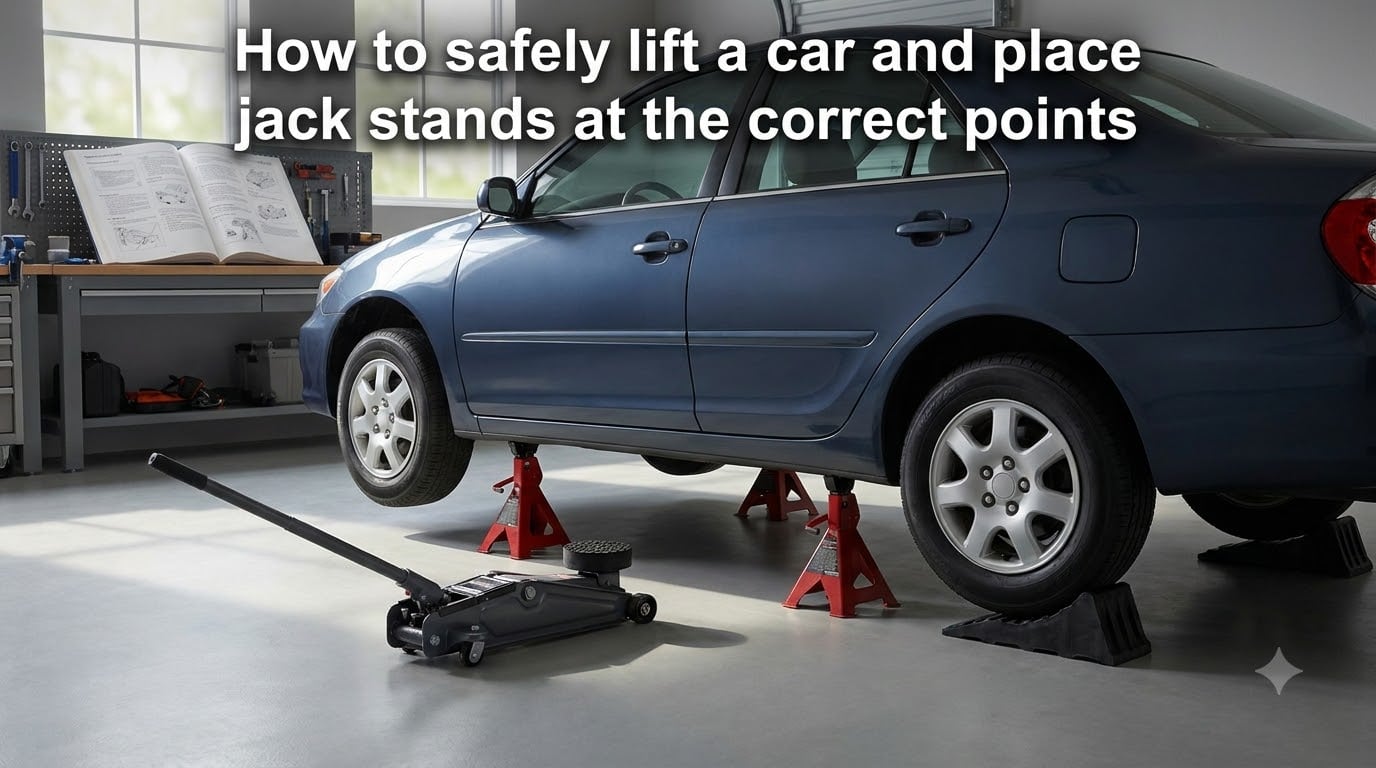
A friend of mine heard a single, sickening creak while changing his oil, then watched his Civic settle two inches onto the floor jack saddle. No jack stands. No chocks. He slid out from under on his back, palms slick, heart hammering.
That was the day I stopped trusting the floor jack alone. If you are searching for how to safely lift a car and place jack stands at the correct points, I wrote this guide so you do not have to learn the lesson the way he did.
You will get a numbered procedure I have used on dozens of cars over the years, plus the OEM jacking point locations most people miss, the 3/4 jack rule that prevents the dreaded side-sag, and the stability check I run before I ever crawl under a vehicle.
Table of Contents
Table of Contents
Why Jack Stands Are Non-Negotiable: The Floor Jack Is Only a Lift, Never a Hold
A hydraulic floor jack is a lift, not a hold. Its job is to raise the car high enough for you to position something stronger underneath. That something stronger is a matched pair of jack stands rated for the weight you are supporting.
Floor jacks fail. Seals weep. Release valves stick open on hot days. A jack stand is mechanical steel on steel, with a safety catch that physically locks into position. That redundancy is the entire reason the procedure exists.
If you remember nothing else from this guide, remember this: never put any part of your body under a vehicle supported only by a floor jack. Even a quick glance underneath the oil pan can wait for a stand.
Tools and Prep: What You Need Before You Touch the Car
Before you do anything, gather everything and park on the right surface. I keep a small tray with my lifting tools so I am not digging through the garage mid-procedure.
Hydraulic floor jack rated for at least 75 percent of your vehicle’s gross weight.
Two jack stands rated for the same or higher weight, matched in height.
Two wheel chocks for the wheels staying on the ground.
Rubber jack pad or a short piece of 2×4 to protect pinch welds.
Owner’s manual for the OEM jacking point diagram.
Safety glasses and gloves.
Work on level concrete or asphalt. Cold flat surfaces only. Hot asphalt in summer is slippery under a jack. Cold or wet grass or gravel will let the jack sink no matter how careful you are.
Set the parking brake firmly. If your car is a manual, leave it in first gear or reverse. Automatic transmissions get parked in Park.
Finding OEM Jacking Points: Where the Car Wants You to Lift
OEM jacking points are reinforced sections of the unibody or frame that the manufacturer has specifically tested to bear the vehicle’s weight on a lift. They look the same as the surrounding metal to the untrained eye, which is why so many people guess and end up crushing body panels.
Common locations to check first:
Pinch weld notches behind the front wheels and ahead of the rear wheels. You will see a small triangular or arrow-shaped cutout.
Frame rails running lengthwise under trucks and body-on-frame SUVs.
Subframe connectors and crossmembers under most unibody sedans and hatchbacks.
Axle housing for rear lifting on solid-axle trucks.
Your owner’s manual has a diagram. If you do not have the paper manual, search “[your car year make model] jacking points PDF”. Almost every manufacturer publishes one.
A quick identification trick: the OEM point is usually reinforced with a thick steel plate welded to the body. When you run your hand along the pinch weld, you can feel a noticeable bump where the reinforcement begins and ends. The notch points right at that bump.
How to Lift the Front of the Car Safely?
Always lift one end of the car at a time. Doing both ends simultaneously throws off the balance and reduces how much weight you can put safely on each jack stand.
Position wheel chocks snug against both rear tires, in front of and behind them.
Locate the front OEM jacking point on the passenger side, just behind the wheel.
Slide the rubber jack pad onto the floor jack saddle. If your jack has a round saddle, place the rubber puck on top.
Pump the jack until the saddle contacts the OEM point with light pressure.
Confirm the saddle is centered on the reinforcement before lifting further.
Raise the car in short bursts, checking alignment every inch.
Stop at the target height for your jack stand, then stop a touch higher.
Place a jack stand under the reinforced point and crank it to height until the post is level.
Slowly lower the floor jack until the car’s weight sits fully on the stand.
Repeat on the driver’s side. Never let go of the jack handle until the stand is loaded. If the jack starts to lean, stop and reposition.
How to Lift the Rear of the Car Safely
Move the chocks to the front wheels. The procedure mirrors the front.
Position chocks at both front tires, in front and behind.
Find the rear OEM point: usually a notch in the pinch weld ahead of the rear wheel, or the axle housing on trucks.
For unibody cars, slide the jack under the reinforced pinch weld and center the saddle on the notch.
For trucks, position the saddle on the axle tube about an inch inboard of the leaf spring.
Lift to working height, place a jack stand under the matching reinforcement, and transfer the load.
If your car has a torsion beam or twist-beam rear suspension, the OEM point sits inboard of the wheel along the same pinch weld. Jacking on the trailing arm itself can shift alignment in seconds. Always check the manual.
Side Lifting and Placing Jack Stands One at a Time
Yes, you can place jack stands one at a time. This is the standard method when you only have one floor jack. You lift the corner, place the stand, then move to the opposite corner on the same axle.
The trick is keeping the car as stable as possible while you switch sides. When the first stand is loaded and the jack is free, the car should be resting fully on that stand at working height. Do not leave the second corner hanging on the jack while you fiddle with the first stand.
Sequence I use for a front brake job:
Lift passenger side, set stand, transfer load, leave floor jack on the ground.
Chock both rear tires.
Lift driver side, set stand, transfer load.
Run the shake test on both stands.
If anything feels off on the first side, lower the car and fix it before moving on. Half-lifted cars are the ones that fall.
The 3/4 Jack Rule: A Simple Limit That Prevents Disaster
The 3/4 jack rule says you should never extend a hydraulic jack more than three-quarters of its maximum rated height. Above that point, the piston has too little overlap with the cylinder, and even a small side load can tilt the assembly and drop the car.
For most 2-ton floor jacks with a maximum lift around 18 inches, that means stopping somewhere around 13 to 14 inches of piston extension. Tall truck jacks with longer strokes give you more room, but the same percentage applies.
Practical translation: pick jack stands tall enough that you do not need to crank the floor jack to its limit. A pair of 17-inch stands lets a normal-height sedan sit at comfortable working height on a jack that is barely halfway extended.
Stability Check and Shake Test: Crawl Under Only After This
The stability check is non-negotiable. Before I slide under any car, I push.
Stand at the front fender and rock the bumper side to side. The car should not shift on the stands.
Push down hard on the corner of the bumper. The car should absorb the force without rocking.
Walk to the rear and repeat the push test.
Check the stands visually. Posts should be plumb. Safety pins should be fully inserted.
Confirm the load is on the stand column, not on the height-adjustment teeth.
A tiny wobble in the stand itself is usually the post settling into the saddle, not a sign of failure. A wobble that translates to the body of the car means trouble. Stop and lower.
Lowering the Car: Reversing the Process Without Mistakes
Lowering causes as many crush injuries as the initial lift. The procedure reverses cleanly.
Position the floor jack under the OEM point and pump until contact.
Crank the jack handle until the stand is fully unloaded and lifts a hair off the body.
Slide the stand out and lower it to its shortest height.
Slowly release the jack pressure valve and watch the car settle.
Repeat on the opposite side.
Remove chocks only after all wheels are back on the ground.
Go slow on the release valve. Letting the car slam down compresses the suspension hard and can crack a bump stop or knock an alignment out. Two minutes of patience is cheaper than a fresh alignment.
Special Cases: EVs, Hybrids, Unibody Cars, and Soft Ground
Unibody cars have no separate frame. Every lift must go through a reinforced pinch weld, subframe bracket, or marked lift point in the sill. There are no body-on-frame shortcuts here.
EVs and hybrids add high-voltage orange cables that route through the underbody. The jacking points are still OEM, but you should never place a jack or stand where it could pinch or crush a high-voltage line. Tesla, Rivian, and most manufacturers publish a separate emergency-lift document for this.
Soft ground is the silent killer. A jack on dirt or gravel sinks half an inch per minute under load. Lay a 3/4-inch plywood sheet at least two feet square under both the jack and the stands, or move to a hard surface. Two stands on hard ground beat four stands on soft ground every time.
If the suspension drops onto the jack stand before the stand reaches its safety catch height, the post is too short. Stop and grab taller stands rather than improvising.
FAQs
Where to jack up a car and put jack stands?
Place the floor jack at the reinforced OEM jacking point behind the front wheel or ahead of the rear wheel. Once raised, position the jack stand under the same reinforced pinch weld, frame rail, or subframe bracket, ideally on the same side as the lift. Match the stand height so the post is plumb and the safety pin is fully engaged before you remove the floor jack.
What is the 3/4 jack rule?
The 3/4 jack rule says you should never extend a hydraulic floor jack more than three-quarters of its maximum rated height. Beyond that point the piston has insufficient overlap with the cylinder, and even a small side load can tilt the assembly and drop the car. Pick jack stands tall enough to keep the floor jack well inside that limit.
Can you place jack stands one at a time?
Yes. Standard practice is to lift one corner, place the stand, transfer the load, then move to the opposite corner on the same axle. The first stand should be fully loaded before the floor jack is repositioned for the second corner. Never leave a corner hanging on the jack while you fight with the first stand.
Where not to put a jack on a car?
Do not place a jack on plastic trim, the oil pan, the transmission case, the fuel tank, suspension control arms, or the rocker panel between OEM points. These areas will dent, puncture, or bend under load. Always look for the reinforced pinch weld notches, frame rails, or axle housing the manufacturer designed for lifting.
How common are jack stand failures?
Stand failure is rare when stands are matched to the vehicle weight and used within their height rating. Failures usually trace back to a stand rated for less than the car’s weight, a missing safety pin, or a stand overloaded beyond its column. Buy stands rated for at least the gross vehicle weight and inspect the teeth and welds before each use.
Final Word: Slow, Boring, and Safe Wins Every Time
Knowing how to safely lift a car and place jack stands at the correct points is less about strength and more about patience. Park level. Find the OEM points. Match the stands to the weight. Lift one corner at a time. Run the shake test. Lower the car slowly and only after you are out from under it.
If something feels off at any step, stop. The job that is rushed is the job that goes wrong. A clean, boring afternoon under the car is the goal every single time.