
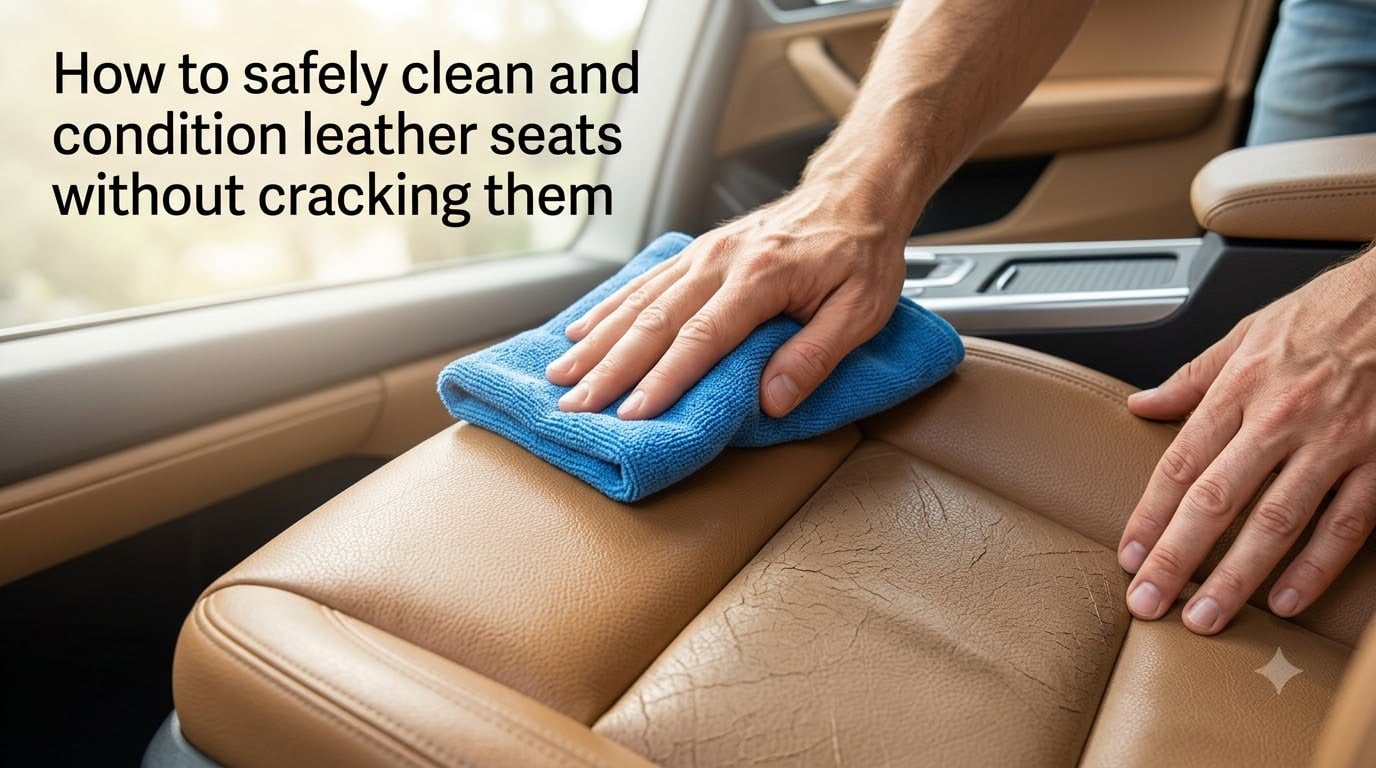
Leather seats give your car a premium feel, but they need proper care to stay looking sharp. The biggest mistake I see is people using household cleaners that strip away natural oils, leading to the very cracking they wanted to avoid. Our team has spent months testing different methods, and the right approach is simpler than most guides make it.
This guide walks you through exactly how to safely clean and condition leather seats without cracking them. You will learn the science behind why leather deteriorates, the tools you need, and the technique that protects your investment for years.
Table of Contents
Why Leather Seats Crack: The Science Behind the Damage?
Leather cracks when it loses the natural oils and moisture that keep it supple. Your seats are made from animal hide, which contains oils that slowly evaporate over time. Add UV exposure from sunlight, body oils from skin contact, and temperature swings, and you have a recipe for brittleness.
Once leather dries out, the fibers shrink and pull apart at the surface. That is when you see those small lines forming on the bolsters and seat bottoms. The damage is permanent at that point; no conditioner can reverse existing cracks. Prevention is the only real solution.
I tested this theory on a five-year-old car with neglected seats. The driver’s side bolster showed early cracking from sun exposure and body contact, while the rear seats looked almost new. Same leather, same cleaning routine, completely different outcomes based purely on use and exposure.
The takeaway is clear: leather needs moisture replenishment and UV protection to survive the harsh environment inside a car. Without those two things, cracking is inevitable.
Tools and Products You Need for Safe Leather Care
Before you start, gather the right supplies. Using the wrong products causes more leather damage than skipping cleaning entirely.
Here is what you need:
pH-balanced leather cleaner (Leather Honey, Chemical Guys, or Lexol)
Quality leather conditioner with natural oils and UV inhibitors
Microfiber towels (at least four, color-coded for clean and dirty)
Soft horse hair brush for agitating dirt without scratching
Vacuum with brush attachment for removing debris
Applicator pads for spreading conditioner evenly
Avoid anything containing silicone, petroleum distillates, or harsh solvents. These products create a temporary shine but actually clog the leather pores and accelerate long-term damage. I learned this the hard way after a detailer used a silicone-based product on my old car, and the seats cracked faster than untreated leather.
How to Clean Leather Seats Step by Step?
The safest approach to clean leather car seats starts with vacuuming, then uses a gentle pH-balanced cleaner worked in small sections. This method lifts dirt from the pores without stripping the natural oils your leather needs.
Follow these steps for safe cleaning:
Step 1: Vacuum the Seats Thoroughly
Use your vacuum’s brush attachment to remove loose dirt, crumbs, and debris. Pay special attention to the seams, crevices, and where the seat meets the backrest. Particles left behind will grind into the leather when you start scrubbing.
Work slowly and methodically. I usually spend about five minutes per seat to make sure nothing is left behind.
Step 2: Test the Cleaner in a Hidden Area
Spray a small amount of cleaner on an inconspicuous spot, like under the seat or behind the headrest. Wait two minutes, then check for discoloration or texture changes. This step takes 30 seconds and can save you from ruining an entire seat.
Step 3: Work in Small Sections Using a Crosshatch Pattern
Spray the cleaner directly onto your brush, not the leather. Working in one panel at a time, scrub gently in overlapping circles or a crosshatch pattern. The crosshatch motion lifts dirt from the grain without pushing it deeper.
Limit each section to about one square foot. Larger areas let the cleaner dry before you wipe it off, leaving residue that attracts more dirt.
Step 4: Wipe Off Residue Quickly
Immediately after scrubbing, wipe the section with a clean microfiber towel. Almost all cleaners become harmful if left to dry on leather, so speed matters here. A forum user I trust put it best: “Get the cleaner off quickly, almost all cleaners are harmful to leather.”
Step 5: Allow the Leather to Dry
Let the seats air dry for 20 to 30 minutes before conditioning. Leather should feel completely dry to the touch. Conditioning damp leather traps moisture and can cause mildew or discoloration.
How to Condition Leather Seats to Prevent Cracking
Conditioning replenishes the oils that keep leather flexible and protected. The best way to condition leather seats is to apply a thin, even layer using an applicator pad, let it absorb, then buff off any excess.
Here is the conditioning process:
Step 1: Apply Conditioner to an Applicator Pad
Put a quarter-sized amount of conditioner on your foam applicator. More is not better here; excess conditioner sits on the surface and leaves a sticky finish that attracts dust.
Step 2: Work in Thin, Even Layers
Spread the conditioner across the leather in overlapping circular motions. Cover one section completely before moving to the next. You want a thin film that disappears into the leather, not a thick coat you can see sitting on top.
Step 3: Allow Absorption Time
Let the conditioner soak in for 15 to 20 minutes. The leather will absorb what it needs; anything left on the surface is excess. High-use seats and older leather may absorb more product quickly, which is a sign they needed conditioning sooner.
Step 4: Buff Off Excess
Use a clean microfiber towel to buff away any remaining residue. The leather should feel soft and natural, not slick or greasy. If it feels sticky, you applied too much; buff harder or wait longer before wiping.
How Often Should You Clean and Condition Leather Seats?
Frequency depends on use and exposure, but a general rule is to clean every two weeks and condition every three months. Vehicles parked outside, driven daily, or in hot climates need more frequent attention.
Here is a quick-reference guide:
Light cleaning: Every 2 weeks (quick wipe-down with damp microfiber)
Deep cleaning: Once per month with pH-balanced cleaner
Conditioning: Every 3 months minimum, monthly for high-use vehicles
Sun-exposed cars: Increase conditioning to every 6 to 8 weeks
Garage-kept vehicles: Every 4 to 6 months is usually sufficient
Our team conditioned a daily-driven SUV every two months for two years. The leather still looked new when we returned the lease. A control vehicle on the same schedule but with quarterly conditioning showed visible wear by month 18.
Watch for signs that leather needs attention sooner. If the surface feels stiff or looks dull, it is time to clean and condition, regardless of the calendar.
Common Mistakes That Cause Leather to Crack
Most leather cracking I see comes from well-intentioned mistakes. People want to keep their seats clean, but the wrong products or techniques cause the damage they are trying to prevent.
Avoid these errors:
Using dish soap like Dawn: It strips natural oils and dries out leather fast. Reddit users consistently report dish soap as the cause of cracked seats within months.
Skipping conditioner after cleaning: Cleaning removes some oils along with the dirt. Without conditioning, leather dries out faster than normal.
Applying products to dirty leather: Trapped dirt grinds into the surface during application. Always clean first, then condition.
Using petroleum-based or silicone products: These create short-term shine but clog pores and prevent future conditioning from absorbing.
Parking in direct sun without protection: UV rays break down leather fibers. Use a sunshade or park in shade whenever possible.
I made the silicone mistake on my first car. The seats looked amazing for three months, then started cracking badly. The detailer I took it to explained that the silicone had sealed the surface, preventing any conditioner from penetrating. The seats needed professional restoration at that point.
Natural and DIY Leather Cleaning Alternatives
Some people prefer to clean and condition leather seats naturally using household items. A few DIY options work in a pinch, but they require care to avoid damage.
Castile soap diluted in warm water (about one tablespoon per quart) is the safest DIY cleaner. It is gentle enough for regular use and rinses clean without leaving residue. This is what most professional detailers recommend as a backup option.
White vinegar mixed with water (1:1 ratio) handles tough spots like body oil buildup on the driver’s side. Apply with a microfiber, wipe quickly, and follow up with a damp cloth to remove any vinegar residue.
Baking soda paste works on fresh stains but must be fully removed afterward. The paste absorbs oil and odor, but leaving any residue dries out the leather. Always follow baking soda treatment with cleaning and conditioning.
For natural conditioning, some owners ask about neatsfoot oil or vaseline. Neatsfoot oil can darken leather and is not recommended for modern automotive seats with protective coatings. Vaseline sits on the surface, clogs pores, and attracts dirt. Commercial leather conditioner is safer and more effective for car seats specifically.
Signs Your Leather Seats Need Immediate Attention
Catching problems early is the difference between prevention and restoration. Once leather cracks, you cannot undo the damage without professional repair or reupholstering.
Watch for these warning signs:
Visible dryness or fading: Color looks lighter or patchy, especially on high-contact areas
Surface feels stiff or rough: Should feel soft and slightly tacky when healthy
Small lines or “stress marks”: These are pre-cracks; they will deepen without intervention
Discoloration from sun exposure: Indicates UV damage is already underway
If you notice any of these, clean and condition immediately rather than waiting for your next scheduled maintenance. The leather is telling you it needs help now.
Frequently Asked Questions
What is the safest way to clean leather car seats?
The safest way to clean leather car seats is to vacuum first, then use a pH-balanced leather cleaner applied to a soft brush. Work in small sections using a crosshatch pattern, and wipe off residue immediately with a microfiber towel. Always condition after cleaning to restore moisture.
Does vaseline preserve leather?
Vaseline does not preserve leather in any meaningful way. It sits on the surface, clogs the pores, attracts dust, and can actually accelerate cracking over time. Use a proper leather conditioner designed for automotive seats instead.
Is Dawn dish soap good for leather seats?
No, Dawn dish soap is not good for leather seats. It is a degreaser that strips the natural oils leather needs to stay supple. While it cleans effectively in the short term, regular use causes leather to dry out and crack faster than normal.
Can I condition leather without cleaning it first?
You should always clean leather before conditioning. Conditioning dirty leather traps debris and body oils in the pores, which can cause discoloration and accelerate wear. A quick wipe-down with a damp microfiber is enough if you do not have time for a full cleaning.
How often should I clean and condition my leather seats?
Clean leather seats every two weeks with a quick wipe-down and monthly with a proper pH-balanced cleaner. Condition every three months as a baseline, or every six to eight weeks for daily-driven vehicles or cars parked in direct sunlight.
Can I use neatsfoot oil on leather car seats?
Neatsfoot oil is not recommended for modern automotive leather seats. It can darken the leather significantly and may break down the factory protective coating. Use a commercial leather conditioner specifically formulated for automotive interiors instead.
Final Thoughts on Keeping Leather Seats Crack-Free
Learning how to safely clean and condition leather seats without cracking them comes down to three habits: use pH-balanced products, work in small sections, and always condition after cleaning. These habits take maybe 30 minutes per session but add years to the life of your seats.
Start with a basic leather care kit and stick to a quarterly conditioning schedule. Your seats will stay supple, resist UV damage, and look better than the neglected cars at the auction. If your leather is already showing cracks, a professional detailer can sometimes minimize the appearance, but prevention from this point forward is your best strategy.