
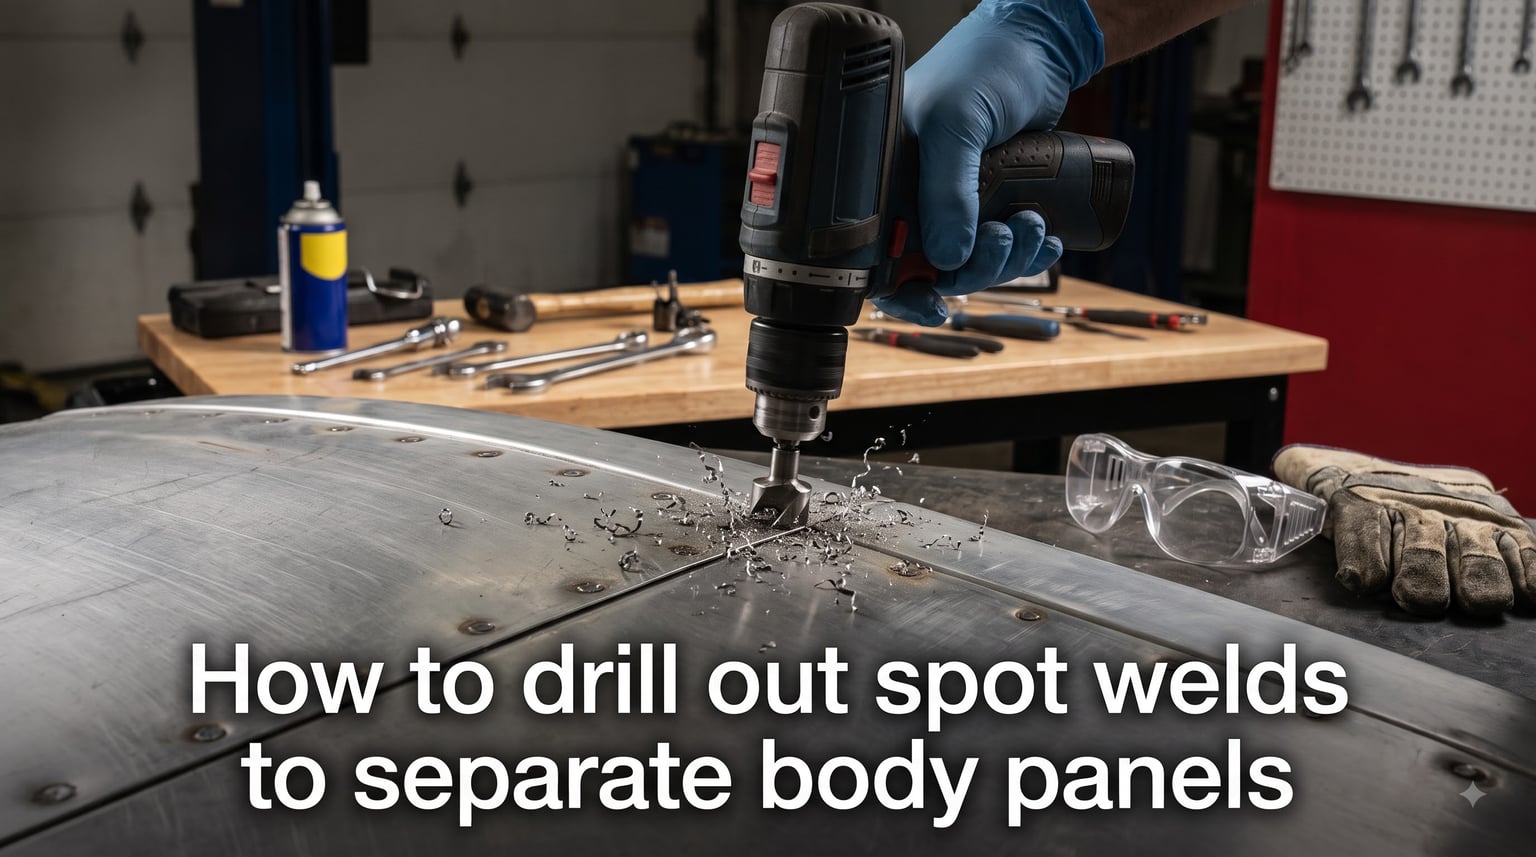
Spot welds hold nearly every metal panel on your car together. They are strong, compact, and built to last decades under stress. But when rust eats through a quarter panel or a door skin needs replacing, those same welds become obstacles standing between you and a clean repair job.
Learning how to drill out spot welds to separate body panels is one of the most useful skills for any DIY auto body enthusiast or restoration builder. Whether you are tackling rust repair on a classic Mini or replacing a damaged fender, the process comes down to patience, the right bits, and a methodical approach.
Our team has separated dozens of panels over the years, and the biggest lesson is simple: the right technique saves the underlying metal, while the wrong one leaves you with extra holes to patch. This guide walks you through two proven methods, the tools you need, and the mistakes that cost time and metal.
By the end, you will know exactly which bit to use, how deep to drill, and how to pry panels apart without destroying the parent layer underneath.
Table of Contents
What Is a Spot Weld and Why You Need to Remove It?
A spot weld is a small circular weld created by resistance welding, where two pieces of sheet metal are squeezed between copper electrodes and hit with an electric current. The resistance creates heat, fusing the metal layers together at that single point without any filler wire.
Car manufacturers use spot welds because they are fast, consistent, and incredibly strong for their size. A typical body panel might have 40 to 60 spot welds holding it to the underlying structure. Each weld forms a small nugget of fused metal roughly 5mm to 8mm in diameter.
You need to remove spot welds when replacing rusted panels, swapping damaged body sections, or dismantling a donor car for parts. The goal is always the same: separate the outer panel from the inner structure while keeping the inner metal clean and reusable for welding the new panel back on.
Done right, the underlying panel stays intact with only small dimples where the welds used to sit. Done wrong, you drill clean through both layers and create extra repair work.
Safety Equipment and Precautions
Before you pick up a drill, get your safety gear sorted. Drilling through sheet metal sends sharp metal chips flying at high speed, and a single fragment in your eye can end your project and your vision.
Here is the protective equipment you need:
Safety glasses or a full face shield — This is non-negotiable. Metal shards from drilling will fly in every direction. Forum users on Garage Journal and Reddit consistently share stories of eye injuries from skipping eye protection. Wear them every single time, even for a quick test hole.
Heavy work gloves — Sheet metal edges are razor sharp, especially after drilling. Cut-resistant gloves protect your hands when prying panels apart.
Hearing protection — Drilling through hardened welds is loud. If you are working on galvanized or high-strength steel, the noise levels will climb even higher. Earplugs or earmuffs are worth the hassle.
Respirator for galvanized steel — Drilling through galvanized coating releases zinc oxide fumes that can cause metal fume fever. If you are working on a galvanized panel, wear a proper respirator and work in a well-ventilated area.
Fire extinguisher nearby — Sparks and hot metal chips can ignite shop rags, cardboard, or chemicals. Keep a fire extinguisher within arm’s reach.
Clear your work area of flammable materials. Clamp the panel securely so it does not spin or shift when the drill breaks through. A loose panel is dangerous and will ruin your accuracy.
Tools You Need to Drill Out Spot Welds
The right tools make this job dramatically easier. You can get by with basic hardware store bits, but purpose-built spot weld tools save hours and produce cleaner results.
Spot weld cutter bit (hole saw style) — This is a purpose-built bit with a pilot point and a small circular cutting head. It cuts a ring around the weld nugget, leaving the nugget itself sitting on the inner panel. Blair, Eastwood, and Lisle all make quality versions. These are the cleanest option according to experienced hotrodders and auto body forums.
Cobalt or titanium-coated drill bits (1/4 inch or 8mm) — Standard HSS bits work but dull quickly on hardened weld nuggets. Cobalt bits hold their edge longer and cut cleaner through the tough fused metal. You will want a few spares because even cobalt bits wear down after 20 to 30 welds on harder steel.
Center punch and hammer — Essential for starting each hole accurately. Without a center punch dimple, the drill bit will wander off the weld center and chew into surrounding metal.
Cordless or corded drill with variable speed — You need speed control. Running full speed through thin sheet metal causes the bit to grab and punch through both layers. A lower, controlled speed gives you time to stop at the right depth.
Pry bar, chisel, or panel separator — After drilling, you need something to wedge between the panels and lever them apart. A spot weld chisel is ideal because it has a thin, tapered blade designed specifically for this.
Angle grinder with flap disc — Used for cleaning up remaining weld nugget material on the inner panel after separation. A 2-inch or 3-inch flap disc works well for tight areas.
Wire brush or air sander — For final cleanup of the parent panel surface before welding the replacement panel in place.
Paint marker or soapstone — For marking weld locations before you start drilling.
How to Drill Out Spot Welds to Separate Body Panels: Step-by-Step (Drill Bit Method)?
The drill bit method is the most common approach. It uses a standard twist drill to bore through the outer panel’s weld without penetrating the inner layer. Here is the exact process we follow.
Step 1: Locate and mark every spot weld. Spot welds appear as small circular dimples on the panel surface, usually spaced 2 to 4 inches apart along seams. Run your hand along the panel to feel for them. On painted panels, lightly sanding the surface reveals the circular weld marks more clearly. Mark each one with a paint marker or soapstone so you do not miss any.
Step 2: Center punch each weld. Place the center punch dead center on each weld mark and give it a firm tap with your hammer. This creates a small dimple that keeps the drill bit from wandering when you start drilling. This step is critical for accuracy. Skip it and the bit will skate across the surface and chew up good metal.
Step 3: Set up your drill and bit. Chuck a 1/4 inch or 8mm cobalt bit into your drill. Set the drill to a medium speed. If your drill has a depth stop or you have an adjustable bit with a collar, set it so the bit cannot penetrate more than the thickness of the outer panel plus the weld nugget. This is typically 1.5mm to 3mm depending on the panel gauge.
Step 4: Drill through the outer panel only. Place the bit tip into the center punch dimple and start drilling at a controlled speed. Apply steady, even pressure. The goal is to cut through the outer sheet metal and the weld nugget without breaking through the inner panel. You will feel a slight change in resistance when you break through the outer layer. Stop immediately when you see the drill break through the top sheet.
Step 5: Repeat for all welds on the panel. Drill every marked weld before attempting to separate anything. Trying to pry a partially drilled panel will bend metal and stress the remaining welds, making them harder to drill cleanly.
Step 6: Test separation with a putty knife. Slide a thin putty knife or panel separator into the seam between the panels near a drilled weld. If it slides in, the outer layer is free at that point. If you hit resistance, that weld needs more drilling.
Step 7: Pry the panels apart gradually. Work your pry bar or chisel along the seam, separating one weld at a time. Apply gentle, steady pressure rather than forceful yanks. Let the tool do the work. The outer panel should peel away from the inner structure as each weld releases.
Step 8: Clean up remaining nuggets. After the outer panel is off, small remnants of the weld nuggets will still be attached to the inner panel. Use an angle grinder with a flap disc or a belt sander to grind these flat. The inner panel should end up smooth and ready for the replacement panel.
Spot Weld Cutter Method (Hole Saw Style)
The spot weld cutter method uses a specialized bit that cuts a ring around the weld rather than drilling straight through it. This leaves the weld nugget intact on the inner panel, which you grind off after separation.
Here is how it works:
Step 1: Locate and center punch. Same as the drill bit method. Find every weld, mark it, and center punch the center point.
Step 2: Position the cutter. The spot weld cutter has a spring-loaded pilot pin in the center. Place the pilot into your center punch dimple. The pilot keeps the cutter aligned while the outer cutting ring slices through the metal.
Step 3: Cut the ring. Run the drill at a moderate speed with steady pressure. The cutter slices a clean ring through the outer panel around the weld nugget. Stop when you break through the outer sheet. The pilot pin prevents the cutter from diving into the inner panel.
Step 4: Separate and clean up. Pry the panels apart as usual. The nuggets stay on the inner panel as small button-shaped lumps. Grind these flat with a flap disc.
Pros of the cutter method: It is more forgiving than a twist drill because the pilot controls depth. It cuts cleaner holes. It is less likely to accidentally punch through both layers. Forum users on MIG Welding and Hotrodders consistently rate this as the cleanest removal method.
Cons of the cutter method: The cutting heads are more expensive than standard bits and eventually dull. Replacement heads are available for most brands but add to the ongoing cost. Cutters can struggle on very hard boron or high-strength steel found in newer vehicles.
How to Separate Panels After Drilling?
Drilling is only half the job. Once the welds are cut, you need to physically separate the panels without bending or tearing the underlying structure.
Start at one edge or corner of the panel where you have the most access. Slide a thin putty knife or panel separator knife between the layers. If it goes in cleanly, move to the next weld. If it sticks, that weld is not fully cut yet and needs more drilling.
Work a spot weld chisel or small pry bar along the seam, prying gently at each drilled weld location. Apply steady, controlled force. The panels should separate gradually as each weld connection breaks free.
Never force a panel with a large pry bar or a hammer. That is the fastest way to bend the inner structural panel, which then needs hammer-and-dolly work to straighten before you can weld the replacement back on. Patience here saves hours later.
If a weld is stubbornly holding even after drilling, check whether you drilled deep enough. It is better to go back and drill a fraction more than to pry hard enough to distort the metal.
On curved panels like wheel arches or door jambs, follow the contour of the panel with your prying tool. Forcing a straight pry bar into a curved seam will create kinks and stretch points that show up after painting.
Common Mistakes and How to Avoid Them
Every auto body forum has threads about botched panel removals. Here are the mistakes that show up most often and how to prevent them.
Drilling through both layers. This is the number one complaint. You get aggressive with the drill, punch through the outer panel, and keep going into the inner structure. The fix is speed control and attention. Use a lower drill speed and stop the instant you feel the resistance change when breaking through the top sheet. A depth stop on your bit or drill adds a mechanical safeguard.
Using dull bits on hardened welds. Standard HSS bits go dull fast on spot weld nuggets, which are harder than the surrounding sheet metal. A dull bit requires more pressure, which increases the chance of punching through. Switch to cobalt or titanium-coated bits and replace them when they start cutting slowly.
Skipping the center punch. Without a punch mark, the bit wanders. It ends up off-center, partially missing the weld and cutting into good metal. This leaves a ragged hole that weakens the panel and makes welding the replacement harder. Always center punch, even if you are in a hurry.
Rushing the job. Spot weld removal rewards patience. Trying to power through 40 welds in 10 minutes leads to mistakes, broken bits, and damaged panels. Give each weld the time it deserves.
Not marking all welds first. If you drill as you find welds, you will miss some. Then when you pry the panel, those uncut welds tear chunks of metal out of the inner structure. Mark everything first, drill everything second, pry third.
Prying too aggressively. Using a long bar to lever panels apart with force will warp the parent metal. Use controlled, localized pressure at each weld point instead of long leverage across multiple welds.
Pro Tips for Clean Spot Weld Removal
Know your steel type. Older cars (pre-2000s) typically use mild steel or galvanized mild steel. These drill easily with standard or cobalt bits. Newer vehicles increasingly use high-strength steel (HSS), high-strength low-alloy steel (HSLA), and boron steel in structural areas. These are significantly harder and will eat through HSS bits quickly. For boron steel, carbide-tipped spot weld cutters are the only reliable option.
Use cutting fluid. A drop of cutting oil on each weld before drilling extends bit life dramatically and produces cleaner cuts. It reduces heat buildup that softens and dulls the cutting edge.
Reduce noise with technique. If neighbors are a concern, use a cordless drill at controlled speeds rather than an air-powered tool or angle grinder. The spot weld cutter method is quieter than the drill bit method because it removes less material. Working on a panel that is clamped firmly to a workbench absorbs vibration better than working on a panel still attached to the car.
Clean as you go. After every 5 to 10 welds, brush away the metal chips. Accumulated chips get caught under the drill and scratch the panel surface. They also obscure your view of how deep you are drilling.
Preserve the outer panel for templates. If you are removing a panel for rust repair, the old panel makes an excellent template for shaping the replacement piece. Drill carefully with the spot weld cutter method, which keeps the outer panel in one piece without extra holes.
Inspect the inner panel before welding. After grinding the nuggets flat, run your hand across the surface. Any high spots or remaining nugget material will create gaps when you fit the new panel. Get it perfectly flat before moving on.
FAQs
What is the best way to drill out spot welds?
The best way to drill out spot welds is to use a spot weld cutter bit with a pilot pin. Center punch each weld, position the cutter’s pilot in the dimple, and cut a ring through the outer panel at a controlled drill speed. This method is cleaner and more forgiving than a standard twist drill because the pilot controls depth and prevents punching through both layers.
What bit is used to drill out spot welds?
Two types of bits work for spot weld removal. A spot weld cutter bit (hole saw style with a pilot pin) is purpose-built and produces the cleanest results. Alternatively, a 1/4 inch or 8mm cobalt drill bit works well for the drill bit method. Standard HSS bits dull quickly on hardened weld nuggets, so cobalt or titanium-coated bits are recommended.
What size hole to drill for spot weld?
Most automotive spot welds are drilled with a 1/4 inch (6mm) or 8mm bit, depending on the weld nugget size. Spot weld cutter bits typically cut a ring approximately 3/8 inch (9mm) in diameter. The weld nugget itself is usually 5mm to 8mm across, so your bit or cutter needs to be wide enough to encompass the entire fused area.
Can you drill out spot welds?
Yes, you can drill out spot welds. Spot weld removal by drilling is the most common method used in auto body repair and restoration. By drilling through the outer panel at each weld location without penetrating the inner panel, you can separate the two layers and remove the damaged panel while preserving the underlying structure for reuse.
What is the best tool to remove spot welds?
A dedicated spot weld cutter bit is the best tool for removing spot welds. Brands like Blair, Eastwood, and Lisle make purpose-built cutters with spring-loaded pilots that cut clean rings around each weld. For harder steels like boron or HSS, carbide-tipped cutters are necessary. A cobalt twist drill bit is a good budget alternative.
How do you remove a broken spot weld?
To remove a broken or stubborn spot weld, first check if your drill went deep enough. Re-center punch and drill slightly deeper if needed. If the weld nugget itself is separating but sticking to the inner panel, use a spot weld chisel to cut between the layers. For completely stubborn welds, switch to a spot weld cutter bit to remove the surrounding metal in a clean ring, then grind the remaining nugget flat with a flap disc.
Conclusion
Knowing how to drill out spot welds to separate body panels gives you the confidence to tackle rust repair, panel replacement, and full restorations without paying a shop. The process comes down to a few fundamentals: mark every weld, center punch for accuracy, drill the outer layer only at a controlled speed, and pry gently.
Invest in a quality spot weld cutter bit and keep cobalt bits as backups. Take your time on each weld, use cutting fluid, and always wear eye protection. The inner panel you save today is the foundation for the new panel you weld on tomorrow.
Grab your drill, punch your marks, and start with a practice panel if this is your first time. Once you feel that resistance change when the bit breaks through the top layer, you will have the muscle memory to handle any panel separation job that comes your way.