
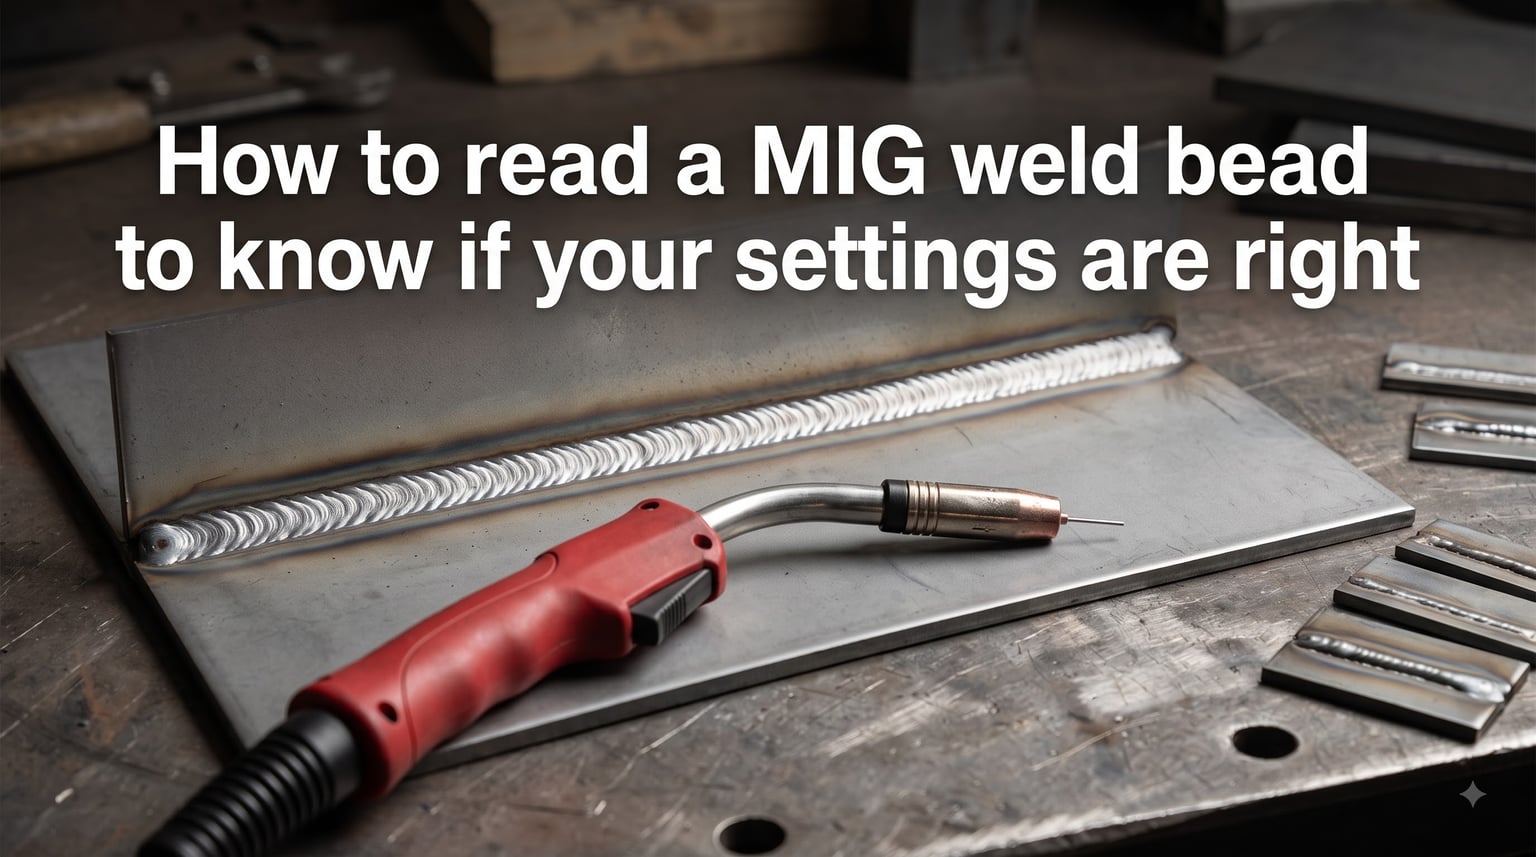
Learning how to read a MIG weld bead is the fastest way to know whether your settings are actually working, even if you do not have a settings chart in front of you. Every bead tells a story about the heat, the wire, and the speed you used to lay it down. Once you can read that story, you stop guessing and start dialing in your welder by eye. I have spent enough time in my garage burning coupon plates to know that the weld is honest, and this guide is everything I wish someone had told me on day one.
The bead on the surface of the joint is the direct result of four settings working together. When one of them drifts out of range, the bead changes shape, color, or width in a predictable way. In the next few sections I will walk you through what a good bead looks like, how to inspect your own, and how to map each visual clue back to the setting that caused it. By the end you will be able to self-correct in real time, without flipping through a PDF or asking a forum.
Table of Contents
What a Good MIG Weld Bead Looks Like?
A good MIG weld bead is the visual baseline every welder should burn into their memory. Get this picture in your head first, then judge everything else against it. I keep a reference coupon taped to my welding cart so I can compare my work to it on bad days.
Across the surface of the joint, a correct bead is slightly convex with a smooth, uniform ripple pattern. The width should be roughly 1.5 to 2 times the wire diameter you are running, and the height should be small enough that you can lay a coin across it without rocking. The toes, the edges where the bead meets the base metal, should blend in cleanly with no undercut or cold lap. There is a small, even heat affected zone (HAZ) on either side that looks like a faint discoloration band, not a wide rainbow.
If you chip the bead off and look at the cross-section, you will see good penetration into the base metal. The fusion zone should reach at least halfway through the material on a standard butt joint. From the top, spatter should be minimal, and any spatter you do see should pop off easily instead of being welded onto the surface. When all of these conditions are met, your settings are dialed in.
The Four MIG Settings That Control Your Bead
Before you start diagnosing, you need a clear mental model of the four knobs that shape your weld. I think of them as the four controls of a small fire that you are dragging across the joint. Each one changes a specific attribute of the bead.
Voltage controls heat and bead width. Higher voltage spreads the arc, flattens the bead, and widens the puddle. Lower voltage narrows the bead and concentrates the heat into a tall, ropey stack. Think of voltage as the spread of the flame.
Wire feed speed (which controls amperage) controls how much filler metal you lay down. Faster wire means more metal, higher bead height, and a hotter puddle. Slower wire means less deposit, narrower bead, and a cooler arc. Wire feed speed is the fuel.
Travel speed is how fast you move the gun along the joint. Faster travel stretches the same amount of metal over a longer distance, making the bead thinner and narrower. Slower travel piles metal up in one spot, making it wide and tall. Travel speed is the pace.
Shielding gas flow rate protects the weld puddle from atmospheric contamination. Too little flow and you get porosity and discoloration. Too much flow and you waste gas and create turbulence. Most MIG welders run 20 to 25 cubic feet per hour (CFH) for mild steel with C25 mix.
How to Read a MIG Weld Bead: The Step-by-Step Inspection Process?
When you finish a weld, do not set the gun down yet. Run through this short inspection routine every time. After a few weeks it becomes automatic and you will spot problems within seconds. I do this on every coupon I cut.
Stop the gun and step back. Look at the bead from the top, the side, and the end of the weld while it is still warm.
Check the bead profile. Is it flat and wide, tall and narrow, or sitting on top of the metal?
Check the toes. Are there grooves or undercut where the bead meets the base metal?
Check the surface. Look for spatter, porosity, discoloration, or roughness.
Check the HAZ on both sides of the bead. Is it consistent in width and color?
Decide which setting to adjust and make a single small change. Run another bead. Repeat until the bead matches the baseline.
Signs Your Voltage Is Too High
When voltage climbs above the sweet spot for your wire and gas, the arc starts to push the puddle outward instead of digging into it. The bead gets wider and flatter, and you will usually see the classic wide, flat, shiny look that experienced welders call a “soaking” puddle.
Other clues include excessive spatter, a noisy arc that sounds almost sizzling, and a tendency to burn through on thinner material. If you see a wide, shiny, flat bead with spatter and the puddle is dripping ahead of the gun, lower voltage in 0.5 volt increments until the bead tightens up and the arc sounds like a smooth sizzle.
Signs Your Voltage Is Too Low
Voltage that is set too low concentrates the heat into a small spot and pulls the bead upward. You will see a tall, narrow, ropey bead with distinct ripples that look stacked on top of each other. The arc sounds harsh, almost like a buzz or a pop, and the wire will sometimes stub into the puddle and stall.
Penetration drops because the arc is not pushing heat deep enough, and the toes of the weld often look rough or undercut. If you see a tall narrow bead with a crackling sound, raise voltage in 0.5 volt steps until the bead flattens slightly and the arc steadies into a smooth hiss.
Signs Your Wire Feed Speed Is Too High
Wire feed speed that is cranked too high dumps more filler into the puddle than the heat can melt. The weld ends up sitting on top of the base metal like a worm of solder rather than soaking in. This is the classic “beading up” complaint that comes up over and over again on welding forums. Beginners often see this when they turn the wire feed knob way up without changing the voltage to match.
The bead looks convex, ropey, and tall, with poor fusion at the toes. You may also see the wire ball up at the tip after the arc stops. The fix is to slow the wire feed speed in 10 to 20 inches-per-minute (IPM) increments until the bead lays down into the joint and you can see a clean tie-in at the edges.
Signs Your Wire Feed Speed Is Too Low
If the wire feed is too slow, the arc eats more base metal than you are replacing with filler. The bead looks thin, narrow, and underfilled, with visible gaps or a groove running down the center. You will hear the arc pop and snap more than it sizzles because the wire keeps burning back toward the contact tip.
On thin material, you will burn through quickly because the heat has nowhere to go. The cure is to speed the wire feed up in 10 to 20 IPM steps until the puddle fills in evenly and the bead has the slight convex profile of a correct weld. If your contact tip keeps burning back, your wire feed is definitely too slow for your voltage setting.
Signs Your Travel Speed Is Too Fast
Travel speed is the most common problem for new welders because the temptation to move quickly is strong. When you travel too fast, the same amount of heat and filler is stretched over a longer distance. The result is a narrow, underfilled bead that looks like a thin, gangly trail across the joint.
You will see ripples that are stretched and elongated, with poor tie-in at the toes and possibly undercut. There is also a higher risk of porosity because the puddle freezes before gas bubbles can escape. Slow your travel speed down until the bead width is roughly twice the wire diameter and the ripples become evenly spaced.
Signs Your Travel Speed Is Too Slow
Going too slow has the opposite problem. The puddle has time to grow and sag, leaving a wide, heavy bead with deep overlaps between ripples. You will see the classic “stacked dime” look with very tall ripples and a tendency for the puddle to drip or sag, especially out of position.
On thin material, slow travel combined with high heat causes burn-through and a wide, lumpy HAZ. Pick up your pace until the bead lays down as a clean, uniform ribbon without sagging or piling up. A good test is to count your ripples. Roughly 8 to 12 ripples per inch is a healthy range on most mild steel beads.
Shielding Gas Problems: Reading Porosity and Contamination
Shielding gas problems show up on the surface of the bead in ways that are easy to miss if you only look at the shape. Porosity looks like tiny pinholes or clusters of craters on the surface, sometimes described on forums as a “worm-eaten” bead. You might also see a brown, rust-colored residue or rainbow discoloration on and around the bead.
Common causes include low gas flow (below 20 CFH), drafts from a fan or open door blowing gas away from the puddle, leaks in the hose or regulator, and contamination on the base metal from oil, paint, or rust. Check your flow meter first, then check the work area for drafts, and finally clean the base metal with a degreaser or a wire brush before welding. The most common MIG defect on the PAA list is porosity, and almost always it is a gas or cleanliness problem rather than a heat problem.
Using the Heat Affected Zone to Diagnose Settings
The Heat Affected Zone (HAZ) is the band of discoloration on either side of the bead where the base metal was heated but did not actually melt. Most beginners ignore it, but experienced welders on forums like WeldingWeb treat the HAZ as a free diagnostic tool. I started paying attention to it and it changed how I read my welds.
A consistent, narrow HAZ on both sides of the bead means your heat input is even and your travel speed is steady. A wide, dark HAZ with heavy oxidation means too much heat or too slow travel. A faint or barely visible HAZ usually means you are running too cold or too fast and the weld may not be fusing properly.
If the HAZ changes width along the length of the bead, your travel speed is inconsistent. Work on keeping your hand steady and your pace uniform. The HAZ is also a good early warning sign of distortion on thin material. If it is bright red while you weld, you have too much heat in the joint.
Quick Diagnosis Chart: Bead Problem to Setting Fix
Use this chart as a starting point when you are not sure where to start adjusting. Match what you see on your bead to the row, then make a single change to the listed setting.
Tall, narrow, ropey bead → Lower wire feed speed, then raise voltage slightly.
Wide, flat, shiny bead with spatter → Lower voltage in 0.5 V steps.
Weld sitting on top, poor fusion → Slow wire feed and check for dirty base metal.
Thin, underfilled, stretched bead → Speed up wire feed or slow travel speed.
Pinholes or porosity → Increase gas flow, check for drafts, clean the joint.
Undercut at the toes → Lower voltage or speed up travel.
Burn-through on thin metal → Lower voltage and wire feed, speed up travel.
Practice Exercises to Develop Bead Reading Skill
Bead reading is a skill, and like any skill it improves with deliberate practice. The cheapest and most effective drill I run is the coupon stack exercise. Cut five identical 3 inch by 6 inch coupons of mild steel, set your machine to the manufacturer chart for that thickness, and lay a single straight bead on each one with one small change between coupons.
For example, run a bead at the chart settings, then run one with voltage up 1 V, then one with voltage down 1 V, then one with wire feed up 20 IPM, then one with travel speed doubled. Lay all five beads side by side and study the differences. This is the exercise that finally trained my eye and it is the same drill most community members recommend on Reddit and WeldingWeb.
Once you can spot the differences on a controlled coupon, take those reference beads with you mentally to your real projects. Adjust one variable at a time on the actual part, run a short test bead off the edge of the workpiece if possible, and confirm the change worked before committing to the full weld. With practice, you will be able to read a bead and make the right correction in under a minute.
FAQs
How do I know if my MIG settings are correct?
Look for a slightly convex bead with smooth, evenly spaced ripples, clean tie-in at the toes, and a consistent narrow heat affected zone. If you see that profile, your voltage, wire feed speed, travel speed, and gas flow are all working together.
What does a good MIG bead look like?
A good MIG bead is slightly convex, about 1.5 to 2 times the wire diameter wide, with smooth uniform ripples and clean blending into the base metal at both edges. Spatter is minimal, the surface is clean, and the HAZ is narrow and even on both sides.
Why is my weld beading up and sitting on top of the metal?
Beading up means your wire feed speed is too high relative to your voltage, so filler metal is being deposited faster than the heat can melt it into the joint. Slow the wire feed in 10 to 20 IPM steps until the bead lays down and fuses into the base metal.
What causes porosity in MIG welding?
Porosity in MIG welds is almost always a shielding gas problem. The most common causes are low gas flow, drafts blowing gas away from the puddle, leaks in the hose or regulator, and contamination on the base metal such as oil, paint, or rust.
What is the most common defect in MIG welds?
Porosity is the most common defect in MIG welds, followed by lack of fusion and undercut. Most of these defects are caused by incorrect settings, poor gas coverage, or dirty base metal rather than bad equipment.
How do I fix burn-through on thin metal?
Lower your voltage and wire feed speed, then speed up your travel so the arc does not dwell in one spot. Use smaller wire diameter such as 0.023 inch for material under 1/8 inch thick and consider pulse settings if your machine supports them.
Conclusion
Learning how to read a MIG weld bead turns every weld into a feedback loop. You stop being dependent on a settings chart and start trusting your eyes. Run the inspection routine, compare the bead to the baseline, change one setting at a time, and burn another coupon. Within a single afternoon you will already start hearing the arc differently and seeing the HAZ react to your changes.
Keep practicing on scrap, save your best coupons as references, and revisit the quick diagnosis chart whenever something looks off. Before long, reading a MIG weld bead becomes second nature, and you will pull clean, strong welds on the first try on real projects.