
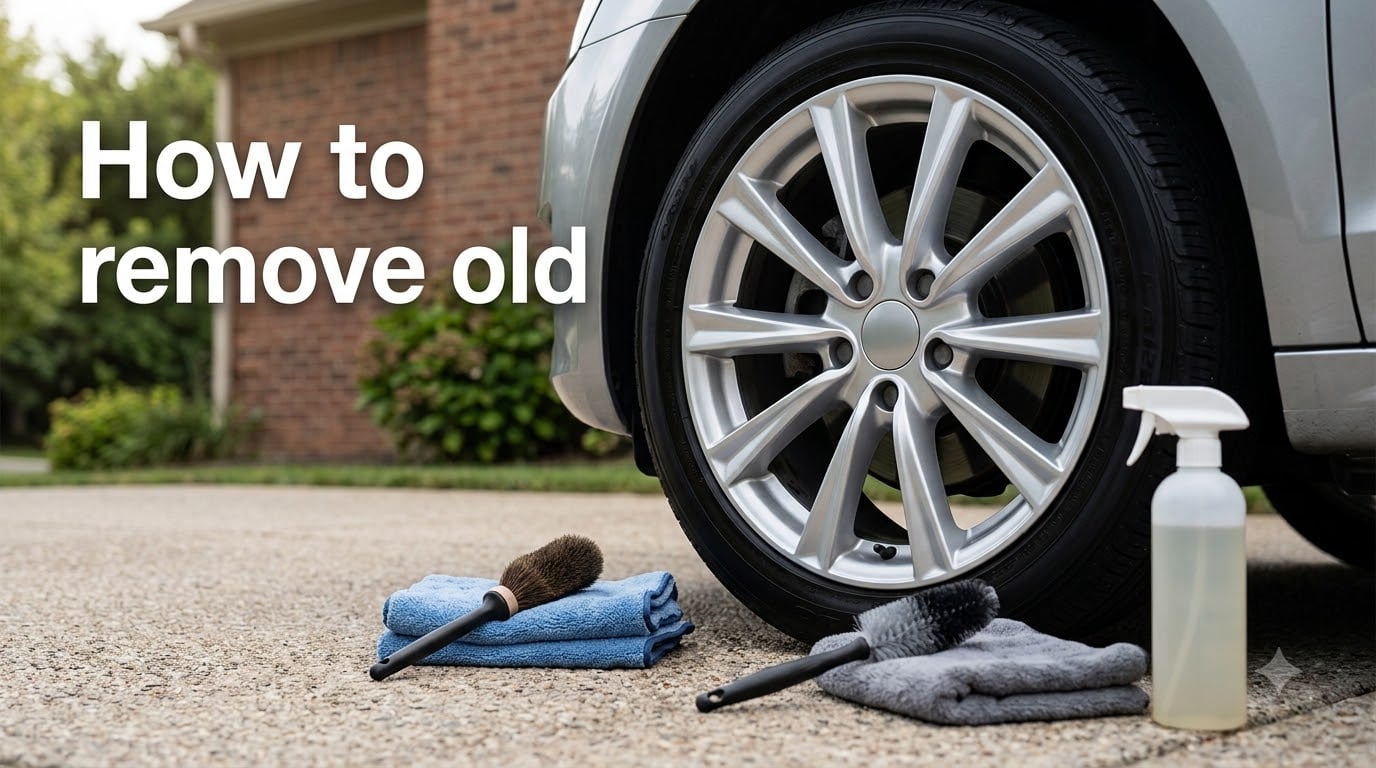
If you have ever looked at your wheels after a few thousand miles and wondered how to remove baked on brake dust from wheels that seems welded on, you are not alone. That dark, gritty film is not just ugly. It is corrosive iron filings mixed with carbon, baked in by the heat of everyday braking.
I have spent weekends scrubbing wheels that refused to come clean, so I put together this guide to save you the trial and error. In the next few minutes we will cover what brake dust actually is, the safety steps that protect your wheel finish, the exact process that works on years-old buildup, and how to keep the dust from coming back.
By the end, you will have a clear plan to safely remove baked on brake dust from wheels without damaging your finish, plus a routine that prevents it from building up again.
Table of Contents
What Brake Dust Actually Is and Why It Bakes On?
Brake dust is not just dirt. It is a fine mix of iron particles shed from your rotors, carbon fibers from brake pads, and adhesive residue that bonds everything together. Every time you press the brake pedal, friction heats those particles past 400 degrees Fahrenheit in normal driving.
That heat does two things. It fuses the iron filings to the wheel surface, and it bakes the carbon and adhesive into a hard shell on top. Over weeks and months, this layered buildup becomes what detailers call “baked-on brake dust,” and ordinary soap and water will not touch it.
On alloy wheels especially, the iron content matters. Iron particles start to oxidize almost the moment they land, and that oxidation bleeds into the clear coat if you leave it. That is why wheels you ignored for six months often show permanent staining even after a wash.
Safety Precautions Before You Start Cleaning
Before you grab a brush, spend two minutes on safety. Wheel cleaning involves chemicals that range from mild to seriously acidic, and the wrong move can scar a finish in seconds.
Know Your Wheel Finish First
Different wheel surfaces react very differently to the same cleaner. Factory clear-coated alloys are the most forgiving and tolerate most pH-balanced wheel cleaners. Bare polished aluminum is far more reactive and will etch if you use anything acidic. Chrome-plated wheels sit in the middle but can pit if left wet.
Painted or powder-coated aftermarket wheels usually have a strong finish but can discolor if you let strong cleaners dry on them. If you are not sure what you have, test any cleaner on a small inner-barrel area first and wait five minutes before going wider.
Wear Basic Protection
At minimum, wear nitrile gloves and eye protection. Acid-based and iron-removing cleaners are skin and eye irritants. Old clothes are a good idea because splatter happens. Work in the shade on a cool wheel, since a hot wheel bakes the cleaner dry before it can do its job.
Keep Runoff Away From Plants and Concrete
Wheel cleaner runoff carries dissolved iron and acids. Park on gravel or grass when you can, and rinse the driveway thoroughly afterward. A drip pan under each wheel is even better for indoor work.
Tools and Products You Will Need
Gathering everything before you start makes the process much faster. The cleaners and brushes you choose depend on how heavy the buildup is and what your wheel finish can handle.
Cleaners
For light to moderate buildup, a pH-neutral wheel cleaner or a color-changing iron remover is the safest starting point. Iron removers like Carpro Iron X use a chemical reaction that turns purple as it dissolves iron particles, so you can actually see it working.
For heavy, years-old baked-on brake dust, an acid-based wheel cleaner is often necessary. These work much faster on stubborn buildup but require the safety steps above. Read the label and never mix cleaners.
Brushes and Applicators
You need three brushes to do this properly. A soft nylon wheel brush handles the face and spokes. A long, thin barrel brush reaches the back of the wheel and through spokes. A small detailing brush gets into the nooks around lug nuts and emblems.
Add a pack of microfiber towels, a few sheets of cheap toilet paper, and some plastic cling wrap if you plan to try the soaking method described in the next section.
Household Alternatives
White vinegar mixed 50/50 with water works on light buildup. Dawn dish soap cuts the greasy top layer but does not dissolve iron. Baking soda paste is mildly abrasive and safe for clear-coated wheels in a pinch.
For more stubborn jobs, some detailers swear by the toilet paper and plastic wrap trick first popularized by Red Eye Garage. It keeps the cleaner wet against the stain long enough to actually penetrate.
How to Remove Baked On Brake Dust From Wheels Safely: Step by Step
This is the process I use on wheels that have been neglected for months. Follow the steps in order and resist the urge to skip ahead, because each one builds on the last.
Step 1: Cool the Wheels Down
If you have just driven, wait at least 30 minutes. A cool wheel lets the cleaner dwell longer without drying. A hot wheel flashes the cleaner off and can stain the finish.
Step 2: Rinse the Wheels First
A strong rinse removes loose grit that would otherwise turn into sandpaper under your brush. Use a regular garden hose or a pressure washer on a low setting. Hit the barrels, the face, and behind the spokes as best you can.
Step 3: Apply the Cleaner
Spray the cleaner generously across the entire wheel, starting at the bottom and working up so it does not run down a dry area and leave streaks. For acid-based cleaners, work one wheel at a time so nothing sits longer than the label recommends.
Step 4: Agitate With Brushes
Use the soft nylon brush on the face and spokes. Use the barrel brush through the spokes and along the inside of the wheel. Use the small detailing brush around lug nuts, valve stems, and any logo or cap.
Apply light pressure. Let the chemistry do the work. If you find yourself scrubbing hard, the cleaner needs more dwell time, not more force.
Step 5: Use the Toilet Paper Soak for Heavy Spots
For black patches that just will not budge, this is the trick. Soak strips of toilet paper in your wheel cleaner and lay them directly onto the stained area. Cover the paper with plastic cling wrap to keep it from drying out.
Wait 10 to 15 minutes. The paper holds the cleaner in place, and the wrap keeps air out. Pull the wrap and paper off, give the area a quick scrub, and most baked-on brake dust will wipe away. This is the single biggest time-saver I have found for years-old buildup.
Step 6: Rinse Thoroughly
Never let any cleaner dry on the wheel. Rinse from the top down until the water runs clear. Pay extra attention to the barrel and the back of the spokes where residue hides.
Step 7: Dry and Protect
Dry with a clean microfiber towel to prevent water spots, especially on polished or chrome wheels. Once dry, apply a wheel sealant or a spray wax. A protected wheel releases brake dust much more easily the next time you wash.
Home Remedies vs Commercial Wheel Cleaners
You can find a hundred forum posts debating this, so let me lay it out plainly.
White vinegar is great for very light buildup and is safe on most clear-coated wheels, but it will not touch serious iron deposits. Dawn dish soap is a useful pre-wash to strip the greasy top layer, but it does not actually dissolve iron.
WD-40 will loosen baked-on dust and make it wipe away, but it leaves an oily film that attracts more dirt. Use it as a last resort before a full wash, not as a regular cleaner.
Baking soda paste is mildly abrasive and works on clear-coated wheels, but it will scratch polished or chrome finishes. Iron remover sprays are the best home-use option because they chemically dissolve the iron without abrasion and show you where the dust actually is.
Acid-based commercial cleaners are the most powerful option for extreme buildup. They work in minutes where everything else fails, but they demand the safety steps we covered earlier. Save them for occasional deep cleans, not weekly washes.
Prevention: Stopping Brake Dust Before It Bakes On
The easiest brake dust to remove is the dust that never had time to bake. A simple routine saves hours of scrubbing later.
Wash your wheels every two weeks if you drive daily, and every week if you commute in heavy stop-and-go traffic. Dust that sits less than 14 days is much easier to remove than dust that sits for three months.
Apply a quality wheel sealant every three to four months. Sealants create a slick barrier that prevents iron particles from bonding directly to the wheel surface. When wash time comes, the dust slides off with a gentle rinse.
Consider upgrading to low-dust brake pads when it is time for a replacement. Ceramic pads produce far less visible dust than traditional semi-metallic pads, which cuts your cleaning time dramatically.
When to Call a Professional or Refinish the Wheels?
Sometimes DIY is not the right answer. If your wheels show any of these signs, you are past the cleaning stage and into the refinishing stage.
Pitting you can feel with your fingernail means iron particles have eaten into the metal. Discoloration that does not come off even after multiple soaking sessions means the stain has penetrated past the clear coat. Cloudy or peeling clear coat means the protective layer has failed and needs to be stripped and redone.
Professional wheel refinishing typically costs a few hundred dollars for a set of four and brings them back to factory condition. That sounds expensive until you compare it to replacing a set of wheels that costs four figures.
If you are not sure which category your wheels fall into, talk to a local detailer or wheel specialist. Many offer free assessments and will tell you honestly whether cleaning or refinishing is the right call.
Frequently Asked Questions
What dissolves baked brake dust?
Acid-based wheel cleaners and iron-removing products dissolve baked brake dust fastest. Iron removers like Carpro Iron X chemically react with the iron particles and turn purple as they work. For very heavy buildup, an acid-based wheel cleaner works in minutes but requires gloves and eye protection.
Will WD-40 remove brake dust from wheels?
WD-40 will loosen baked-on brake dust so it wipes away, but it leaves an oily film behind that attracts fresh dirt. Use it as an emergency option and follow with a proper wash and dry. It is not a substitute for a dedicated wheel cleaner.
What is the best wheel cleaner for removing baked on brake dust?
For most users, a color-changing iron remover is the best balance of safety and effectiveness. It is pH-neutral, shows you exactly where dust remains, and works without scrubbing. For extreme cases, an acid-based cleaner is faster but requires more care.
Will Dawn remove brake dust from rims?
Dawn dish soap cuts the greasy top layer of brake dust and works fine for light weekly maintenance. It will not dissolve iron particles or remove heavy baked-on buildup. Use it as a pre-wash before applying a dedicated iron remover for best results.
Is vinegar safe for cleaning alloy wheels?
White vinegar diluted 50/50 with water is safe for clear-coated alloy wheels and works on light brake dust. It is not strong enough for heavy baked-on buildup, and you should avoid it on bare polished aluminum because the acid can etch the finish.
How often should I clean brake dust off my wheels?
Clean your wheels every two weeks if you drive daily, and weekly if you commute in heavy stop-and-go traffic. Dust that sits less than 14 days is far easier to remove than dust that has been baked on for months. A regular routine is the single best prevention against permanent staining.
Final Thoughts on Removing Baked-On Brake Dust
Learning how to remove baked on brake dust from wheels safely comes down to three things. Pick the right cleaner for your wheel finish, give the product time to work instead of scrubbing harder, and stick to a routine so dust never has time to fuse on. The toilet paper soak trick is worth memorizing for the stubborn spots that resist everything else.
If your wheels have already crossed into pitting or clear-coat failure, no amount of cleaner will bring them back. That is the moment to call a professional refinisher rather than wasting another weekend scrubbing. With the right approach, your wheels will look new again, and you will not have to replace them for years.