
Nothing is worse than walking into a house that feels like an oven when the AC has been running all afternoon. You check the thermostat, feel the vent, and the air is lukewarm or barely cool. Before you call an HVAC technician and spend hundreds of dollars, you can narrow down the problem yourself.
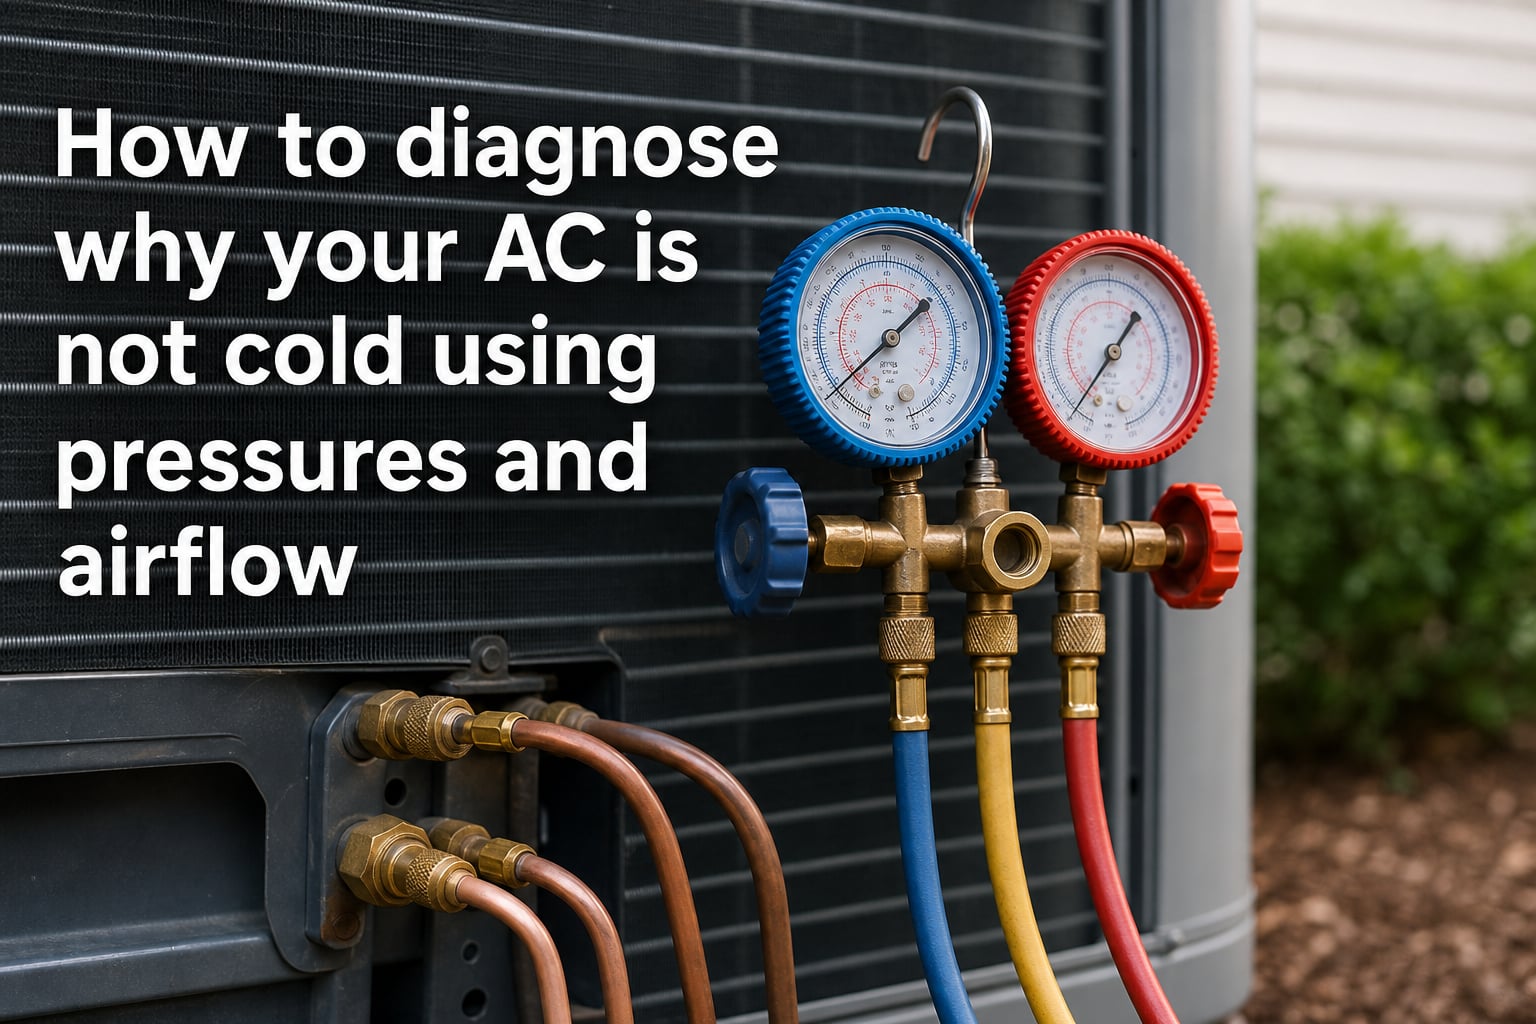
Learning how to diagnose why your AC is not cold using pressures and airflow gives you a clear picture of what is happening inside the system. Pressure readings from manifold gauges tell you whether the refrigerant charge is correct, whether a component is failing, or whether airflow is the real culprit. Airflow checks catch problems that pressure readings alone will miss.
I have spent years working through AC diagnosis on residential systems, automotive units, and heat pumps. The approach I share here works because it follows the same sequence professional technicians use: rule out airflow issues first, then read pressures, then interpret the pattern. That order matters more than most people realize.
This guide walks you through every step with specific PSI ranges, diagnostic charts, and real-world examples. You will learn what normal pressures look like on an 80-degree day, how to spot a restricted orifice tube, and when to put the tools down and call a pro.
Table of Contents
What AC Pressures Tell You About Your System?
Your air conditioning system operates on a closed loop with two distinct pressure zones. The low side (suction side) carries refrigerant vapor back to the compressor at relatively low pressure. The high side (discharge side) carries compressed, hot refrigerant vapor from the compressor to the condenser.
These two pressure readings act like a blood pressure reading for your AC system. Together, they reveal whether refrigerant is flowing properly, whether the compressor is doing its job, and whether a restriction or leak is starving the system. A single reading tells you very little. The relationship between high and low side pressures is what points you to the problem.
For example, if both pressures are unusually low, you are likely dealing with a refrigerant undercharge or a compressor that cannot pump effectively. If the low side is high and the high side is low, the compressor may be failing internally. If both pressures are high, you might have an overcharge or a condenser airflow problem. Each pattern tells a specific story.
Pressure readings also correlate with outdoor ambient temperature. On an 80-degree day with normal humidity, a properly charged R-410A residential system typically runs around 118-130 PSI on the suction line and 260-280 PSI on the liquid line. For R-22 systems (older units), expect roughly 65-75 PSI low side and 200-250 PSI high side under similar conditions. These numbers shift with temperature, so always note your ambient reading.
Tools You Need to Diagnose AC Pressures and Airflow
You do not need a fully stocked HVAC truck, but you do need the right instruments. Trying to diagnose pressure problems without gauges is like trying to tune an engine without a tachometer. Here is what I keep in my diagnostic kit.
Manifold gauge set: A two-valve or four-valve manifold with high and low side gauges rated for your refrigerant type. Make sure the hoses have Schrader valve depressors.
Digital clamp thermometer: For measuring supply and return air temperatures at the vents and refrigerant line temps.
Infrared thermometer: Useful for checking coil temperatures, line set temps, and spotting uneven cooling across the condenser.
Manometer or static pressure tip: For measuring duct static pressure if you suspect airflow restrictions.
Refrigerant line temperature clamp: Needed for superheat and subcooling calculations.
Safety glasses and gloves: Refrigerant can cause frostbite on contact with skin. Eye protection is mandatory.
If you are working on an automotive AC system, add a retrofit fitting adapter set and a can tap for whatever refrigerant your vehicle uses (R-134a or R-1234yf). For residential systems, you may also need a micron gauge if you plan to evacuate the system, though that falls into professional territory.
Safety Precautions Before You Start
AC systems involve high-pressure refrigerant, electrical components, and moving parts. Before connecting any gauges or opening any panels, take these safety steps seriously.
Always shut off power to the condensing unit and air handler at the breaker before doing anything electrical. Refrigerant under pressure can cause instant frostbite if a hose bursts or a connection leaks. Wear safety glasses at all times. Never vent refrigerant into the atmosphere. It is illegal under EPA regulations, and it harms the environment.
If your system uses R-410A, be aware that it operates at significantly higher pressures than R-22. A standard R-22 gauge set is not rated for R-410A pressures. Using the wrong gauge set can lead to dangerous failures. Always confirm your refrigerant type on the unit nameplate before connecting anything.
Step 1: Check Airflow Before Touching Your Gauges
This is the step most DIYers skip, and it causes misdiagnosis more than anything else. Low airflow mimics refrigerant problems. If your evaporator coil is starved for air, the pressures will look wrong even when the charge is perfect. Always verify airflow first.
Start by checking your air filter. A clogged filter is the number one cause of AC performance complaints. Pull it out and hold it up to a light. If you cannot see light through it, replace it. A dirty filter drops airflow across the evaporator coil, which lowers low-side pressure and can cause the coil to freeze.
Next, walk the supply vents in every room. Hold your hand or a tissue strip over each one. You should feel solid, consistent airflow from every register. A room with weak airflow points to a duct problem, a closed damper, or a disconnected duct. Check return grilles too. Blocked returns starve the entire system.
Head outside to the condenser unit. Clear away leaves, grass clippings, and debris from the sides and top. The condenser coil fins should be clean and straight. Bent fins restrict airflow and raise head pressure. Gently hose the coil from the inside out to remove dirt. If the fins are matted with dirt, use a foaming coil cleaner.
For a deeper airflow check, measure the temperature drop across the evaporator coil. Place one thermometer in the return air stream and another in the supply air stream closest to the air handler. A properly operating system shows a 15 to 20 degree difference. A split below 15 degrees suggests poor airflow or a refrigerant issue. A split above 20 degrees suggests restricted airflow over a cold coil, which can lead to freezing.
Static pressure testing goes a step further. Using a manometer with a static pressure tip, measure the pressure difference between the return and supply sides of the blower. Residential systems should generally run between 0.3 and 0.5 inches water column on each side. High static pressure means the blower is fighting resistance, which points to dirty coils, undersized ducts, or closed registers. No competitor covers this, but it catches problems that pressure gauges alone will not reveal.
Step 2: Connect Your Manifold Gauge Set
Once airflow is verified or corrected, it is time to connect your gauges. Locate the service ports on your system. On a residential split system, the low-side (suction) port is on the larger copper line at the outdoor condenser, and the high-side (liquid) port is on the smaller copper line. Both lines connect between the indoor and outdoor units.
Make sure both manifold valves are fully closed before connecting. Connect the blue hose to the low-side port and the red hose to the high-side port. The yellow hose connects to your refrigerant source or a recovery tank if you plan to add or remove refrigerant, though I recommend leaving it capped for diagnosis only.
Before cracking the service valves open on the unit, briefly purge the hoses with refrigerant to clear air and moisture. Crack the low-side port slowly and watch the gauge. Then crack the high-side port. With the system off, both gauges will show a static pressure reading. On an 80-degree day, static pressure for R-410A will sit around 200-220 PSI. For R-22, expect roughly 130-145 PSI static. If static pressure is far below these ranges, you have a significant leak or the system is nearly empty.
Now turn the AC on. Let it run for at least 10 to 15 minutes so pressures stabilize. Watching gauges during the first few minutes of operation gives misleading numbers because the system has not reached steady state. Record both pressures once the readings settle.
Step 3: Read and Interpret High and Low Side Pressures
Reading pressures is straightforward once the system stabilizes. Interpreting them requires knowing what normal looks like under your specific conditions. The ambient temperature outside directly affects both pressures. Hotter days mean higher pressures on both sides.
For R-410A systems, normal operating pressures on an 80-degree day typically fall between 118 and 130 PSI on the low side and 260 to 280 PSI on the high side. For R-22 systems, expect 65 to 75 PSI low side and 200 to 250 PSI high side. For automotive R-134a systems, low side runs around 25 to 35 PSI and high side around 200 to 250 PSI at idle with the fan on high.
As ambient temperature rises, expect both pressures to climb. On a 95-degree day, R-410A high side can reach 350 PSI or more and still be normal. Always compare your readings to a pressure-temperature chart for your specific refrigerant. This chart converts pressure readings to saturation temperatures, which tells you whether your refrigerant is boiling and condensing at the right temperatures.
Look at the gauge needle behavior too. Steady readings are normal. A low-side gauge that fluctuates rapidly between 20 and 50 PSI suggests a TXV hunting or an early-stage compressor failure. A high-side gauge that climbs steadily without stabilizing points to a condenser airflow problem or an overcharge. Bubbling in the sight glass (if your system has one) means you have vapor and liquid mixed, which can indicate low charge or a restriction upstream.
One forum user on r/hvacadvice reported readings of 100 PSI low side and 390 PSI high side on an 80-degree day with 65 percent humidity. Those numbers scream condenser airflow restriction. The high-side pressure is way above normal, and the low side is elevated because the system cannot reject heat fast enough. That pattern almost always points to a dirty condenser coil or a failing condenser fan motor.
AC Pressure Diagnosis Chart: What Your Readings Mean
Use this chart to match your pressure pattern to the most likely cause. Remember that these are starting points, not absolutes. Always confirm with a secondary check like temperature readings or visual inspection before committing to a repair.
Both pressures low (low side below normal, high side below normal): Likely a refrigerant undercharge. Look for leaks at schrader valves, coil U-bends, and brazed joints. Also check for a restricted liquid line filter drier.
Both pressures high (low side above normal, high side above normal): Likely an overcharge or condenser airflow problem. Clean the condenser coil, verify the fan is running at full speed, and check for recirculation (hot air being drawn back into the condenser).
Low side high, high side low: Classic sign of a failing compressor. The compressor cannot compress the gas, so pressures equalize. Could also be a broken reed valve or worn internal components.
Low side in vacuum (below 0 PSI), high side normal to low: A restriction in the low side of the system. Check for a plugged filter drier, a kinked suction line, or a frozen evaporator coil blocking flow.
Low side normal, high side abnormally high: Partial restriction on the high side after the condenser, or noncondensables (air) trapped in the system. Also check condenser fan operation.
Pressures equalize quickly after shutdown: Bad compressor. A healthy compressor should hold pressure differential for several minutes after turning off. Rapid equalization means internal leakage.
Low side fluctuates wildly: TXV hunting or moisture in the system causing the expansion device to freeze and thaw. Install or replace the filter drier and consider a system evacuation.
This chart is your quickest diagnostic shortcut. Once you match a pattern, verify it with a temperature measurement before proceeding to repairs.
Diagnosing Common AC Problems by Pressure Pattern
Let me walk through the most common scenarios in detail. These come from real diagnostic situations shared on HVAC forums and from my own experience troubleshooting systems that would not cool.
Refrigerant undercharge and leaks: A slow leak drops refrigerant charge over weeks or months. Both pressures drop below normal, and the low side may pull into vacuum under severe conditions. The suction line feels warm instead of cold. The evaporator coil may freeze at the entrance but not across the full face. Use an electronic leak detector or soap solution to find the source. Small leaks at schrader valves can be tightened. Coil leaks usually require professional repair.
System overcharge: This often happens when someone adds refrigerant without measuring. Both pressures run high. The high side can exceed 400 PSI on R-410A systems, which trips the high-pressure safety switch. Subcooling will be high. The fix is recovering the excess refrigerant, which requires EPA Section 608 certification and recovery equipment. This is not a DIY repair.
Restricted orifice tube or TXV: A restriction at the expansion device starves the evaporator. The low side drops below normal and may go into vacuum. The high side stays normal or drops slightly. The suction line may frost right at the expansion device but not further down. For automotive systems, a clogged orifice tube is a common culprit, especially if the system has been open to the atmosphere. For residential systems, a stuck TXV can cause the same pattern. A stuck-closed TXV drops low-side pressure and starves the coil. A stuck-open TXV floods the evaporator, raising low-side pressure and reducing superheat to near zero.
Compressor failure: When the compressor cannot pump, pressures equalize or the low side runs high while the high side stays low. Listen for unusual noises like knocking, rattling, or a hum followed by a click (the internal overload tripping). A compressor that draws locked-rotor amps but cannot start will trip the breaker. Two clear signs of a failing compressor are pressures that equalize rapidly after shutdown and a low side that reads high with a high side that reads low.
Condenser airflow restriction: High side pressure climbs while the low side may read normal or slightly high. The condenser fan runs but cannot move enough air across the coil. Check for dirt buildup, bent fins, weeds or obstructions around the unit, or a fan motor running at reduced speed due to a failing capacitor. Cleaning the coil and replacing a weak capacitor usually fixes this pattern.
Noncondensables in the system: If air got into the system during a poor service job, it collects at the top of the condenser and blocks heat transfer. The high side runs high with normal or slightly elevated low side. Subcooling appears normal, but the system cannot cool effectively. The only fix is a full recover, evacuate, and recharge with the correct weighed-in charge.
Understanding Superheat and Subcooling
Pressure readings alone do not tell the whole story. Superheat and subcooling add the temperature dimension that turns a good guess into a confident diagnosis. These two measurements tell you exactly how much refrigerant is in the system and whether the metering device is working properly.
Superheat measures how much heat the refrigerant absorbs above its boiling point as it travels through the evaporator coil. To calculate it, convert your low-side pressure reading to a saturation temperature using a PT chart. Then measure the actual suction line temperature with a clamp thermometer six inches from the compressor. Subtract the saturation temperature from the actual temperature. The result is your superheat.
For fixed-orifice systems (orifice tube, capillary tube), target superheat depends on indoor wet bulb and outdoor dry bulb temperatures. A superheat chart or calculator gives you the target. Typically, fixed-orifice systems run 8 to 12 degrees of superheat at design conditions. Too high means low charge. Too low means overcharge or a restriction limiting flow.
Subcooling measures how much the refrigerant is cooled below its condensing temperature before it reaches the expansion device. Convert your high-side pressure to a saturation temperature using the PT chart. Measure the liquid line temperature at the outlet of the condenser. Subtract the actual liquid line temperature from the saturation temperature. That difference is your subcooling.
TXV systems are charged by subcooling. Typical targets range from 8 to 15 degrees depending on the manufacturer. Low subcooling means the condenser is not holding enough liquid refrigerant, which points to low charge. High subcooling means excess refrigerant is stacking in the condenser, indicating overcharge or a restriction downstream.
Here is the key insight from forum technicians: if your pressures look normal but the system still does not cool, check superheat and subcooling. I have seen systems with textbook pressures that had wildly incorrect subcooling due to a partially restricted liquid line. The gauges alone missed it. Adding subcooling to your diagnostic process catches what pressure readings hide.
When to Stop and Call an HVAC Professional?
DIY diagnosis is powerful, but there are clear lines you should not cross. Knowing when to stop saves you money, keeps you safe, and prevents damage to your system.
Call a professional if your system needs refrigerant added or removed. Handling refrigerant requires EPA Section 608 certification. It is illegal for an uncertified person to add or recover refrigerant from a residential or commercial system. A technician has the recovery equipment, the certification, and the vacuum pump needed to do the job correctly.
Call a professional if you suspect a compressor failure. Compressor replacement involves electrical work, refrigerant recovery, brazing, evacuation, and a weighed-in recharge. This is a major repair that requires specialized tools and training. The diagnosis itself is fair game for DIY, but the fix is not.
Call a professional if you find a significant refrigerant leak. Small leaks at accessible schrader valves can be tightened, but leaks inside coils, at the compressor body, or in difficult-to-access line sets require professional brazing and a full system evacuation. Adding sealant products to a leaking system often causes more harm than good and can void warranties.
If your static pressure readings are far outside the normal range, a professional can assess duct design issues that go beyond simple filter changes. Resolving chronic airflow problems may require duct modifications that are beyond typical DIY scope.
Preventive Maintenance to Avoid Future AC Problems
Most AC failures I diagnose trace back to neglected maintenance. A few simple habits keep pressures in range, airflow healthy, and components lasting longer.
Replace the air filter every 1 to 3 months. This is the single most effective thing you can do. A clean filter keeps airflow strong, prevents coil freezing, and reduces strain on the compressor.
Clean the condenser coil twice a year. Spring and mid-summer cleaning keeps heat rejection efficient and prevents high head pressure that stresses the compressor.
Keep the area around the outdoor unit clear. Maintain at least two feet of clearance on all sides. Trim shrubs, remove debris, and never build enclosures that block airflow.
Check the condensate drain line. A clogged drain causes water backup and can trip safety switches that shut down the system. Pour a cup of vinegar down the line every few months.
Schedule annual professional maintenance. A technician checks refrigerant charge, cleans coils thoroughly, inspects electrical connections, and verifies safety controls. This catches small problems before they become expensive failures.
Monitor your temperature split. Check the return-to-supply temperature difference monthly during cooling season. A consistent 15 to 20 degree split means your system is performing well.
These steps cost very little compared to a compressor replacement or a refrigerant recharge. Prevention is always cheaper than diagnosis and repair.
FAQs
Why is my AC pressure high but no cold air?
High pressure with no cooling usually means the condenser cannot reject heat properly. Check for a dirty condenser coil, a failing condenser fan motor, or an obstructed outdoor unit. High pressure can also indicate a refrigerant overcharge or noncondensables (air) trapped in the system. Clean the condenser coil, verify the fan runs at full speed, and check for airflow obstructions around the unit.
How to diagnose AC unit not blowing cold air?
Start with airflow: replace the air filter, verify all vents are open, and confirm the blower motor runs. Then check the outdoor condenser for dirt and obstructions. Measure the temperature difference between return and supply air (should be 15-20 degrees). If airflow is good but the split is low, connect manifold gauges and compare high and low side pressures to normal ranges for your refrigerant type and ambient temperature.
Why does my AC get cool but not cold?
Cool but not cold air typically points to a low refrigerant charge, a partially restricted expansion device, or poor airflow across the evaporator coil. A dirty air filter or dirty evaporator coil reduces heat absorption. A slow refrigerant leak drops charge over time, reducing capacity. Check the filter first, then verify pressures with gauges. Low pressures on both sides confirm an undercharge and the need for leak detection.
Why would my AC be running but not cooling?
Several causes fit this symptom. The most common are a dirty air filter restricting airflow, a refrigerant leak causing low charge, a failing compressor that cannot pump effectively, or a frozen evaporator coil blocking airflow. Check the filter, then feel the large copper line at the outdoor unit. If it is not cold and wet with condensation, the system likely has a refrigerant or compressor problem. Connect gauges to confirm.
What are two signs of a failing compressor?
Two clear signs are pressures that equalize rapidly after the system shuts off (indicating internal leakage) and a low side that reads high while the high side reads low (the compressor cannot build pressure). Other indicators include unusual noises like knocking or rattling, a breaker that trips repeatedly, and a compressor that hums but does not start.
How to tell if an orifice tube is bad?
A clogged or restricted orifice tube causes the low side pressure to drop below normal or pull into vacuum, while the high side stays normal to slightly low. The suction line may frost at the expansion device but not further along. In automotive systems, you may see a rapid fluctuation on the low side gauge. Confirm by checking superheat, which will be abnormally high because the evaporator is starved for refrigerant.
Conclusion
Diagnosing why your AC is not cold using pressures and airflow comes down to a disciplined sequence. Rule out airflow problems first, then connect your gauges, then interpret the pressure pattern against known benchmarks for your refrigerant and ambient conditions. Skipping the airflow check is the most common cause of misdiagnosis.
The pressure diagnosis chart and superheat/subcooling calculations I shared here are the same tools professional technicians use every day. They turn guesswork into a systematic process that narrows the problem down quickly and accurately. Whether you are dealing with a residential split system, a heat pump, or a car AC, the same principles apply.
Start with the filter, clean the coils, check the temperature split, then pull out the gauges. Most cooling complaints trace back to airflow restrictions or simple charge issues that you can identify yourself. For anything involving refrigerant handling, compressor replacement, or major leaks, call a certified professional. Your job is to diagnose, and now you have the tools to do it with confidence.