
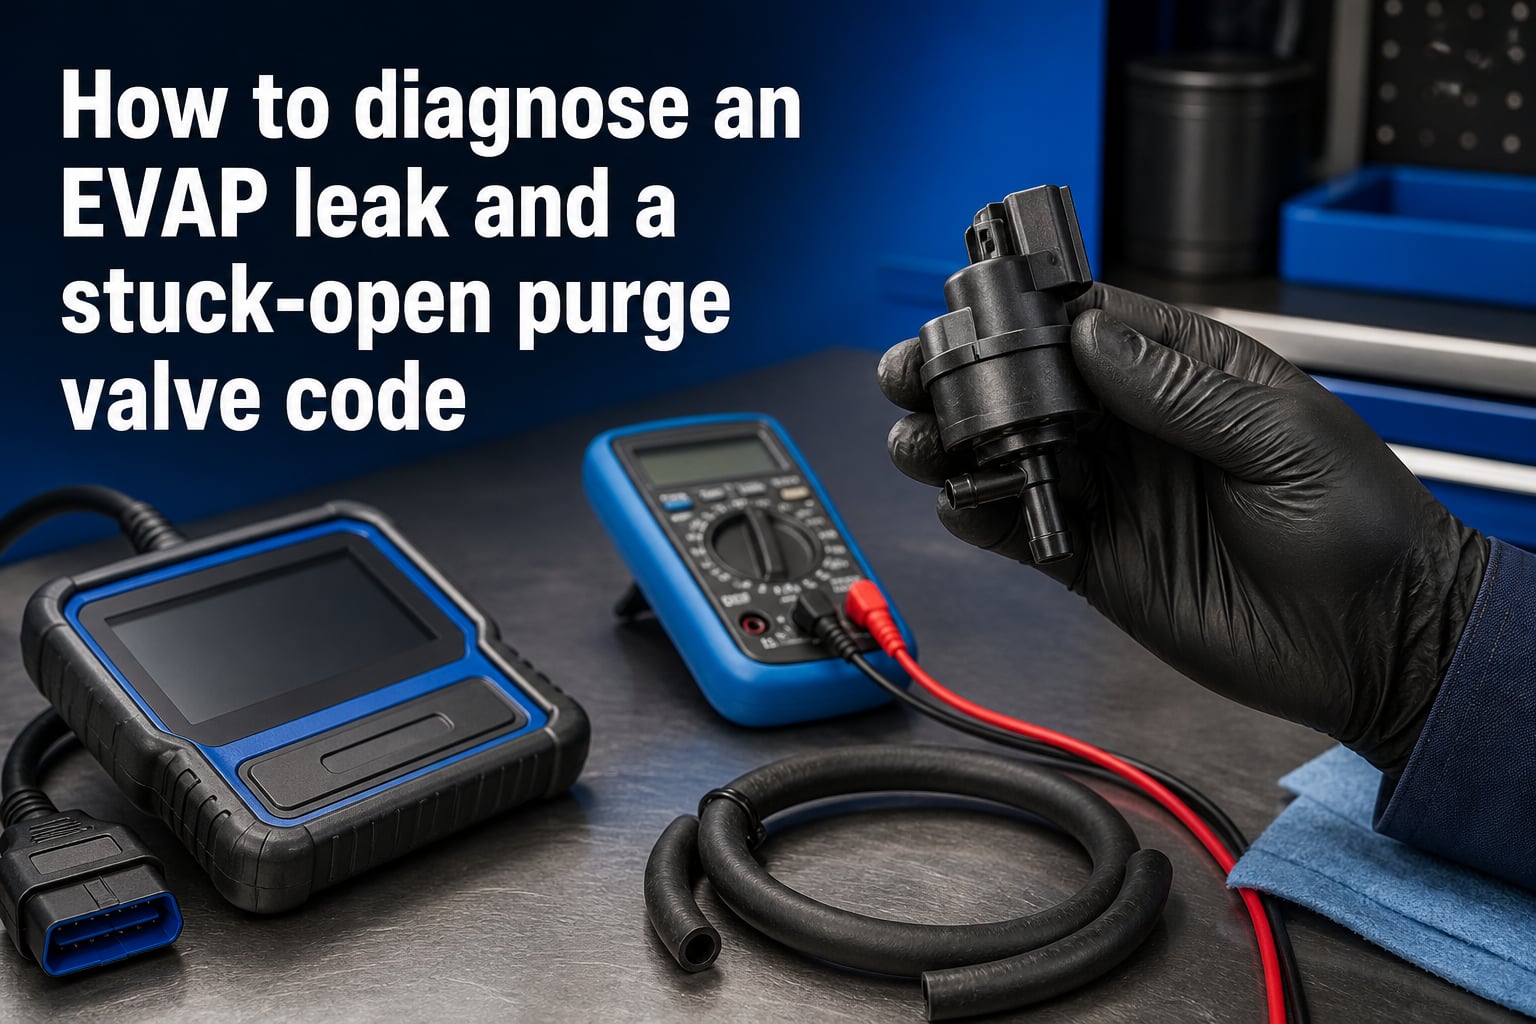
If your check engine light popped on right after filling up at the pump, or you’ve been chasing a stubborn EVAP code for weeks, you’re not alone. I see this question every week in mechanic forums, and the truth is most people can diagnose the issue at home without expensive shop fees. This guide on how to diagnose an EVAP leak and a stuck-open purge valve code walks you through every test you can run in your own driveway.
I’ve spent the last few years helping readers troubleshoot emissions faults on everything from aging Honda Civics to late-model Chevy trucks. The EVAP system looks intimidating at first glance, but once you understand what each part does, the diagnosis almost always points to one of three culprits: a loose gas cap, a cracked hose, or a stuck purge valve. We’ll cover all three.
Table of Contents
What Is the EVAP System and the Purge Valve’s Role?
The EVAP (evaporative emission control) system traps fuel vapors from your tank so they don’t escape into the atmosphere. Those vapors collect inside a charcoal canister, and the purge valve acts as the gatekeeper that releases them into the engine at precisely the right moment.
Your engine control module (ECM or PCM) commands the purge valve solenoid open during closed-loop driving, usually after the engine reaches operating temperature. When working correctly, the valve only opens for short bursts. This pulls fuel vapor from the charcoal canister into the intake manifold, where it burns as part of the normal air-fuel mixture.
When the purge valve sticks open, it becomes a constant vacuum leak. Fresh air enters the intake without passing through the mass airflow sensor, which throws off fuel trim and triggers the EVAP leak codes. The charcoal canister itself sits near the fuel tank and contains activated carbon that absorbs hydrocarbons when the engine is off.
Three components make up the core EVAP system: the charcoal canister, the purge valve, and the vent valve. Each one can fail independently, but a stuck-open purge valve is the most common reason a code keeps coming back even after replacing the gas cap.
Symptoms of a Stuck-Open Purge Valve vs Stuck-Closed
A stuck-open purge valve creates symptoms that mimic a vacuum leak, while a stuck-closed valve stops vapors from being purged at all. Knowing which one you have saves hours of guesswork.
Stuck-Open Symptoms
A purge valve stuck open pulls unmetered air into the engine. You’ll notice rough idle, especially at stoplights where the engine needs to maintain a steady RPM. The idle may surge up and down or sit higher than normal because the ECM is trying to compensate for the lean condition.
Other telltale signs include a slight hissing sound near the engine bay, reduced fuel economy (usually 5-10% worse than normal), and difficulty starting after the car sits overnight. Some drivers also report a faint fuel smell because the charcoal canister can saturate over time.
Stuck-Closed Symptoms
A stuck-closed purge valve produces the opposite problem. The engine never receives the stored fuel vapors, so the charcoal canister can saturate and cause a fuel smell near the rear of the car. You’ll also see failed emissions tests because the system can’t complete its self-diagnostic cycle.
You won’t get rough idle with a stuck-closed valve, but you may notice a slight drop in fuel economy since you’re not recycling vapors. The bigger issue is the P0441 code (incorrect purge flow), which appears because the ECM expects to see vacuum changes when the valve opens and finds none.
Understanding EVAP Leak Codes: P0441, P0443, P0455, and P0456
Every EVAP code tells a slightly different story. Knowing which code your scanner returned narrows down the diagnosis significantly before you touch a single tool.
P0441: Incorrect Purge Flow
P0441 means the ECM commanded the purge valve open but didn’t see the expected change in fuel tank pressure. This usually points to a stuck purge valve, a blocked hose, or a failed vent valve. It’s the most common code for a stuck-open or stuck-closed purge valve.
P0443: Purge Control Valve Circuit
P0443 is purely electrical. The ECM detected an open or short in the purge valve solenoid circuit. You’ll see this code if the wiring harness is damaged, the connector is corroded, or the solenoid coil has burned out. The fix is usually a wiring repair or a new solenoid.
P0455: Large EVAP Leak Detected
P0455 indicates a large leak, often equivalent to a missing gas cap. The ECM couldn’t hold vacuum in the fuel system. Start with the simplest fix (the gas cap) before chasing more expensive components.
P0456: Small EVAP Leak Detected
P0456 points to a smaller leak, often a hairline crack in a hose or a purge valve that won’t seal completely when closed. This code is more difficult to diagnose because the leak may be too small to hear or see without a smoke machine.
How to Diagnose an EVAP Leak and a Stuck-Open Purge Valve Code Step by Step?
Here’s the diagnostic sequence I follow on every EVAP complaint. It saves time and prevents the common mistake of replacing parts that aren’t actually broken.
Step 1: Read the Codes and Freeze Frame Data
Plug an OBD-II scanner into the port under your dashboard and write down every code. The freeze frame data shows engine conditions when the code set, including fuel level. Many EVAP codes only trigger when the tank is between 1/4 and 3/4 full, so this detail matters.
Step 2: Inspect the Gas Cap
Remove the gas cap and check the rubber seal for cracks, dry rot, or dirt. The seal should be pliable and clean. Reinstall it and tighten it until you hear three clicks. Clear the codes and drive 50-100 miles. If P0455 or P0456 returns, move to step 3.
Step 3: Listen for the Purge Valve Click
With the engine idling and at operating temperature, put your hand on the purge valve solenoid (usually a small cylindrical part on a vacuum hose near the engine). Have a helper rev the engine slightly. You should feel a click as the ECM commands the valve open. No click means no electrical signal, which points to P0443 territory.
Step 4: Check Hoses and Connectors
Visually inspect every EVAP hose for cracks, disconnection, or oil contamination. Pay special attention to the hose between the charcoal canister and the purge valve. Crankcase vapor can degrade rubber over time.
Step 5: Test the Purge Valve (See Next Sections)
If everything above checks out, the purge valve itself is suspect. Move on to the multimeter and vacuum tests below to confirm.
How to Test the Purge Valve With a Multimeter (Resistance 22-30 Ohms)
A healthy purge valve solenoid reads between 22 and 30 ohms of resistance. Outside that range, the coil is either shorted or open, and the valve needs replacement.
Resistance Test Procedure
Disconnect the electrical connector from the purge valve solenoid. Set your multimeter to the ohms setting (200 ohm range works for most valves). Touch one probe to each terminal on the solenoid side of the connector. A reading between 22 and 30 ohms means the coil is intact.
A reading of 0 ohms indicates a short circuit. A reading of infinite resistance (OL on most meters) means an open circuit. Both conditions require valve replacement.
Voltage Application Test
If the resistance test passes, you can apply 12 volts directly to the solenoid terminals using jumper wires from the battery. You should hear a definite click when power is applied and removed. If the valve clicks with direct power but not when the ECM commands it, the issue is in the wiring harness, not the valve itself.
How to Test Without a Vacuum Pump or Smoke Machine?
Not everyone has a smoke machine or vacuum pump, and most DIY mechanics don’t need one to catch the most common failures. Here’s how I test when specialty tools aren’t available.
The Hand Vacuum Method
Disconnect the vacuum hose from the purge valve and place your thumb over the valve’s vacuum port. With the engine idling, you should feel strong vacuum suction. If the valve is stuck open, vacuum will leak past your thumb. If it’s stuck closed, you’ll feel nothing because no air is flowing.
The Listen Test
With the engine running and a helper in the cabin, place a mechanic’s stethoscope or a long screwdriver against the purge valve body. Have the helper rev the engine. You should hear a soft clicking sound as the solenoid cycles. Silence or a constant hiss both indicate problems.
The Swap Test
On some vehicles, the purge valve and vent valve look nearly identical. If you suspect the wrong part failed, swap the connector and clear the codes. If the same code returns immediately, you’ve confirmed the valve itself, not the wiring.
What Causes a Purge Valve to Stick Open or Fail Repeatedly?
Purge valves fail for a handful of predictable reasons, and understanding them helps prevent repeat replacements.
The most common cause is carbon buildup inside the valve. Fuel vapors leave residue on the sealing surfaces, which eventually prevents the valve from closing fully. This is more common on vehicles that do lots of short trips because the system never gets hot enough to fully purge.
Electrical failure is the second cause. The solenoid coil burns out over time, especially on vehicles with high mileage or voltage regulator issues. A failing alternator sending 15+ volts through the system will cook the coil prematurely.
Cheap aftermarket parts are the third cause, and the one I see most often in forum complaints. Owners replace the valve with a budget unit that fails within a few thousand miles. OEM or name-brand parts last significantly longer.
Can You Drive With a Stuck-Open Purge Valve?
Yes, you can drive with a stuck-open purge valve in the short term. The car won’t leave you stranded or suffer catastrophic damage overnight. But there are real consequences that add up over weeks and months.
The first issue is fuel economy. You’ll typically see a 5-15% drop in MPG because the engine is burning extra fuel to compensate for the unmetered air entering through the stuck-open valve. Over a year, that adds up to real money at the pump.
The second issue is emissions test failure. Most states won’t register your vehicle if the EVAP monitor shows incomplete or failed. A stuck-open valve prevents the monitor from running, which means you can’t pass inspection.
The third issue is long-term damage. A persistently lean condition from the unmetered air can overheat the catalytic converter over time, leading to a much more expensive repair. If you’re already noticing the symptoms, get it fixed within a few weeks rather than putting it off.
Replacement Cost and Process Overview
Most DIYers can replace a purge valve in under an hour with basic hand tools. The part itself ranges from a budget aftermarket unit to OEM-grade components. The valve is usually accessible from the engine bay, mounted on a vacuum hose between the charcoal canister and the intake.
For shop repairs, expect labor to add another hour or two depending on the vehicle. Some European models bury the valve under the intake manifold, which can push labor costs significantly higher.
After installation, clear the codes with your scanner and drive the vehicle through a complete drive cycle. The EVAP monitor typically needs 50-100 miles of mixed driving (highway and city) before it will run its self-test and confirm the repair.
FAQs
How to tell if an EVAP purge valve is stuck open?
Start by listening for a click from the solenoid when the engine is warm. Then check for rough idle, a hissing sound near the engine bay, and reduced fuel economy. A stuck-open valve typically produces a P0441, P0455, or P0456 code.
Will a stuck open purge valve cause an EVAP leak code?
Yes. A stuck-open purge valve allows continuous airflow that the ECM interprets as a leak, triggering P0441, P0455, or P0456 codes depending on the size of the leak detected.
How much does it cost to fix a stuck open EVAP valve?
The part itself ranges from a budget unit to OEM-grade components. Shop labor typically adds another hour or two. DIY replacement usually takes under an hour with basic hand tools.
Can I drive my car with a bad EVAP purge valve?
Yes, in the short term. The car will run, but you’ll see reduced fuel economy and likely fail emissions testing. Long-term driving with a stuck-open valve can damage the catalytic converter.
Why does my check engine light come back after replacing the gas cap?
If P0455 or P0456 returns after a new gas cap, the leak is somewhere else in the system. The most common culprits are a cracked EVAP hose, a failed vent valve, or a stuck-open purge valve. Continue with the diagnostic steps above to isolate the cause.
Wrapping Up the EVAP and Purge Valve Diagnosis
Now you know how to diagnose an EVAP leak and a stuck-open purge valve code from the comfort of your own garage. Start with the gas cap, work through the visual and listening tests, and confirm with a multimeter if needed. Most EVAP faults trace back to one of three parts, and you can usually isolate the culprit in under an hour without specialty tools.
If you’ve worked through these steps and the code keeps coming back, it’s worth investing in a smoke machine test or taking the vehicle to a shop for a professional leak-down check. Persistent EVAP codes are almost always a small leak somewhere in the system that visual inspection alone can’t catch.