
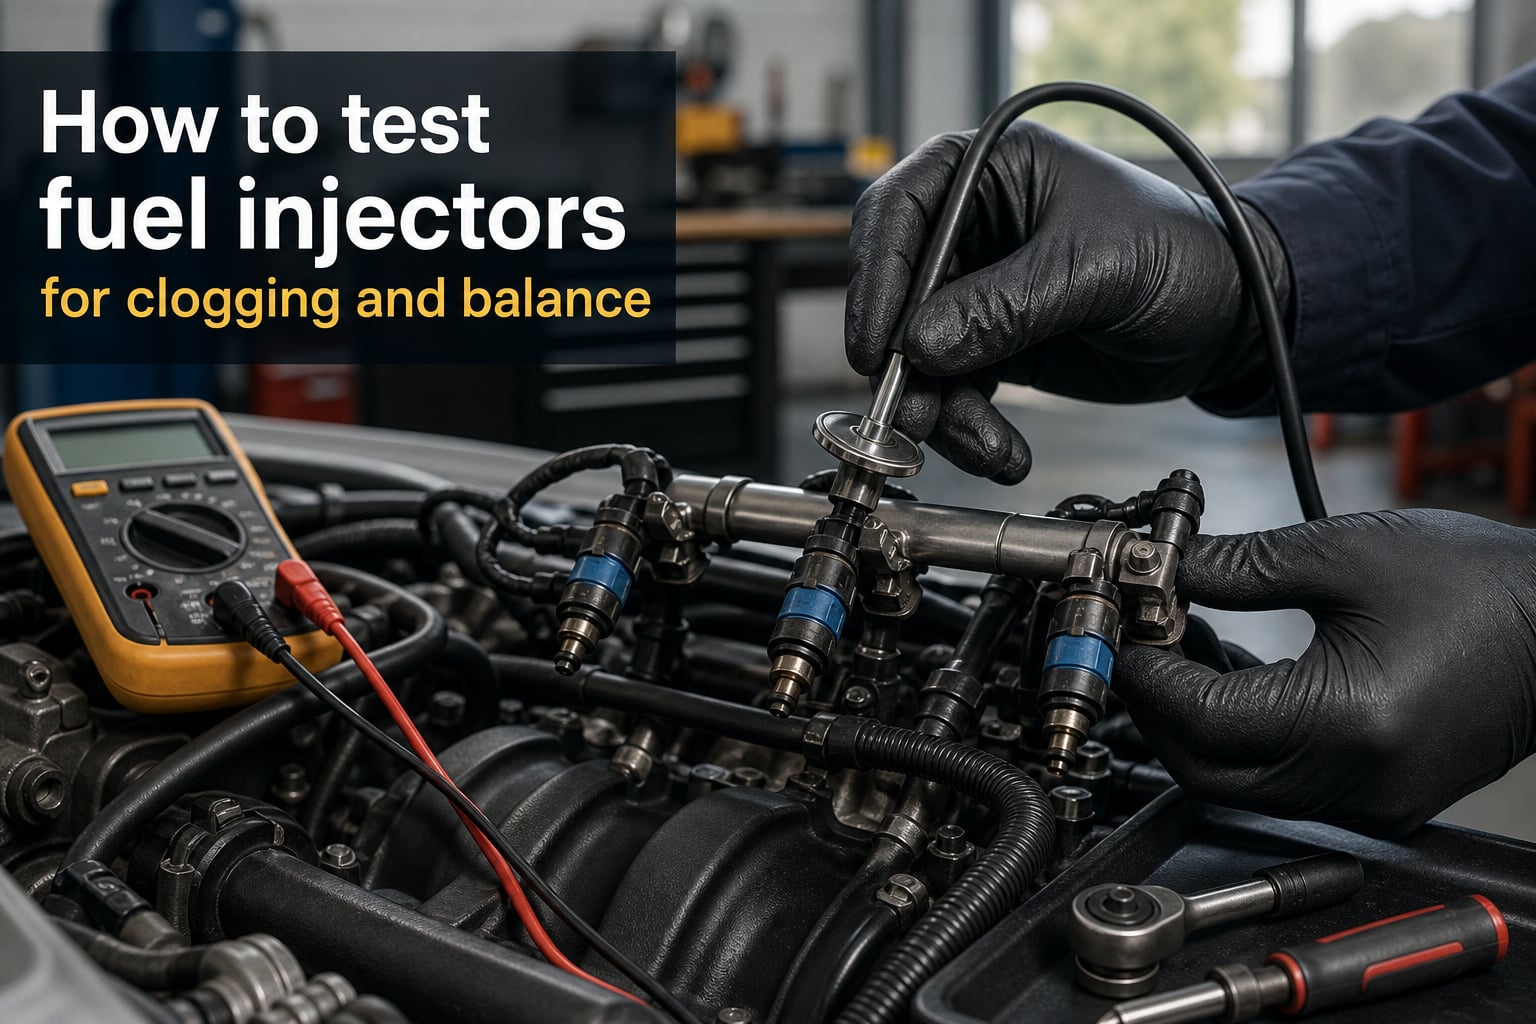
A rough idle, mysterious misfire codes, or fuel economy that has dropped off a cliff — these are the moments when learning how to test fuel injectors for clogging and balance saves you a costly shop visit and keeps you from replacing parts that do not need replacing.
I have spent years diagnosing fuel system issues on everything from daily-driver sedans to high-mileage trucks. In my experience, injector problems are among the most misdiagnosed issues because their symptoms overlap heavily with ignition faults, vacuum leaks, and even bad sensors. That is exactly why a systematic testing approach matters.
This guide walks you through every practical method — from the free screwdriver-and-stethoscope technique to multimeter resistance testing, balance testing, and OBD2 fuel trim analysis. Each method is explained with real numbers, exact steps, and the reasoning behind it so you can figure out what works for your specific vehicle.
You do not need expensive equipment for most of these tests. Even the advanced methods require only a basic digital multimeter and, ideally, a mid-range OBD2 scanner. Let us break down each approach in the order I use them in my own garage.
Table of Contents
Signs of Clogged or Unbalanced Fuel Injectors
Identifying the symptoms early prevents cascading engine damage and helps you confirm whether testing is even necessary. Most injector problems produce at least one of the following warning signs before total failure.
Rough idle or vibration at stoplights — the engine feels shaky or lumpy when warm, often worse after sitting overnight.
Random or cylinder-specific misfire codes — P0300 (random misfire) or P0301 through P0308 (cylinder-specific misfire) frequently point to an injector that is flowing less fuel than its neighbors.
Check engine light — often paired with fuel trim codes (P0171, P0172, P0174) that indicate the engine computer is compensating for a lean or rich condition.
Reduced fuel economy — a clogged injector on a single cylinder forces the computer to adjust all cylinders, wasting fuel systemwide.
Hesitation or stumble under acceleration — power drops momentarily when you press the throttle, especially between 2,000 and 3,000 RPM.
Hard starting or extended cranking — an injector leaking down overnight floods the cylinder, or a partially clogged one starves it on cold starts.
Fuel odor from the oil — a leaking injector lets raw fuel wash past the rings, thinning the oil and creating a gasoline smell on the dipstick.
One important note: these symptoms overlap heavily with bad spark plugs, failing coil packs, and vacuum leaks. That is why confirming with actual tests — rather than guessing — is the difference between a $15 fix and a $400 guess.
What Causes Fuel Injectors to Clog or Fail?
Fuel injectors fail for a handful of predictable reasons. Understanding the cause helps you pick the right test and decide whether cleaning will help or replacement is the only option.
Varnish and gum deposits are the number-one cause of partial clogs. Over time, hydrocarbon residues bake onto the injector pintle or nozzle, narrowing the spray channel. This reduces flow and distorts the spray pattern, causing that cylinder to run lean.
Ethanol-blended fuels accelerate the problem. Ethanol is hygroscopic, meaning it absorbs moisture from the air. Water in the fuel promotes internal corrosion and varnish formation faster than straight gasoline, especially in vehicles that sit for extended periods.
Electrical failures are a separate issue entirely. The copper coil inside each injector can develop high resistance, short between windings, or fail outright. An electrically dead injector produces zero spray, while a high-resistance one fires late or weakly.
Internal filter basket blockage is less common but real. Every injector has a tiny inlet screen that catches debris. A failing fuel pump or deteriorating rubber lines upstream can plug that screen and restrict flow to a single cylinder.
DIY Methods to Test Fuel Injectors Without Removing Them
You can run three effective tests without pulling a single injector from the engine. I use these in sequence — starting with the fastest and finishing with the most conclusive — because each builds on what the previous one reveals.
Method 1: The Listening Test (Screwdriver or Stethoscope)
This is the fastest first check and costs nothing. Each injector clicks once per fuel pulse as the solenoid fires. A silent injector or one that sounds noticeably different from the rest points to an electrical or mechanical problem.
Step 1: Start the engine and let it idle. A warm engine is best because cold-start enrichment masks subtle differences.
Step 2: Place the metal tip of a long screwdriver (or mechanic’s stethoscope) firmly against the plastic body of the first injector. Press your ear against the handle.
Step 3: Listen for a sharp, consistent tick-tick-tick. The sound should be rhythmic and equal in volume at every cylinder.
Step 4: Move to each injector in firing order and compare. A muffled, weak, or absent click on one cylinder flags that injector for further testing.
Step 5: Note any injector that ticks erratically or with a noticeably different pitch. That injector may have a sticky pintle or weak coil.
This test does not confirm a clog — it only confirms whether the injector is electrically firing and moving. A clogged injector can still click normally, so follow up with the resistance and balance tests below.
Method 2: The Noid Light Test
A noid light plugs into the injector’s electrical connector and flashes when the engine computer sends a pulse. This test confirms the injector is receiving signal from the ECU — useful when you suspect a wiring or computer problem rather than a mechanical clog.
Step 1: With the engine off, unplug the electrical connector from the injector you want to test.
Step 2: Plug the matching noid light into the harness connector.
Step 3: Crank or start the engine. The noid light should flash steadily and brightly.
Step 4: A steady, bright flash means the computer and wiring are delivering signal correctly. No flash indicates a wiring fault, blown injector driver in the ECU, or power supply problem.
Noid light sets cost under $25 and cover most common injector connector styles. This test complements the listening test — together they isolate whether a no-fire condition is electrical upstream or mechanical downstream of the connector.
Method 3: The Starting Fluid Test (Quick No-Fuel Verification)
This is a rough but useful diagnostic shared widely in mechanic forums. If you suspect one cylinder is not getting fuel, a quick spray of starting fluid into the intake while the engine runs roughly can confirm a fuel delivery issue.
Step 1: With the engine idling roughly, spray a short burst of starting fluid or carb cleaner into the intake (throttle body or a vacuum port).
Step 2: If the engine smooths out momentarily and RPM rises, at least one cylinder was fuel-starved — pointing toward an injector or fuel delivery problem.
Step 3: If the engine does not respond, the rough running is likely ignition-related (spark plug, coil, wire) rather than fuel-related.
Use this test sparingly and with caution. Starting fluid is highly flammable, and over-application can wash oil from cylinder walls. I treat this as a confirmation step, not a primary diagnostic.
How to Perform a Fuel Injector Resistance Test With a Multimeter
Resistance testing is the single most informative electrical check you can do at home. It tells you whether each injector’s internal coil is intact and within spec. A digital multimeter and ten minutes are all you need.
Step-by-Step Multimeter Procedure
Step 1: Turn the ignition off and let the engine cool. Working on a hot engine risks burns and gives inaccurate resistance readings, since copper resistance changes with temperature.
Step 2: Unplug the electrical connector from the first injector. You are testing the injector itself, not the harness.
Step 3: Set your multimeter to ohms (the omega symbol, usually the 200-ohm range).
Step 4: Touch one probe to each of the two injector terminals. The polarity does not matter for this test.
Step 5: Read the value. For most gasoline port-injection engines, expect 12 to 17 ohms. Write it down.
Step 6: Repeat for every injector and compare. All readings should be within roughly 0.5 to 1 ohm of each other.
Fuel Injector Resistance Reference Chart
Use these ranges as a starting reference. Always confirm the exact specification for your vehicle in the factory service manual — values vary by manufacturer.
Standard port injection (gasoline): 12 to 17 ohms
High-impedance saturated injectors: 12 to 16 ohms
Low-impedance peak-and-hold injectors: 2 to 5 ohms (common on older or performance setups)
GM and Ford port injection (most models): 11.4 to 11.8 ohms (GM LS), 13.5 to 19 ohms (Ford modular)
Toyota and Honda port injection: 13.4 to 14.2 ohms (Toyota DENSO), 10 to 14 ohms (Honda)
Direct injection (gasoline GDI): varies widely — often 1 to 5 ohms on the high-pressure solenoid; always check factory spec
Interpreting Resistance Readings
A reading within spec and consistent across all cylinders is a pass — electrically speaking. The injector coil is intact, and any running issue is more likely mechanical (clog) or software-related (fuel trim).
A reading significantly higher than spec (for example, 25 ohms when spec is 14) indicates a coil with internal corrosion or a partial break in the winding. That injector will fire weakly or late.
A reading of OL (open loop) or infinite resistance means the coil is broken — that injector is electrically dead and must be replaced.
A reading near zero (0.1 ohms or less) indicates an internal short. The injector driver in the ECU may already be damaged, so do not reconnect it without checking the wiring diagram.
Here is the key point many DIYers miss: a passing resistance test does not rule out a clog. Mechanical restriction happens downstream of the coil. If resistance is normal but the cylinder still runs lean, the injector is electrically fine but fuel-restricted — and the balance test is your next step.
How to Do an Injector Balance Test at Home?
The balance test is what reveals whether each cylinder is receiving equal fuel — the core question behind injector clogging and imbalance. There are two practical approaches for home mechanics: a fuel-pressure-based method for older vehicles and a scanner-based method for anything with OBD2.
Method A: Pressure-Based Balance Test (Fuel Rail With Schrader Valve)
This method works on vehicles with a port-injection fuel rail that has a test port (Schrader valve). You will need a fuel pressure gauge — most auto parts stores loan them free.
Step 1: Connect the fuel pressure gauge to the Schrader valve on the fuel rail.
Step 2: Start the engine and record baseline fuel pressure at idle. Note this number.
Step 3: With the engine idling, unplug the electrical connector from injector number one. The engine should stumble slightly and fuel pressure should rise (since that injector is no longer spraying).
Step 4: Note the pressure change, then reconnect the injector and let the engine stabilize.
Step 5: Repeat for every cylinder. Each cylinder should produce a similar pressure rise when its injector is disabled.
Step 6: A cylinder that produces a noticeably smaller pressure change when disabled is contributing less fuel — meaning that injector is partially clogged or flowing weakly.
This is one of the most revealing tests you can run at home. The pressure differential directly measures fuel contribution per cylinder, and a weak injector stands out clearly against healthy neighbors.
Method B: Scanner-Assisted Balance Test (Power Balance / Cylinder Deactivation)
Many mid-range OBD2 scanners support a power balance or cylinder deactivation test that does the same thing electronically. The scanner commands the ECU to cut fuel or spark to one cylinder at a time while measuring RPM drop.
Step 1: Connect the scanner and navigate to the power balance or cylinder contribution test.
Step 2: Run the test at warm idle. The scanner will cut each cylinder in sequence and display the RPM drop for each.
Step 3: A healthy cylinder produces a similar RPM drop when disabled. A weak cylinder produces a smaller drop — it was already contributing less power.
Step 4: If a weak cylinder matches a known-good ignition component (verified by swapping coils or plugs), the injector is the prime suspect.
This method is faster and cleaner than the pressure-based approach, and it works on both port and direct injection systems. Scanners with two-way control (bi-directional) that can perform this test typically start around $150.
Method C: Cold Cylinder Heat Test (Low-Tech Diagnostic)
This old-school method works well for identifying a completely dead cylinder. A cylinder that is not firing runs cooler because it is not producing combustion heat.
Step 1: Start a cold engine and let it run for 30 to 60 seconds — just long enough to develop heat differences but not long enough for everything to equalize.
Step 2: Carefully touch or use an infrared thermometer on each exhaust runner at the cylinder head. The exhaust port for a dead cylinder will be noticeably cooler.
Step 3: A cool runner indicates that cylinder is not contributing. Follow up with resistance and balance tests to determine whether fuel, spark, or compression is the cause.
This is a screening tool only — it tells you which cylinder is weak but not why. Use it to narrow down before running more specific tests.
Using an OBD2 Scanner to Diagnose Injector and Fuel Trim Issues
An OBD2 scanner turns injector diagnosis from guesswork into data analysis. Fuel trims, misfire counters, and freeze-frame data give you a window into what the engine computer is seeing and how hard it is working to compensate.
Reading and Interpreting Fuel Trims
Fuel trims are the adjustment the ECU makes to fuel delivery based on oxygen sensor feedback. They are split into short-term (STFT) and long-term (LTFT) values, each expressed as a percentage.
Short-term fuel trim (STFT) is the real-time correction the computer applies moment to moment. It fluctuates constantly as driving conditions change.
Long-term fuel trim (LTFT) is the learned adjustment that carries over from trip to trip. It trends toward whatever correction keeps the engine running at the target air-fuel ratio.
Here is how to interpret the numbers:
0% on both STFT and LTFT: the engine is running at the target air-fuel ratio with no correction needed. Healthy.
Positive trims (say, +10% to +25%): the computer is adding fuel because the oxygen sensors detect a lean condition. This is the classic signature of a clogged injector — the ECU is compensating for reduced fuel flow.
Negative trims (say, -10% to -20%): the computer is subtracting fuel because the mixture is rich. This can indicate a leaking injector that dumps too much fuel.
LTFT at +25% or higher: the computer has hit its adjustment limit. A check engine light and lean code (P0171 or P0174) usually accompany this. The underlying fuel problem needs physical repair.
A single clogged injector often shows up as positive trims bank-wide, because the computer cannot adjust one cylinder individually — it richens all injectors to satisfy the leanest cylinder’s oxygen sensor reading.
Misfire Codes and What They Tell You
Misfire codes follow a predictable pattern that helps isolate injector versus ignition problems.
P0301 through P0308: cylinder-specific misfire. The last digit corresponds to the cylinder number. A single recurring code on one cylinder is your starting point.
P0300: random or multiple cylinder misfire. This points to a system-wide issue (fuel pressure, mass airflow sensor, vacuum leak) rather than a single injector.
If you have a single-cylinder misfire code, swap the ignition coil and spark plug from that cylinder to a known-good one. If the misfire follows the coil or plug, the problem is ignition. If the misfire stays on the same cylinder, the injector is the prime suspect — and your resistance and balance tests confirm it.
Freeze-Frame Data: Capturing the Moment of Failure
When a code sets, the scanner captures freeze-frame data — a snapshot of engine conditions at the exact moment the fault occurred. This data is invaluable for diagnosing intermittent injector problems.
Look at RPM, engine load, coolant temperature, and fuel trim values in the freeze frame. A misfire that only occurs at high load and elevated RPM (highway driving, towing) often points to an injector that cannot keep up with fuel demand — a partial clog that shows up only under stress.
Professional vs DIY Fuel Injector Testing: When to Visit a Shop
Not every injector problem is diagnosable at home. Knowing when to escalate to a professional saves time, prevents wasted parts, and gives you hard data that home testing cannot provide.
What Professional Testing Offers
A fuel injector specialty shop or well-equipped garage can perform flow bench testing — removing all injectors and measuring the exact fuel volume each one delivers over a timed spray cycle at a specified pressure. This produces a flow rate for each injector and a spray pattern photograph.
Flow testing reveals problems that electrical and balance tests miss: uneven spray patterns (a stream instead of a cone), partial tip clogs that reduce but do not eliminate flow, and leak-down issues where an injector drips fuel after shutoff.
Most shops charge roughly $8 to $15 per injector for flow testing. Many waive or credit that fee toward ultrasonic cleaning if you choose to have them serviced. Ultrasonic cleaning removes internal deposits that pour-in fuel additives cannot reach.
When DIY Testing Is Enough
Home testing is sufficient when you have a clearly dead injector (no resistance, no click, no noid light flash) or a clearly identified single-cylinder lean contribution confirmed by the balance test. In those cases, replacement is the straightforward fix.
Home testing also works well for confirming that injectors are healthy — consistent resistance, even balance, normal fuel trims — which rules them out and redirects your diagnosis toward ignition, compression, or air delivery.
When to Call a Professional
Escalate to a shop when symptoms are intermittent and do not reproduce during your testing session, when fuel trims are abnormal but balance testing shows all cylinders contributing equally, or when you suspect a direct injection system where the high-pressure pump and piezo injectors require specialized equipment to test.
Direct injection (GDI) systems present unique challenges. The injectors operate at 500 to 3,000 PSI (compared to 40 to 60 PSI for port injection), and they cannot be tested with a standard noid light or simple resistance check. GDI injector testing requires a capable bi-directional scanner and, for definitive diagnosis, bench testing at a fuel injection service.
Frequently Asked Questions
How to tell if a fuel injector is bad or clogged?
Common signs include rough idle, cylinder-specific misfire codes (P0301-P0308), a check engine light, reduced fuel economy, and hesitation under acceleration. Confirm with a listening test (a silent or weak-sounding injector is suspect), a multimeter resistance test (12-17 ohms for most gasoline engines), and an injector balance test to compare fuel contribution across cylinders.
How to do an injector balance test?
Disable one injector at a time — either by unplugging its connector while monitoring fuel pressure (pressure-based method) or by using a scanner with a power balance function (scanner method). Record the RPM drop or pressure change for each cylinder. A cylinder that produces a noticeably smaller change is contributing less fuel, pointing to a clogged or weak injector.
What will unclog fuel injectors?
Pour-in fuel injector cleaners help with light varnish deposits on healthy injectors but cannot dissolve heavy buildup or restore a severely clogged injector. Professional ultrasonic cleaning at a fuel injector service shop is the most effective method — it removes internal deposits and restores spray patterns. If an injector is electrically faulty or physically damaged, cleaning will not help and replacement is required.
How to test fuel injectors without removing them?
Use three at-home methods: the listening test (place a screwdriver tip on each injector and compare clicking sounds), the multimeter resistance test (unplug each injector and measure ohms across the terminals), and the balance test (disable injectors one at a time and compare RPM or fuel pressure changes). A noid light can also verify the electrical signal at each connector.
What causes fuel injectors to clog?
The primary causes are varnish and gum deposits from fuel oxidation, ethanol-blended fuel absorbing moisture and promoting internal corrosion, debris clogging the internal filter basket, and carbon buildup on the injector tip. Infrequent driving, short trips that do not fully warm the engine, and old or contaminated fuel accelerate the process.
Final Thoughts on Fuel Injector Testing
Learning how to test fuel injectors for clogging and balance gives you a repeatable diagnostic process that works across nearly any fuel-injected vehicle. Start with the free listening test, confirm electrically with a multimeter, and isolate the problem cylinder with a balance test before spending a dollar on parts.
The methods in this guide have saved me from unnecessary injector replacements more times than I can count — and they have also confirmed real failures quickly when replacement was the right call. Run the tests in sequence, trust the data, and you will diagnose injector issues with confidence.