
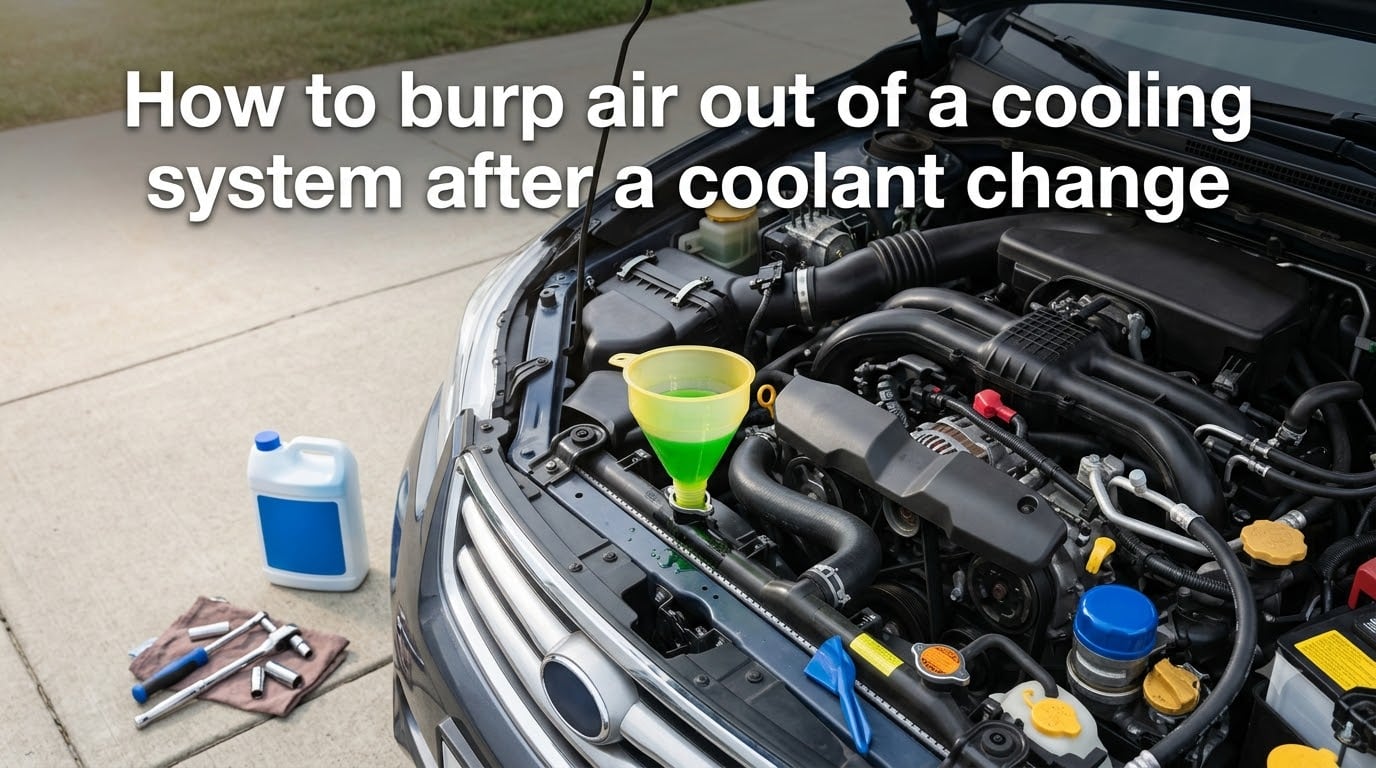
Changing your coolant is only half the job. If you skip the burping step, trapped air pockets can leave you stranded on the side of the road with steam pouring from under the hood. Learning how to burp air out of a cooling system after a coolant change takes about 30 to 45 minutes, and it can save you from costly engine damage.
I have burped dozens of cooling systems over the years, from simple older trucks to modern sealed systems with buried bleeder valves. The process is the same at its core, but the details matter. Park on a level surface, get your heater running full blast, and let the engine do the work.
In this guide, I will walk you through every step, the tools you need, safety precautions, and the forum-tested tricks that work when the standard method does not. Whether you just did a coolant flush, swapped a thermostat, or replaced a radiator, this procedure will get the air out.
Table of Contents
Why Air Gets Trapped in Your Cooling System?
Air gets trapped in your cooling system whenever you drain and refill coolant. When fresh coolant pours back in, it does not fill every passage perfectly. Air bubbles hide in the engine block, the heater core, and the upper radiator hose. Without intervention, those bubbles stay put.
The problem is that air does not transfer heat the way liquid coolant does. An air pocket sitting against a cylinder wall means that spot is not being cooled. Localized hot spots form, and your temperature gauge might not even show it because the sensor reads coolant temperature, not metal temperature.
Trapped air also kills your heater performance. The heater core is often the highest point in the cooling system, so air naturally collects there. If your heater is blowing cold after a coolant change, trapped air is the likely culprit.
Worst case, a large enough air pocket can cause your engine to overheat within minutes of driving. The water pump cannot move what is not there, and coolant circulation stops. That is why burping is not optional.
Tools and Materials You Need
You do not need much to burp a cooling system, but having the right gear makes the job cleaner and faster. Here is what I keep on hand:
50/50 pre-mixed coolant matching your vehicle specification. Check your owner’s manual for the correct type.
Spill-free funnel kit with radiator cap adapters. This is the single best investment for clean coolant changes.
Clean rag or shop towels for wiping spills and checking hose temperatures.
Thick gloves to protect your hands from hot surfaces and coolant.
Safety glasses to protect against splashing coolant.
Jack and jack stands if you plan to raise the front of the car to help air rise.
Pliers or screwdriver for hose clamps if you need to massage hoses.
A spill-free funnel kit runs about $25 to $40 and pays for itself the first time you use it. The funnel threads into a radiator cap adapter, so you can fill above the filler neck and let air bubble out without making a mess.
If you do not have a funnel kit, you can still get the job done. The process just takes more patience and careful watching of the coolant level. I cover both methods below.
Safety Precautions Before You Start
Never open a hot radiator cap. This is the most important rule in this entire guide. A hot cooling system is under pressure, and removing the cap releases a geyser of coolant at over 200 degrees Fahrenheit. People have suffered serious burns this way.
Wait until the engine is completely cool before you begin. That means at least two to three hours after the engine was last run. The upper radiator hose should feel cool to the touch, not just warm.
Wear safety glasses and thick gloves throughout the process. Coolant is toxic and can cause skin irritation with prolonged contact. Keep pets away from your work area, as coolant smells sweet but is deadly if ingested.
Always work on a level surface. This is something most guides gloss over, but parking on a slope changes which part of the cooling system is the highest point. If your radiator is not the highest point, air bubbles will collect somewhere else and will not escape through the filler neck. I have seen people struggle for an hour only to realize their driveway slope was the problem.
Have extra coolant ready. You will lose some during the process, and running low defeats the purpose. Keep a gallon on standby.
How to Burp Air Out of a Cooling System After a Coolant Change?
This is the core procedure that works for most vehicles. Follow these steps in order, and take your time. Rushing leads to missed air pockets.
Step 1: Park on a Level Surface and Let the Engine Cool
Park your vehicle on flat, level ground. If you cannot find a truly level spot, jacking up the front of the car slightly can help air travel toward the radiator cap. Just raise it an inch or two, nothing extreme. Apply the parking brake and chock the rear wheels.
Confirm the engine is completely cold before moving on. Squeeze the upper radiator hose. If it feels firm or hot, walk away and come back later.
Step 2: Remove the Radiator Cap or Reservoir Cap
On older vehicles, remove the radiator cap directly. On many modern cars, the cooling system uses a pressurized reservoir or expansion tank instead of a traditional radiator cap. Check your manual to find the highest fill point.
If your radiator cap has a safety catch, press down and turn slowly to the first stop. Listen for any pressure release hiss before fully removing it. Once the pressure is gone, remove the cap completely.
Step 3: Fill the System and Attach Your Funnel
Fill the radiator or reservoir to the base of the filler neck. If you have a spill-free funnel kit, select the adapter that matches your filler neck diameter. Thread it in securely, then attach the funnel.
Add coolant into the funnel until the level sits about two inches above the filler neck. This extra column of liquid gives air somewhere to go as it rises out of the system.
If you do not have a funnel kit, fill to the neck and check the level frequently throughout the process. You will need to top it off as air escapes.
Step 4: Start the Engine and Set the Heater to Full Hot
Turn the ignition on and start the engine. Immediately set the climate control to full heat and the blower to the highest fan speed. This opens the heater core to coolant flow, allowing trapped air in that circuit to escape.
This step is non-negotiable. The heater core is a major branch of the cooling system, and if the blend door is closed, coolant never circulates through it. Air stays trapped, and your heater stays cold.
Let the engine idle. Watch the coolant level in the funnel or radiator neck. You should see bubbles rising as air begins to escape.
Step 5: Bring the Engine Up to Operating Temperature
Let the engine idle until it reaches operating temperature, which is typically around 195 to 220 degrees Fahrenheit. The thermostat will open at this point, allowing full coolant circulation through the engine block.
You will notice the coolant level in the funnel drop suddenly when the thermostat opens. That is normal. The system is now drawing coolant from the funnel as air is displaced.
Top off the funnel with fresh coolant as needed. Keep the level above the filler neck so no air can re-enter.
Step 6: Rev the Engine to Push Out Remaining Air
Once the engine is at full operating temperature, slowly raise the RPM to about 2,500 and hold it there for 10 to 15 seconds. Return to idle. Repeat this cycle three or four times.
Many mechanics on the mechanic forums swear by a more aggressive cycle. Rev to 4,000 RPM for 10 seconds, then hold at 2,500 RPM for 10 minutes. The higher flow rate forces stubborn air pockets through the system and out the filler neck.
Watch the funnel during revving. Bursts of bubbles during RPM changes mean air is still being pushed out. When you see no more bubbles after several rev cycles, the system is likely clear.
Step 7: Squeeze the Upper and Lower Radiator Hoses
With the engine still running, carefully squeeze the upper and lower radiator hoses. Use gloves because the hoses will be hot. This technique comes straight from the forums, and it works.
Squeeze firmly along the full length of each hose, working from the radiator end toward the engine. This massages any trapped air pockets through the system. You may see a burst of bubbles in the funnel each time you squeeze.
Do the same for the heater hoses if they are accessible. Every hose squeeze helps.
Step 8: Shut Down, Top Off, and Cap It
Once no more bubbles appear after a few minutes of idle and hose squeezing, shut the engine off. Let it cool for 10 to 15 minutes. The coolant level will change as the system settles.
Top off the radiator or reservoir to the proper level. If using a spill-free funnel, remove the funnel and quickly install the radiator cap before the level drops too far. Many funnel kits come with a plug that goes in the adapter before cap installation to prevent spills.
Check the coolant reservoir level the next morning when the engine is cold. It should sit at the full line. If it dropped significantly overnight, you may still have air in the system. Run the procedure again or monitor closely for the first few drives.
Alternative Methods for Stubborn Air Pockets
Sometimes the standard idle-and-wait method is not enough. Certain vehicles are notorious for trapping air. Here are the forum-tested techniques I reach for when the basics fail.
The Jack-Up-the-Front Method
Jack up the front of the vehicle so the radiator sits higher than the engine. This makes the radiator cap the highest point in the system, and air naturally rises toward it. Even raising the front by a few inches makes a noticeable difference.
This trick is widely recommended on the AskMechanics subreddit. Mechanics report success with vehicles that have long, sweeping upper radiator hoses where air loves to hide. Use jack stands for safety, never work under a car supported only by a hydraulic jack.
The Bleeder Screw Method
Many modern vehicles have dedicated bleeder valves, usually located on or near the thermostat housing. Check a service manual for your specific vehicle to find it.
With the engine running and warm, slowly open the bleeder screw until coolant flows out with no bubbles. Close it immediately once you see clean, bubble-free coolant. Repeat at every bleeder point on the engine.
Be careful, the coolant coming out is hot. Wrap a rag around the bleeder area to catch spray.
The Hose Massage Technique
Physically squeeze and massage every accessible coolant hose while the engine runs. Start at the lowest point of each hose and work upward, pushing any air toward the filler neck. Forum users call this “burping the old-fashioned way,” and it is surprisingly effective on older vehicles with large-diameter hoses.
The Reservoir Pressure Trick
For systems with an overflow reservoir, some people remove the reservoir cap and blow gently into the opening to pressurize the system. This forces coolant through the system and can push air out through the radiator cap opening. Use your mouth carefully or a low-pressure air source. Do not exceed a few PSI.
This is a last-resort technique, but it has worked for forum members dealing with stubborn air pockets in sealed systems.
Signs of Incomplete Burping to Watch For
How do you know if you got all the air out? Here are the warning signs that tell you air is still lurking in your cooling system.
Temperature gauge fluctuating: If your temperature gauge swings between normal and hot while driving, you likely have an air pocket disrupting coolant flow to the sensor.
Heater blowing cold or lukewarm: Air trapped in the heater core blocks hot coolant from reaching it. If your heater worked fine before the coolant change and blows cold now, air is the cause.
Gurgling sounds from the dashboard: That sloshing noise behind the dash is coolant and air mixing in the heater core. It means air is still present.
Coolant level dropping overnight: If the reservoir level drops significantly after the car sits, air pockets are being displaced as the system self-adjusts. Top off and monitor.
Engine running hotter than normal: Even if the gauge does not hit the red zone, running 10 to 20 degrees hotter than your normal baseline suggests incomplete bleeding.
If you notice any of these signs, repeat the burping procedure. Some vehicles need two or three rounds before all the air is gone.
Common Mistakes to Avoid
I have made most of these mistakes myself over the years. Learn from them so you do not repeat them.
Opening the radiator cap while hot: This is the most dangerous mistake. Severe burns can result. Always wait for a completely cold engine.
Forgetting the heater setting: If you leave the climate control on cold, the heater core stays isolated and traps air. Set it to full heat every time.
Parking on a slope: An uneven surface changes the high point of the system. Always use a level spot or jack the front up.
Mixing coolant types: Do not mix green, orange, and pink coolants. Different chemistries can react and form sludge. Use the type specified for your vehicle.
Stopping too early: The absence of visible bubbles does not always mean the system is clear. Run through the full procedure including rev cycles and hose squeezes before calling it done.
Not checking the level the next day: Coolant levels change as the system settles. Always verify the cold level the morning after your coolant change.
Ignoring the reservoir: On pressurized reservoir systems, you must bleed from the reservoir cap, not just the radiator. Air gets trapped in the line between the reservoir and radiator.
FAQs
How long does it take to burp a cooling system?
Plan for 30 to 45 minutes to properly burp a cooling system. Most of that time is the engine idling up to operating temperature. Stubborn air pockets in certain vehicles may require a second round, adding another 30 minutes.
Will air eventually bleed out of the cooling system on its own?
Some air will gradually work its way out over several heating and cooling cycles as you drive, but not all of it. Large air pockets can persist for weeks or cause overheating before they clear naturally. Always burp the system manually after any coolant change to prevent engine damage.
How do you know if there is air in your coolant system?
Common signs include a fluctuating temperature gauge, the heater blowing cold air, gurgling sounds from the dashboard, the coolant level dropping overnight, and the engine running hotter than its normal baseline temperature.
Can I burp my coolant system without a funnel?
Yes. You can burp the system by filling the radiator or reservoir to the neck, starting the engine with the heater on full blast, and watching for bubbles at the surface. Top off the coolant level frequently as air escapes. A spill-free funnel makes the job easier and cleaner, but it is not required.
Why is my car overheating after a coolant change?
The most common cause is trapped air preventing proper coolant circulation. Air does not transfer heat like liquid, so air pockets create hot spots. Burp the system by running the engine with the radiator cap off until no bubbles appear. If overheating persists after burping, check for a stuck thermostat, a faulty water pump, or a clogged radiator.
Key Takeaways
Knowing how to burp air out of a cooling system after a coolant change protects your engine from overheating and keeps your heater working properly. The procedure comes down to a few core principles: work on a cold engine, park level, run the heater on full blast, bring the engine to temperature, and give the air time to escape.
The tools are simple, and most of the work is just waiting. A spill-free funnel makes things easier, but it is not required. If stubborn air pockets refuse to leave, jack up the front, squeeze the hoses, or find the bleeder screw. Repeat the process if symptoms persist.
Always check your coolant level the morning after the job. A small drop is normal. A large drop means air was still present and the system swallowed coolant overnight. Top it off and you are good to go.