
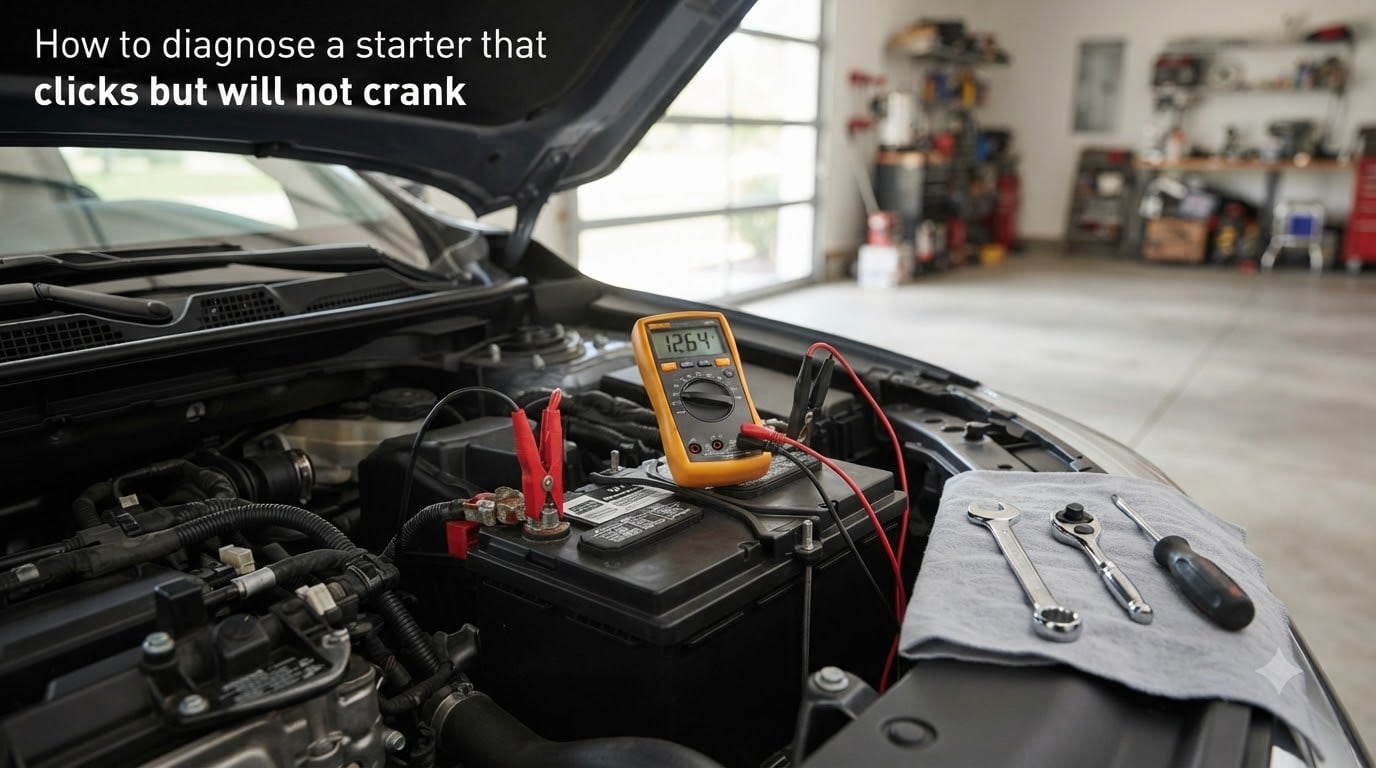
I remember the first time my car refused to start in a grocery store parking lot. The dash lights came on, the radio worked, and every turn of the key produced one sharp click followed by silence. If you’re dealing with that same symptom right now, this guide will walk you through how to diagnose a starter that clicks but will not crank so you can pinpoint the problem before paying for a repair.
That single click (or a flurry of rapid clicks) is one of the most common no-start symptoms in cars, trucks, and SUVs. In our team’s experience working through dozens of these scenarios over the years, the cause is almost always one of four things: a weak battery, corroded battery terminals, a faulty ground connection, or a failing starter motor. The trick is figuring out which one without throwing parts at the problem.
By the end of this article, you’ll know how to test each component in the right order, what voltage readings to look for, and when it’s time to stop diagnosing and call a professional. Most drivers can identify the issue in under 30 minutes with basic tools.
Table of Contents
Understanding the Clicking Sound: Rapid Click vs Single Click
The pattern of clicking your car makes tells you a lot before you ever pop the hood. A rapid clicking sound when turning the key (often described as “machine-gun clicking”) almost always points to a weak battery or severely corroded connections. A single loud click followed by silence typically indicates the starter motor itself or its solenoid.
Here’s what mechanically produces each sound. When you turn the key, the battery sends current to the starter solenoid, which is a heavy-duty electromagnetic switch. The solenoid closes, connecting the high-current path from the battery directly to the starter motor. You hear a click as the solenoid engages. The starter motor then needs to spin the engine at roughly 200 RPM using anywhere from 150 to 400 amps depending on engine size.
Rapid clicking happens when the solenoid closes, the motor tries to draw current, the voltage drops below the solenoid’s holding threshold (around 9.5V), the solenoid releases, voltage recovers, the solenoid re-engages, and the cycle repeats. This on-off-on-off cycle produces that distinctive rapid clicking. The battery simply can’t supply enough current under load.
A single click means the solenoid has enough power to engage, but the motor itself isn’t spinning. This usually signals a bad starter motor, a poor connection that can pass solenoid-level current but not starter-level current, or a seized engine. The distinction between rapid and single click is your first diagnostic clue and worth listening carefully for.
Why a Starter Clicks But Won’t Crank?
To properly diagnose a starter that clicks but will not crank, you need to understand the mismatch between the small amount of current needed to make the solenoid click and the massive current needed to actually spin the engine. The solenoid only needs about 10 amps to activate. The starter motor needs 10 to 40 times that amount.
A typical V6 engine requires 200-300 amps to crank at room temperature. Diesel engines and large V8s can pull 400+ amps. If the battery can deliver 10 amps but not 200 amps, you’ll hear the click but get no rotation. This is exactly why a battery can test “good” at the parts store with a simple voltage check and still fail in your driveway under real load.
Cold cranking amps (CCA) is the rating that matters here. A battery rated at 600 CCA should deliver 600 amps for 30 seconds at 0°F while maintaining at least 7.2 volts. As batteries age, their internal resistance increases. They may show 12.6 volts at rest but collapse under load because the weakened cells can’t sustain high current draw. A load test or conductance tester reveals this; a voltmeter alone does not.
Step 1: Battery Inspection and Voltage Test
Start your diagnosis at the battery. It’s the most common cause and the easiest to test. You’ll need a multimeter, ideally a digital one with at least 0.1V resolution. Set it to DC volts and connect the red lead to the positive terminal and the black lead to the negative terminal.
A healthy, fully charged battery should read between 12.4 and 12.7 volts at rest with the engine off and no accessories running. If you see below 12.2 volts, the battery is significantly discharged or failing. Below 11.8 volts indicates a deeply discharged or dead battery that likely won’t hold a charge.
Next, perform a load test. With the multimeter still connected, have a helper turn the key to the crank position for 10 to 15 seconds. Watch the voltage reading while cranking. The voltage should stay above 9.6 volts during cranking. If it drops below 9 volts, the battery is failing under load even if it showed a healthy resting voltage. This is the test that catches the “battery tested good but still won’t start” issue that forum users frequently report.
If you don’t have a helper, you can do a quick approximation by turning on the headlights for 15 minutes, then checking voltage. Or use a dedicated battery load tester, available at most auto parts stores for free. Many parts stores will load-test your battery in the parking lot and tell you definitively whether it needs replacement.
Step 2: Check Battery Terminals, Cables, and Ground
If the battery passes the voltage test, move to the connections. Corroded or loose battery terminals are the second most common cause of clicking-no-crank symptoms and are often overlooked even by experienced mechanics. I learned this the hard way after replacing a starter on a friend’s truck only to discover the real culprit was a green-fuzz-covered positive cable.
Visually inspect both terminals and the cable ends. Look for white, blue, or green powdery corrosion. Even a thin layer of corrosion creates electrical resistance that prevents high current flow while still allowing the low-current solenoid to click. Wiggle the cables; they should be tight and not move at all on the terminal posts.
To clean the terminals, disconnect the negative cable first (always negative first to avoid short circuits), then the positive. Mix a tablespoon of baking soda in a cup of warm water and apply with an old toothbrush. The solution will fizz as it neutralizes the acid. Scrub until the metal is shiny, then rinse with clean water and dry thoroughly. Use a wire brush or battery terminal cleaner tool for the inside of the cable clamps. Reconnect positive first, then negative, and tighten snugly.
Don’t stop at the battery. Follow the negative cable to where it bolts to the engine block or chassis. This ground strap is just as critical as the positive cable. A loose, corroded, or broken ground strap will cause exactly the symptoms you’re experiencing. Remove the bolt, clean both surfaces to bare metal with sandpaper, and reinstall. Our team’s quick test is to attach a jumper cable from the negative terminal to a clean metal surface on the engine. If the car starts with the jumper in place, you’ve found your ground problem.
Step 3: Starter Motor and Solenoid Diagnosis
If the battery and connections check out, the starter motor becomes the prime suspect. Diagnosing the starter requires a voltage drop test, which tells you whether current is actually reaching the starter.
Set your multimeter to DC volts. Place the red lead on the positive battery terminal and the black lead on the main power stud of the starter solenoid (the large terminal where the battery cable connects to the starter). Have a helper crank the engine. The voltage reading should be less than 0.2 volts. A reading above 0.5 volts means excessive resistance in the positive cable or connections, which can mimic a bad starter.
Repeat the test on the ground side. Place the red lead on the starter housing (a clean metal spot) and the black lead on the negative battery terminal. Crank the engine. The reading should again be under 0.2 volts. Higher readings indicate a bad ground path between the engine and battery.
If both voltage drop tests pass but the starter still won’t crank, the starter itself has likely failed. The tap test is a classic mechanic trick that often gets discussed in forums: with the engine off, locate the starter and give it a few firm taps with a hammer or wrench while someone turns the key. If the starter suddenly engages, worn brushes or a dead spot in the armature are confirmed. This is a temporary fix, often lasting days or weeks, but it confirms the diagnosis and can get you home.
Distinguishing a solenoid failure from a motor failure matters for repair cost. Many starters have the solenoid as a separate bolted-on unit. If the solenoid clicks but the motor doesn’t spin, and voltage drops are normal, the solenoid contacts inside may be burned or pitted. Some solenoids can be replaced separately; others require a full starter assembly replacement.
Step 4: Test the Starter Relay, Neutral Safety Switch, and Ignition Switch
Before condemning the starter, rule out control-side issues that prevent the solenoid from receiving activation signal. These are less common causes but worth checking.
The starter relay is a small cube usually located in the under-hood fuse box. When you turn the key, the ignition switch triggers the relay, which then sends power to the starter solenoid. If the relay fails, no power reaches the solenoid and you get silence (not even a click). To test, swap the starter relay with an identical relay in the fuse box, such as the horn or A/C compressor relay. If the car now cranks, the relay was bad. They cost around $15-30 and are easy DIY replacements.
The neutral safety switch prevents the starter from engaging unless the transmission is in Park or Neutral. On automatic transmissions, try shifting to Neutral and cranking. If it starts in Neutral but not Park, the switch is out of adjustment or failing. Manual transmission cars use a clutch safety switch with similar function.
A worn ignition switch can also cause clicking without crank. If your dashboard lights flicker or other accessories cut out when you turn the key to crank, the ignition switch contacts are likely worn. The fusible link, a heavy-gauge wire near the battery, protects the main power feed. If the car was recently jump-started backwards or had a major electrical issue, check this link first because a blown fusible link will mimic a dead starter.
What Else Can Mimic a Bad Starter?
Several other problems can produce symptoms that look exactly like a starter issue. Knowing these saves you from replacing parts unnecessarily.
Bad alternator: If the alternator isn’t charging the battery while driving, the battery will eventually die and produce clicking on the next start. Jump-start the car and check the voltage at the battery with the engine running; it should read 13.8 to 14.5 volts. Below 13 volts means the alternator isn’t charging.
Engine seizure: If the engine has locked up due to internal damage, the starter cannot turn it over. You’ll hear a single click as the solenoid engages but no rotation at all. Try turning the crankshaft bolt by hand (requires a large socket and breaker bar) to confirm. If it won’t budge, the engine has seized and needs professional attention.
Timing belt or chain failure: On interference engines, a broken timing belt can cause valves to contact pistons, locking the engine. Symptoms are similar to a bad starter but accompanied by unusual sounds or a rattling noise before the no-start condition.
Fuel system failure: A failed fuel pump produces a different symptom: the engine cranks normally but won’t start. If your engine turns over steadily but doesn’t fire, suspect fuel delivery, not the starter.
When to Call a Professional Mechanic?
DIY diagnosis makes sense for the steps above, but some situations warrant a mechanic’s expertise. Stop and call for help if you smell burning insulation, see smoke from under the hood, notice fluid leaking, or hear grinding noises. These signals indicate damage that goes beyond normal starter failure.
Cost expectations help you decide. A new battery runs $100-200 installed at most shops. A starter replacement typically costs $150-400 for the part plus $200-400 for labor, depending on vehicle make. Alternator replacement runs $300-700 total. Many cars package the starter and alternator in tight engine bay locations that add significant labor time.
Most auto parts stores will read diagnostic codes from your car’s computer for free, even if the engine won’t start. Some codes relate to crank position sensor failures, which can produce clicking-but-no-crank symptoms on modern vehicles with anti-theft systems. A quick code scan can save hours of fruitless battery and starter testing.
Preventive Maintenance: How to Avoid the Clicking Starter
The best fix is preventing the problem in the first place. Schedule a battery test every 6 months, especially before winter and summer extremes. Most parts stores offer free testing; take advantage of it.
Clean your battery terminals once a year as part of routine maintenance. A quick visual check during oil changes catches corrosion before it becomes a no-start condition. Apply a thin layer of dielectric grease or petroleum jelly to the terminals after cleaning to slow future corrosion.
Pay attention to early warning signs. If the engine cranks more slowly than usual on cold mornings, or if you notice the headlights dimming when you turn the key, the battery is weakening. Address it before it fails completely. Short trips that don’t allow the alternator to fully recharge the battery shorten its life; if most of your driving is under 15 minutes, consider a monthly longer drive or a battery tender.
Heat kills batteries faster than cold. If you live in a hot climate, expect 3-4 years of battery life. Cold climates with proper maintenance can stretch that to 5-6 years. Either way, plan for replacement rather than being surprised.
FAQs
What would cause a starter to click but not turn over?
The most common cause is a weak battery that can engage the solenoid but cannot supply enough current (200-400 amps) to spin the starter motor. Other causes include corroded battery terminals, a loose or broken ground strap, a failing starter motor, or a faulty starter solenoid. Start diagnosis with the battery voltage test, then check connections, then move to the starter itself.
Why is my starter clicking but not engaging?
Clicking without engagement means the solenoid is receiving enough power to activate but the motor is not spinning. This typically points to insufficient current reaching the starter due to a weak battery, high-resistance cable, or bad ground connection. A single loud click in this pattern usually indicates the starter motor has failed internally, often due to worn brushes or a dead spot in the armature.
Can a bad alternator cause clicking but no crank?
Yes. A failing alternator does not charge the battery while driving, so the battery slowly discharges until it can no longer supply the high current needed to crank the engine. The car may start with a jump but dies again once disconnected. Test by jump-starting and measuring battery voltage with the engine running; healthy alternators produce 13.8 to 14.5 volts.
What does it mean if my starter just clicks once?
A single click when turning the key usually means the starter solenoid is engaging successfully but the motor is not spinning. This is different from rapid clicking, which suggests a weak battery. A single click often points to a faulty starter motor, severe corrosion at the battery terminals preventing high current flow, or in rare cases a seized engine. Check the battery and connections first, then voltage-drop test the starter circuit.
How do I know if it’s the starter or the battery?
Test the battery first with a multimeter. A healthy battery reads 12.4-12.7 volts at rest and stays above 9.6 volts while cranking. If voltage stays in range during cranking but the starter still won’t engage, the starter itself has failed. If voltage drops below 9 volts during cranking, the battery is the problem. Many auto parts stores will load-test the battery for free to confirm.
Is it safe to tap the starter with a hammer?
Tapping the starter with a hammer is a classic diagnostic trick that can temporarily unstick worn brushes inside the starter motor. It is generally safe for diagnostic purposes but should not be used as a long-term fix. The technique only works on older starter designs with accessible brush holders; modern sealed starters often don’t respond. If tapping gets you going, plan to replace the starter soon because the fix rarely lasts more than a few weeks.
Conclusion
Diagnosing a starter that clicks but will not crank comes down to a logical sequence: test the battery first, then check all connections and grounds, then test the starter motor and solenoid, and finally rule out the relay and safety switches. Most no-crank clicking symptoms trace back to the battery or its connections, not the starter itself.
Before you replace any parts, take 20 minutes with a multimeter to confirm where the problem actually is. The diagnostic steps in this guide can save you $200-500 in unnecessary parts and labor. If the symptoms point to a failed starter or if the diagnosis isn’t clear after these checks, a trusted mechanic can confirm with a bench test and complete the repair.