
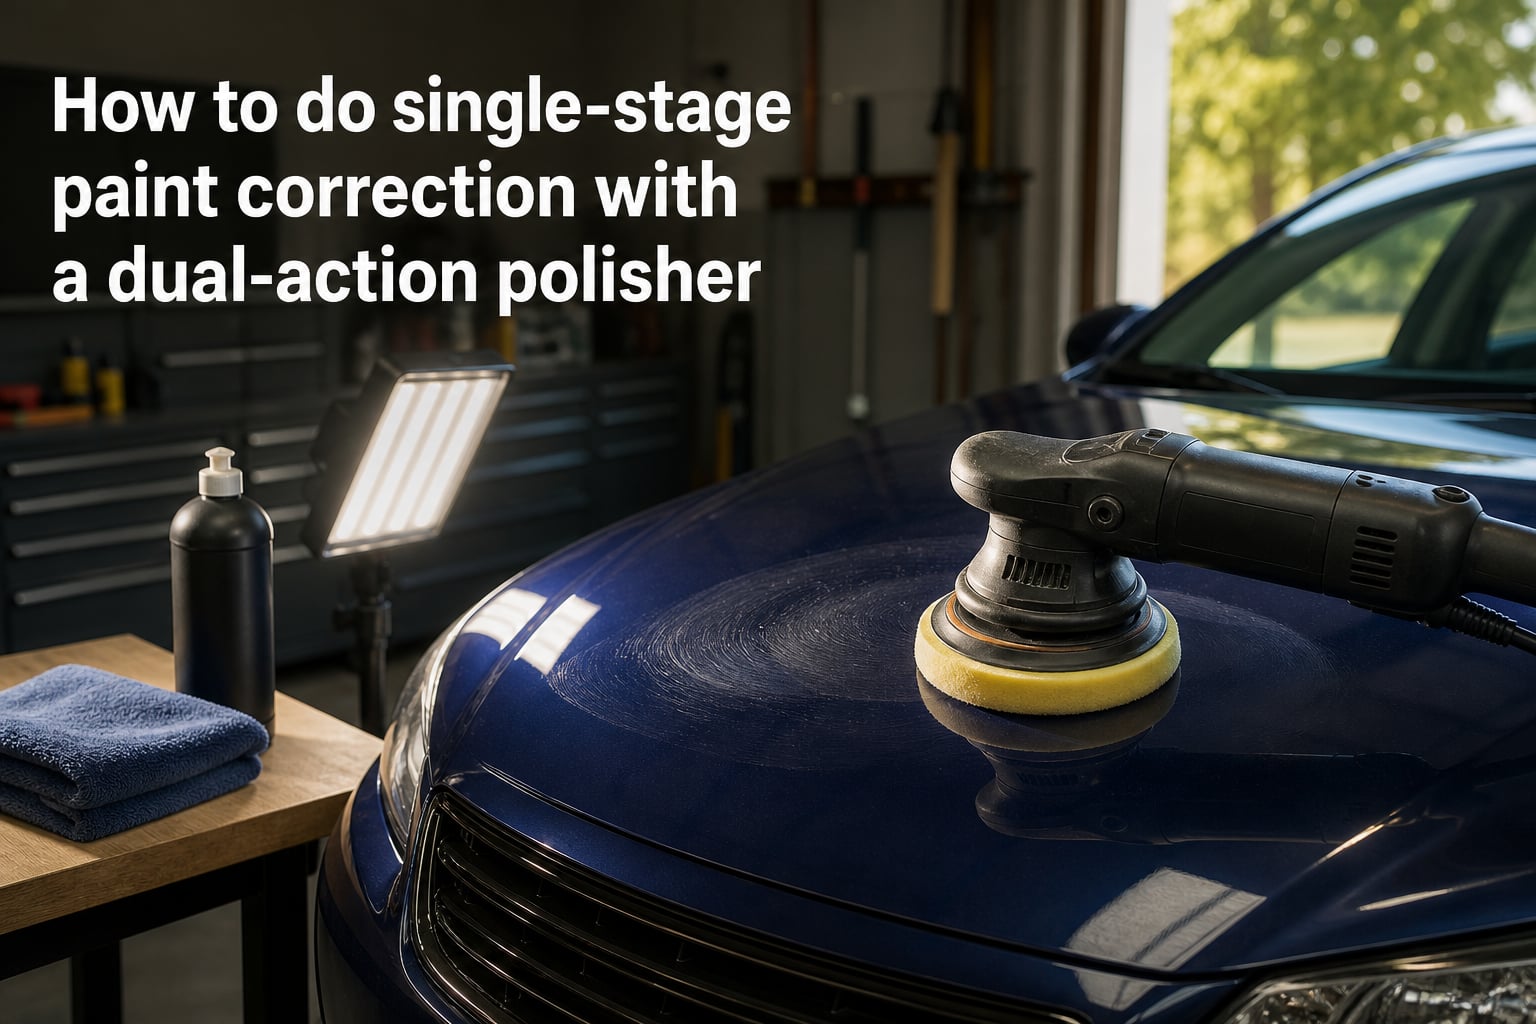
I have spent the last three weekends correcting daily drivers in my garage, and I keep coming back to one tool for the job: a dual action polisher. If you want to remove swirl marks, light scratches, and oxidation in a single afternoon, single stage paint correction with a DA polisher is the most forgiving entry point into machine polishing. In this guide, I will walk you through exactly how I approach a one step paint correction, from decontaminating the paint to sealing it when I am done.
Table of Contents
What Is Single Stage Paint Correction and When Should You Use It?
Single stage paint correction (also called one step correction or one step polish) is a polishing process that combines cutting and finishing in a single pass. You use one pad, one product, and one machine motion to remove a thin layer of damaged clear coat while refining the surface to a high gloss.
I reach for this method when a car has moderate swirl marks, light oxidation, and minor scratches that have not yet eaten through the clear coat. It is perfect for daily drivers, weekend cars getting ready for a show, and anyone wanting noticeable improvement without paying for a two or three stage correction.
Single stage correction is not the right choice for every car. If your vehicle has deep scratches you can catch with a fingernail, heavy orange peel, or paint that has been heavily sanded, you will need a multi-stage correction. The same goes for true single stage paint (older non-clear coat finishes) which needs a softer approach and lower speeds to avoid burning through the paint layer.
Tools and Equipment You Need for Single Stage Paint Correction
Before you start, gather everything you need. I learned the hard way that stopping halfway through to find a missing microfiber towel wastes time and lets product dry on the paint.
Here is the kit I use for a typical one step correction:
Dual action polisher: A 15mm or 21mm throw random orbital, or a forced rotation DA like the Griot’s G9. Anything smaller than 8mm throw will struggle to correct defects in one step.
Backing plate: Match the plate size to your pads, usually 5 inches for a 5.5 inch pad.
Correction pads: One or two foam cutting or microfiber pads. I keep a finishing pad on standby if I need to refine.
Compound-polish hybrid: An all-in-one (AIO) or medium-cut polish designed for one step work, such as Sonax Perfect Finish, 3D One, or Menzerna One Step.
Pad conditioner spray: Extends pad life and primes a fresh pad.
Clay bar or clay towel: For decontamination after the wash.
IPA (isopropyl alcohol) wipe down solution: 15 percent IPA mixed with distilled water to remove polishing oils before final inspection.
Lighting: A bright LED work light or a swirl-finding light. Without good lighting, you cannot see what you are doing.
Microfiber towels: At least six quality 16 by 16 inch towels for wipe-off.
Masking tape: To protect trim, edges, emblems, and plastic from polish sling.
Paint depth gauge (optional): Useful on older or unknown paint to confirm you have clear coat to work with.
Pad Selection Guide: Foam vs Microfiber for One Step Correction
Picking the right pad is half the battle. I always keep three pad types in my kit so I can adjust to whatever paint I am working on.
Here is how the main pad types compare for single stage work:
Foam cutting pad (orange or yellow): Open cell foam with sharp cut. Best for harder clear coats and moderate swirl marks. Leaves some haze behind that an AIO product will refine.
Foam polishing pad (white or black): Closed cell finishing foam. Lower cut, higher refinement. Best for softer paints or when you want maximum gloss from the AIO product.
Microfiber cutting pad: Aggressive cut from the microfiber fingers. Removes defects fast but finishes hazy on its own. An AIO polish helps refine the finish.
Hybrid foam pad (foam with microfiber face): A middle ground. Good cut with better finishing than pure microfiber. My favorite for true one step correction.
For most beginners, I recommend starting with a hybrid or orange foam pad paired with an AIO polish. They offer enough cut to remove moderate defects while leaving a finish that does not need a second polishing step.
Always prime a fresh pad with pad conditioner or a thin layer of polish worked into the face before you place it on the backing plate. Skipping this step is one of the top reasons new detailers see streaking and uneven cut on their first pass.
Surface Preparation: Wash, Decontaminate, and Tape Before You Polish
Polish will lock in anything left on the surface. If you skip proper prep, you grind contaminants into the paint and create scratches worse than the ones you are trying to remove. I spend 60 percent of my correction time on prep, and the results show it.
Follow these prep steps in order:
Two-bucket wash: Use a pH neutral car shampoo, a grit guard in each bucket, and a microfiber wash mitt. Work top to bottom in straight lines to avoid adding more swirls.
Wheel and tire cleaning: Clean wheels and tires before decontamination so fallout from the wheels does not recontaminate the paint.
Chemical decontamination: Spray an iron fallout remover on the paint. Let it dwell and turn purple, then rinse. Follow with a tar remover if needed.
Clay bar or clay towel: Lubricate the surface with clay lube and glide the clay across the paint until it feels smooth. Fold the clay often to expose a clean face.
Dry and inspect: Dry with a clean microfiber drying towel, then inspect under bright light for any remaining bonded contaminants.
Mask trim: Tape off all plastic trim, rubber seals, emblems, and sharp edges. Polish will stain trim and burn edges if you are not careful.
If the paint feels rough after claying, you have removed embedded contamination. If it still feels rough, clay again. Skipping this step is the single biggest mistake I see from first-time detailers.
How to Do Single Stage Paint Correction with a Dual Action Polisher: Step-by-Step?
Now for the actual correction. I work panel by panel, completing each section before moving on, so the polish does not dry and harden on the surface.
Step 1: Pick a Test Spot
Always start on a 2 by 2 foot test area. I use the lower portion of the hood or a door because these panels see the most sun and abuse. Work the test spot with your chosen pad and product for 4 to 6 section passes, then wipe off and inspect. The test spot tells you whether your combination has enough cut, too much cut, or the right balance.
Step 2: Apply the Product
Apply 4 to 5 pea-sized drops of polish directly onto the pad face. Less is more with a DA. You can always add more product if the pad feels dry, but too much product will sling off, reduce cut, and make wipe-off harder.
Step 3: Spread the Product
With the polisher off, place the pad flat against the paint. Turn the polisher on at the lowest speed setting (usually speed 1) and spread the polish across a 2 by 2 foot area. You want a thin, even film of product across the entire section before you start correcting.
Step 4: Make Working Passes
Bump the speed up to your working setting (usually 4 to 5 on a 6 speed DA, or 4,000 to 4,800 OPM on a speed-controlled machine). Apply moderate pressure, about 10 to 15 pounds, and move the polisher in slow overlapping passes.
I work in a cross hatch pattern: 2 to 3 horizontal passes, then 2 to 3 vertical passes, covering the section twice. Each pass should overlap the previous one by about 50 percent so you do not miss any area.
Step 5: Check Your Work
After 4 to 6 section passes, the polish should start to turn clear or start to break down. Stop and wipe a small area with a microfiber towel. Inspect under your swirl-finding light. If defects are gone and the finish is glossy, move on. If defects remain, do another set of passes.
Step 6: Wipe Off and Move On
Buff the residue with a clean microfiber towel before the polish fully dries. Flip the towel often so you are not smearing product across the paint. Then move to the next section and repeat.
Step 7: Final Inspection
Once the entire car is corrected, do an IPA wipe down (15 percent IPA, 85 percent distilled water) across every panel. This removes all polishing oils so you can see the true finish and check for any missed holograms, haze, or remaining defects.
Speed Settings, Pressure, and Technique That Actually Work
Speed, pressure, and arm speed are the three levers that determine whether you cut defects or just push polish around. Most beginners under-correct because they use too little pressure and too slow an arm speed.
Here is the technique that works on most cars:
Speed: 4 to 5 on a 6 speed dial, or 4,000 to 4,800 OPM on a digital DA.
Pressure: 10 to 15 pounds, roughly the weight of the polisher plus a firm grip.
Arm speed: About 1 inch per second across the paint.
Working area: 2 by 2 feet per section.
Passes per section: 4 to 6 total (2 to 3 each direction).
If the pad feels like it is bogging down, you are applying too much pressure or working too small an area. If the pad is bouncing across the paint, you have too little pressure. The pad should glide with controlled resistance.
On edges and high spots like door handles and character lines, reduce pressure to avoid burning through the clear coat. I also recommend pulling the polisher off the paint while it is still spinning to avoid sling.
Time Estimates and Realistic Expectations for One Step Correction
A full single stage correction on a mid-size sedan takes me 4 to 6 hours including prep. A two-door coupe takes 3 to 4 hours. A large SUV or pickup can run 6 to 8 hours. Add 30 minutes to an hour for the IPA wipe down and protection step at the end.
In one step, you can expect to remove:
60 to 80 percent of light swirl marks.
Most light scratches that have not gone through the clear coat.
Light to moderate oxidation on hoods, trunks, and rooflines.
Water spots and etching that are not deeply embedded.
What single stage correction will not remove:
Deep scratches you can catch with a fingernail.
Rock chips and paint transfers.
Heavy sanding marks or buffer trails from previous incorrect polishing.
Etchings that have eaten through the clear coat into the base coat.
If after your test spot the defects are still clearly visible after 6 passes, accept that the paint needs a heavier cut pad and compound, or a multi-stage correction. Push past this and you risk burning through the clear coat.
Common Mistakes and Troubleshooting Sticky Paint, Haze, and Holograms
Even experienced detailers run into problems. Here are the issues I hit most often and how I fix them.
Haze after correction: Usually means the pad and product combo is too aggressive for that paint, or you worked the section too long. Switch to a softer finishing pad and do 2 light passes with a finishing polish. Most haze buffs out this way.
Holograms (buffer trails): These are repeating scratch patterns from a rotary polisher or from using a DA at too high a speed with too little product. Step down your speed, add more product, and use less pressure. A finishing pass with a soft pad and finishing polish will erase holograms.
Sticky paint: Some soft paints (many Japanese cars, black BMWs, Teslas) feel gummy under the pad and never finish down properly. You are seeing the paint’s natural softness. Use a softer pad, slower arm speed, and more working passes. Avoid heavy cutting compounds on these paints.
Pad flying apart: You have applied too much pressure, used too high a speed, or worked the same spot too long. Stop and check the pad for damage before continuing.
Streaking and uneven cut: Most often caused by an unprimed pad, too little product, or a dirty pad. Clean or replace the pad, re-prime, and try again.
Polish dusting: Too much product, too high a speed, or a very dry pad. Reduce product, drop one speed setting, and spritz the pad with pad conditioner.
Aftercare: Sealants, Wax, and Protecting Your Freshly Corrected Paint
Once your paint is corrected and wiped down with IPA, the surface is bare and unprotected. Within hours of finishing, you need to apply protection or the paint will start collecting contamination again and your work will be wasted.
My go-to protection options after a one step correction:
Spray sealant: Quick and easy. Lasts 1 to 3 months. Great for beginners.
Liquid sealant: Synthetic polymer sealant applied by hand or with a finishing pad. Lasts 4 to 6 months. My default for daily drivers.
Carnauba wax: Paste or liquid wax. Warm, deep shine that enthusiasts love. Lasts 4 to 8 weeks.
Ceramic coating: SiO2-based spray coating or full ceramic coating. Lasts 6 months to 5+ years depending on product. Best for long term protection.
Whichever you choose, apply in a thin, even coat, let it haze per the instructions, then buff off with a clean microfiber towel. Do not wash the car for at least 24 hours after wax or sealant application so the product can fully bond.
For ongoing maintenance, wash with a pH neutral shampoo and a microfiber mitt using the two-bucket method. Avoid automated brush car washes. They will put the swirls right back in your paint.
Single Stage vs Multi-Stage Paint Correction: How to Choose
The choice between single stage and multi-stage correction comes down to your goals, your budget, and the condition of the paint.
Here is a quick comparison:
Single stage correction: One pad, one product, 3 to 6 hours of work, removes 60 to 80 percent of defects, costs less if paying a professional.
Two stage correction: Heavy cut followed by a finishing polish, 8 to 14 hours of work, removes 85 to 95 percent of defects, more cost.
Three stage correction: Cutting, polishing, and finishing stages, often 20+ hours of work, removes 95 percent plus of defects, premium price.
For a daily driver that needs to look clean and shiny but does not need to be a show car, single stage correction is the best balance of time, cost, and result. For a garage queen or a car being prepared for sale where maximum value matters, two stage or three stage correction is the better investment.
DIY single stage correction costs about $50 to $150 in product and pad consumables if you already own a polisher. A professional single stage correction typically runs $300 to $700 depending on vehicle size and condition. A multi-stage correction from a pro can run $1,000 to $3,000 plus.
Frequently Asked Questions
How to do a stage 1 paint correction?
A stage 1 paint correction (single stage or one step) starts with a thorough wash and clay bar decontamination. Mask off trim, then work in 2 by 2 foot sections using a dual action polisher with a cutting or hybrid pad and an all-in-one polish. Make 4 to 6 overlapping passes per section at speed setting 4 to 5 with moderate pressure, wipe off, and inspect under bright lighting. Wipe the entire car down with IPA when finished to remove oils, then apply a sealant or wax for protection.
Can you buff and polish single stage paint?
Yes, you can buff and polish single stage paint, but you need to be more careful than with modern clear coat finishes. Single stage paint (found on most cars built before the 1980s) has no protective clear coat layer, so every pass removes actual color. Use lower speeds, lighter pressure, and softer pads. Test spot first, work in small sections, and stop as soon as defects are removed to preserve paint thickness.
Can you compound with a dual action polisher?
Yes, modern dual action polishers can compound paint effectively when paired with a microfiber or foam cutting pad and a quality compound. Choose a DA polisher with at least a 15mm orbit (or forced rotation like the Griot’s G9 or Rupes MKX) for best results. Work at speed 4 to 5 with moderate pressure in overlapping cross hatch passes, and follow up with a finishing polish if needed to remove compounding haze.
How long does a 1 step paint correction take?
A 1 step paint correction typically takes 4 to 6 hours on a mid-size sedan including wash, clay, mask, polish, and wipe down. A smaller coupe takes 3 to 4 hours. Larger SUVs and trucks run 6 to 8 hours. Add another 30 minutes to an hour if you are applying protection after the correction. Beginners should plan on the longer end of these estimates until they build speed.
Final Thoughts on Single Stage Paint Correction with a Dual Action Polisher
Single stage paint correction with a dual action polisher is the most realistic way for a beginner or weekend detailer to transform a daily driver without the cost of a multi-stage correction. The DA is forgiving, the technique is repeatable, and a single afternoon of work can remove years of swirl marks and light scratches from your paint.
Start with the right tools, prep the surface properly, run a test spot, and work methodically. Once you finish your first single stage paint correction, you will see what a properly polished finish actually looks like, and you will never go back to a wax-only routine again.
Pick up a dual action polisher, grab a hybrid pad and an all-in-one polish, and find a section of your hood to practice on this weekend. The learning curve is shorter than you think, and the results show up the first time you pull the polisher off the paint.