
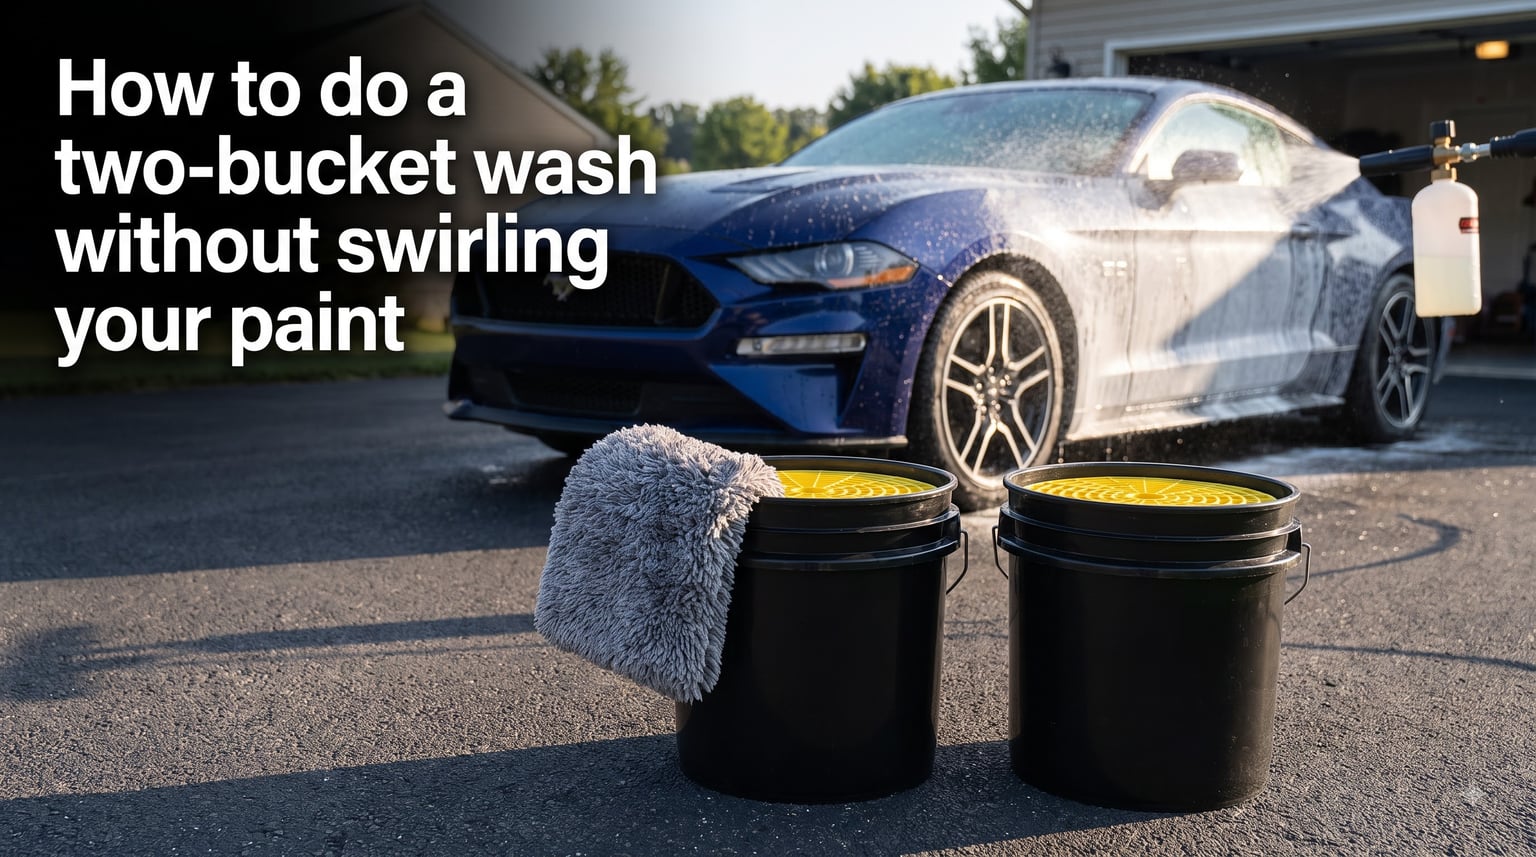
If you wash your car by hand and still see swirl marks under the sun, your wash technique is likely the culprit. According to data from professional detailers, over 95% of swirl marks and scratches come from incorrect wash technique, not from driving or weathering. The single biggest offender is dragging contaminated water and dirt back across your paint with a dirty wash mitt.
That is exactly what the two bucket wash method solves. It keeps abrasive particles away from your clear coat by separating clean soapy water from dirty rinse water. Once I started using this method consistently on my own vehicles, the difference in paint clarity was immediately obvious.
In this guide, I will walk you through how to do a two-bucket wash without swirling your paint, step by step. You will learn why swirls happen, what tools you actually need, the exact mitt rinsing technique most people get wrong, and the mistakes that undo all your effort. Whether you drive a daily commuter or a black show car, this method is your foundation for a swirl-free finish.
Table of Contents
What Is the Two-Bucket Wash Method?
The two bucket wash method is a car washing technique that uses two separate 5-gallon buckets instead of one. The first bucket holds your clean wash solution (water plus pH-neutral car shampoo), and the second bucket holds clean rinse water. Each bucket gets a grit guard inserted at the bottom.
Here is how the two buckets function during a wash:
Wash bucket: Holds your soapy water. You dip your clean wash mitt here to load it with lubricated suds before touching the paint.
Rinse bucket: Holds plain water. After washing a panel, you dunk the mitt here and agitate it against the grit guard to release trapped dirt before going back to the wash bucket.
Grit guards: Plastic inserts that sit at the bottom of each bucket. They let settled dirt drop below the water line so your mitt never picks it back up.
The core idea is contaminant isolation. Dirt gets removed from the mitt in the rinse bucket and trapped under the grit guard. Your wash bucket stays clean, so every time you touch your paint, you are using fresh, lubricated solution rather than grinding dirt back into the clear coat.
Why Swirls Happen During a Car Wash?
Swirl marks are thousands of tiny scratches in your clear coat, and they form when abrasive particles get dragged across the paint surface. The most common source is not road grime or automatic car washes. It is the wash mitt you trust to clean your car.
When you wash with a single bucket, here is what happens. Your mitt picks up dirt from the paint, you swish it around in the same soapy water, and that dirt goes back into solution. Now your “clean” wash water is loaded with abrasive particles. Every subsequent pass of the mitt drags those particles across the paint under pressure, creating micro-marring. Over weeks and months, these micro-scratches accumulate into the visible spider-web pattern we call swirl marks.
This problem is dramatically worse on black and dark-colored paint. Dark finishes show every scratch because the scratches scatter light differently than the surrounding paint. A car that looks flawless in a garage can reveal a swirl-mark nightmare in direct sunlight.
The contamination problem compounds as you work your way down the vehicle. The lower panels collect the heaviest grime, brake dust, and tar. By the time you reach them with a single bucket, your wash water is essentially liquid sandpaper. The two bucket wash method breaks this cycle by giving dirt nowhere to hide except at the bottom of your rinse bucket.
How the Two-Bucket Method Prevents Swirl Marks?
The two bucket wash method prevents swirl marks through cross-contamination control. Every time your wash mitt leaves the paint, it carries dirt. The question is where that dirt goes next, and the method forces it into the rinse bucket rather than back onto the car.
Here is the mechanism in plain terms. When you rub the mitt against the grit guard in the rinse bucket, the textured surface forces dirt out of the fibers. That dirt sinks through the grit guard slats and settles at the very bottom of the bucket. When you pull the mitt upward, the grit guard acts as a barrier, keeping the settled contaminants trapped below. You then transfer a clean, damp mitt to the wash bucket for fresh soap.
This is why professional detailers say discipline matters more than bucket count. Two buckets without proper mitt agitation against the grit guard will still leave contamination in your mitt. The grit guard is not decorative. It is the physical barrier that makes the entire system work.
The lubricity of your car shampoo also plays a role. A quality pH-neutral car shampoo adds slickness to the wash solution, creating a thin film between your mitt and the paint. This film lets the mitt glide rather than drag, reducing the friction that causes micro-marring even when the mitt is perfectly clean.
Tools You Need for a Swirl-Free Wash
You do not need a garage full of detailing equipment to do this right. Here is the checklist of essentials, along with why each item matters.
Two 5-gallon buckets: Standard size gives enough water volume to dilute contaminants. Label one “Wash” and one “Rinse” to avoid confusion mid-wash.
Two grit guards: One for each bucket. These are non-negotiable if you want the method to actually work.
Microfiber wash mitt: A plush microfiber or lambswool mitt traps dirt in the fibers rather than dragging it across the surface. Avoid sponges, which have no safe place for dirt to go.
pH-neutral car shampoo: Provides lubrication without stripping wax or sealant. Avoid dish soap, which is too aggressive and removes protective layers.
Wheel brush and separate bucket: Wheels carry the heaviest brake dust contamination. Use a dedicated brush and never bring your body wash mitt near the wheels.
Pre-rinse option: A pressure washer or hose with a spray nozzle to blast off loose dirt before you ever touch the paint with a mitt.
Large microfiber drying towel: For the drying phase, which is just as critical for swirl prevention as the wash itself.
If you have dark paint, consider buying two or three wash mitts. Swapping to a fresh mitt halfway through the wash gives you a clean surface for the most visible upper panels.
How to Do a Two-Bucket Wash Without Swirling Your Paint: Step by Step
Follow these steps in order. Skipping or rushing any step is where swirl marks sneak in.
Step 1: Set Up Your Buckets
Fill both 5-gallon buckets with water. Insert a grit guard into the bottom of each, pressing it down until it seats flat. Add your car shampoo to the wash bucket only, following the dilution ratio on the bottle. Agitate the wash bucket with your hose or pressure washer to create suds. Leave the rinse bucket as plain water.
Place the buckets within arm’s reach of where you plan to work, but not so close that you risk kicking dirt into them.
Step 2: Clean the Wheels First
Always start with the wheels using a dedicated wheel brush and a separate bucket, never your body wash mitt. Brake dust is extremely abrasive and will contaminate anything it touches. Rinse the wheels thoroughly when finished and put the wheel gear away before moving to the body.
Step 3: Pre-Rinse the Entire Vehicle
This is the step most people skip, and it is critical. Use a pressure washer or hose with a strong spray to rinse the entire vehicle from top to bottom. The goal is to blast off as much loose dirt, dust, and bird droppings as possible before any contact with your mitt. A foam cannon pre-soak is even better because the foam dwell time softens and lifts contamination.
Forums are full of people who get swirl marks despite using the two bucket method, and the pre-rinse is usually what they skipped. Professional detailers emphasize this step constantly because it removes the bulk of abrasive material before it ever has a chance to be dragged across the paint.
Step 4: Wash Top to Bottom, One Panel at a Time
Dip your clean wash mitt into the wash bucket and load it with soapy water. Start at the roof, which is the cleanest part of the car, and work your way down. The top-down washing order matters because the upper panels have the least contamination. You do not want dirt from the lower doors dragged up onto the clean roof.
Wash one panel at a time using straight-line strokes, not circles. Move the mitt gently in one direction, then lift it off the surface before returning. Never apply heavy pressure. Let the soap and the mitt fibers do the work.
Step 5: Rinse the Mitt Properly Against the Grit Guard
This is where the two bucket method lives or dies. After washing each panel, take your dirty mitt to the rinse bucket. Rub it firmly against the grit guard in a back-and-forth and circular motion for several seconds. You should see dirt streaming out of the fibers.
The biggest mistake here is the “swish and go” move, where people just dip the mitt in the rinse water and immediately pull it out. A quick swish does not release trapped dirt. Reddit detailers consistently call this out as the reason people still get swirl marks with two buckets. Agitate the mitt against the grit guard with intent, not as an afterthought.
Once the mitt is visibly cleaner, wring it out lightly and transfer it back to the wash bucket for a fresh load of soapy water before moving to the next panel.
Step 6: Handle Contaminated Rinse Water Mid-Wash
If your rinse water becomes visibly dirty and dark before you finish, do not keep using it. Dump it, refill with clean water, and reinsert the grit guard. Continuing with contaminated rinse water defeats the entire purpose because your mitt is picking dirt back up on every dip.
For a very dirty vehicle, expect to change the rinse water once or twice. This is not a failure of the method. It is the method working as intended, pulling dirt out of circulation.
Step 7: Final Rinse the Vehicle
Once every panel is washed, give the entire vehicle a thorough rinse with clean water from top to bottom. Work section by section to ensure no soap residue remains, as dried soap can leave spots and streaks.
Step 8: Dry Immediately
Drying is covered in detail below, but the key point is to never let the car air dry. Water droplets evaporating on the surface leave minerals and contaminants behind that can etch into the clear coat.
Common Two-Bucket Wash Mistakes That Cause Swirls
Even with the right setup, technique errors will still scratch your paint. Here are the most common mistakes and how to fix them.
The swish and go rinse: Dunking the mitt without agitating it against the grit guard. Fix: Rub the mitt firmly against the grit guard for several seconds until dirt is visibly released.
Washing in circles: Circular motions create the exact swirl pattern you are trying to avoid. Fix: Use straight-line strokes in a single direction.
Applying too much pressure: Pressing hard to remove stubborn dirt grinds it into the paint. Fix: Let the soap dwell longer, do multiple gentle passes, or use a dedicated bug-and-tar remover for stuck contamination.
Washing bottom to top: Starting at the dirtiest lower panels and moving up spreads heavy grime across cleaner areas. Fix: Always wash top to bottom.
Using the same mitt for wheels and body: Brake dust is the most abrasive contaminant on your car. Fix: Use a dedicated wheel brush and never touch the body with it.
Skiping the pre-rinse: Going straight to contact washing means rubbing loose dirt across wet paint. Fix: Always pressure-rinse or foam-pre-soak first.
Using a sponge instead of a mitt: Sponges have flat surfaces with nowhere for dirt to embed, so it all sits on top and gets dragged. Fix: Use a plush microfiber or lambswool mitt.
Washing in direct sunlight: Soap and water dry too fast, reducing lubrication and leaving spots. Fix: Wash in the shade, early morning, or late afternoon.
Drying Without Scratching Your Paint
Drying is the second most common source of swirl marks, right after the wash itself. A wet microfiber towel dragging across the paint can do just as much damage as a dirty wash mitt.
Use a large, plush microfiber drying towel rather than a chamois or bath towel. Microfiber absorbs water into its fibers instead of pushing it across the surface. The best technique is to lay the towel flat on the panel and gently pat or blot it down, letting the microfiber absorb the water without dragging.
If you prefer a dragging motion, use very light pressure and a towel that is already damp. A bone-dry microfiber towel on dry paint grabs and micro-scratches. Some detailers use a leaf blower or dedicated car dryer to remove the bulk of the water without any contact at all, which is the safest possible approach for show-quality finishes.
Never dry your car with the same towel you used for the wheels. Keep a separate, clearly labeled drying towel for bodywork only.
Special Care for Black and Dark Paint
Black paint shows every imperfection, which means your two bucket wash technique has to be airtight. The steps are the same, but the margin for error shrinks dramatically.
Use two or three wash mitts and rotate them so you are always working with a clean surface on the most visible panels. Add a foam cannon pre-soak to soften contamination before any contact. Consider a rinseless wash product for light maintenance washes between full two-bucket sessions, as it reduces the number of contact passes needed.
Inspect your wash mitt regularly for embedded contamination. If you can feel grit when you rub the mitt against itself after rinsing, it is time for a new one or a thorough machine wash. A contaminated mitt is worse than no wash at all on dark paint.
FAQs
How to not swirl paint when washing a car?
To avoid swirling your paint, use the two bucket wash method with a grit guard in each bucket. Pre-rinse the vehicle to remove loose dirt, wash top to bottom with a microfiber mitt using straight-line strokes, and agitate the mitt firmly against the grit guard in the rinse bucket after every panel. Over 95% of swirl marks come from incorrect wash technique, so process discipline matters more than any single product.
How to do the 2 bucket wash method?
Fill two 5-gallon buckets with water and insert a grit guard into each. Add car shampoo to one bucket only. Clean the wheels first with a separate brush, then pre-rinse the entire vehicle. Dip your wash mitt in the soapy bucket, wash one panel top to bottom, then dunk the mitt in the rinse bucket and rub it against the grit guard to release dirt. Reload the mitt in the wash bucket and repeat for each panel. Final rinse and dry immediately with a microfiber towel.
What is the best two-bucket method?
The best two-bucket method uses two 5-gallon buckets, each fitted with a grit guard, a plush microfiber wash mitt, and a pH-neutral car shampoo for lubrication. The key differentiator is proper mitt agitation against the grit guard rather than a quick swish, plus a thorough pre-rinse before any contact washing. Rotating multiple mitts and washing top to bottom further improves results.
Is the two-bucket method really necessary?
Yes, if you want to maintain a swirl-free finish. Since over 95% of swirl marks and scratches come from incorrect wash technique, controlling where dirt goes during the wash is the single most effective thing you can do. The two-bucket method isolates contaminants in the rinse bucket so your wash water stays clean. For daily drivers in light colors a single bucket may hide the damage longer, but on black or dark paint the difference is immediately visible.
Conclusion
The two bucket wash method is the single most effective way to wash your car without swirling your paint. The technique works because it isolates contamination, and it works best when you pair it with a proper pre-rinse, deliberate mitt agitation against the grit guard, top-down washing order, and a contact-free or gentle drying approach. Build the habit, follow every step, and your paint will stay clearer for far longer between corrections.