
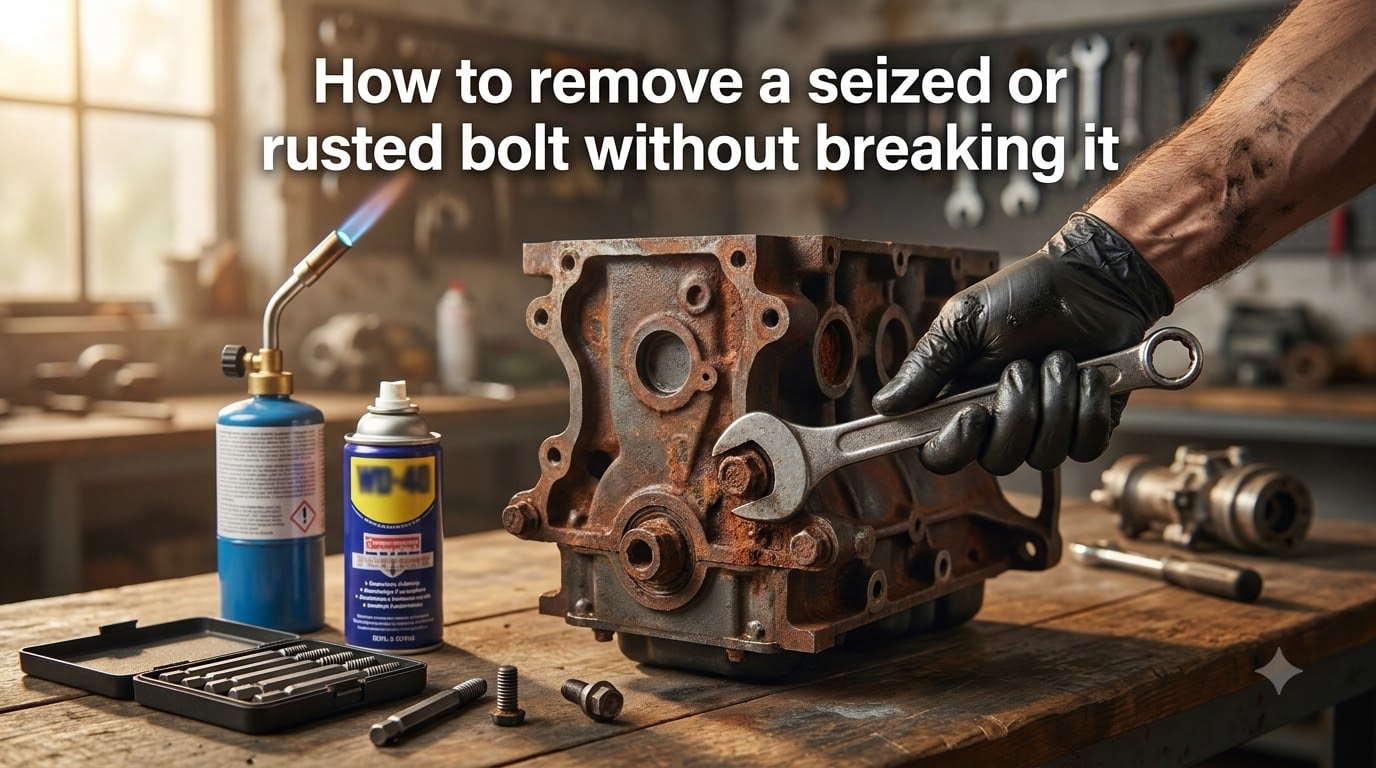
I’ve been there, kneeling beside a car with knuckles skinned, yanking on a wrench that won’t budge. The bolt underneath is fused to its housing by rust, and one more hard pull is going to snap the head clean off. Learning how to remove a seized bolt without breaking it is the difference between a 30-minute job and a weekend lost to drilling out a broken stub.
In this guide, I’ll walk you through the exact escalation ladder our shop uses. We’ll start with the cheapest, gentlest method and work up to the tools you’d only reach for when a rusted bolt refuses everything else. I’ll also flag the warning signs that tell you a bolt is about to snap, so you can back off before you make things worse.
Table of Contents
What Causes a Bolt to Seize in the First Place?
Understanding why bolts seize helps you pick the right removal method. A seized bolt isn’t stuck because of friction alone. The metal threads have chemically bonded to the surrounding material, often stronger than the bolt itself.
The main culprit is rust. When iron-based bolts meet moisture and oxygen, they form iron oxide that creeps into every microscopic gap between the threads. Over months or years, that oxide welds the bolt to its housing. Salt accelerates the process, which is why automotive and marine fasteners seize fastest.
Thread galling is another cause, especially with stainless steel or aluminum fasteners. The soft metal tears and cold-welds to the matching threads under load. You can sometimes feel this as a rough, gritty resistance even on a new bolt.
Galvanic corrosion shows up when dissimilar metals contact each other in the presence of an electrolyte like rainwater. A steel bolt in an aluminum housing will literally eat itself into place. And over-tightening crushes the threads, distorting them just enough that they lock up.
Safety Gear and Tools You Need Before You Start
Before you touch the bolt, gear up. Penetrating oil sprays back. Bolt heads shatter. Cutting wheels throw sparks and shards. Eye protection is non-negotiable, and I wear mine even for “quick” jobs.
Here’s what I keep in a small tray whenever I’m working on a stubborn fastener:
Safety glasses (preferably ANSI Z87.1 rated)
Cut-resistant gloves
Fire-resistant gloves if using heat
6-point socket set, never 12-point
Breaker bar in the right drive size
Penetrating oil (PB Blaster, Liquid Wrench, or Kroil)
Wire brush for cleaning threads
Center punch and hammer
Propane or MAP gas torch for heat methods
Rags and a fire extinguisher within reach
A 6-point socket grips the flat sides of a hex bolt. A 12-point socket only contacts the corners and will round them off almost instantly on a stuck fastener. Most rounded bolt heads I see in the shop started with the wrong socket.
How to Remove a Seized Bolt: The Step-by-Step Method?
The biggest mistake I see is people skipping straight to the breaker bar and standing on it. That’s how you shear a bolt flush with the surface. Instead, follow this ladder and only escalate when the previous step fails.
Step 1: Clean and Soak With Penetrating Oil
Wire-brush the bolt head and the surrounding area. Rust and dirt keep penetrating oil from reaching the threads. Then soak the joint from multiple angles so the oil wicks down into the threads.
Spray generously and wait. Most people give up after 5 minutes. Real chemistry takes 30 minutes minimum, and overnight soaking is better for a bolt that has been stuck for years. PB Blaster’s own technical data shows capillary action peaks around 12 to 24 hours.
Step 2: Use a 6-Point Socket First
Fit the closest 6-point socket to the bolt head. Make sure it seats fully before applying any force. A half-on socket rounds the corners instantly and you’ll never get it back.
Turn the bolt with steady, even pressure. Stop the instant you feel the socket slip or hear a creak. That sound means metal is giving way, and it might be the head, not the bond.
Step 3: Add Leverage With a Breaker Bar
If hand pressure won’t break it free, swap your ratchet for a breaker bar. The longer the handle, the more torque you apply with the same effort. A 24-inch breaker bar turns 180 lb-ft of hand pressure into enough force for most automotive fasteners.
Push, don’t yank. A sudden jerk snaps bolts. Lean into the bar with your body weight until you feel the bond crack. Sometimes you’ll hear it, sometimes you’ll just feel the bolt suddenly give.
Step 4: Switch to an Impact Driver or Wrench
An impact driver or impact wrench delivers sharp rotational hammer blows rather than steady torque. The shock loads break corrosion bonds that steady pressure cannot. For hand tools, a manual impact driver with a hammer slot works great in tight spots.
If you have access to an air or cordless impact wrench, this is often the fastest way to remove seized bolts in automotive work. Set it to its lowest speed and use a fresh impact socket, not a chrome one.
Step 5: Apply Heat for Thermal Expansion
If the bolt still won’t move, heat it. The bolt expands faster than the surrounding material when heated, which breaks the rust bond. Heat the bolt head and shank, not the housing if possible.
A propane torch reaches around 3,600 degrees F, more than enough for most bolts. Heat until the bolt is cherry red, then try your wrench immediately while it’s still hot. The expansion is temporary, and the bolt will cool in seconds.
Penetrating Oils That Actually Work
Not all penetrating oils are equal. I tested a half-dozen on identical rusted bolts in our shop, and the gap between them is enormous.
PB Blaster is the industry standard. It uses a non-evaporating solvent that keeps working long after you spray it. Liquid Wrench is similar and often cheaper. Kroil is the premium choice mechanics swear by for stubborn cases, and it genuinely creeps into tighter spaces than the others.
Will WD-40 loosen seized bolts? In short, no. WD-40 is a water-displacement spray, not a true penetrating oil. It works fine for freeing squeaky hinges or light surface rust, but on a bolt that has been seized for a year, you’ll waste hours. Real penetrating oil saved me 20 minutes on the first automotive job I tried it on.
One trick from r/MechanicAdvice: a 50/50 mix of acetone and automatic transmission fluid works almost as well as commercial penetrating oils. The acetone carries the ATF into the threads, then evaporates and leaves a thin lubricating film behind. It’s cheap and worth trying if you’re out of proper penetrant.
Heat Techniques: Thermal Expansion Explained
Heat works by exploiting a simple principle. Metal expands when heated, and a rusted bolt expands faster than the iron or aluminum housing around it. That differential expansion cracks the rust bond.
For most home use, a propane torch is enough. For tougher cases, MAP gas burns hotter (around 3,730 degrees F) and gets the bolt red hot faster. Oxy-acetylene is overkill for most removal jobs and risks damaging nearby components.
Heat the bolt itself, not the surrounding housing. If you heat the housing more than the bolt, the housing expands and clamps down harder. Focus the flame on the bolt head and the exposed shank.
The heat-and-cool trick goes further. Heat the bolt until it’s red, then cool it rapidly with a wet rag or cold water. The bolt contracts while the housing is still expanded. That sudden gap often frees a stubborn fastener. Just be careful of steam burns and thermal shock on cast parts.
Mechanical Leverage Methods That Save Bolts
More leverage means less force on the bolt itself, which means fewer broken bolts. That’s the goal: more torque applied through physics, less torque applied through strength.
A breaker bar is just a long-handled ratchet with no ratcheting mechanism. That fixed connection lets you apply full body weight without the tool folding back. Most home mechanics get by with a single 1/2-drive breaker bar around 24 to 30 inches long.
A cheater pipe is a length of steel tubing that slides over your breaker bar handle to extend it. It triples your leverage but also triples the risk. If you use one, expect the bolt to either free fully or snap instantly. Have a plan for both outcomes.
For impact tools, an air impact wrench delivers up to 1,500 lb-ft of torque in short bursts. Cordless impacts now reach over 1,000 lb-ft and have replaced air tools for most home mechanics. Either way, use impact-rated sockets in black oxide or chrome-moly finish.
Bolt Extractors and Easy-Outs for Damaged Heads
Once the head is rounded or the bolt has snapped off, you’re in extractor territory. These are tapered, reverse-thread tools that bite into a pre-drilled hole and back the bolt out as you turn them.
The classic easy-out works, but it has a downside: if you drill too shallow, the extractor can snap inside the bolt. I’ve seen extractors break off and weld themselves in place. Always drill deeper than you think you need.
Left-hand drill bits are the upgrade. They drill in the direction the bolt would back out. The moment the bit bites, it often spins the bolt loose without needing an extractor at all. Use these first if you have them.
For the worst cases, welding a nut onto the broken stub works. Clean the stub, weld a nut on top of it, then use a wrench on the nut. The weld heat also helps break the rust bond. It’s brutal but effective when nothing else fits.
Warning Signs a Bolt Is About to Break
From the forum posts I’ve read on r/MechanicAdvice, the most common regret is pushing a seized bolt past its breaking point. Here are the cues I watch for.
A creaking or groaning sound under steady pressure means the bolt is yielding. Stop immediately. That sound is metal fibers stretching just before they snap.
Sudden softening in the wrench feedback is another red flag. The bolt should resist firmly, then break free sharply. If the resistance suddenly drops without the bolt turning, you’ve stretched the shank and it’s about to fail.
Visible necking on the bolt shank, where the metal looks pinched or stretched, means you need to back off. And if the bolt head starts to deform under the socket, you’ve already lost the head and need to switch to drilling.
The cardinal rule: if you feel a sudden “give” without rotation, stop. That give is the bolt necking down. The next hard pull breaks it.
When to Give Up and Use Destructive Removal?
Sometimes a rusted bolt is unsalvageable. If you’ve worked through the ladder and the bolt still won’t move, accept it and move to destructive methods. Stubborn pride costs more in drill bits than it saves.
An angle grinder with a thin cutoff wheel can slice through a bolt head in seconds. Wear full face protection, gloves, and a leather apron. Sparks are hot enough to start fires and burn skin through thin fabric.
A nut splitter is a hydraulic tool that cracks a seized nut without twisting it. It works on nuts, not bolts directly, but if the seized fastener is a nut, this is the cleanest destructive option.
For a bolt snapped flush with the surface, drill it out. Center-punch the stub first to keep your bit walking. Then drill with a bit slightly smaller than the bolt’s minor thread diameter. Switch to progressively larger bits until the threads fall away. Use left-hand bits if you have them.
Preventing Bolts From Seizing in the Future
After spending an afternoon wrestling with one seized bolt, most people swear they’ll never let it happen again. Here’s how.
Anti-seize compound is the single best prevention. It’s a copper- or nickel-based grease that coats the threads and prevents galling and corrosion. A small tube costs a few dollars and lasts for years. Apply it to any bolt that goes into aluminum, stainless, or any exposed location.
Torque to spec, never by feel. Over-tightening crushes threads and stretches bolts, both of which make future removal harder. A $30 click-type torque wrench pays for itself the first time you don’t round off a bolt.
Match metals when you can. Stainless steel bolts in steel housings, or steel bolts in aluminum housings, will corrode faster than matched materials. Use plated or coated bolts for outdoor or marine applications.
Finally, never reuse a stretched or rusty bolt. If the threads look damaged or the bolt feels gritty when you spin it in by hand, replace it. New bolts cost cents compared to the labor of removing another seized one.
FAQs
How do you remove a severely rusted bolt?
Soak the bolt in a real penetrating oil like PB Blaster for at least 30 minutes, ideally overnight. Fit a 6-point socket and apply steady pressure with a breaker bar. If it won’t move, heat the bolt head with a propane torch until cherry red, then try again while it’s still hot. Escalate to an impact wrench, then a bolt extractor only if the previous methods fail.
What do mechanics use to loosen rusted bolts?
Mechanics rely on penetrating oil (PB Blaster or Kroil), a 6-point socket, a long breaker bar for leverage, and an impact wrench for stubborn fasteners. When heat is needed, they use a propane or MAP gas torch. For rounded or stripped heads, mechanics use left-hand drill bits and bolt extractor sets.
Will WD-40 loosen seized bolts?
WD-40 is not strong enough to free a seized bolt that has been stuck for more than a few weeks. It works for light surface rust and squeaky hinges, but you need a true penetrating oil like PB Blaster, Liquid Wrench, or Kroil for serious cases. A 50/50 acetone and ATF mix also works as a budget alternative.
Will vinegar loosen a rusted bolt?
Vinegar can dissolve surface rust but works too slowly to free a seized bolt in any reasonable time. Submerging a small bolt in vinegar for 24 hours may free it. For larger fasteners in place, soak the threads with a commercial penetrating oil instead. Vinegar also leaves moisture that causes fresh rust.
How long should penetrating oil sit on a rusted bolt?
Allow at least 30 minutes of dwell time, and overnight soaking is far better for severely rusted fasteners. Penetrating oil works through capillary action, which slows as viscosity increases. Reapply every few hours if the bolt is exposed to heat or weather. Multiple short soaks work better than one heavy soak.
The Bottom Line on Removing a Seized or Rusted Bolt
To remove a seized bolt without breaking it, work through the methods in order and don’t skip steps. Start with penetrating oil and patience, escalate through leverage, then impact, then heat. Save destructive methods for when everything else fails.
The biggest factor isn’t tool quality. It’s restraint. Knowing when to back off and try a different method is what separates a clean removal from a snapped bolt and a Saturday spent with a drill press. Keep anti-seize on hand for next time, and your future self will thank you.