
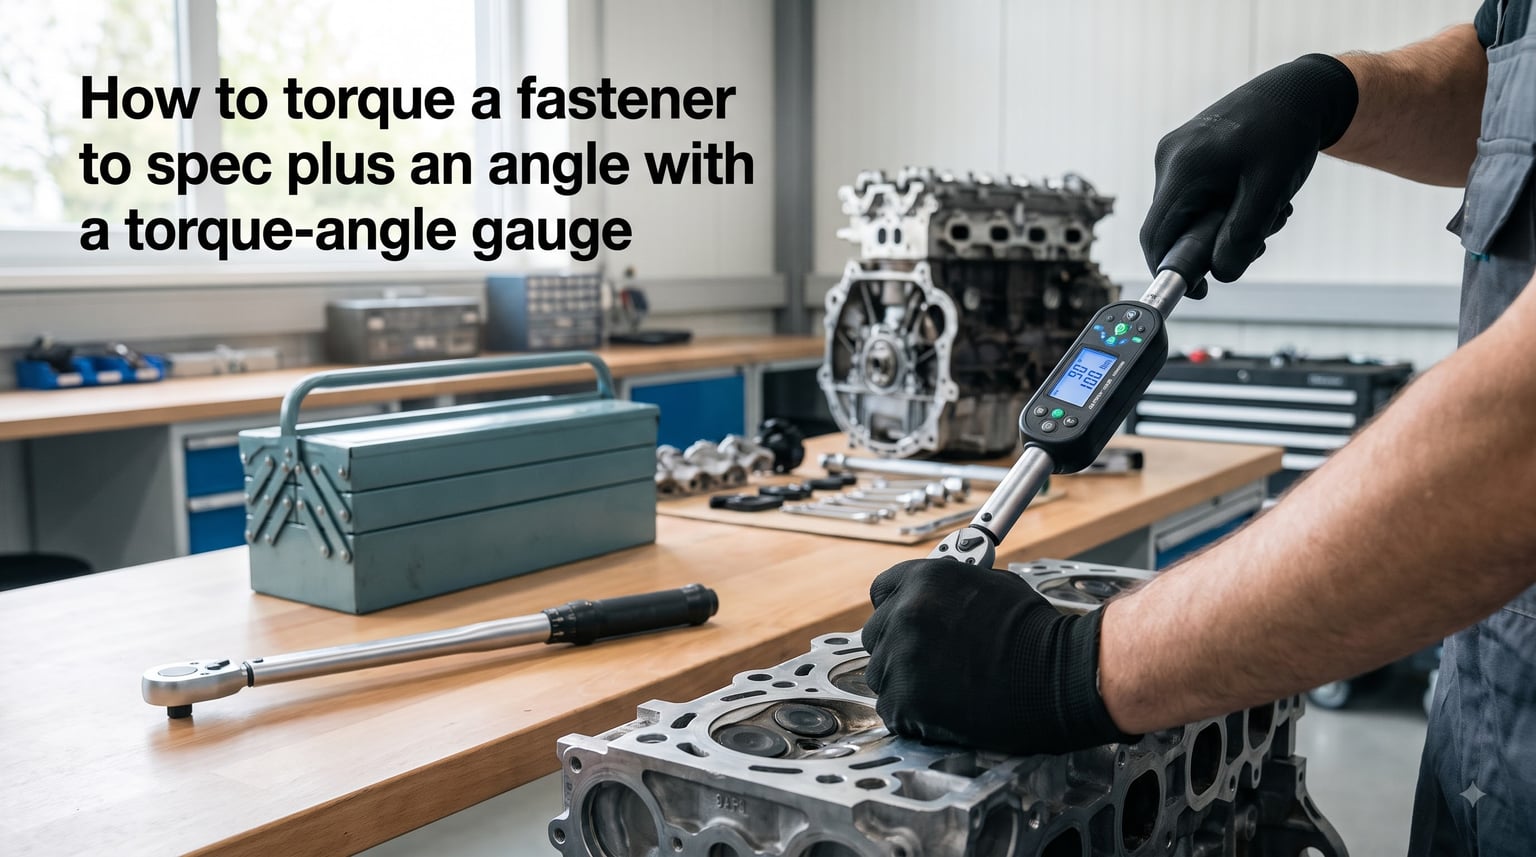
If you have ever tightened a cylinder head or a connecting rod bolt and worried whether the clamp load was actually right, this guide is for you. I am going to walk you through how to torque a fastener to spec plus an angle with a torque-angle gauge, and I will explain why modern engines rely on this method instead of a torque number alone.
By the end, you will understand the difference between torque-only and torque-plus-angle, the tools you need, the formula behind the degrees, and the exact steps I use on my own projects. Let us get into it.
Table of Contents
What Is Torque-to-Angle and How Does It Work?
Torque-to-angle is a fastener tightening method that combines an initial torque value with a measured angular rotation. You first bring the fastener up to a baseline torque, then rotate it a precise number of degrees using a torque-angle gauge to reach the final clamp load.
Think of it as a two-step recipe. The first step pulls the bolt into its elastic range. The second step stretches it further by a known amount, which produces a predictable clamping force on the joint.
Bolts are essentially very stiff springs. When you tighten one, you stretch it slightly. That stretch, called bolt elongation, is what creates the clamp load on the parts being joined. The angle of rotation controls how much the bolt stretches, especially once friction is taken out of the picture.
Torque-only methods rely on friction to estimate clamping force, but friction changes with lubricant, thread condition, and surface finish. Angle measurement eliminates most of that variability and gives you a much more reliable result.
Difference Between Torque-Only and Torque-Plus-Angle
A torque-only spec assumes that the torque reading correlates directly with bolt tension. In the real world, friction at the threads and under the bolt head can eat up 80 to 90 percent of the torque you apply. A small change in lubrication can swing the actual clamp load by 20 percent or more.
Torque-plus-angle bypasses that problem. Once you reach the initial torque, the bolt is already seated, and additional rotation stretches it in a predictable way. The same degrees of rotation always produce the same stretch, regardless of friction differences.
Why Torque-to-Angle Matters for Critical Fasteners?
Engineers specify torque-to-angle for any fastener where the clamping force has to be exact. Cylinder heads, connecting rod bolts, main bearing caps, and many suspension components fall into this category. Getting the clamp load wrong on these parts can mean a blown head gasket or a spun bearing.
The reason it matters comes down to the elastic range of the bolt. When you first tighten a bolt, it stretches within its elastic range, meaning it will return to its original length if released. Past a certain point, it enters the plastic range and will not fully recover. That point is called the yield point.
Torque angle specifications stretch the bolt to a specific spot near, but below, the yield point. This gives you maximum clamping force without permanently deforming the fastener. Repeat this on every bolt in the sequence and you get uniform load distribution across the entire joint.
Safety Implications for Engine and Drivetrain Fasteners
A loose cylinder head will leak compression and overheat. A too-tight cylinder head can distort the bore or crack the head. The same logic applies to rod bolts, main caps, and flywheel bolts. The torque angle procedure is the manufacturer’s way of saying, “trust the angle, not the torque.”
Tools You Need for a Torque-to-Angle Procedure
You do not need a workshop full of expensive equipment. Most jobs require only a calibrated torque wrench, a torque angle gauge, the correct socket, and a clean workspace. Here is the short list I always lay out before I start.
Click-style or digital torque wrench (calibrated within the last year)
Torque angle gauge (digital or analog pointer style)
Correct socket size for the fastener
Breaker bar for initial snugging (if needed)
Thread lubricant if specified by the manufacturer
Clean rags and a workspace light
Digital vs Analog Torque Angle Gauges
Digital angle gauges and angle-capable torque wrenches are the easiest to read. They show degrees on an LCD and often let you set a target angle with an audible beep when you reach it. In tight engine bays, the heads-up display is a real advantage.
Analog pointer gauges are cheaper and perfectly serviceable for most jobs. The Lisle 28100 is one of the most community-recommended models because its alligator clip arm stays attached to the fastener better than generic pointer designs. The trade-off is that cheap analog gauges can have slack in the square drive, which adds a few degrees of error.
For critical jobs like cylinder heads, I lean toward digital. For suspension and non-critical fasteners, a good analog gauge is fine. Just check the calibration sticker before each use.
How to Torque a Fastener to Spec Plus an Angle: Step-by-Step?
Here is the exact procedure I use. Follow these steps in order and you will get a consistent, manufacturer-spec result every time.
Clean the threads and the mating surface. Old thread sealant, oil, or debris will change your friction and therefore your clamp load.
Apply thread lubricant only if the manufacturer calls for it. Check the service manual first. Some fasteners come pre-coated from the factory.
Install the fastener by hand and snug it down. Pull it gently until it stops, then add a small amount of tension with a breaker bar if needed.
Attach the correct socket to your click-style torque wrench and torque the fastener to the initial (low) torque spec in the correct sequence. Many engines call for a star or spiral pattern.
Stop when the wrench clicks. Do not add extra force after the click.
Attach the torque angle gauge to the drive. If you are using a digital gauge, reset it to zero. If you are using an analog pointer, align the pointer with the starting mark.
Slowly rotate the fastener by the specified number of degrees, watching the gauge carefully. Common specs are 45, 60, 90, or 120 degrees.
Stop exactly at the target angle. Do not overshoot. If you go past, you have stretched the bolt into the plastic range and need to start over with a new fastener.
Repeat for every bolt in the sequence. Most multi-bolt assemblies use a multi-pass approach, like 30 degrees in pass one, then 60 degrees in pass two.
Document the final torque and angle in a build log if the fastener is critical. This helps with warranty claims and future repairs.
Reading the Angle Without a Gauge
For non-critical fasteners like suspension nuts, some mechanics mark the starting position with a paint pen and eyeball 90 degrees. A clock face makes a useful reference: 90 degrees is one quarter turn, 60 degrees is two hours on a clock, and 45 degrees is one hour and 30 minutes.
I will be honest: I do this for routine work, but I never do it on engine internals. The risk of overshooting is too high, and a new bolt is cheap insurance compared to the cost of a damaged engine.
Understanding the Torque Angle Formula and Calculation
The relationship between rotation, thread pitch, and bolt stretch is straightforward to calculate. The basic formula is:
Rotation in turns = Stretch needed (in inches) / Thread pitch (in inches per thread)
To convert turns to degrees, multiply by 360. For example, a fastener with 1.5 mm of desired stretch and a 1.5 mm thread pitch needs one full turn, which equals 360 degrees.
In practice, you will rarely do this calculation yourself. Manufacturers publish the angle in the service manual because they have already accounted for thread pitch, bolt length, material yield strength, and joint stiffness. Trust the published angle unless you are an engineer designing the joint.
Practical Example
Let us say a service manual calls for a torque of 30 ft-lb plus 90 degrees. You would first torque the bolt to 30 ft-lb in the correct sequence, then attach your angle gauge and rotate the bolt exactly 90 degrees further. The 90 degree rotation, regardless of friction, stretches the bolt into its working elastic range.
Some manufacturers use a multi-step angle, like 45 degrees plus 45 degrees. The reason is simple: each pass lets the bolt settle and the joint relax, so the second pass brings the entire assembly to a uniform clamp load. This is the pass-by-pass approach that gives the best consistency on multi-bolt joints.
Common Applications That Require Torque-to-Angle
You will find torque-to-angle specs in many places. Here are the most common ones I deal with on a regular basis.
Cylinder Head Bolts
Almost every modern engine uses torque-to-angle on the head bolts. The cylinder head has to seal against the block under thousands of combustion cycles, and the head gasket needs an even clamp load across all cylinders. The torque angle sequence, usually a spiral pattern from the center out, ensures uniform loading.
Connecting Rod Bolts and Main Bearing Caps
Rod bolts hold the connecting rod to the crankshaft. Main caps hold the crankshaft in the block. Both are critical because the bearings inside them depend on correct preload. A common spec for small-block engines is 30 ft-lb plus 90 degrees, but always verify with your engine’s manual.
Suspension and Chassis Components
Many cars now specify torque angle for control arm bolts, subframe bolts, and wheel bearing hubs. The reason is geometry: the rubber bushings need to be loaded with the vehicle’s weight on the ground, so the angle spec works alongside the ride-height position to maintain correct alignment.
Flywheel bolts, torque converter bolts, and some transmission input shafts also use angle specs. If the fastener holds a rotating assembly, the angle method is almost always specified.
Common Mistakes to Avoid
Even experienced mechanics make these errors. I have made each of them at least once, and I learned the hard way. Save yourself the headache and avoid them from the start.
Indexing Errors
If the angle gauge slips on the fastener half-way through the rotation, your final angle will be wrong. Always make sure the gauge is fully engaged with the drive and seated square against the fastener head. The Lisle 28100’s alligator clip design addresses this by clamping to the bolt itself.
Wrong Starting Position
Your angle measurement starts wherever the bolt is after the initial torque. If you did not torque to spec before attaching the gauge, your angle reading is meaningless. Double-check that the initial torque step is complete before you reset the gauge to zero.
Ignoring Thread Lubrication Effects
Some fasteners ship with a dry film coating. Others require oil or anti-seize. Using the wrong lubricant, or the wrong amount, will throw off the torque spec because friction changes. If the manual does not say, look for a factory service bulletin or ask the fastener manufacturer.
Skipping Calibration
Torque wrenches drift over time. Most manufacturers recommend a yearly calibration. An angle gauge is more stable, but you should still check it against a known reference, like a protractor, every few months. A sticker on the tool is not a substitute for actually verifying it.
Reusing Torque-to-Yield Bolts
Many modern engine bolts are torque-to-yield, meaning they are designed to be stretched once and replaced. If you exceed the angle on these bolts, they have entered the plastic range and must be replaced. Trying to torque them again will give you an inaccurate clamp load and an unsafe joint.
Choosing the Right Torque Angle Gauge for Your Needs
If you only do occasional small-engine work, a mid-range digital torque wrench with angle measurement is the simplest all-in-one solution. You set the torque, set the angle, and the tool beeps when you hit each target. No need to swap wrenches between steps.
For frequent use or large engines, a separate click-style torque wrench and a quality angle gauge like the Lisle 28100 is what most forum users recommend. The Lisle’s alligator clip arm stays attached better than cheaper pointer designs, and the gauge itself is reliable enough for daily shop use.
Skip the cheapest analog gauges. Slack in the square drive, flimsy plastic parts, and unclear markings will cost you accuracy. Spend a little more for a name-brand tool and you will get consistent results for years.
Frequently Asked Questions
How to do torque plus angle?
First, torque the fastener to the initial (lower) spec called out in the manual. Then attach a torque angle gauge, reset it to zero, and rotate the fastener by the additional degrees specified. The angle is measured from the position after the initial torque, not from the loose starting position.
What is the formula for torque with angle?
The basic formula is Rotation in turns = Required stretch (in inches) divided by Thread pitch (in inches per thread). Multiply by 360 to convert turns to degrees. In practice, manufacturers publish the angle directly so you don’t need to calculate it yourself.
Why torque plus angle instead of torque only?
Torque-only specs depend on friction to predict clamp load, which varies with lubrication and surface finish. Torque-plus-angle measures the actual stretch of the bolt, which produces a much more consistent clamp load regardless of friction. This is why critical fasteners like cylinder head bolts use the angle method.
Are torque angle gauges accurate?
Quality torque angle gauges from brands like Lisle, CDI, and Snap-On are accurate within a degree or two. Cheap analog gauges can have slack in the square drive that adds 3 to 5 degrees of error. Digital angle-capable torque wrenches are generally the most accurate and easiest to read.
Final Thoughts on Torque-to-Angle Fastening
Learning how to torque a fastener to spec plus an angle with a torque-angle gauge is one of those skills that separates a casual mechanic from a careful one. The method is straightforward once you understand the reasoning, and it gives you confidence that critical fasteners are loaded correctly.
Invest in a calibrated torque wrench and a quality angle gauge, follow the sequence in your service manual, and you will get consistent results on every build. Our team has used this approach on everything from small motorcycle engines to big-block V8s, and the same principles apply across the board.
Take the time to do it right, and your engines will thank you for years to come.