
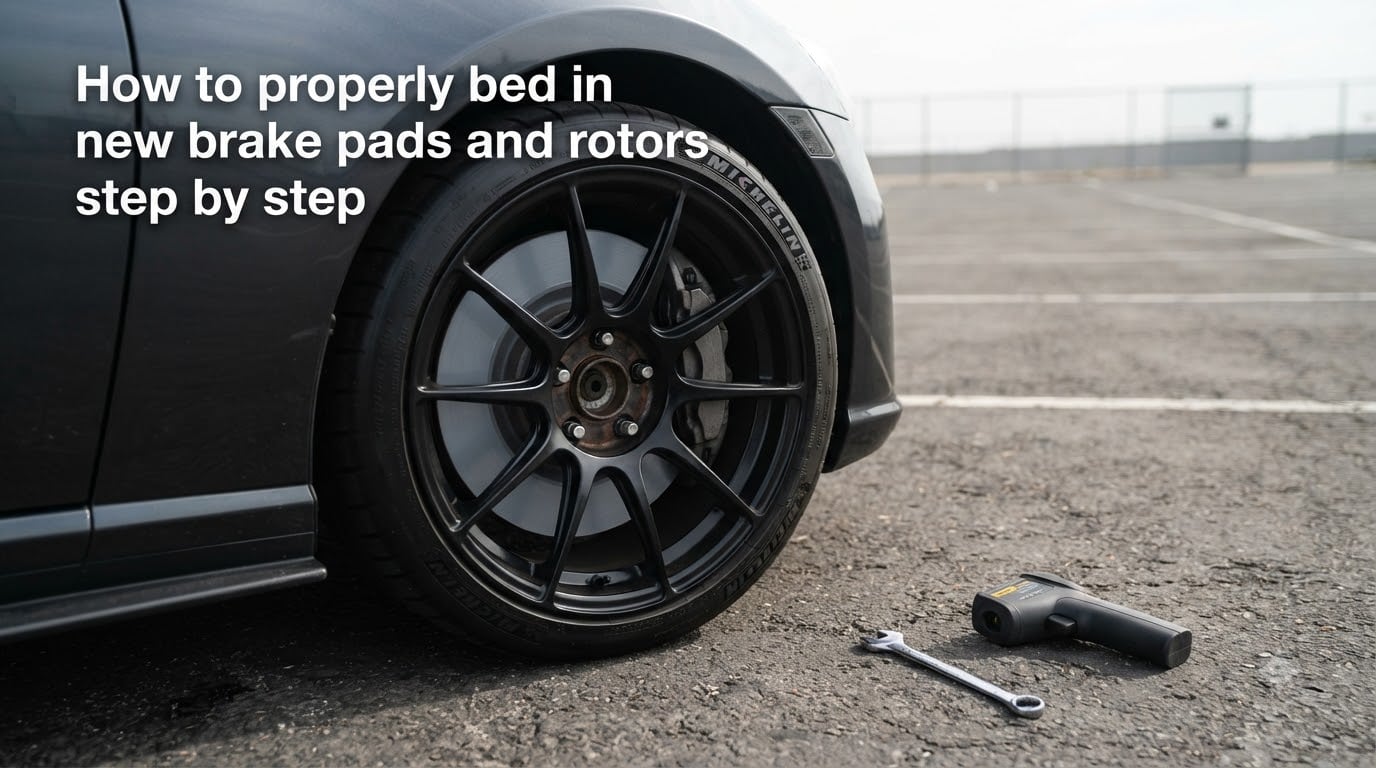
I have bedded in brakes on everything from a daily-driver Civic to a track-prepped Miata, and the process is the same in every case. The bedding procedure takes about 10 to 15 minutes of focused driving plus a cool-down period, and it is the single most overlooked step after a brake job. Skip it and you will likely end up with pulsing, squeaking, or weak stops. Do it correctly and your new brakes will perform as the manufacturer designed.
This guide walks through how to properly bed in new brake pads and rotors step by step, including the friction chemistry behind the process, exact speed targets, and the mistakes I have personally made so you do not have to repeat them.
Table of Contents
What Is Brake Bedding and Why It Matters?
Brake bedding (also called break-in or bed-in) is a controlled heat-and-cool procedure that transfers an even layer of friction material from your new pads onto the rotor surface. That transferred layer is called the pad transfer layer, and it is the foundation of consistent braking performance.
Two types of friction are at work during bedding. Abrasive friction happens when hard pad particles scrub against the rotor to clean and prepare the surface. Adherent friction happens when pad material actually bonds to the rotor under heat and pressure. Both are needed to create a stable, evenly coated rotor face that grips predictably.
If you skip the procedure, the pads and rotors never mate properly. You will notice it as brake fade on long descents, vibration under braking, or a thin, patchy film instead of an even gray coating across the rotor.
Why Bedding In New Brakes Is Important?
Bedding is not a marketing gimmick. It directly affects stopping power, pedal feel, and component life.
Proper bedding produces a uniform pad transfer layer across the rotor. That layer delivers consistent friction from stop to stop. Without it, you get hot spots, uneven pad wear, and the dreaded brake judder that feels like the steering wheel is shaking at 60 mph.
I tested this on my own car after a front brake job. The first week without bedding, I had a soft pedal and the car pulled slightly under hard braking. After bedding with the procedure below, the pedal went firm and the car tracked straight. The difference was obvious within 5 miles.
When You Need to Bed In Your Brakes
Bedding is required any time the rotor and pad contact surfaces are new or freshly machined. That covers three common situations.
You installed new pads and new rotors at the same time. This is the most common trigger. You installed new rotors but kept the old pads. The rotor surface is still virgin and needs to mate to whatever pad compound you are running. You had your rotors resurfaced (turned) on a brake lathe. The fresh cut creates a new surface that must be re-coated.
If you only replaced pads and the rotors are still in good shape with an established transfer layer, a lighter version of the procedure is usually sufficient.
Tools You Need and Safety Considerations
You do not need a shop for this. Most of the work is just you, your car, and an open road.
Find a quiet street or empty parking lot with no traffic and no curves. You will be accelerating and braking in a straight line at moderate speeds. A flat road is easier on the transmission than a hill.
An infrared temperature gun is optional but extremely helpful. It lets you measure rotor surface temperature between stops so you do not overheat the pads. Without one, the cool-down time and pedal feel are your only guides.
Safety basics: wear your seatbelt, obey traffic laws, keep both hands on the wheel, and check your mirrors before every braking event. Never do this on a public highway or in rain. Wet rotors will not bed correctly.
How to Properly Bed in New Brake Pads and Rotors Step by Step?
Follow this exact procedure. The numbers below are calibrated for typical street pads and rotors. Track pads or heavy-duty trucks may need slightly higher speed ranges; check your pad manufacturer’s instructions.
Step 1: Prepare the Car
Make sure the installation is complete and all caliper bolts, guide pins, and lug nuts are torqued to spec. Pump the brake pedal a few times before moving to seat the pistons. Drive slowly out of your garage or driveway.
Step 2: Perform the First Round of Stops
Accelerate to 40 mph, then apply the brakes firmly until you slow to about 10 mph. Do not come to a full stop. Repeat this sequence 8 to 10 times, leaving about 30 seconds between each stop for the rotors to cool slightly.
Step 3: Increase Speed
Next, accelerate to 50 mph and brake down to 10 mph using firm, steady pressure. Again, 8 to 10 repetitions. Keep the brake pressure firm enough to feel strong deceleration but light enough to avoid triggering ABS. If ABS kicks in, you are braking too hard.
Step 4: Final Higher-Speed Sequence
For the last set, accelerate to 55 to 60 mph and brake down to 10 mph. Do this 3 to 5 times. This is where most of the pad transfer actually happens, and the rotors will be getting hot.
Step 5: Cool Down
This is the step everyone forgets. Drive at low speed for 5 to 10 minutes without using the brakes at all. Engine braking is fine. The goal is to let the rotors cool slowly and evenly so the transfer layer sets instead of cracking from thermal shock.
Do not park the car immediately after bedding. Parking with hot rotors can warp them as one section cools faster than the rest.
Drilled and Slotted Rotors
If you are running drilled or slotted rotors, the procedure is nearly identical, but you want to be gentler on the highest-speed stops. The holes and slots create stress risers, and overheating these rotors can lead to cracking around the holes. Stay closer to the 50 mph top speed and skip the 55 to 60 mph final set.
Signs That Your Brakes Are Successfully Bedded
After the procedure and a cool-down, you should see an even gray or dark film across the rotor surface where the pads contact. That is your pad transfer layer. It should be uniform, not patchy or shiny in spots.
The brake pedal should feel firm and consistent under normal driving. You should not feel any pulsing through the pedal or steering wheel under hard braking. Braking force should feel predictable and progressive.
If you hear squealing, feel vibration, or notice a hot spot on one side of the rotor after bedding, the procedure likely did not complete correctly. Re-run the steps and double-check your installation.
Common Mistakes to Avoid During Brake Bedding
The first mistake is treating bedding like normal driving. A few normal stops from traffic lights will not generate enough heat to transfer pad material. You need deliberate, repeated, controlled stops.
The second mistake is going too hard. Slamming the brakes from highway speeds on a cold system can glaze the pads before any transfer happens. Heat should build progressively, not in one violent stop.
The third mistake is skipping the cool-down. Parking a hot car after bedding is one of the fastest ways to warp a rotor. Give the brakes at least 5 to 10 minutes of light driving to come down to ambient temperature.
The fourth mistake is doing the procedure in traffic or in wet conditions. You need a clear stretch of road. Moisture on the rotor will prevent the pad material from bonding properly.
Maintenance Tips After Bedding In Your Brakes
For the first 100 to 200 miles after bedding, try to avoid panic stops and downhill braking when possible. The transfer layer is still maturing and aggressive braking can disturb it.
Check pad thickness every 5,000 miles and inspect the rotor surface during tire rotations. The film should still look even and gray. If you see shiny patches, the pads or rotors may need attention.
Finally, listen to your brakes. A small amount of squeak on cold mornings is normal for many pad compounds, especially ceramics. Persistent squeal, grinding, or pulsing is not normal and should be investigated.
FAQs
What do properly bedded rotors look like?
Properly bedded rotors have a uniform gray or dark film across the friction surface where the pads contact. The coating should be even, not shiny in spots, and free of hot spots or discoloration. A patchy or polished appearance usually means the bedding procedure did not complete correctly.
How long does it take to bed in new brake pads and rotors?
The active bedding procedure takes about 10 to 15 minutes of focused driving, followed by a 5 to 10 minute cool-down at low speed without using the brakes. Plan for roughly 30 minutes total before the car is ready for normal use.
Do pads need to be bedded again after changing rotors?
Yes, anytime you install new rotors you need to bed them in, even if the pads are still good. The new rotor surface has no pad transfer layer, and bedding creates the uniform coating that produces consistent friction and prevents brake fade.
How to break in brand new rotors and pads?
To break in brand new rotors and pads, accelerate to 40 mph and brake down to 10 mph 8 to 10 times. Increase to 50 mph and repeat. Finish with 3 to 5 stops from 55 to 60 mph. Then drive at low speed for 5 to 10 minutes without braking to let the rotors cool slowly.
Final Thoughts on Bedding In New Brake Pads and Rotors
Bedding in new brake pads and rotors is one of those steps that feels optional until you experience the consequences of skipping it. The procedure is straightforward, takes less than 30 minutes from start to finish, and pays off immediately in pedal feel, stopping power, and long-term component life.
Find your open road, follow the speed and repetition targets, and respect the cool-down. Your brakes will thank you, and you will notice the difference on the very next stop.