
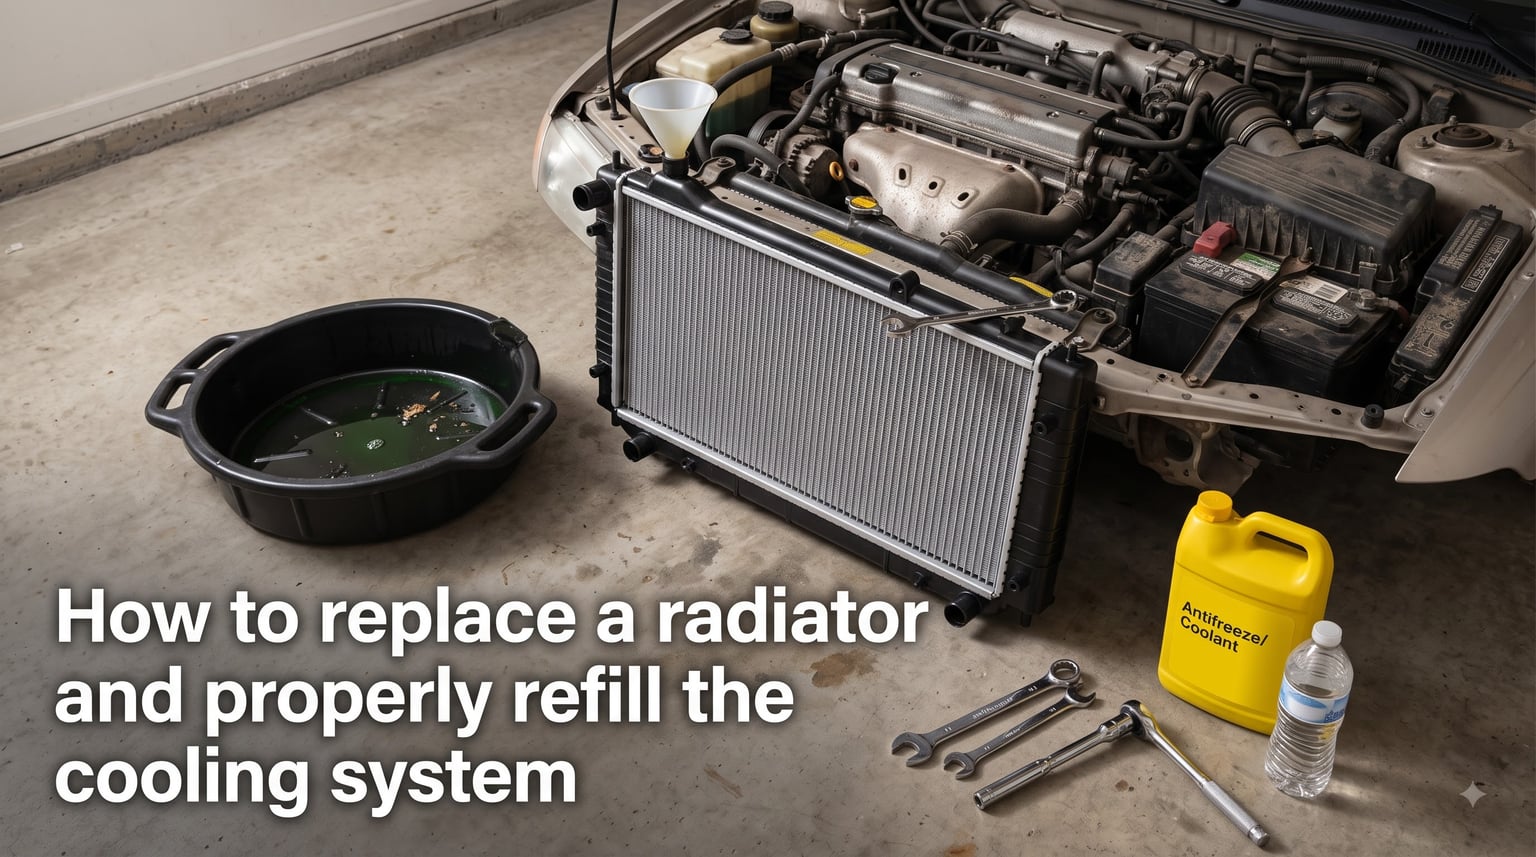
If your temperature gauge has been creeping into the danger zone lately, you are probably researching how to replace a radiator and properly refill the cooling system. I have done this job on everything from a 1998 Cherokee XJ to a 2012 Camry V6, and I can tell you it is one of the most satisfying DIY repairs you can tackle in your driveway. A new radiator costs a fraction of what a shop charges, and the process teaches you a lot about how your cooling system works.
The cooling system is your engine’s lifeline. When a radiator cracks, clogs, or starts leaking coolant, your engine can overheat in minutes. A blown head gasket from overheating can cost thousands to fix, which makes replacing a bad radiator early one of the smartest preventive repairs you can do. I have seen too many people ignore a small coolant drip and end up stranded on the highway with steam pouring out from under the hood.
Yes, you can absolutely replace a radiator yourself. With the right tools, a free afternoon, and some patience, most DIYers can finish this job in 3 to 5 hours. The trickiest part is not the mechanical work itself but properly refilling and bleeding the cooling system afterward. Skip that step and you will be right back to overheating within a mile of driving.
This guide walks you through the entire process from start to finish. I will cover how to confirm you actually need a replacement, every tool you need to gather, safety precautions that protect you and your engine, and a detailed step-by-step breakdown. I will also address the most common questions from DIY forums, including how to burp your coolant system and how much antifreeze you need for the refill.
Table of Contents
Signs You Need a Radiator Replacement
Before you tear into your front end, make sure the radiator is actually the problem. Over the years I have talked to plenty of DIYers who replaced a perfectly good radiator only to find the real issue was a stuck thermostat or a bad water pump.
Here are the most common signs your radiator needs replacing:
Coolant puddles under the front of the car – Look for bright green, orange, or pink fluid pooling on the ground. This usually means the radiator core or a side tank has cracked.
Engine overheating – If your temperature gauge regularly climbs past the midpoint, the radiator may not be dissipating heat effectively. This can also mean internal blockage from rust or debris.
Visible cracks or damage – Plastic side tanks on older radiators become brittle and split over time. Inspect the seams where the plastic meets the aluminum core.
Coolant disappearing with no visible leak – Sometimes the leak only appears under pressure while driving. A pressure test can confirm whether the radiator is the culprit.
Discolored or sludgy coolant – Brown, rusty coolant means the radiator’s internal passages are corroding and restricting flow.
If you are seeing any combination of these symptoms, it is time to plan the replacement. Catching a failing radiator early prevents the kind of engine damage that turns a $150 part into a $3,000 repair bill.
Tools and Materials Checklist
Nothing slows down a radiator job like running to the auto parts store halfway through. Gather everything before you start so you can work straight through without stopping.
Tools you will need:
Socket set with extensions (metric and SAE depending on your vehicle)
Pliers and hose clamp pliers (spring-type clamps need special attention)
Screwdriver set (Phillips and flathead)
Large drain pan (at least 2-gallon capacity)
Funnel with a long spout
Pliers for removing spring clamps or a pick tool
Torque wrench (for proper mounting bolt torque)
Shop rags and gloves
Flashlight or work light
Jack and jack stands (if you need clearance from underneath)
Materials and supplies:
New radiator (matched to your exact make, model, and engine size)
Fresh 50/50 antifreeze coolant (buy more than you think you need)
Distilled water (if mixing your own coolant from concentrate)
New hose clamps (optional, but worth having on hand)
New radiator cap (recommended, since old caps lose pressure over time)
RTV silicone or gasket sealer (only if your vehicle uses gaskets)
Shop manual or factory service manual for torque specs
For coolant quantity, most four-cylinder engines need about 1.5 to 2 gallons of 50/50 coolant. V6 engines typically take 2.5 to 3 gallons, and V8s can need 3.5 gallons or more. Check your owner’s manual for the exact capacity so you buy enough the first time.
Critical Safety Precautions
Working on a cooling system involves serious safety risks if you cut corners. I cannot stress this enough: never open a radiator cap or drain plug on a hot engine. Pressurized coolant can reach 260 degrees Fahrenheit and will spray out with enough force to cause severe burns. I know someone who spent a week in the hospital after opening a hot radiator cap.
Follow these safety rules without exception:
Let the engine cool completely – Wait at least 3 hours after the engine was last run. The radiator cap should be cool to the touch. If you can feel warmth radiating from the hood, it is not ready.
Disconnect the negative battery terminal – This prevents electrical shorts when you are disconnecting fan motors and sensors near the radiator.
Wear safety glasses and gloves – Coolant is toxic and can irritate skin. Even cold coolant can splash into your eyes when a hose suddenly comes loose.
Work on a level surface – Use your driveway or garage floor, not jack stands on grass or gravel. You need stability when pulling a heavy radiator out.
Keep pets away – Antifreeze has a sweet taste that attracts animals, but even a small amount is lethal. Clean up every spill immediately.
Use jack stands properly – If you need to lift the car for under-body access, never work under a vehicle supported only by a hydraulic jack.
Also, keep a fire extinguisher nearby if you are working near any fuel lines. Some vehicles route transmission cooler lines and fuel lines close to the radiator, and a stray spark can cause real trouble.
If your vehicle has an electric cooling fan, disconnect its wiring harness before doing anything else. Some fans can turn on even with the ignition off if the temperature sensor triggers them, and those blades can seriously injure your fingers.
How to Replace a Radiator and Refill the Cooling System?
Now we get to the main event. The actual process breaks down into five clear steps: drain, remove, install, refill, and bleed. Take your time with each one. Rushing leads to stripped bolts, cross-threaded fittings, and air pockets that cause overheating.
I will walk you through each step in detail. Read through the entire process once before picking up a wrench so you know what is coming next.
Step 1: Drain the Old Coolant
Start by positioning your drain pan directly under the radiator. The drain valve, called the petcock valve, is usually located at the bottom corner of the radiator on the driver’s or passenger’s side. It looks like a small plastic or brass wingnut.
Here is the draining process:
Slowly open the radiator cap to release any remaining pressure in the system. Turn it a quarter turn first, listen for hissing, then press down and remove it completely.
Locate the petcock valve at the bottom of the radiator. If it is hard to reach, you may need to access it from under the car.
Place your drain pan under the petcock and open it slowly. Turn counterclockwise. Do not force it, because plastic petcocks strip easily.
Let the coolant drain completely. This usually takes 5 to 10 minutes. Rock the car slightly to get the last bit out.
Some engines also have drain plugs on the engine block. Check your service manual. Opening these gets out another quart or two of old coolant that stays trapped in the block.
Close the petcock valve hand-tight once draining stops. Do not overtighten it.
If your old coolant looks clean and you are in a pinch, you can filter it through a fine cloth and reuse it. However, I always recommend using fresh coolant when installing a new radiator. You are already doing the hard part, so spend the extra $25 on new fluid.
Save your old coolant in sealed containers. You will need to take it to a recycling center later. Never pour it down a drain or into the ground.
Step 2: Remove the Old Radiator
This is the most involved step. You need to disconnect every hose, line, and wire attached to the radiator before you can lift it out. Take photos with your phone as you go. Those pictures will save you when you are trying to remember where each clip goes during reassembly.
Work through these disconnections in order:
Disconnect the cooling fan – Unplug the fan motor wiring harness. Remove the fan shroud mounting bolts. On most cars, the fan shroud lifts out separately or stays attached to the radiator. Note how it positions so you can reinstall it correctly.
Remove the upper radiator hose – Squeeze the hose clamp with pliers and slide it back along the hose. Twist the hose gently to break the seal, then pull it off. If the hose is stubborn, slice it lengthwise with a utility knife. Do not pry against the radiator neck with a screwdriver because the plastic will crack.
Remove the lower radiator hose – Same process as the upper hose. The lower hose is often harder to reach, so use a flashlight and take your time.
Disconnect transmission cooler lines (if equipped) – Many automatic transmissions route fluid through the radiator for cooling. Use a flare nut wrench, not regular pliers, to avoid rounding off the fittings. Have a small pan ready because transmission fluid will leak out. Cap the lines to prevent debris from entering.
Disconnect any coolant overflow reservoir hose – This small hose runs from the radiator neck to the overflow tank. Pull it off the radiator side.
Remove the radiator mounting bolts – These are usually on top of the radiator, holding it to the radiator support frame. Some vehicles also have lower mounts that slide into brackets. Remove all bolts and note their locations.
Lift the radiator out carefully – Lift straight up. The radiator may catch on the A/C condenser, which often attaches to the front of the radiator. Do not yank or pry. If it binds, look for a retaining clip you missed.
If your A/C condenser is bolted to the radiator, you usually do not need to discharge the A/C system. The condenser can typically be unbolted and supported separately while you swap the radiator. Just be careful not to stress the refrigerant lines.
Once the old radiator is out, inspect the mounting brackets and rubber isolator pads. Replace any pads that are cracked or deteriorated. These pads absorb vibration and prevent the radiator from cracking prematurely.
Step 3: Install the New Radiator
Installation is essentially the reverse of removal, but pay attention to a few details that catch people off guard. Before you put the new radiator in, compare it side by side with the old one. Verify the hose connections, transmission cooler fittings, and mounting points all match. Aftermarket radiators sometimes have minor differences that cause headaches during installation.
Follow these steps for a clean install:
Install rubber isolator pads – Transfer the old rubber pads to the new radiator’s mounting points, or install new ones if you bought replacements.
Lower the new radiator into position – Slide it into the lower mounting brackets first, then align the upper mounts. Make sure it sits level and does not touch any metal edges directly.
Install the upper mounting bolts – Thread them by hand first to avoid cross-threading. Torque them to the specification in your service manual. Most are in the 7 to 12 ft-lb range. Overtightening cracks the plastic tanks.
Reconnect the lower radiator hose – Reinstall the hose and clamp now while access is easier. Make sure the clamp sits past the raised bead on the radiator neck.
Reconnect the upper radiator hose – Same process. If your hoses are old and hardened, consider replacing them while everything is apart. A blown hose two weeks after replacing the radiator is frustrating.
Reconnect transmission cooler lines – Thread them by hand first, then tighten with the flare nut wrench. Do not overtighten or you risk damaging the threads or the radiator fitting.
Reinstall the cooling fan and shroud – Bolt the fan shroud back in place and reconnect the wiring harness. Make sure the fan blade spins freely and does not contact the shroud.
Reconnect the overflow reservoir hose – Push the small hose back onto the radiator neck nipple.
Double-check every connection before moving on. A loose hose clamp or partially threaded fitting will cause a leak that you will only discover after filling the system and starting the engine. I always do a visual inspection of every connection point with a flashlight before refilling.
Step 4: Refill the Cooling System
Refilling sounds simple, but doing it wrong leaves air pockets that cause overheating. The goal is to fill the system slowly and let air escape naturally before you seal it up.
Here is the proper refill procedure:
Make sure the petcock drain valve is closed tightly.
Fill the radiator through the radiator cap opening (or overflow tank on vehicles with a sealed system) with fresh 50/50 antifreeze. Pour slowly to let air escape.
Fill until the coolant reaches the bottom of the filler neck. It will not fill completely on the first pour because air is trapped inside.
Squeeze the upper and lower radiator hoses a few times. You will see bubbles burp out and the coolant level drop. Top it off again.
Fill the overflow reservoir to the FULL line.
Leave the radiator cap off for now. You will need it open for the bleeding process.
A common question from DIY forums is whether you can fill the engine with coolant when the thermostat is closed. The answer is yes. The thermostat is located on the engine side, and coolant will fill the radiator and hoses first. Once you start the engine and the thermostat opens, coolant will flow into the engine block and the level in the radiator will drop. That is why bleeding is so important.
For coolant type, most modern vehicles use either green (traditional), orange (Dex-Cool), or pink (OAT/HOAT) coolant. Check your owner’s manual for the correct type. Never mix different coolant colors because the chemical reaction can create a sludge that clogs your new radiator.
Step 5: Bleed Air from the System (Burping the Coolant)
This is the step where most DIYers get into trouble. Trapped air pockets create hot spots in the engine block that cause temperature spikes and can crack the cylinder head. The good news is that bleeding air from a car radiator is straightforward once you know the technique.
Some vehicles have a built-in air bleed valve on the thermostat housing or a coolant pipe. If yours does, open it while filling and close it once steady coolant flows out without bubbles. If your vehicle does not have a bleed valve, you will use the burping method below.
Follow this burping process:
Leave the radiator cap off and top off the coolant level.
Set your heater to maximum heat and full blower speed. This opens the heater core to the coolant flow so air trapped there can escape.
Start the engine and let it idle. Watch the coolant level in the radiator. It may drop as the thermostat opens and coolant flows into the engine block.
Top off the coolant as the level drops. Keep the radiator filled to the neck.
Let the engine idle until it reaches operating temperature, usually about 15 to 20 minutes. You will see bubbles rising in the coolant periodically. This is air escaping.
Squeeze the upper radiator hose periodically. If it feels firm and hot, the thermostat has opened and coolant is flowing.
Once bubbles stop rising and the coolant level stabilizes, install the radiator cap.
Fill the overflow reservoir to the FULL line one more time.
Expect the coolant level to drop over the next few days as remaining air works its way out. Check the overflow reservoir daily for a week and top it off as needed. If the level keeps dropping after a week with no visible leaks, you may still have air trapped or a small leak that needs attention.
Signs of air in the cooling system after your radiator install include the temperature gauge fluctuating, the heater blowing cold air at idle, or gurgling sounds from the dashboard. If you notice any of these, repeat the burping process.
Check for Leaks and Test Drive
After bleeding the system, do a thorough leak check before hitting the road. Start the engine and let it idle while you inspect every connection point with a flashlight.
Check these specific areas:
Upper and lower radiator hose connections
Petcock drain valve at the bottom of the radiator
Transmission cooler line fittings
Radiator side tank seams
Overflow reservoir hose connection
Water pump weep hole (under the engine, front of the block)
If you see any drips, tighten the offending clamp or fitting. Clean the area with a rag first so you can tell if the leak stops after the fix.
Once everything looks dry, take the car for a 15-minute test drive. Drive at city speeds first, then highway speeds. Watch the temperature gauge the entire time. It should settle at the midpoint and stay there. If it climbs past normal, pull over immediately and let the engine cool before investigating.
After the test drive, let the engine cool completely and check the coolant level one final time. Top off if needed. You have successfully completed the job.
Common Mistakes to Avoid
Forum threads are full of DIYers who ran into problems that are entirely preventable. Here are the mistakes I see over and over:
Opening the radiator cap while hot – This is the number one mistake. Always wait for the engine to cool. Pressurized hot coolant causes serious burns.
Not bleeding the air out – Skipping the burping process leads to overheating even with a brand-new radiator. Take the extra 20 minutes to do it right.
Mixing coolant types – Green and orange coolant react chemically and create a gel that blocks passages. Use the exact type specified for your vehicle.
Using tap water instead of distilled water – Tap water contains minerals that deposit inside the radiator and cause corrosion. Only use distilled water when mixing coolant.
Overtightening plastic petcock valves – These strip and crack easily. Hand-tight is sufficient.
Forgetting to reconnect a sensor or wire – The cooling fan connector or coolant temperature sensor is easy to overlook. Double-check every connection before starting the engine.
Reusing old, brittle hoses – If your hoses are more than 5 years old, replace them while you have everything apart. A hose failure right after a radiator job is demoralizing.
Not checking transmission fluid level – If you disconnected transmission cooler lines, you lost some fluid. Check and top off the transmission fluid after the job.
Cost and Time Estimates: DIY vs Professional
One of the biggest reasons people tackle this job themselves is cost savings. Here is a realistic breakdown of what you can expect to spend.
DIY costs:
New radiator: $90 to $250 depending on vehicle
Coolant (2-3 gallons of 50/50): $35 to $60
Miscellaneous supplies (clamps, cap, sealer): $15 to $30
Total DIY: $140 to $340
Professional shop costs:
Parts markup: $150 to $400 for the radiator
Labor (2-4 hours at $100-$150/hour): $200 to $600
Coolant and shop supplies: $50 to $100
Total at a shop: $400 to $1,100
On average, expect a shop to charge between $500 and $900 for a radiator replacement. Luxury vehicles and cars with difficult access can push past $1,200.
For time, a first-time DIYer should budget 4 to 6 hours. Experienced home mechanics usually finish in 2 to 3 hours. Add an extra hour for the bleeding and verification process. Working on a truck or SUV with easy access is faster than a compact car with tight engine bay clearance.
How to Dispose of Old Coolant Properly
Used antifreeze is toxic to humans, animals, and the environment. It contains ethylene glycol or propylene glycol, along with heavy metals picked up from the engine. Never pour it down a storm drain, sink, toilet, or onto the ground.
Here is how to dispose of it responsibly:
Store old coolant in sealed plastic containers labeled “used antifreeze.”
Take it to an auto parts store. Most Advance Auto Parts, AutoZone, and O’Reilly locations accept used coolant for recycling at no charge.
Your local household hazardous waste facility also accepts antifreeze.
Some municipal recycling centers have dedicated coolant disposal days.
Do not mix used coolant with used motor oil. The two require different recycling processes, and contaminated coolant cannot be recycled. Keep your containers separate and clearly labeled.
FAQs
How to properly refill coolant after replacing a radiator?
Pour fresh 50/50 antifreeze slowly into the radiator or overflow tank, squeeze the hoses to release trapped air, fill the overflow reservoir to the FULL line, then run the engine with the cap off until it reaches operating temperature. Top off the coolant as the level drops when the thermostat opens. Repeat the topping-off process until the level stabilizes and no more bubbles appear.
How to burp a coolant system after replacing a radiator?
Leave the radiator cap off, set the heater to maximum, start the engine, and let it idle for 15 to 20 minutes until it reaches operating temperature. Bubbles will rise out of the radiator as trapped air escapes. Squeeze the upper radiator hose periodically to help move air pockets. Once bubbles stop and the coolant level stabilizes, install the cap and top off the overflow reservoir.
How much should it cost to replace a radiator?
DIY radiator replacement costs between $140 and $340 for the radiator, coolant, and supplies. A professional shop charges $400 to $1,100 including parts and labor, with the average falling between $500 and $900. Luxury vehicles and harder-to-access engine bays can push shop costs past $1,200.
Can you replace a radiator coolant yourself?
Yes, you can replace a radiator yourself with basic hand tools, a drain pan, and fresh coolant. Most DIYers complete the job in 3 to 5 hours. The key steps are draining the old coolant, disconnecting hoses and lines, swapping the radiator, refilling with fresh coolant, and bleeding air from the system before driving.
How to bleed air from a car radiator?
Open the radiator cap, fill with coolant, start the engine, and let it idle with the heater on full. Air bubbles will escape through the open cap as the coolant circulates. If your vehicle has an air bleed valve on the thermostat housing, open it until steady coolant flows out. Continue idling until no more bubbles appear, then close the cap.
How much antifreeze does it take to fill a new radiator?
Most four-cylinder engines need 1.5 to 2 gallons of 50/50 coolant. V6 engines typically take 2.5 to 3 gallons, and V8s can need 3.5 gallons or more. Check your owner’s manual for the exact cooling system capacity. Always buy extra coolant because you will lose some during the bleeding process.
What happens if you don’t bleed air from the radiator?
Trapped air pockets create hot spots in the engine block, causing the temperature gauge to spike and potentially cracking the cylinder head or blowing the head gasket. Symptoms include fluctuating temperature readings, the heater blowing cold air at idle, and gurgling sounds from the dashboard.
How long does radiator replacement take?
A first-time DIYer should budget 4 to 6 hours for a complete radiator replacement including refilling and bleeding. Experienced home mechanics typically finish in 2 to 3 hours. Add an extra hour for the coolant bleeding and leak-checking process.
Conclusion
Learning how to replace a radiator and properly refill the cooling system is one of the most valuable DIY car repair skills you can develop. It saves you hundreds of dollars compared to shop prices, builds your confidence for bigger repairs, and keeps your engine running cool for years to come. The process comes down to five steps: drain the old coolant, remove the old radiator, install the new unit, refill with fresh 50/50 antifreeze, and bleed every last air pocket from the system.
The two areas that trip up most DIYers are safety and bleeding. Always work on a cool engine with the battery disconnected, and never rush the burping process. That 20 minutes of idling and topping off the coolant is the difference between a successful repair and an overheated engine on your test drive. Check the coolant level daily for the first week, watch your temperature gauge, and address any small leaks immediately.
If you have been putting off this repair because it seems intimidating, start by gathering your tools and reading through the steps once more. Take photos, label your bolts, and work methodically. You will be glad you did the job yourself the next time your temperature gauge stays planted right in the middle where it belongs.