
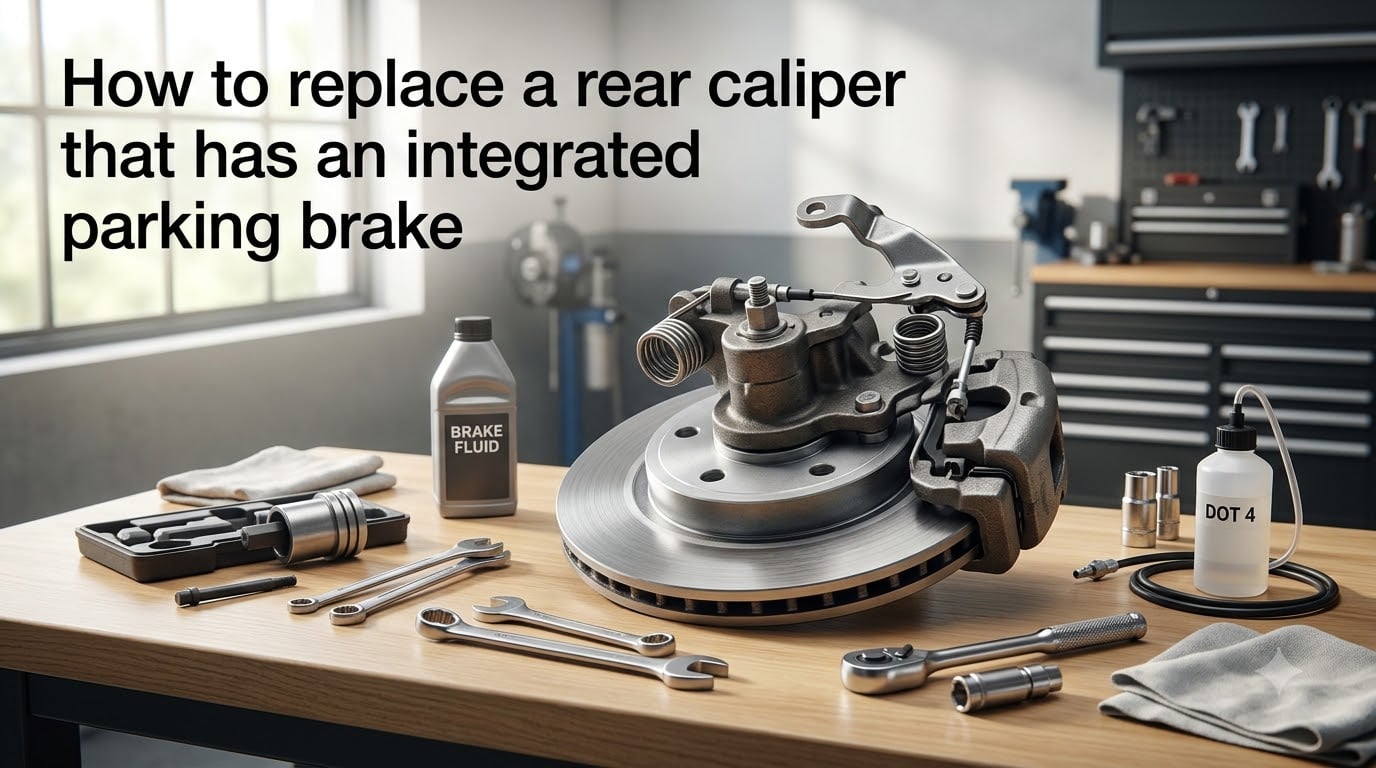
If you’ve ever popped a rear wheel off a modern car and found the rotor wearing unevenly, the pedal going soft, or the parking brake setting itself without you pulling the lever, the rear caliper is almost always the culprit. Learning how to replace a rear caliper with an integrated parking brake is one of the most useful DIY brake jobs you can own, but it’s also one of the most misunderstood, because the parking brake mechanism changes the entire procedure compared to a regular caliper swap.
I’ve done this job on a 2005 Mustang, a 2009 Subaru Legacy, and a friend’s Chevy Cobalt SS, and the parking brake portion is the part that trips up most home mechanics. In this guide, I’ll walk you through exactly what an integral parking brake caliper is, the tools you need, the entire replacement procedure step by step, and the adjustments that matter after the new caliper is on. No vague advice, no skipped steps, just the exact order I use every time.
Table of Contents
What Is an Integral Parking Brake Caliper?
An integral parking brake caliper is a rear disc brake caliper that has the parking brake mechanism built directly into the caliper housing. Instead of using a separate drum brake or a small parking brake shoe inside the rotor hat, the same caliper that handles your foot brake also handles the emergency brake. A lever arm sits on top of the caliper, attached to a cable that runs back to your parking brake pedal or hand lever inside the cabin.
When you pull the parking brake, the cable pulls the lever, and the lever turns a screw or scroll mechanism inside the caliper that pushes the piston further out than hydraulic pressure alone ever could. That extra throw clamps the pads against the rotor and holds the car. Release the lever, and a spring returns the mechanism so the piston can retract normally.
There are two main types you’ll encounter. Mechanical integrated parking brakes use a cable and a hand lever or foot pedal, which is what most vehicles from the late 1990s through the early 2010s use. Electronic parking brakes, often called EPB or integral electronic parking brake calipers, use an electric motor built into the caliper that drives the same internal screw mechanism when you press a button in the cabin. Both require the same basic rebuild logic, but the EPB version needs a scan tool to retract the piston before removal and to recalibrate after installation.
Tools and Materials You Will Need
Gather everything before you lift the vehicle. The number one reason caliper jobs go sideways is hunting for a wrench while brake fluid is dripping on the ground.
Floor jack and two jack stands (rated for your vehicle weight)
Lug wrench or impact gun
Wheel chocks
Combination wrench set (typically 13mm to 18mm for caliper bolts and bleeder)
Socket set with 3/8 and 1/2 inch drives
Torque wrench (foot-pound scale, 10 to 100 ft-lbs)
Caliper piston compression tool or a C-clamp with a wooden block
Brake cleaner spray, at least one full can
New DOT 3 or DOT 4 brake fluid (check your owner’s manual)
Turkey baster or fluid extractor for the master cylinder reservoir
Brake bleeder hose and a clear catch bottle
Hi-temp brake grease (rated for 500F or higher)
Anti-seize compound for caliper bracket bolts
Shop rags, nitrile gloves, and safety glasses
New caliper with bracket bolts (if applicable) and fresh brake pads
New crush washers for the brake line banjo bolt if your caliper uses them
Safety Precautions Before You Start
Brake work is serious. The braking system holds several thousand pounds of vehicle at highway speed, and brake fluid is a paint stripper that will eat through clear coat in minutes. Park on a flat concrete surface, chock the wheels that stay on the ground, and never trust a hydraulic jack alone. Always lower the vehicle onto jack stands before going underneath.
Wear safety glasses when you crack the bleeder valve or work under the car. Have a drain pan ready for brake fluid and never pour it down a storm drain. Brake fluid is hygroscopic, meaning it absorbs water over time, so always use a fresh sealed container from the parts store. If you spill fluid on your skin, rinse with water immediately.
Disconnect the negative battery cable if you’re working on an electronic parking brake vehicle. Some EPB systems will keep the motor live for several minutes after the ignition is off, and you don’t want the caliper unexpectedly clamping while your fingers are near the piston.
How to Diagnose a Failing Rear Caliper?
Before you replace a rear caliper with integrated parking brake hardware, make sure the caliper is actually the problem. I’ve seen people replace perfectly good calipers because the real issue was a flex hose that had collapsed internally.
The classic symptoms are a rear wheel that drags after you release the parking brake, a car that pulls to one side under braking, brake fluid visible on the inside of the wheel or backing plate, or a brake pedal that slowly sinks to the floor. If the parking brake won’t hold on a hill even after adjustment, or the rear rotor is wearing unevenly with a heavy lip on the inside edge, the integrated parking brake mechanism is probably failing inside the caliper.
To confirm, jack up the suspect rear corner and spin the wheel by hand. It should spin freely with light rotational resistance. If you feel significant drag, the piston is not retracting, and the cause is either a seized piston, a collapsed brake hose, or a stuck parking brake mechanism. Try loosening the parking brake cable at the equalizer under the car and see if the wheel spins freely. If it does, the mechanism is the problem. If it doesn’t, the caliper piston itself is seized.
Step-by-Step Rear Caliper Replacement Procedure
Follow this order exactly. Skipping ahead is the fastest way to spill brake fluid all over a painted fender or to get a piston stuck in mid-travel.
Loosen the lug nuts and lift the vehicle
Break the lug nuts loose with the wheel still on the ground using a half-turn each in a star pattern. Position the floor jack at the factory lift point behind the wheel, lift until the tire clears the ground, and place a jack stand under the frame rail. Never work under a car supported only by a jack.
Remove the wheel and expose the caliper
Pull the wheel off and set it aside. You should now see the rear caliper, rotor, and parking brake lever on top. Take a photo from the side with your phone. This matters later when you need to remember exactly how the cable routes and where the spring retainer sits.
Disconnect the parking brake cable and create slack
This is the step that frustrates most people. The parking brake cable end is usually held in the lever by a small clip, pin, or a ball-and-socket fitting. Spray it with penetrating oil and let it soak for five minutes. If you cannot get the cable end out of the lever by hand, you have another option: go under the car and find the parking brake cable adjuster, usually a threaded rod with two lock nuts near the equalizer or under the parking brake lever assembly.
Loosen the two lock nuts and back off the threaded adjuster to create slack in the cable. Many vehicles also have four small bolts under the parking brake lever assembly itself. Backing these out a few turns gives the cable enough slack to slide out of the caliper lever without a fight. This is the trick that turns a one-hour struggle into a five-minute job.
Compress the integrated parking brake mechanism
On mechanical calipers, the parking brake mechanism is what locks the piston in the applied position. With the cable slackened, manually rotate the lever back to its fully released position. You should feel the internal spring return the lever. If it doesn’t, the internal spring is broken, which is one of the reasons you’re replacing the caliper in the first place.
Remove the brake line and caliper bolts
Place a drain pan under the caliper. Using a line wrench, not a standard open-end wrench, loosen the brake line banjo bolt where the flex hose attaches to the caliper. Have your other hand ready because brake fluid will start dripping the moment the bolt breaks loose. Pull the caliper off the bracket and support it with a wire hanger so it’s not hanging by the brake line, which would damage the flex hose.
Now remove the two caliper slide bolts or the two caliper mounting bolts that hold the caliper to the steering knuckle. These are usually 13mm, 15mm, or 18mm and are torqued to around 80 to 120 ft-lbs. Crack them loose with a breaker bar.
Lift the caliper off the rotor
With the bolts out, the caliper should slide off the rotor. If it’s stuck, do not pry between the caliper and the rotor. You can warp the rotor. Instead, gently tap the caliper ear with a rubber mallet to free it, or back off the parking brake cable adjuster another turn or two. Slide the old caliper off and set it on the bench for comparison with the new one.
How to Retract the Caliper Piston With an Integrated Parking Brake?
This is the question that shows up most in forums, and for good reason. You cannot just push a caliper piston straight back into its bore the way you can on a front caliper. The integrated parking brake mechanism uses a scroll or screw-type mechanism that converts the cable pull into linear piston motion, and pushing the piston back directly will damage the threads.
To retract the piston on a mechanical integrated parking brake caliper, you have to turn the piston while simultaneously pushing it inward. Here is the exact procedure:
Remove the caliper from the vehicle and place it on a clean bench with the parking brake lever facing up.
Remove the parking brake lever itself by sliding off the spring retainer and pulling the lever off the spindle.
Insert a caliper piston tool, a large Phillips screwdriver, or a specialized piston rotation tool into the piston face.
Turn the piston clockwise while applying steady inward pressure. Most rear integrated calipers retract with a clockwise turn because the parking brake screw is right-hand thread.
Keep turning until the piston is fully bottomed out in the bore. You should feel the piston stop against the caliper housing.
On electronic parking brake calipers, do not try to turn the piston by hand. The motor assembly on the back of the caliper controls the screw mechanism. Use a scan tool with EPB service mode, or the vehicle’s built-in service mode activated through the infotainment screen, to retract the piston electronically. The piston will screw itself back in without any manual turning.
Inspect the Brake Hose, Bracket, and Rotor
Before bolting anything new back together, this is the moment to inspect everything the caliper was hiding. A new caliper installed on a bad flex hose will fail within months, and I’ve personally seen collapsed hoses cause the exact same symptoms as a seized caliper, which is why so many people throw parts at the problem and end up with the same issue six months later.
Inspect the brake hose from the caliper end to the frame rail. Look for cracks, bulges, or wet spots. Squeeze the hose gently with pliers; it should feel firm but not rock-hard. If the hose is old, replace it with a new one. It’s cheap insurance.
Remove the caliper bracket from the rear knuckle and clean the pad slide surfaces with a wire brush. Apply a thin coat of hi-temp brake grease to the slider pins and the contact pads where the brake pads ride. Do not get grease on the pad friction material or the rotor face. Wipe the rotor with brake cleaner to remove the factory oil coating. Set the rotor on the hub and confirm it sits flat against the hub flange with no gap.
Installing the New Caliper
Mount the caliper bracket back on the knuckle if you removed it, and torque the bracket bolts to factory spec. Slide the new brake pads into the bracket with the wear indicator on the upper inside position. Apply a small dab of hi-temp grease to the back of each pad where it contacts the caliper piston and the bracket abutment clips.
Hang the new caliper on the bracket and hand-thread the caliper bolts. Tighten them to the manufacturer torque specification, usually between 50 and 95 ft-lbs depending on the vehicle. Use a torque wrench. Caliper bolts are critical.
Reattach the brake line banjo bolt with a new crush washer on each side of the banjo fitting. Tighten the banjo bolt to spec, then attach the brake line bracket to the caliper or knuckle.
Now bleed the brakes. Start at the wheel farthest from the master cylinder, which is the opposite rear corner. Top off the master cylinder reservoir, attach a bleeder hose to the bleeder valve, and have a helper press the brake pedal slowly while you open and close the bleeder. Repeat until clean fluid with no air bubbles comes out. Work your way around to the caliper you just installed, which is the closest wheel, and bleed it last.
Parking Brake Cable Adjustment After Installation
This is the step that most guides skip, and it’s the reason so many DIYers finish the job and find their parking brake either won’t hold or drags the rear wheels. After installing the new caliper, the parking brake cable needs to be re-tensioned.
Go back under the car to the parking brake cable adjuster. Thread the adjuster in until you feel the cable just begin to take up slack, then tighten the two lock nuts against the threaded body to hold the setting. Pull the parking brake lever inside the cabin three or four clicks and verify the rear wheels hold the car on a hill. Release the lever and confirm both rear wheels spin freely by hand.
If the parking brake is too tight, the rear wheels will drag. If it’s too loose, the car will roll on an incline. The correct adjustment is typically three to five clicks on the hand lever, depending on the vehicle. Check your service manual for the exact spec.
How to Replace Rear Brakes With an Electronic Parking Brake?
If your vehicle has an electronic parking brake, the procedure changes in two important ways. First, the caliper piston retraction must be done with a scan tool rather than by hand. Plug in an OBD-II scan tool that supports EPB service mode, enter the parking brake service mode, and the caliper motor will wind the piston back automatically.
Second, after installation, you need to exit service mode through the scan tool so the EPB motor can re-learn the piston position. On some vehicles, this is done through the infotainment screen under Vehicle Settings, Service, or Maintenance. On others, you cycle the ignition and press the EPB button while the scan tool is connected.
Common EPB-equipped vehicles include the Ford Fusion from 2013 onward, the Chevy Volt, the Cadillac ATS, the BMW 3-Series E90, and many Mercedes-Benz models. Each has a slightly different reset procedure, so always check the factory service information for your specific model.
Troubleshooting Common Problems
If the rear wheel drags after the job, the parking brake cable is over-tightened or the caliper slide pins are stuck. Back off the cable adjuster and lube the slide pins.
If the brake pedal feels soft and spongy, you still have air in the system. Bleed the brakes again, starting at the farthest wheel.
If the parking brake won’t hold even after adjustment, the cable may be stretched or the internal parking brake mechanism in the new caliper may be defective. Test by pulling the cable with a pair of pliers at the caliper end. If the lever still won’t hold, the caliper is bad.
If the piston won’t retract on a mechanical caliper, you may be turning it the wrong direction. Most rear integrated calipers turn clockwise to retract, but Ford and some European vehicles use a reverse thread. Check the service manual.
Frequently Asked Questions
How to retract caliper piston with integrated parking brake?
Remove the parking brake lever from the caliper, then use a piston tool or large Phillips screwdriver to turn the piston clockwise while applying steady inward pressure until it is fully bottomed in the bore. On electronic parking brake calipers, use a scan tool with EPB service mode to retract the piston electrically instead of turning it by hand.
What is an integral parking brake caliper?
An integral parking brake caliper is a rear disc brake caliper that has the parking brake mechanism built directly into the caliper housing, using a lever arm and internal screw mechanism to apply the pads instead of a separate drum brake or shoe assembly.
How to replace rear brakes with electronic parking brake?
Use a scan tool with EPB service mode to retract the caliper piston before removal, replace the caliper and pads as normal, then exit service mode through the scan tool afterwards so the electric motor can re-learn the correct piston position before the parking brake is used.
Can you replace just one rear caliper?
Yes, you can replace just one rear caliper if only that side has failed, but it is best practice to replace both rear calipers at the same time since they have lived through the same heat cycles, mileage, and brake fluid contamination. Replacing only one side can leave you with uneven braking and a premature failure on the old side.
Final Checklist Before Driving
Before you back the car out of the garage, walk through this final checklist. Pump the brake pedal with the engine off until it firms up. Start the engine and check the brake pedal feel again. Confirm the master cylinder reservoir is full. Shift the car into drive and reverse with your foot on the brake, watching for any warning lights on the dashboard.
Take a slow test drive in a parking lot first. Bed the new pads by making a series of gentle stops from 25 mph, then a few firmer stops from 40 mph. Avoid any hard braking for the first 100 miles until the pads have fully seated against the rotor. If anything feels off, stop and re-inspect. Knowing how to replace a rear caliper with an integrated parking brake is a skill that saves real money, but the final test is always how the car stops when you need it to.