
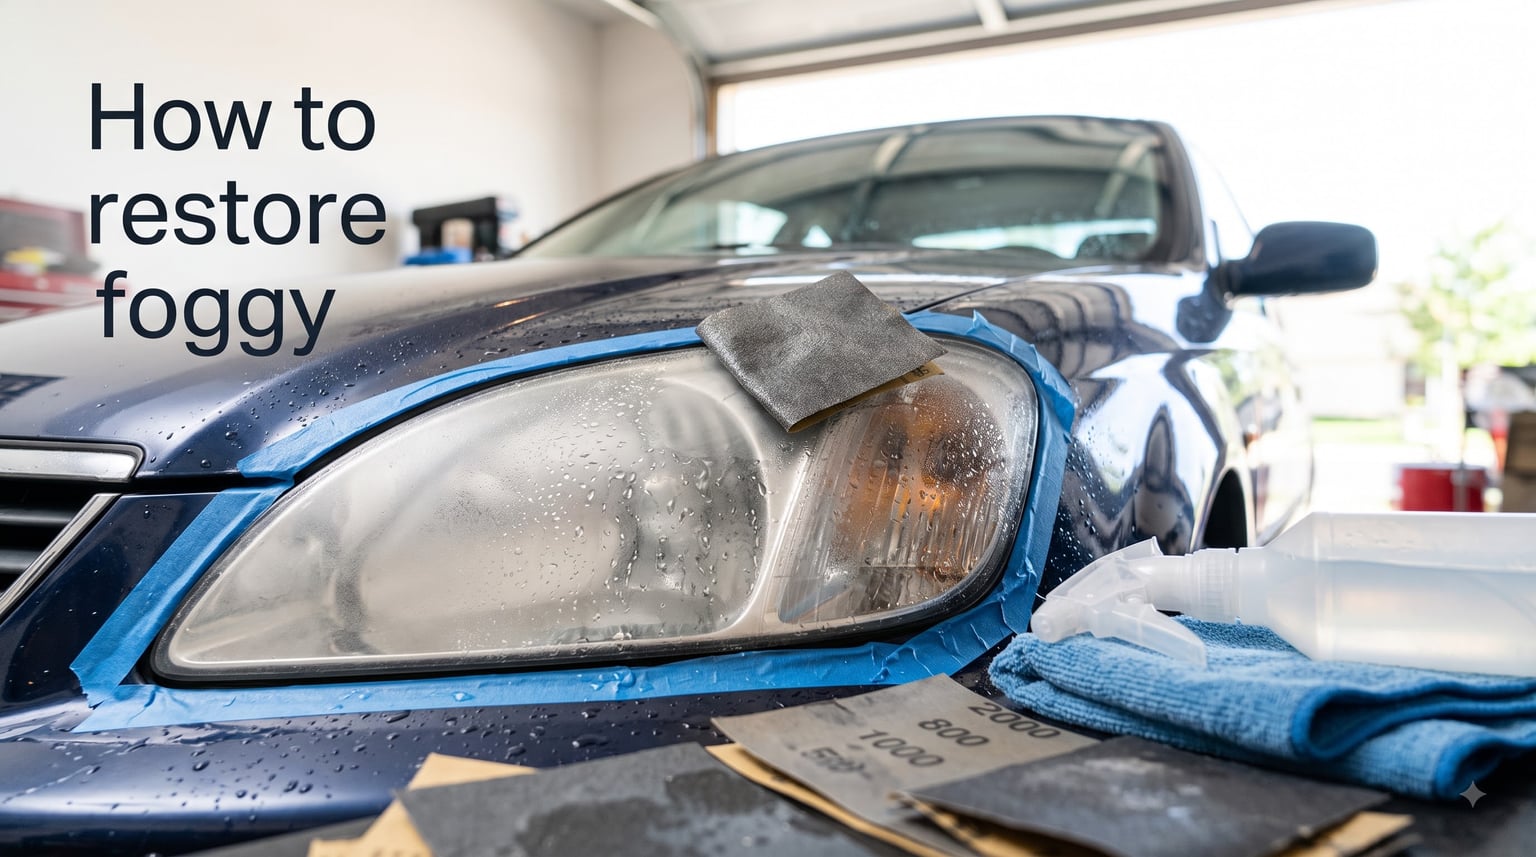
Driving with foggy headlights is more dangerous than most people realize. Cloudy, yellowed lenses can cut your nighttime visibility by up to 80%, meaning you might not see a pedestrian, debris, or a sharp curve until it is far too late to react safely.
If your headlights look like they are covered in frosted glass, you do not need to buy replacements. Learning how to restore foggy headlights at home takes about an hour per pair, costs a fraction of new housings, and can keep your lights clear for years if done right.
In this guide, I will walk you through exactly why headlights get foggy, what tools you need, and the step-by-step process to bring back that crystal-clear finish. I will also cover the home remedies people swear by (and which ones actually work), how to deal with fog on the inside of the lens, and how to prevent the haze from coming back.
Table of Contents
Why Do Headlights Get Foggy in the First Place?
Nearly every modern vehicle uses polycarbonate plastic for its headlight lenses. This material is lightweight, impact-resistant, and cheap to manufacture. But polycarbonate has one major weakness: it degrades under ultraviolet light.
Manufacturers apply a hard UV-protective clear coat to the lens at the factory. Over time, that coating breaks down from constant sun exposure, heat from the bulb, road salt, acid rain, and the micro-abrasions from car washes and highway debris. Once that factory clear coat fails, the bare polycarbonate beneath begins oxidizing.
Oxidation on headlights shows up as a cloudy, yellowed, or hazy film on the outer surface. It scatters the light beam instead of letting it pass through cleanly, which is why your headlights look dim and unfocused at night even with bright bulbs.
Some headlights also fog from the inside. This happens when the housing seal fails and moisture gets trapped. You will see condensation, water droplets, or a white haze on the interior of the lens. Inner fog is a different problem that requires a different approach, which I cover later in this guide.
Tools and Materials You Need to Restore Foggy Headlights
Before you start, gather everything you need. Having your tools ready prevents mid-project delays that can ruin the finish.
Here is what you need for a proper headlight restoration:
Wet/dry sandpaper in 500, 1000, 2000, and 3000 grits
UV-resistant clear coat spray designed for polycarbonate lenses
Polishing compound or plastX-type polish
Automotive masking tape (painter’s tape works too)
Microfiber cloths (at least 3 or 4 clean ones)
Spray bottle filled with clean water
Soap or automotive degreaser for the initial cleaning
Buffer or drill with polishing pad (optional but speeds things up)
You can buy these individually or pick up a restoration kit that bundles the essentials. Kits from 3M, Meguiar’s, and Sylvania include pre-cut sanding discs and a UV sealant. If you are doing this for the first time, a kit removes the guesswork.
How to Restore Foggy Headlights: Step-by-Step
This is the core process. Follow these steps in order and take your time with each one. Rushing through the sanding stages is the number one reason restorations look uneven or fail quickly.
Step 1: Clean and Tape Off the Area
Start by washing the headlight with soap and water to remove loose dirt, bugs, and grime. Any debris left on the surface will get dragged across the lens during sanding and create deep scratches.
Once the lens is clean and dry, tape off the painted areas around the headlight. Apply automotive masking tape to the bumper, grille, hood edge, and any trim within 2 inches of the lens. Sandpaper will chew through automotive paint fast, and repairing scratched paint costs far more than this entire project.
Take five minutes to do the taping properly. Press the tape down firmly so water and grit cannot sneak underneath during wet sanding.
Step 2: Wet Sand with Progressive Grits
Wet sanding is the step that actually removes the oxidized layer. You will work through four grit levels, and each one removes the scratches left by the previous, coarser grit. This progression from 500 to 3000 is what produces that glass-smooth finish.
Start with 500-grit sandpaper. Soak it in your spray bottle water first. Spray the lens generously, then sand the surface using firm, even pressure. Move in straight lines (not circles) and keep the surface wet at all times. The water flushes away the cloudy residue so you can see what you are doing. Keep going until the yellowed, hazy layer is gone and the entire lens has a uniform, frosted appearance.
Switch to 1000-grit. Spray the lens again and sand with the same straight-line technique. This grit smooths out the heavier scratches left by the 500-grit. You will notice the surface starting to feel smoother under your fingers.
Move to 2000-grit. Continue wet sanding. The lens will still look cloudy, but the texture should feel noticeably finer. By this stage, you are refining the surface rather than removing material.
Finish with 3000-grit. This is your final sanding pass. The lens will look quite frosted still, but do not worry. This fine grit creates the smooth base that the polishing compound needs to bring back the clarity.
Between each grit, wipe the lens with a clean microfiber cloth and inspect your work. If you see deeper scratches that the next grit has not removed, go back and spend more time with the current grit before moving forward.
Step 3: Polish the Lens Surface
After sanding, the lens will look uniformly cloudy. That is normal. Polishing is what brings back the transparency.
Apply a dollop of plastic polishing compound to a clean microfiber cloth or a foam polishing pad. Work it into the lens using circular motions with firm pressure. If you are using a drill attachment or buffer, keep it moving constantly to avoid heat buildup that can warp the plastic.
Keep polishing until the lens goes from frosted to clear. You should be able to see the reflector bowl inside the housing clearly. Wipe away any excess polish with a fresh microfiber cloth.
Step 4: Apply UV Clear Coat Sealant
This is the step most people skip, and it is exactly why their headlights fog up again within months. Without a protective sealant, the bare polycarbonate you just polished will start oxidizing under UV light almost immediately.
Use a UV-resistant clear coat spray designed for headlight lenses. Hold the can 8 to 10 inches from the surface and apply thin, even coats. Two light coats spaced 5 to 10 minutes apart, followed by one slightly wetter coat, is the standard approach.
Let the clear coat cure fully before driving. Most products need at least 4 to 24 hours to fully harden depending on temperature and humidity. Check the manufacturer’s instructions on the can.
Once cured, remove the masking tape carefully. Your headlights should look nearly new, and with the UV sealant in place, they should stay clear for 1 to 3 years depending on your climate and sun exposure.
Quick Fix Methods: Do Home Remedies Actually Work?
You have probably seen videos claiming you can clear foggy headlights with toothpaste, baking soda, or WD-40. These methods do produce visible results, but they are temporary fixes, not real restorations.
The toothpaste method works because toothpaste contains mild abrasives. Apply a small amount of plain white toothpaste (not gel) to a damp microfiber cloth, rub it onto the lens in circular motions for several minutes, then rinse. It removes light surface haze and leaves the lens looking clearer for a few weeks. But it does not remove deep oxidation, and it offers zero UV protection. The haze returns fast.
Baking soda and vinegar paste works on the same principle. Mix baking soda with enough water or vinegar to form a paste, apply it the same way as toothpaste, scrub, and rinse. Results are similar to toothpaste: temporary improvement on mildly hazy lenses.
WD-40 will make a foggy headlight look clear instantly, but this is an illusion. WD-40 leaves an oily film on the surface that temporarily fills in the microscopic roughness. It washes off with the first rain or car wash, and it offers no protective benefit. Some argue it can actually attract dust and dirt.
Magic eraser products (melamine foam) can remove some haze, but they are quite aggressive and leave micro-scratches that make the lens cloud up faster over time. I would not recommend this approach.
The honest truth: home remedies are fine if you are selling the car tomorrow and need a quick cosmetic improvement. For a restoration that actually lasts, you need the sanding, polishing, and sealing process described above.
How to Fix Foggy Headlights from the Inside
If the haze is on the interior surface of the lens, no amount of exterior sanding will fix it. Inner fog is usually caused by a broken seal that lets moisture into the housing, or by condensation that has left mineral deposits on the inside of the lens over time.
First, check if the fog is actually inside. After you wash the car or after a rainy day, look for water droplets visible through the lens. If you see standing water or heavy condensation inside the housing, you have a seal failure.
Fixing inner fog is more involved. One common method is removing the headlight housing from the vehicle, carefully heating the sealant in an oven at around 200 degrees Fahrenheit to soften it, separating the lens from the housing, cleaning the interior surface, and resealing everything. This is delicate work and carries the risk of cracking the lens or damaging internal components.
Another approach involves drilling a small drainage hole in the bottom of the housing to let trapped moisture escape. Some vehicles even come with these from the factory. This prevents future condensation buildup but does not clean existing haze on the inside of the lens.
If you are not comfortable with headlight disassembly, this is a job best left to a professional. The cost of a replacement housing may actually be lower than the labor involved in a proper internal cleaning.
How to Prevent Headlights from Fogging Again?
Restoring your headlights is only half the battle. Keeping them clear requires ongoing care. The UV clear coat you applied is the primary defense, but it wears down over time.
Reapply UV sealant annually. Even the best clear coats degrade after 12 to 24 months of sun exposure. Apply a fresh coat of UV protectant spray once a year to maintain the barrier. Some people use spray-on ceramic coatings or wipe-on UV protectants for easier maintenance.
Wash your headlights regularly. Road grime, salt, and bug residue accelerate coating breakdown. Wash the lenses with mild soap every time you wash the car, and avoid harsh chemicals that can strip the protective layer.
Park in the shade or garage when possible. UV exposure is the primary cause of oxidation. Reducing direct sun exposure, especially in hot climates, extends the life of your clear coat significantly.
Consider paint protection film. For the longest-lasting protection, some owners apply a clear paint protection film (PPF) over the restored lenses. This sacrificial layer takes the abuse from UV and road debris, and it can be peeled off and replaced when it wears out.
Avoid automatic car washes with stiff brushes. Those spinning brushes micro-scratch the clear coat and accelerate clouding. Touchless washes or hand washing are much gentler on restored headlights.
DIY Restoration vs Professional Service: Which Is Better?
Doing it yourself costs roughly $20 to $40 in materials if you buy a kit, or $15 to $25 if you already have sandpaper and polish. A professional headlight restoration at a detail shop or dealership typically runs $75 to $150 per pair.
The DIY route gives you control over the process and saves money, but it requires patience and attention to detail. If you skip grits, rush the sanding, or forget the UV sealant, your results will be disappointing and short-lived.
Professional services use specialized tools, UV-cured coatings, and often include a warranty. A good shop will produce results that last 2 to 4 years. The tradeoff is the higher cost.
When to replace instead of restore: If the lens has deep cracks, significant interior damage, or the reflector bowl inside is corroded, restoration will not solve the problem. If water has been sitting inside the housing for a long time and the internal reflectors are rusted or peeling, replacement housings are the better investment. A restored lens on a damaged reflector still produces poor light output.
As a rule of thumb: if the damage is purely on the outer surface (yellowing, haze, oxidation), restoration works. If there is structural damage or internal corrosion, replace the assembly.
FAQs
Will WD-40 clear up foggy headlights?
WD-40 will make foggy headlights appear clearer temporarily because it leaves an oily film that fills in surface roughness. However, it washes off with rain or a car wash and provides no UV protection. It is a cosmetic trick, not a restoration method, and the haze will return quickly.
Will magic eraser remove headlight haze?
Magic erasers (melamine foam) can remove light haze, but they are aggressive abrasives that leave fine micro-scratches on the lens. These scratches make the headlight cloud up faster over time, so this method does more harm than good for long-term clarity.
Does the toothpaste trick work on headlights?
Yes, plain white toothpaste can remove light surface haze because it contains mild abrasives. Rub it on with a damp cloth in circular motions, then rinse. The results are temporary (a few weeks at most) because toothpaste does not remove deep oxidation or provide UV protection. For lasting results, use the sanding and sealing method.
What is the best headlight cleaner?
The best approach is a dedicated headlight restoration kit that includes sandpaper discs in multiple grits (500 to 3000), a polishing compound, and a UV clear coat sealant. Brands like 3M, Meguiar’s, and Sylvania make reliable kits. For quick surface cleaning between restorations, a plastic polish or plastX-type product works well.
How long does a headlight restoration last?
A proper restoration with UV clear coat sealant typically lasts 1 to 3 years depending on sun exposure, climate, and how well you maintain the lenses. Reapplying a UV protectant annually and parking out of direct sunlight can extend the results toward the longer end of that range.
Wrapping Up
Knowing how to restore foggy headlights properly comes down to four key steps: clean and tape, wet sand through the grit progression (500, 1000, 2000, 3000), polish to clarity, and apply a UV clear coat sealant. Skip any of those steps and you will be doing it again in a few months.
The UV sealant is the single most important factor in keeping your headlights clear long-term. Home remedies like toothpaste and WD-40 are fine for a quick cosmetic fix, but they do not replace a proper sanding and sealing restoration.
Pick up the sandpaper, grab a UV clear coat spray, and set aside an afternoon. Your nighttime visibility, safety, and the appearance of your vehicle will all benefit from the effort. If your headlights have internal damage or cracked housings, replacement is the better path forward.