
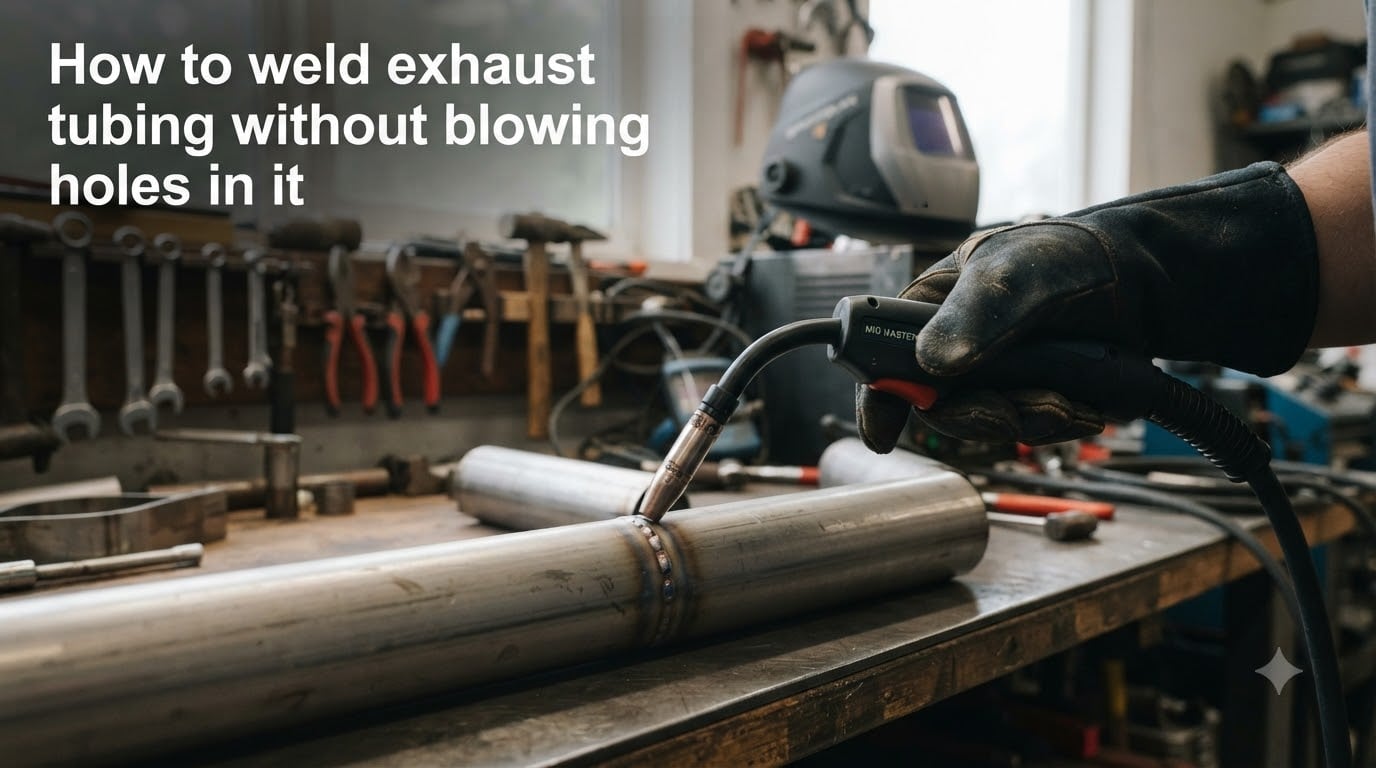
If you want to learn how to weld exhaust tubing without blowing holes in it, the whole game comes down to controlling heat. Exhaust tubing is thin gauge metal (often 1.5 to 2mm thick), and the second you feed too much heat into the joint, the metal melts through and leaves a hole the size of a dime.
I learned this the hard way. My first exhaust repair, I dialed up my MIG welder like I was welding a trailer frame, held the gun in one spot for two seconds, and watched a perfect hole appear right where I needed a seal. Since then I have welded enough muffler replacements, flex pipe joins, and elbow splices to know that the answer is never more heat. It is less heat, faster movement, and a few well-placed tack welds.
This guide covers the technique, settings, and common mistakes I see beginners make on every exhaust job. Whether you are patching a rusted pipe or fitting a new cat-back system, you can get clean, hole-free welds with the right approach.
Table of Contents
Why Exhaust Tubing Blows Holes (The Heat Problem)?
Exhaust tubing blows holes because the metal is too thin for the heat your welder wants to dump into it. Most automotive exhaust runs between 1.2mm and 2mm wall thickness. That is roughly the thickness of two stacked nickels. A MIG welder’s default settings are designed for 3mm or thicker steel, so the moment you pull the trigger on factory presets, you flood the joint with enough heat to melt clean through.
Three things drive burn-through on exhaust tubing:
Too much amperage. Higher amps mean more heat, and thin metal cannot absorb it before it melts.
Travel speed too slow. Lingering in one spot builds up heat. Even with low amps, a slow travel speed will burn through.
Arc length too long. Holding the gun 10mm or more from the work concentrates heat in a narrow spot rather than spreading it across the joint.
Once you understand that heat is your enemy, every other setting, technique, and tip in this guide makes sense. The trick is getting enough heat to fuse the metal together without pooling so much that it falls through the bottom of the pipe.
How to Weld Exhaust Tubing Without Blowing Holes: Step-by-Step?
Here is the exact process I use on every exhaust repair. Work through these steps in order, and you will dramatically reduce the chance of blow-through even on the thinnest 1.2mm stainless tubing.
Step 1: Clean the Joint Thoroughly
Grinding or sanding both the outside and the inside of the joint removes rust, oil, and old paint that will contaminate the weld. Dirty metal forces you to weld hotter to burn off impurities, and that extra heat is what creates holes.
I run a 60-grit flap disc around the seam about one inch wide on either side. For stainless, I also use a dedicated stainless wire brush (carbon brushes will embed particles and cause rust spots later). Wipe both surfaces with acetone before you tack.
Step 2: Fit the Pipe and Tack Weld 3-5 Spots
Slip the two pieces together with a slight gap of about 1mm to 2mm. Too tight and the weld pools up; too loose and you will need more filler to fill the gap, which means more heat.
Place 3 to 5 small tack welds evenly around the pipe circumference. Each tack should be no longer than 5mm and held for under one second. Think of the tack as a stitch, not a seam. The goal is just to hold the joint in alignment, not to weld it together yet.
Tack welds also let the metal cool between spot welds, which prevents one area from getting superheated. On 1.5mm tubing, I wait 15 to 30 seconds between tacks to let the joint cool to the touch.
Step 3: Set Your Machine Low and Wire Speed High
This is the single biggest mistake beginners make. They leave the machine on the factory default for thicker steel. Drop your voltage by 20 to 30% and bump the wire feed speed up. Higher wire speed means more filler metal feeding into the joint, which means less time the arc lingers on the base metal.
For a typical 140-amp MIG welder on 1.5mm mild steel exhaust, start at around 15 volts and 200 inches per minute wire feed. For 1.5mm stainless, drop to 14 volts and 180 IPM. Always test on a scrap piece of similar gauge before touching your actual pipe.
Step 4: Weld in Short Bursts with Breathing Room
Weld 1 to 2 inches, then stop and let the joint cool for 10 to 20 seconds before continuing. This staggered, stitch-welding approach is the only reliable way to control heat buildup on thin tubing.
Keep the gun at a 10 to 15 degree push angle and hold the contact tip roughly 6mm to 8mm from the work. Maintain a steady travel speed, fast enough that the puddle just barely keeps up with the gun. If the puddle is sagging or sagging through the bottom, you are moving too slow.
Step 5: Cool Between Passes
After finishing a pass, let the pipe cool completely before doing any second pass. On mild steel this takes about 2 minutes. On stainless it takes longer because stainless conducts heat more slowly, so the heat stays in the weld zone.
If you need a second pass for strength, drop your heat even further the second time. By then the joint is already fused, and you are just adding filler for reinforcement.
Heat Control and Settings for Different Pipe Thicknesses
The chart below is a starting point, not gospel. Every welder reads slightly differently, so always do a practice bead on scrap first.
1.2mm stainless: 13 to 14 volts, 170 to 190 IPM wire feed, 0.6mm wire, pure argon shielding gas.
1.5mm mild steel: 14 to 15 volts, 180 to 210 IPM, 0.6mm wire, C25 gas (75% argon / 25% CO2).
1.5mm stainless: 14 volts, 180 IPM, 0.6mm wire, tri-mix gas (argon/helium/CO2) ideal but pure argon works.
2mm mild steel: 16 to 17 volts, 230 to 260 IPM, 0.8mm wire, C25 gas.
2mm stainless: 15 to 16 volts, 220 IPM, 0.8mm wire, tri-mix or pure argon.
The pattern is clear: thinner pipe means lower voltage, lower wire feed, smaller diameter wire, and argon-rich shielding gas. If you remember nothing else, remember that thin metal wants less of everything except travel speed.
MIG vs TIG vs Stick: Which Is Best for Exhaust Pipe
For most DIYers, MIG is the best choice for exhaust pipe. It is forgiving, fast, and works on both stainless and mild steel with the right gas. A 140-amp MIG with 0.6mm wire and argon/CO2 mix is the sweet spot for thin exhaust work.
TIG produces the cleanest, strongest weld on stainless exhaust and is the preferred method for professional custom fab shops. It gives you precise heat control through the foot pedal and lets you pulse the arc on and off. The downside is the learning curve and slower weld time. TIG is overkill for most home repairs but unbeatable for show-quality work on stainless.
Stick welding is the most old-school method and still works fine for exhaust in a pinch. Use a 6011 or 6013 rod at low amperage (around 50 to 70 amps for 1.5mm pipe). Stick is slower, messier, and harder to control on thin metal, but it works with cheap hardware-store welders and does not need shielding gas. Avoid 7018 rods on exhaust. They run too hot and the low-hydrogen coating is wasted on thin exhaust material.
If you only own one welder, use what you have at low settings and short bursts. Every process can weld exhaust if you respect the heat.
Stainless vs Mild Steel Exhaust: What Changes
Stainless steel exhaust requires more care than mild steel. Stainless conducts heat about three times slower, so heat concentrates in the weld zone instead of spreading along the pipe. That makes burn-through happen faster, but it also means stainless is more forgiving on travel speed.
The single biggest mistake on stainless is failing to purge the inside of the pipe with argon before welding. Without purging, the inside of the weld oxidizes (called sugaring) and crumbles when hot exhaust gases hit it. Tape up both ends of the pipe, push in argon at 10 to 15 CFH through a small hole, and let it flow for 30 seconds before striking an arc.
Mild steel exhaust is more forgiving because it tolerates a slightly dirtier surface and does not need purging. Mild steel also welds fine with cheap 75/25 argon/CO2 mix gas, while stainless really wants tri-mix or pure argon to look clean.
When joining stainless to mild steel (common on aftermarket cat-back systems that connect to OEM mild steel pipes), use a stainless filler rod like ER309L. This rod is designed to bridge the metallurgical gap between the two metals.
Common Mistakes That Blow Holes in Exhaust Tubing
I have made every mistake below, and I have seen them all repeated on r/Welding threads from beginners asking why their exhaust welds look like swiss cheese.
Leaving the welder on factory settings. Most MIG machines ship set for 3mm to 4mm steel. You must manually drop voltage by 20 to 30% before welding exhaust.
Using 0.8mm or 0.9mm wire on thin tubing. Larger diameter wire forces higher amperage to melt it. Switch to 0.6mm wire for anything under 2mm wall thickness.
Long, continuous welds. Trying to weld the entire pipe in one long pass guarantees heat buildup. Use the stitch method described above.
Skipping tack welds. Without tacks, the joint moves as the metal expands and contracts, which causes you to slow down and over-warm the area trying to keep up.
Not cleaning inside the pipe. Rust inside the joint vaporizes during welding, contaminating the puddle and forcing you to weld hotter to compensate.
Wrong gas on stainless. Using C25 (75/25) on stainless exhaust causes oxidation and discoloration. The weld might hold, but it will corrode from the inside out within a year or two.
Pro Tips for Under-Vehicle and Tight-Space Welding
Exhaust welds are almost always performed in uncomfortable positions under the car or in cramped wheel wells. A few adjustments make the job manageable.
Use a welder with a long 12-foot ground clamp extension so you can clamp somewhere on the frame rather than the exhaust itself. Welding directly on the exhaust creates a parallel ground path that makes the arc wander.
If your MIG welder has a gasless flux-core option, switch to it for overhead exhaust work. Gasless wire does not need shielding gas, so wind and awkward gun angles will not ruin your shielding coverage. Flux-core also welds slightly hotter and penetrates deeper, which helps when you cannot see the joint clearly.
For truly inaccessible joints, a universal joint MIG gun or a flexible TIG torch neck lets you reach 45-degree angles the standard torch cannot hit. These accessories cost under 50 dollars and turn a 2-hour frustration into a 20-minute repair.
Safety Gear and Workspace Setup
Welding exhaust inside a garage is dangerous on three fronts. The fumes from welding galvanized or coated pipe are toxic, the arc damage to your eyes happens in seconds, and the fire risk from sparks landing on seats, carpet, or shop rags is real.
Always wear an auto-darkening welding helmet (shade 10 to 13), leather welding gloves, and a flame-resistant jacket. Set up ventilation by cracking the garage door open or using a fan to pull fumes away from your face.
Cover the seats and any carpeted areas with a welding blanket. Keep a fire extinguisher rated for class A, B, and C fires within reach. Let the pipe cool for at least 10 minutes before touching it. Fresh welds stay hot enough to burn skin long after the arc is off.
When to Call a Pro Instead of Welding
Some exhaust jobs are not worth the risk of a DIY weld. If the pipe is rusted through in multiple spots, if the catalytic converter or flex joint is the failed component, or if the joint is on a heat-sensitive component like an oxygen sensor boss, take it to a shop. Welding near fuel lines, brake lines, or wiring harnesses is also a job for someone with a lift and proper clearances.
A professional exhaust job typically runs 100 to 200 dollars per weld at most shops. That is cheap compared with the cost of a fuel leak, a sensor replacement, or a small garage fire from a missed weld on a thin pipe.
Frequently Asked Questions
How to weld without blowing holes?
Lower your voltage by 20 to 30% from factory settings, switch to 0.6mm wire, weld in 1 to 2 inch bursts with 15 to 30 second cool-downs between tacks, and keep the arc length short at 6mm to 8mm. Heat control, not raw power, is what prevents burn-through on thin exhaust tubing.
Will JB Weld hold exhaust pipe together?
JB Weld and similar epoxy putties can temporarily seal small pinholes or cracks in exhaust pipe, but they will not hold under the vibration and heat cycles of a real exhaust system for long. They typically last a few weeks at best. For a permanent fix, weld the pipe or replace the section.
How to weld an exhaust pipe without burning through?
Use the lowest voltage that will sustain an arc, the highest wire feed speed that gives a clean bead, and a 0.6mm wire on a 140-amp MIG. Tack weld 3 to 5 spots around the joint first, then stitch-weld 1 to 2 inches at a time, letting the pipe cool for 15 to 30 seconds between passes. Keep the travel speed fast enough that the puddle barely keeps up with the gun.
What type of welding is best for exhaust pipe?
MIG welding is the best choice for most DIY exhaust work because it is forgiving, fast, and works on both stainless and mild steel. TIG produces cleaner welds and is the pro choice for stainless custom work. Stick welding works in a pinch with a 6011 or 6013 rod, but it is harder to control on thin metal and runs hotter than most beginners expect.
Final Thoughts
Learning how to weld exhaust tubing without blowing holes in it comes down to three habits: low heat, fast travel, and patience between tack welds. Drop your machine out of factory preset territory, switch to 0.6mm wire, and stitch the joint in short bursts. The first time you pull off a clean exhaust weld without a single pinhole, it becomes a lot easier the second time. Stick with it and your welder will stop eating pipes.
1 thought on “How to Weld Exhaust Tubing Without Blowing Holes (September 2026)?”