
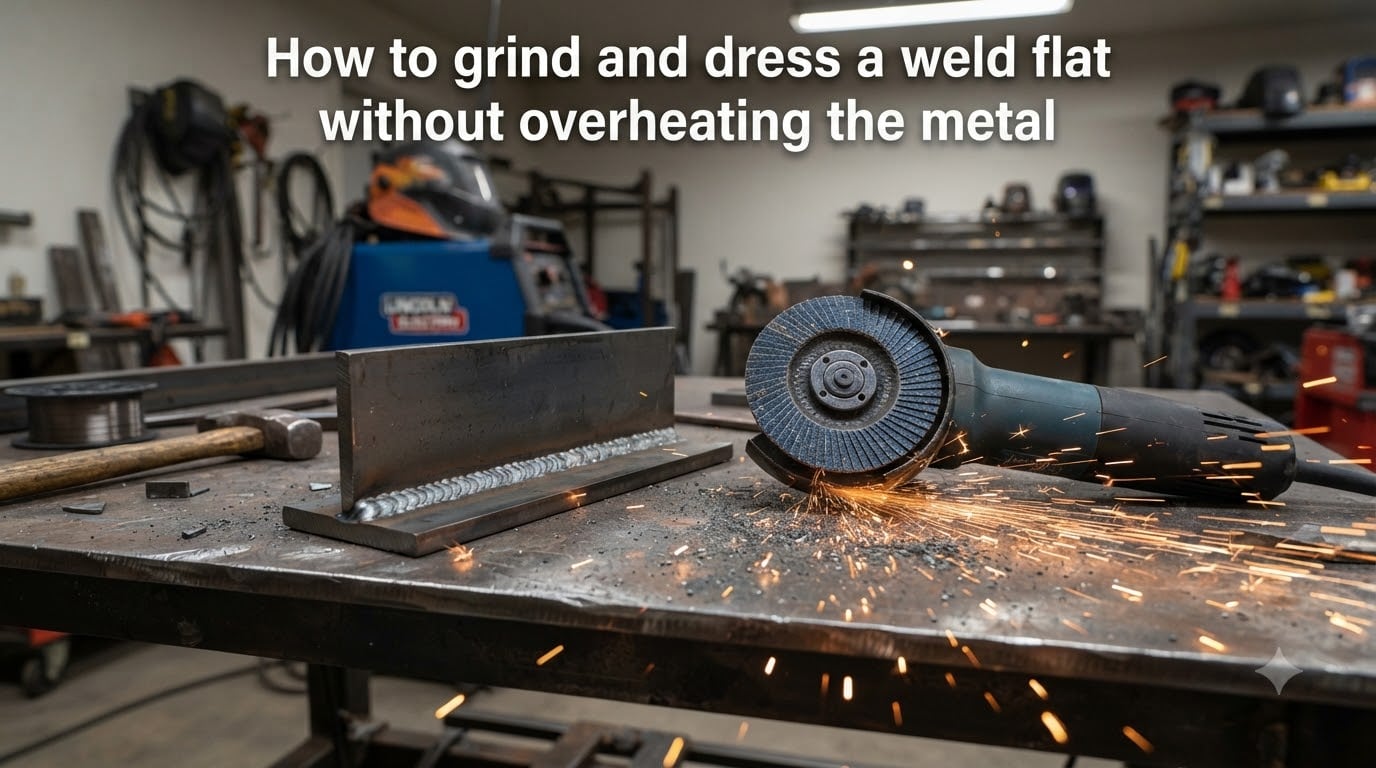
Learning how to grind and dress a weld flat without overheating the metal is one of those skills that separates clean fabrication work from amateur jobs. Burn through the surface, leave heat tint on stainless, or gouge the base metal, and you have created a problem worse than the original weld bead.
I have spent years grinding welds on everything from thin auto body panels to heavy structural plate. The single biggest mistake I see — and made myself plenty of times early on — is pushing the abrasive too hard. The heat builds up, the metal discolors, and the weld weakens in ways you cannot always see.
This guide walks through the complete process, from choosing the right abrasive and grit sequence to controlling heat at every stage. Whether you are working with carbon steel, stainless, or aluminum, the techniques below will help you produce a flat, clean, structurally sound finish without burning the metal.
Table of Contents
Why Overheating Damages Your Welds?
Heat is the hidden enemy of weld finishing. When you grind aggressively, friction transfers enormous thermal energy into a very localized area of metal. That energy does real, measurable damage.
The most immediate consequence is discoloration, often called heat tint. On stainless steel, this blue or straw-colored tint means the protective chromium oxide passive layer has been compromised. The metal will corrode in that spot far sooner than the surrounding area.
Beneath the surface, overheating alters the heat-affected zone (HAZ). The HAZ is the region adjacent to the weld where the original welding heat already changed the metal’s microstructure. Adding more grinding heat on top expands that zone and can create hard, brittle spots that crack under stress.
On thin sheet metal, the damage is even more immediate. Excess heat warps the panel, creates burn-through holes, and ruins the fit you spent hours dialing in. I have watched a perfect butt weld on a quarter panel get destroyed by thirty seconds of careless grinding.
The fix is not grinding slower — it is grinding smarter. The rest of this guide explains exactly how.
Tools You Need to Grind and Dress a Weld Flat
You do not need an extensive tool collection, but you do need the right abrasive for each stage. Using one disc for everything is how people overheat metal.
Angle Grinder
A 4.5-inch angle grinder is the primary tool for most weld grinding. It handles stock removal, blending, and finishing with the right disc attached. Most have adjustable RPM or run around 11,000 RPM — always check that your disc rating matches the tool speed.
Grinding Wheel vs Flap Disc
A grinding wheel removes material fast but is aggressive and leaves deep scratches. A flap disc — overlapping abrasive flaps bonded to a backing pad — cuts cooler and leaves a smoother surface. For weld dressing, flap discs are the better choice for heat control.
Use a grinding wheel only for the heaviest stock removal on thick material. Switch to flap discs as soon as you approach the base metal.
Surface Conditioning Disc
For the final finish stage, a non-woven surface conditioning disc removes fine scratches and blending lines without removing much base metal. This is what gives you a paint-ready or polished finish. It generates almost no heat compared to coated abrasives.
Die Grinder for Tight Access
Fillet welds, inside corners, and tight joints require a die grinder with a carbide burr, cartridge roll, or spiral band. A full-size angle grinder simply cannot reach these areas without gouging adjacent surfaces.
Wire Wheel for Spatter Removal
For removing weld spatter before grinding, a knitted wire wheel on the angle grinder works well. Knock the spatter off first so your flap disc is not fighting lumps while trying to blend the bead.
How to Grind and Dress a Weld Flat: Step-by-Step Process
The process below is the core method for grinding a weld flat without overheating. Follow these stages in order and resist the urge to skip ahead.
Step 1: Remove Spatter and Clean the Weld Area
Start by removing weld spatter, slag, and surface contamination. Use a wire wheel or a chipping hammer to knock off loose debris. A clean surface lets your abrasive cut evenly instead of bouncing over lumps, which creates heat from friction.
Step 2: Bulk Stock Removal with Coarse Grit
Attach a 40 to 60 grit flap disc or grinding wheel for the initial stock removal. Hold the grinder at a 10 to 15 degree angle to the work surface and work along the length of the weld bead. Use light, consistent pressure and keep the tool moving.
The goal here is to bring the weld crown down close to the base metal surface. Stop before you reach flush — leave about 0.5mm of material for blending. If you go to flush at this stage, you will gouge the base metal.
Step 3: Blend with Medium Grit
Switch to a 60 to 80 grit flap disc. Work the weld into the surrounding base metal with a back-and-forth motion along the weld axis. Blend outward from the center of the bead to the heat-affected zone on each side.
This stage removes the deep scratches left by the coarse grit and creates a smooth transition between the weld and the parent material. The disc should glide — if it feels like it is digging in, reduce your pressure.
Step 4: Finish with Fine Grit
Change to a 120 grit flap disc for the finishing pass. Work the entire area with light pressure and consistent motion. This removes blending scratches and brings the surface to a uniform finish suitable for paint or further polishing.
Step 5: Surface Conditioning
For a final finish, use a non-woven surface conditioning disc in a medium or fine grade. This removes the last visible scratch pattern and produces a uniform brushed finish without adding heat or removing meaningful stock.
Step 6: Inspect and Repeat If Needed
Run your fingers across the weld area to feel for high spots or transitions. Look for any remaining heat tint or discoloration. If the surface is not flat enough, repeat the fine grit and conditioning stages rather than going back to coarse grit.
Grit Progression Sequence for Weld Blending
Grit progression is where most overheating problems start. Skip a grit or start too fine, and the abrasive clogs, glazes over, and generates heat instead of cutting.
The rule is simple: each grit step should remove the scratch pattern of the previous grit. Jumping from 40 grit to 120 grit means the 120 grit disc has to work far too hard to remove deep 40-grit scratches. That extra work becomes heat.
Here is the sequence I use for most carbon steel and stainless welds:
36 to 40 grit: Heavy stock removal on thick material. Use only for taking down large weld beads quickly. Aggressive, so keep the tool moving.
60 grit: Primary blending grit for most welds. Removes the bulk of the bead while beginning to smooth the surface.
80 grit: Secondary blending. Smooths the 60-grit scratches and brings the weld flush with base metal.
120 grit: Finishing pass. Removes blending scratches for a paint-ready surface.
Surface conditioning (medium or fine): Final uniform finish without heat or stock loss.
Starting too fine is a common mistake. If your 80 grit disc is clogging and smoking within seconds, you skipped the coarse grit stage. Go back, remove more stock with 60 grit, then proceed.
How to Control Heat While Grinding Welds
Heat control is the entire point of this article. Every technique here exists to keep the workpiece cool enough that the metal is not damaged.
Let the Abrasive Do the Work
This is the single most important rule of grinding without overheating. Pushing harder does not cut faster — it generates friction heat, loads the abrasive, and glazes the disc. The abrasive grain is designed to cut under its own weight and moderate pressure.
If you find yourself leaning into the grinder, stop. Let up on the pressure, let the disc do the cutting, and the metal stays cool. This advice comes up in nearly every experienced welder’s forum post for good reason.
Keep the Tool Moving
Dwelling in one spot concentrates all the heat in a small area. Keep the grinder in continuous motion, working along the weld in smooth passes. A moving disc distributes heat across a larger surface area and gives each spot time to cool between passes.
Use a Sweeping Motion
Work in a back-and-forth or sweeping motion rather than grinding in a single direction. This blends the weld more evenly and prevents gouging a single track that heats up from repeated passes.
Watch Your Dwell Time
If you see the metal starting to change color — blue, straw, or rainbow tint — you are overheating. Stop immediately, let the metal cool, reduce your pressure, and use a lighter touch. On stainless, any heat tint means the passive layer is compromised.
Use a Cutoff Wheel Edge for Low-Heat Grinding
A technique shared on fabricator forums: use the edge of a thin cutoff wheel to remove the weld crown rather than a grinding wheel face. The cutoff wheel cuts fast, imparts very little heat, and removes material efficiently. Once the crown is down, switch to flap discs for blending.
Work in Short Bursts
On thin metal or heat-sensitive material, grind in 10 to 15 second bursts and let the panel cool between passes. This is tedious but prevents warpage and burn-through on sheet metal welds.
Check Your RPM
Higher RPM generates more heat. If your grinder has variable speed, run it at a moderate RPM for blending and finishing rather than full throttle. Always verify that your disc is rated for the tool’s maximum RPM for safety.
T27 vs T29 Flap Discs: Which to Use
Flap discs come in two profiles, and choosing the right one affects both your finish quality and your heat management.
Type 27 (T27): Flat profile. Best for surface grinding and finishing flat welds on sheet or plate. The flat face distributes pressure over a wider area, which means less heat concentration. Use T27 for finishing passes and flat surfaces.
Type 29 (T29): Conical or angled profile. Best for aggressive stock removal and working at angles. The angled flaps concentrate the working edge, cutting faster but generating more localized heat. Use T29 for the initial bulk removal stage.
A practical approach: start with a T29 disc for taking down the weld crown, then switch to a T27 for blending and finishing. This gives you fast removal up front and cooler, more even finishing at the end.
Material-Specific Grinding Guidance
Different metals react differently to grinding heat. The technique needs to match the material.
Stainless Steel
Stainless is the most heat-sensitive common weld material. Overheating destroys the chromium oxide passive layer that gives stainless its corrosion resistance. Even light heat tint means that protection is compromised.
Use ceramic or zirconia flap discs designed for stainless. Keep pressure light and passes frequent. If you see any color change — blue, straw, or rainbow — you have gone too far and may need to remove the discolored layer or re-passivate the surface.
Never use abrasives that have been used on carbon steel for stainless work. Iron particles embed in the disc and cause cross-contamination rust on the stainless surface.
Aluminum
Aluminum clogs standard abrasives almost instantly. Use flap discs specifically rated for aluminum, often with a stearate coating that prevents loading. Apply very light pressure and keep the tool moving fast.
Aluminum also conducts heat rapidly, so localized overheating spreads through the workpiece and can warp thin sections. Work in short bursts and let the material cool.
Carbon Steel
Carbon steel is the most forgiving material for weld grinding. It tolerates more pressure and higher heat than stainless or aluminum. Zirconia or ceramic flap discs work well across all grit stages.
Still, the same principles apply: let the abrasive cut, keep the tool moving, and progress through grits rather than trying to do everything with one disc.
Finishing Tight Access Welds and Fillets
Angle grinders cannot reach inside corners, fillet welds, or tight joints. For these areas, you need different tools.
Die Grinder with Carbide Burr
A die grinder with a carbide burr removes weld material in tight spots with precision. Use it for the initial stock removal in corners, then switch to finer abrasives for blending. Carbide burrs cut cool if you keep them moving.
Cartridge Rolls
Cartridge rolls — small abrasive tubes mounted on a mandrel — reach inside corners and along fillet welds. Start with a coarse grit roll for removal and progress to finer grits for blending, same as with flap discs.
Spiral Bands
Spiral bands wrap around a rubber drum and conform to curved or irregular surfaces. They work well for blending fillet welds into tube or pipe surfaces where a flat disc would gouge.
Inside Corner Technique
For inside corner welds, use a small Roloc-style disc (2 or 3 inch) with 60 or 80 grit. The smaller surface area gives you control and prevents the aggressive heat buildup of a full-size disc. Work along the weld axis and blend each wall separately.
Safety Precautions When Grinding Welds
Grinding is inherently dangerous. Take safety seriously every time.
Wear full PPE: safety glasses under a face shield, hearing protection, and leather gloves. Sparks and abrasive fragments fly at high velocity and can cause serious injury.
Always verify that your disc RPM rating meets or exceeds your grinder’s maximum speed. An over-speed disc can shatter explosively. Never run a disc rated below the tool’s RPM.
Keep the disc guard on the grinder. It exists to deflect fragments away from you. Removing it is one of the most common and dangerous shortcuts.
Direct sparks away from flammable materials, fuel lines, and other people. Grinding sparks travel farther than most people expect and can smolder in clothing or debris for minutes before igniting.
FAQs
What is the best way to grind a weld flat?
The best way to grind a weld flat is a multi-stage process using progressively finer grits. Start with a 40-60 grit flap disc for bulk stock removal, switch to 60-80 grit for blending, then finish with 120 grit or a surface conditioning disc. Keep the grinder moving, use light pressure, and let the abrasive do the cutting to avoid overheating.
How to control overheating of metal being welded?
To control overheating while grinding, let the abrasive do the work without pushing hard. Keep the tool in constant motion to distribute heat, work in short bursts on thin material, and watch for discoloration as an early warning sign. Using the correct grit progression also prevents the abrasive from glazing and generating excess friction heat.
Does grinding a weld flat weaken it?
Grinding a weld flat does not weaken it if done correctly. However, excessive grinding that removes too much weld material or overheats the metal can thin the joint and damage the heat-affected zone. Grind only to remove the weld crown flush with the base metal and avoid gouging into the parent material.
How to flatten out welds?
Flatten welds by working through a grit progression: coarse grit (40-60) to remove the crown, medium grit (60-80) to blend into the base metal, and fine grit (120) to finish. Use a flat T27 flap disc for even pressure, check your progress frequently by feel, and stop when the weld is flush without gouging the surrounding surface.
What is the best thing to grind welds with?
A 4.5-inch angle grinder with flap discs is the best tool for most weld grinding. Use a T29 flap disc for aggressive stock removal and a T27 for blending and finishing. For tight corners and fillet welds, a die grinder with a carbide burr or cartridge rolls works best.
Conclusion
Learning how to grind and dress a weld flat without overheating the metal comes down to three things: the right grit progression, light and consistent pressure, and keeping the tool moving at all times. The abrasive is designed to cut on its own — your job is to guide it, not force it.
Choose your abrasives for the material you are working on, work through each grit stage without skipping, and stop the moment you see discoloration. Do that consistently and your welds will come out flat, clean, and structurally sound every time.