
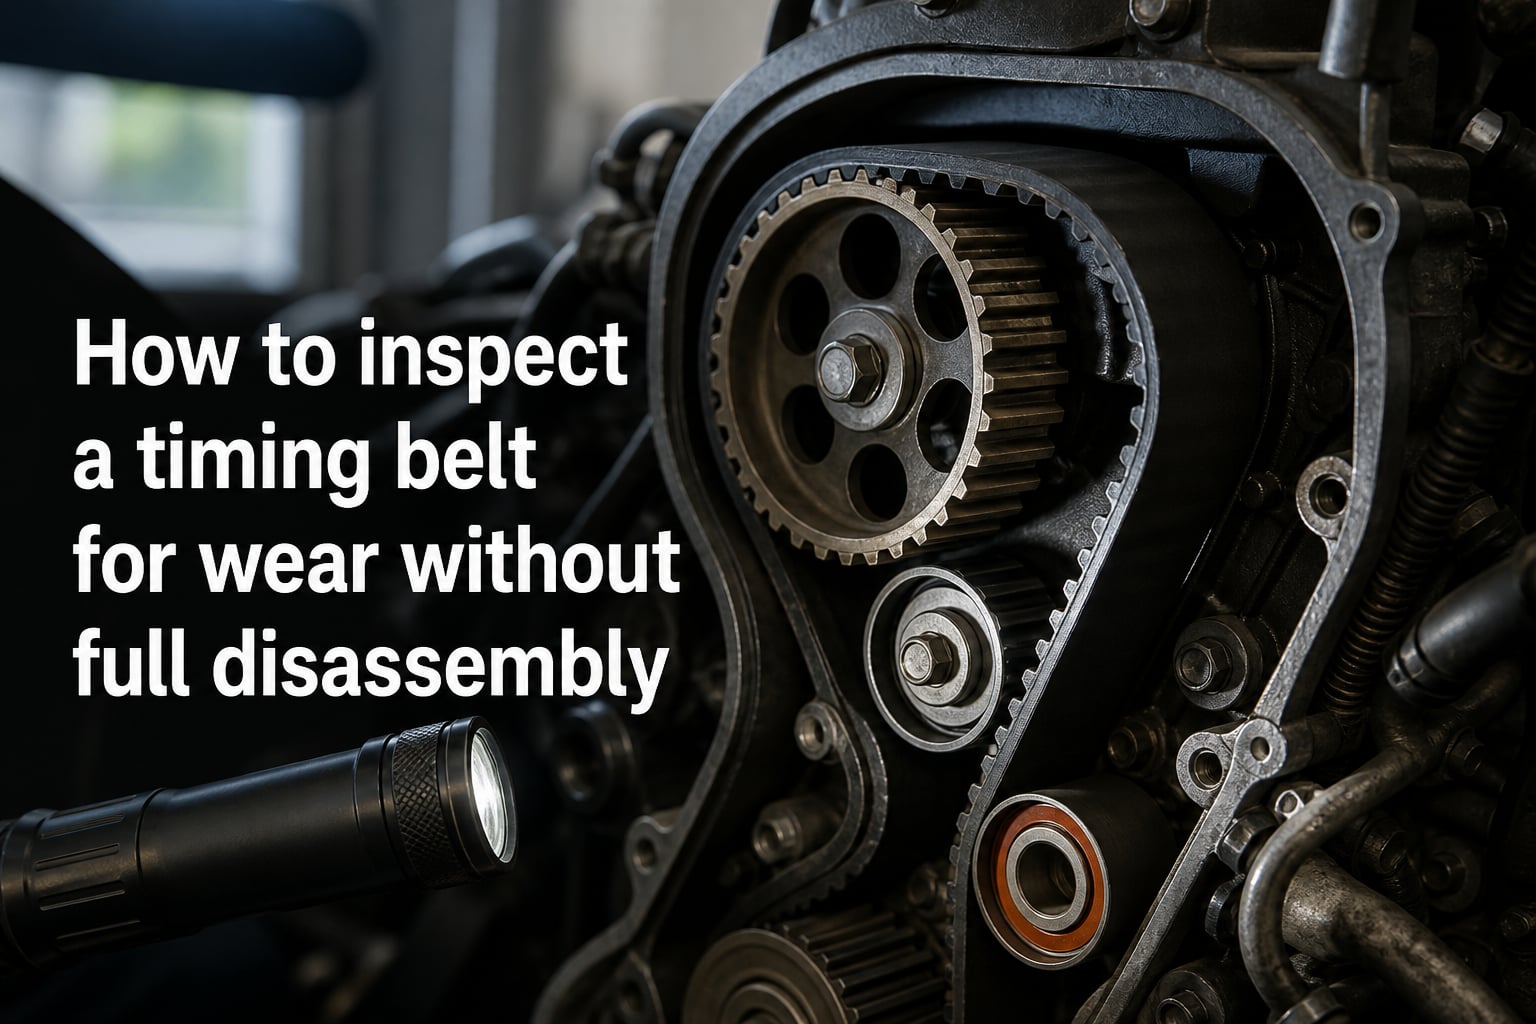
I learned the hard way that timing belts don’t always give a friendly warning before they snap. Back in 2019, I bought a used Honda Civic with 89,000 miles and skipped the timing belt check. Six months later, the belt shredded on the interstate and I was staring at a $4,200 engine rebuild. That moment turned me into someone who inspects timing belts before anything else on a high-mileage car.
If you want to know how to inspect timing belt for wear without disassembly, this guide will walk you through the same techniques I’ve used on dozens of vehicles since then. You won’t need to pull the engine apart. You’ll use sight, sound, and a few inexpensive tools to assess belt condition in under 30 minutes.
Table of Contents
Why Timing Belt Inspection Matters?
A timing belt is a reinforced rubber belt that synchronizes your crankshaft and camshaft. It keeps valves opening and closing in perfect rhythm with piston movement. When that belt fails, interference engines bend valves and destroy pistons in seconds.
The scary part is that timing belt failure often comes without warning. A study by Gates showed nearly 40% of timing belt failures happen before the recommended replacement interval because of contamination, improper tension, or skipped inspections. That’s why regular checks matter as much as the replacement itself.
Inspection without full disassembly saves you hours of teardown. Most timing belts sit behind a plastic or metal cover, but many vehicles have access panels, sight holes, or open designs that let you see the belt directly. Even fully covered belts can often be checked by removing just a few bolts instead of dismantling half the engine bay.
What a Timing Belt Does and Why It Wears Out?
The timing belt loops around the crankshaft pulley, camshaft pulley, and one or more idler or tensioner pulleys. It transfers rotational force while maintaining precise timing. The belt has teeth on the inner surface that mesh with pulley grooves, which is why skipping teeth or stretched belts cause engine timing errors.
Timing belts wear from three main sources:
Heat cycling from engine operation
Rubber degradation from age and ozone exposure
Mechanical stress from tension and pulley contact
Oil leaks are the silent killer. A small front main seal leak or valve cover gasket drip can contaminate the belt and cut its lifespan in half. I always check for oil residue around timing covers because it’s the single most common cause of premature belt failure I’ve seen in the field.
Tools You Need for Non-Disassembly Inspection
You don’t need a full garage to inspect a timing belt. Here’s what I keep in my inspection kit:
Bright LED flashlight or inspection light
Smartphone with a good camera and flashlight function
Optional USB borescope or endoscope camera ($15-30 online)
Mechanic’s mirror or telescoping inspection mirror
Basic socket and screwdriver set for cover bolts
Clean lint-free rags
Notebook or phone camera to document findings
The borescope is the secret weapon. I bought a 5.5mm waterproof USB endoscope for $22 and it has paid for itself many times over. You can slide it through timing cover gaps, rubber seals, or access holes to capture video of the belt without removing anything.
Total cost for this toolkit runs $30-50 if you start from scratch. Compare that to a shop inspection fee of $80-150 and the value is obvious.
How to Inspect a Timing Belt Through Limited Access Points?
Most timing belts hide behind a cover, but you rarely need to remove the entire cover. Here’s the step-by-step process I use:
Step 1: Locate the Timing Cover and Access Points
Pop the hood and identify the timing cover. It’s usually a plastic or metal shroud on the front of the engine, often covering the area between the crankshaft pulley and the cylinder head. Many vehicles have a small round inspection hole plugged with a rubber cap or plastic plug.
Check your service manual or a quick YouTube search for your specific model. On Toyota Camrys, for example, there’s typically a 1-inch access plug on the upper timing cover. On Honda Accords, the lower cover often has removable sections.
Step 2: Remove Just What’s Necessary
You don’t need to pull the whole cover off. Often you can remove:
Access plug or inspection cap
Upper timing cover bolts only (leave lower attached)
Drive belt or accessory belt if it blocks sight lines
On most engines, this means removing 2-4 bolts instead of 8-12. The lower cover usually stays put because the crankshaft seal area needs protection from debris.
Step 3: Illuminate and Photograph the Belt
Shine your flashlight through the opening and look for the belt surface. Take photos from multiple angles using your smartphone. Zoom in on suspicious areas. The belt should look matte black with clearly defined teeth.
If you can’t get a clear line of sight, insert the borescope through any gap. I’ve inspected belts through the gap between the cover and engine block, around rubber seals, and even through the crankshaft pulley opening on some engines.
Step 4: Check Belt Tension by Sight and Feel
With the engine off, press on the belt between pulleys with your finger. It should have about 1/4 to 1/2 inch of give when pushed firmly. Too tight means a failing tensioner. Too loose means a worn tensioner or stretched belt.
Rotate the crankshaft by hand using a socket on the crank bolt and watch the belt travel. It should track perfectly centered on each pulley. Any wobble, misalignment, or visible irregular motion means a pulley or tensioner problem that will destroy the belt early.
Signs of Timing Belt Wear to Look For
Once you can see the belt, here’s your inspection checklist. Any one of these means replacement is due soon. Multiple signs mean replace immediately.
Surface Cracks
Look at the back (smooth side) of the belt first. Hairline cracks across the surface indicate dry rot and aging. If you see multiple cracks or any cracks deeper than 1mm, the belt is past its service life. Fresh belts should look smooth and supple, almost like new rubber.
Fraying or Missing Threads
Timing belts have reinforcement cords inside. When those start failing, the edges fray and you’ll see loose threads or fuzz along the belt sides. This is a critical warning sign because it means the belt’s structural integrity is compromised.
Glazing or Shiny Spots
A healthy belt looks matte. Glazing appears as smooth, shiny patches where the belt has been slipping or wearing unevenly against pulleys. Glazed spots feel glassy to the touch and indicate the rubber has hardened beyond its useful range.
Missing or Rounded Teeth
Inspect the tooth profile carefully. Teeth should be square-edged and uniform. Rounded tooth tips, missing chunks of teeth, or visible cracking between teeth all signal failure. A missing tooth means the belt has already skipped timing at some point.
Discoloration or Contamination
Oil contamination shows up as dark wet patches or a greasy sheen. Coolant leaks leave whitish or greenish residue. Either contamination dramatically shortens belt life. If you spot contamination, find and fix the leak before installing a new belt, or the new one will fail early too.
Belt Stretch or Cracking Between Teeth
Look for transverse cracks running across the belt width between teeth. These indicate the belt is stretching and the rubber compound is failing. Combined with visible slack, this means the belt is at end of life.
Engine Symptoms That Signal Belt Trouble
You can diagnose timing belt issues by sound and performance even before physical inspection. Here are the symptoms that tell me to check a belt immediately:
Ticking or Tapping Noise on Startup
A rapid ticking that disappears after a few seconds often means the belt has stretched and is momentarily skipping teeth until the tensioner compensates. This is especially common in cold weather when belts are stiffest.
Squealing During Acceleration
While often confused with accessory belts, a worn timing belt can produce a higher-pitched squeal under load. This happens when glazing reduces grip or when the belt slips on the camshaft pulley.
Rough Idling or Misfires
If the belt has stretched enough to alter timing by even a few degrees, the engine will run rough, misfire, or trigger a check engine light with camshaft correlation codes. P0016, P0017, and P0018 are common codes for this issue.
Decreased Power and Fuel Economy
A stretched belt that allows timing drift costs you power and fuel. If your normally peppy engine feels sluggish without other explanation, the timing belt is one of the first things I’d inspect.
Visible Exhaust Smoke
While less common, timing issues can cause unburned fuel to enter the exhaust, creating black smoke. If you see smoke alongside performance issues, suspect the belt.
When to Replace Your Timing Belt?
Inspection tells you the current condition. Replacement intervals tell you the timeline. You need both for a complete picture.
Most manufacturers recommend timing belt replacement every 60,000 to 100,000 miles, with some going to 120,000. The exact interval depends on your engine, driving conditions, and belt quality. Check your owner’s manual for the manufacturer recommendation.
Replace immediately if you see:
Any missing teeth
Multiple deep cracks
Frayed edges or loose threads
Heavy glazing across more than 25% of the belt
Any oil or coolant contamination
Visible stretching with belt sag beyond specification
Schedule replacement soon, within 6 months, if you see hairline surface cracks on a high-mileage belt, minor glazing, or if you’re within 10,000 miles of the recommended interval and the belt shows any age-related wear.
If the belt looks clean and you’re well below the replacement interval, keep driving and inspect again at your next oil change. Visual inspection every 30,000 miles is a good practice for peace of mind.
One more tip: when a timing belt is replaced, the water pump, tensioner, and idler pulleys should be done at the same time. They have similar service lives and the labor is already included in the job. Skipping this is a common mistake that costs more in the long run.
Frequently Asked Questions
Can you check the timing belt without removing it?
Yes, you can inspect a timing belt without removing it by using access holes, removing only the upper timing cover, or using a borescope camera through existing gaps. Most vehicles allow partial access with just 2-4 bolts removed.
What are the signs of a worn timing belt?
Visible signs include surface cracks, fraying edges, glazing or shiny spots, missing or rounded teeth, oil contamination, and belt stretching. Audible signs include ticking on startup, squealing under load, and rough idling.
How to check timing belt tension?
With the engine off, press the belt between pulleys with firm finger pressure. It should deflect about 1/4 to 1/2 inch. Too tight indicates a failing tensioner. Too loose means a worn tensioner or stretched belt that needs replacement.
Can a timing belt last 100,000 miles?
Many modern timing belts are rated for 90,000 to 100,000 miles under ideal conditions. However, heat, oil contamination, and driving conditions can shorten this significantly. Always follow your manufacturer’s recommended interval.
How to see if a timing belt is worn?
Inspect the belt’s back surface for cracks, check edges for fraying, look for shiny glazed spots, and examine teeth for rounding or missing chunks. Photograph the belt with a flashlight and smartphone to document any concerning wear patterns.
Final Thoughts on Timing Belt Inspection
Learning how to inspect timing belt for wear without disassembly puts you ahead of most car owners. A 20-minute visual check every oil change can save you thousands in engine damage and give you confidence in older vehicles.
Start with the basics: flashlight, phone camera, and a careful look through any access hole your engine offers. Add a borescope when you’re ready to step up your game. Document what you find so you can compare at the next inspection.
And remember, inspection is only half the job. Know your replacement interval, address oil leaks promptly, and don’t gamble with a belt that’s showing multiple wear signs. The peace of mind alone is worth the effort.