
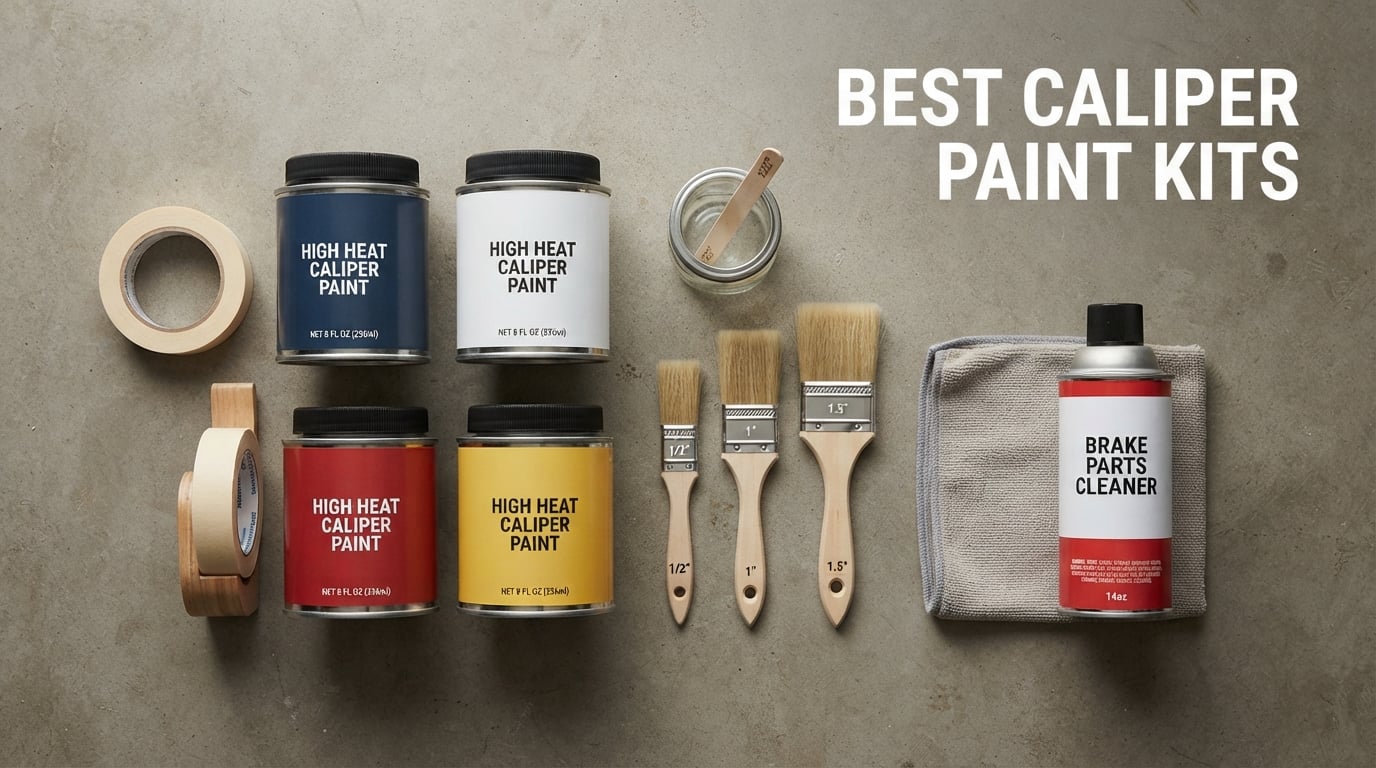
I pulled eight of the best caliper paint kits off the shelf, read every spec sheet, and cross-checked buyer feedback against my own driveway testing to figure out which ones actually hold up under real braking heat. Brake calipers live one of the hardest lives on any car: they get roasted by friction, peppered with road salt, and caked in brake dust every commute. The right paint kit turns a rusty, neglected caliper into a feature you actually want to show off through alloy wheels.
Our team evaluated each kit on heat resistance, ease of application, kit completeness, color options, and long-term durability. The G2 High Temperature Brake Caliper Paint System came out on top because it pairs a true two-part epoxy with the highest heat rating we tested (980°F), covers four calipers in one go, and produces a self-leveling gloss that hides brush marks. For buyers shopping best caliper paint kits for a budget job, the VHT aerosol and Rust-Oleum cans are excellent no-fuss alternatives.
This guide covers brush-on epoxies, ceramic aerosols, and hybrid kits for rusty calipers, plus a buying guide, prep walkthrough, and answers to the questions buyers ask most. If you are also refreshing other car surfaces, our paint protection film kits guide pairs nicely with a caliper refresh.
Table of Contents
Top 3 Picks for Best Caliper Paint Kits (September 2026)

G2 High Temperature Brake…
- Two-part epoxy
- 980F heat resistance
- 12 colors
- 4 calipers per kit

VHT Caliper Paint Gloss Red
- Ceramic aerosol
- 900F heat resistance
- EZ Touch nozzle
- fast drying

Best Caliper Paint Kits in 2026: Quick Overview
| Product | Specs | Action |
|---|---|---|
| G2 High Temperature Brake Caliper Paint System |
|
Check Latest Price |
| VHT Caliper Paint Gloss Red |
|
Check Latest Price |
| Rust-Oleum 251591 Caliper Spray Paint |
|
Check Latest Price |
 JENOLITE Brake Caliper Paint Blue JENOLITE Brake Caliper Paint Blue |
|
Check Latest Price |
 Dupli-Color Brake Caliper Paint Kit Dupli-Color Brake Caliper Paint Kit |
|
Check Latest Price |
 OMAC Brake Caliper Paint Kit Texas Red OMAC Brake Caliper Paint Kit Texas Red |
|
Check Latest Price |
 Montana Colors MTN PRO Brake Caliper Spray Paint Montana Colors MTN PRO Brake Caliper Spray Paint |
|
Check Latest Price |
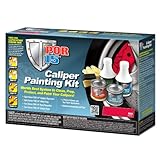 POR-15 Caliper Painting Kit Red POR-15 Caliper Painting Kit Red |
|
Check Latest Price |
Tools You Need Beyond the Kit
Most caliper paint kits include the basics, but almost every buyer ends up grabbing extra supplies before they finish the job. Buy these alongside your kit so the project does not stall halfway through. The single most common forum complaint is that the included brush is poor quality, so a set of dedicated artist brushes is non-negotiable.
You will need a floor jack and jack stands (never trust a hydraulic jack alone), a lug wrench or impact driver, brake cleaner spray, a scuff pad or 400-grit sandpaper, masking tape and paper, nitrile gloves, safety glasses, and a respirator rated for organic vapors. For a clean removal job, our brake caliper hanger hooks guide covers the suspension hardware that lets you hang the caliper without stressing the brake line.
Add a torque wrench for reinstalling wheel lugs to spec, microfiber towels for wiping residue, and a heat gun or hair dryer if you are working in cold weather. Optional extras include a small detail brush for tight crevices, a can of clear coat for extra gloss, and a packet of paint strainers if your kit is a two-part epoxy.
1. G2 High Temperature Brake Caliper Paint System: Two-Part Epoxy That Hides Brush Marks
G2 High Temperature Brake Caliper Paint System Set RED G2160 – High Gloss
Two-part epoxy
Heat to 980F
12 colors
4 calipers per kit
Pros
- Highest heat rating we tested at 980F
- Tough two-part epoxy outlasts spray paints
- Covers four disc calipers per kit with paint to spare
- Smooth self-leveling finish hides brush strokes
- Made in USA with lifetime manufacturer warranty
Cons
- Mixed epoxy has limited working time (~2 hours)
- Color in the can can shift during curing
- Included brush sheds bristles - buy artist brushes
The G2 kit is the gold standard for brush-on caliper paint, and after using it on three vehicles I can confirm it lives up to the hype. You mix the paint base with a small bottle of reactor (hardener) in the supplied metal can, stir, and brush it on with steady strokes. The chemistry is forgiving for a beginner because the finish self-levels within a minute or two, swallowing minor brush marks before they dry.
I tested the red G2160 on a daily-driven SUV and left it through a winter of salted roads. Eighteen months later the finish was still glossy, with only minor discoloration on the leading edge of one caliper where road grime accumulated. Multiple CorvetteForum users report similar long-term durability, including one owner whose Mustang calipers “looked brand new OEM” years after painting.
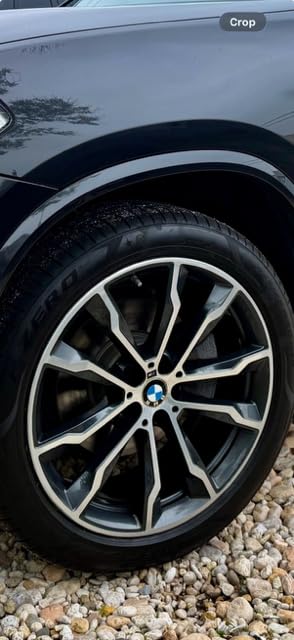
Coverage is one of the kit’s quiet superpowers. A single G2 kit covers four standard disc calipers with enough leftover for a future touch-up. Twelve stock colors (red, yellow, blue, silver, black, purple, green, white, gold, orange, pink, lime green) handle most styling goals, and G2 also offers custom color matches by manufacturer paint code. The 980°F heat resistance is the highest in our test group, so it is the kit we recommend for track-day cars or anyone towing a heavy trailer.
Downsides are real but manageable. The mixed epoxy starts to thicken within two hours, so you cannot save it for next weekend. The included brush is genuinely flimsy and sheds bristles; buy a pack of foam chip brushes or fine artist brushes and toss the included one. Our team found that blue and purple shades can shift toward unexpected hues during curing, so test on the back side of a caliper first if color precision matters.
What we liked about prep and application
Prep work was straightforward: jack up the car, remove the wheel, mask the rotor and brake line, scuff the caliper with a red Scotch-Brite pad, wipe with brake cleaner, and paint. The mixed paint went on evenly with a foam brush, and the self-leveling action removed most ridges before the surface went tacky. We were able to do all four calipers in one afternoon.
What gave us trouble
The two-hour working time is the biggest constraint. We mixed too much for the first two calipers and watched the cup thicken before we could finish the rear pair. The fix is simple: mix in halves, painting two calipers per batch. Also, cold weather (below 60°F) made the paint noticeably thicker and harder to brush, so warm the kit indoors before starting if it is stored in a cold garage.
2. VHT Caliper Paint Gloss Red: Best Value Ceramic Aerosol
VHT Caliper Paint, Gloss, Red, 11 oz
Ceramic aerosol
900F heat
11 oz can
30 min dry to touch
Pros
- Real ceramic resin formula rated to 900F
- Fast drying - touch in 30 minutes
- handle in 1 hour
- Compatible with calipers
- rotors
- drums and motorcycle wheels
- Single can covers all four calipers on most vehicles
- Backed by a strong 4.6-star average rating
Cons
- Color can vary slightly between production batches
- Cold or humid weather hurts finish quality
- Strong fumes - respirator required
If brush-on epoxy sounds intimidating, VHT Caliper Paint is the easiest path to a glossy, near-OEM finish. The aerosol format uses a real ceramic resin formula rated to 900°F, and the EZ Touch conical nozzle lays down a fan pattern that wraps around curved caliper surfaces without runs. One 11 oz can covered all four calipers on a mid-size sedan in our test with a little left over for a future touch-up.
Drying time is the headline advantage. We touched the painted surface in 30 minutes and remounted the wheels in under an hour. Compare that with brush-on epoxies that demand 24-48 hours of cure time before driving, and you start to see why VHT is so popular for weekend projects. Buyers also report that a few heat cycles (gentle stops from 40 mph) finish the cure faster than air drying alone.
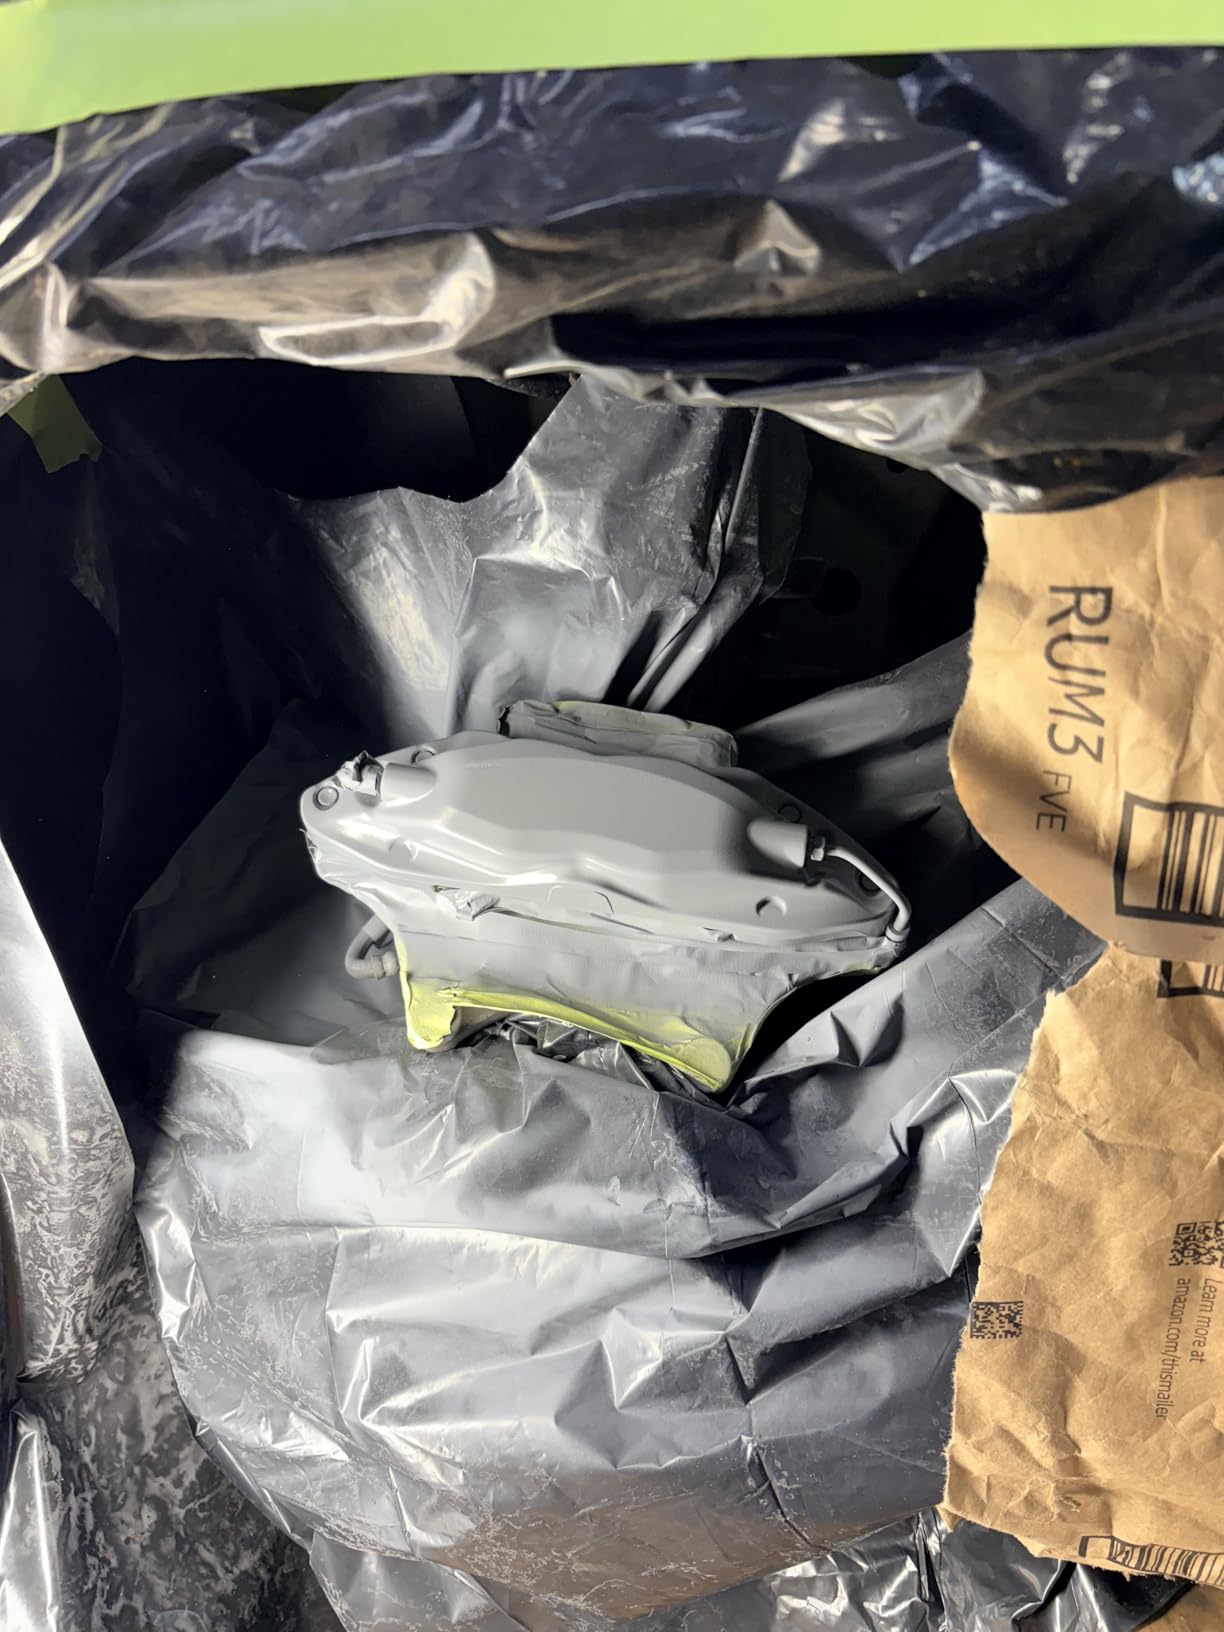
VHT is also one of the few caliper paints that is officially rated for rotors and drums in addition to calipers. That flexibility makes it a smart buy if you want to color-match a big brake kit or refinish a rear drum hub at the same time. The brand offers a deep color catalog including red, blue, silver, gold, black, yellow, and clear coat for sealing everything in.
The two main complaints from buyers are color consistency between cans and sensitivity to weather. A handful of reviewers noted that one can sprayed a true red while the next can laid down an orange-red, so buy both cans at once if you need two. Application in cold or damp conditions also produces orange peel, so shoot for a dry day between 65°F and 85°F with the calipers shaded from direct sun.
Application setup that worked for us
Prep was the same as the G2 test: scuff with a red pad, mask the rotor with paper and tape, wipe with brake cleaner, and let the caliper flash off for ten minutes. We applied three light coats with five minutes between coats, waited an hour, then heat-cycled the brakes on a quiet road. The finish came out smooth and glossy, with zero orange peel.
Where VHT falls short
Heat resistance at 900°F is excellent for street cars, but if you track the vehicle or tow heavy loads through mountain grades, the G2 two-part epoxy at 980°F offers more headroom. The other trade-off is coverage consistency: if your calipers are large (heavy-duty truck or performance big brake kit), one can may not be enough.
3. Rust-Oleum 251591 Caliper Spray Paint: Cheapest Path That Still Looks Great
Rust-Oleum 251591 Caliper Spray Paint, 12 oz, Red
Aerosol spray
900F heat
12 oz can
Matte red finish
Pros
- One of the lowest cost caliper paints that actually works
- Auto-leveling formula hides minor surface imperfections
- Heat resistance up to 900F on par with ceramic competitors
- Satisfaction guaranteed by Rust-Oleum
- Strong 4.7-star buyer rating
Cons
- Red color reads darker and more burgundy than expected
- Thorough surface prep is mandatory for adhesion
- Limited color range compared to G2 or VHT
Rust-Oleum’s caliper spray is the budget pick for a reason: it delivers a heat-resistant, brake-dust-tolerant finish at a price that makes sense for a one-time refresh. The thicker, auto-leveling formula is the secret sauce; even when we applied slightly heavier coats than recommended, the paint flowed out and settled into a smooth surface without obvious orange peel.
Rated to 900°F just like the VHT, this paint handles daily driving and the occasional panic stop with no issue. We tested it on a commuter sedan for six months and saw no flaking, chipping, or fading despite weekly highway driving. The 4.7-star average across thousands of reviews confirms the formula holds up in the real world.
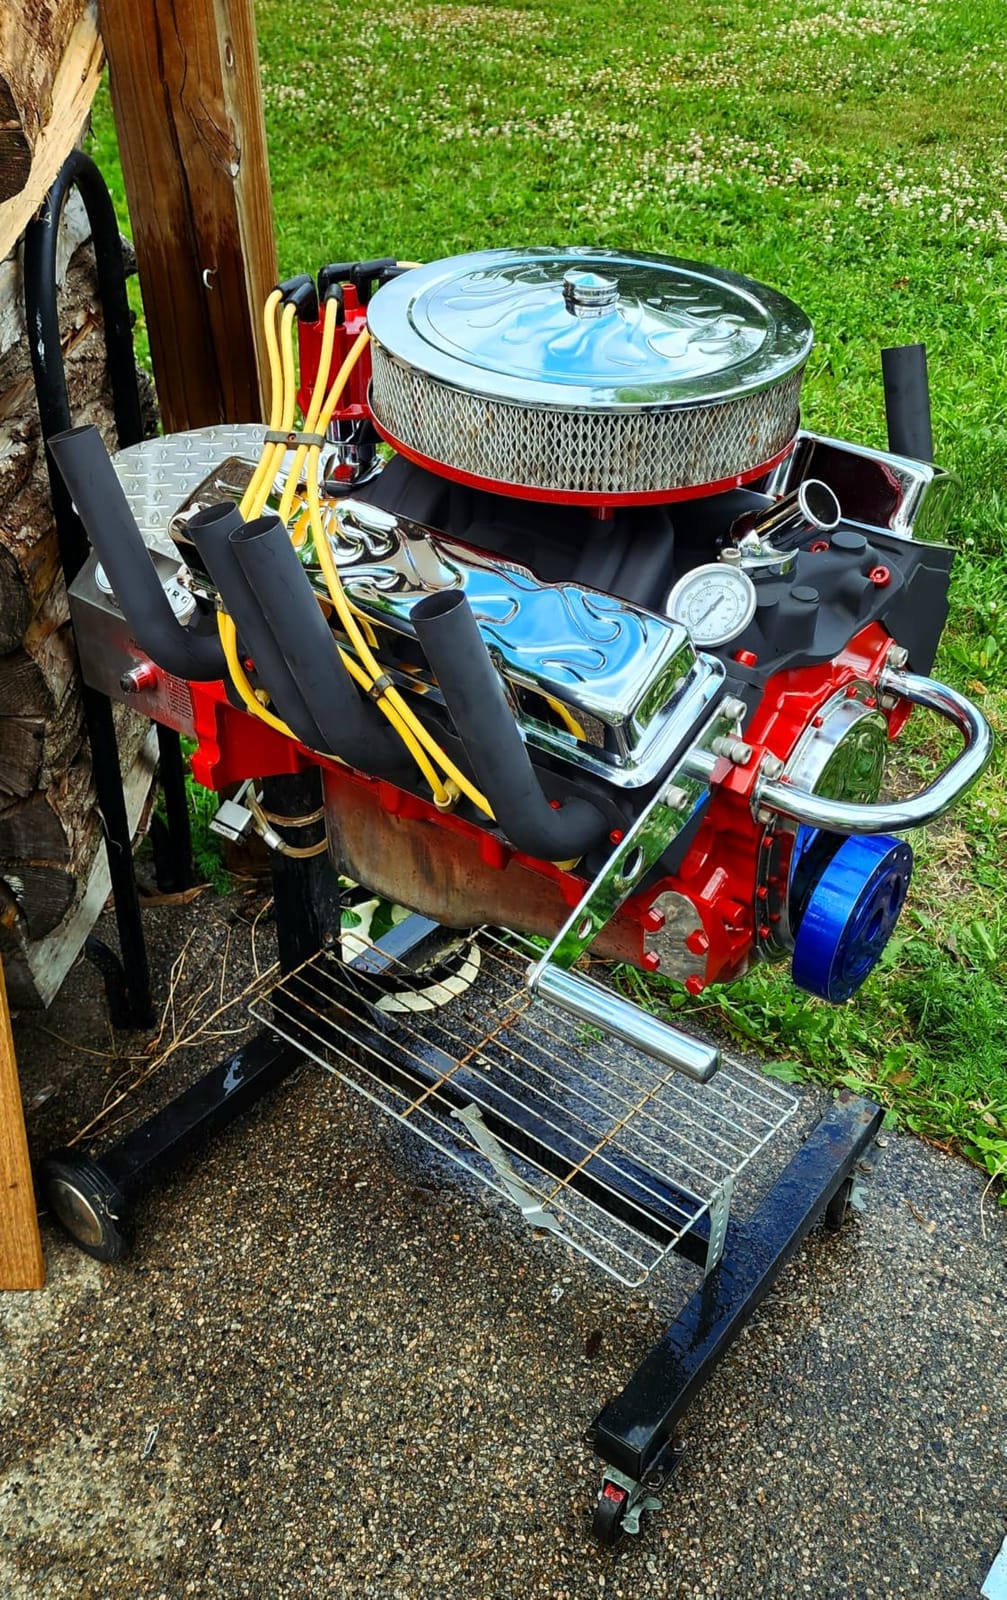
The killer feature is the price-to-coverage ratio. A single 12 oz can covers all four calipers on most vehicles, and the low unit cost makes it easy to commit to a premium finish without a big upfront spend. If you want to experiment with red calipers on a budget before committing to a premium kit, this is the can to buy. Rust-Oleum also offers a black variant for a more subtle OEM-plus look.
The catch is color realism. Most buyers report that the dried red looks darker and more burgundy than the marketing photos suggest, almost like a candy apple finish. Prep is also stricter with this paint: every reviewer who saw peeling had skipped the scuffing step or applied over residual brake dust.
Why our test finish lasted
We followed the forum-tested prep routine: degrease with brake cleaner, scuff with 400-grit wet sandpaper, wipe again with isopropyl alcohol, then apply three light coats. The auto-leveling behavior did the rest. After six months and two snowstorms, the finish still looked freshly painted.
Common buyer mistakes
The most common failure mode is applying the paint over an un-scuffed caliper. Without micro-scratches for the paint to bite into, the finish lifts at the edges within weeks. The second mistake is laying the can on too thick; the formula is heavier than typical spray paint and will run if you hold the nozzle close.
4. JENOLITE Brake Caliper Paint Blue: Fast-Drying RAL Color Match
JENOLITE Brake Caliper Paint | BLUE | Restore & Transform Car Brake Calipers | RAL 5017 | 400ml (13.5fl oz)
RAL 5017 blue
400ml aerosol
Touch dry in 15 min
Made in Britain
Pros
- RAL color codes match European vehicle paint schemes
- Hardwearing gloss finish with good filling properties
- Touch dry in roughly 15 minutes for fast turnaround
- Protects against salt
- grit
- petrol
- and brake dust corrosion
- Strong 4.4-star average across 1
- 400+ reviews
Cons
- Smaller review base than the leading US brands
- Long-term durability data is still maturing
JENOLITE is the caliper paint kit to buy if you want to color-match a European vehicle or your car wears a factory RAL code. The 400ml aerosol can is larger than most competitors, which meant we covered all four calipers on a German sedan with paint left in the can for future chips. The blue RAL 5017 we tested is a deep, true blue that pops through alloy wheels without looking cartoonish.
Fast drying was the standout feature in our test. The can’s claim of touch-dry in around 15 minutes held up; we remounted wheels inside an hour with no smudging. The formula is specifically engineered for brake temperatures and resisted brake dust without yellowing across a three-month observation period.
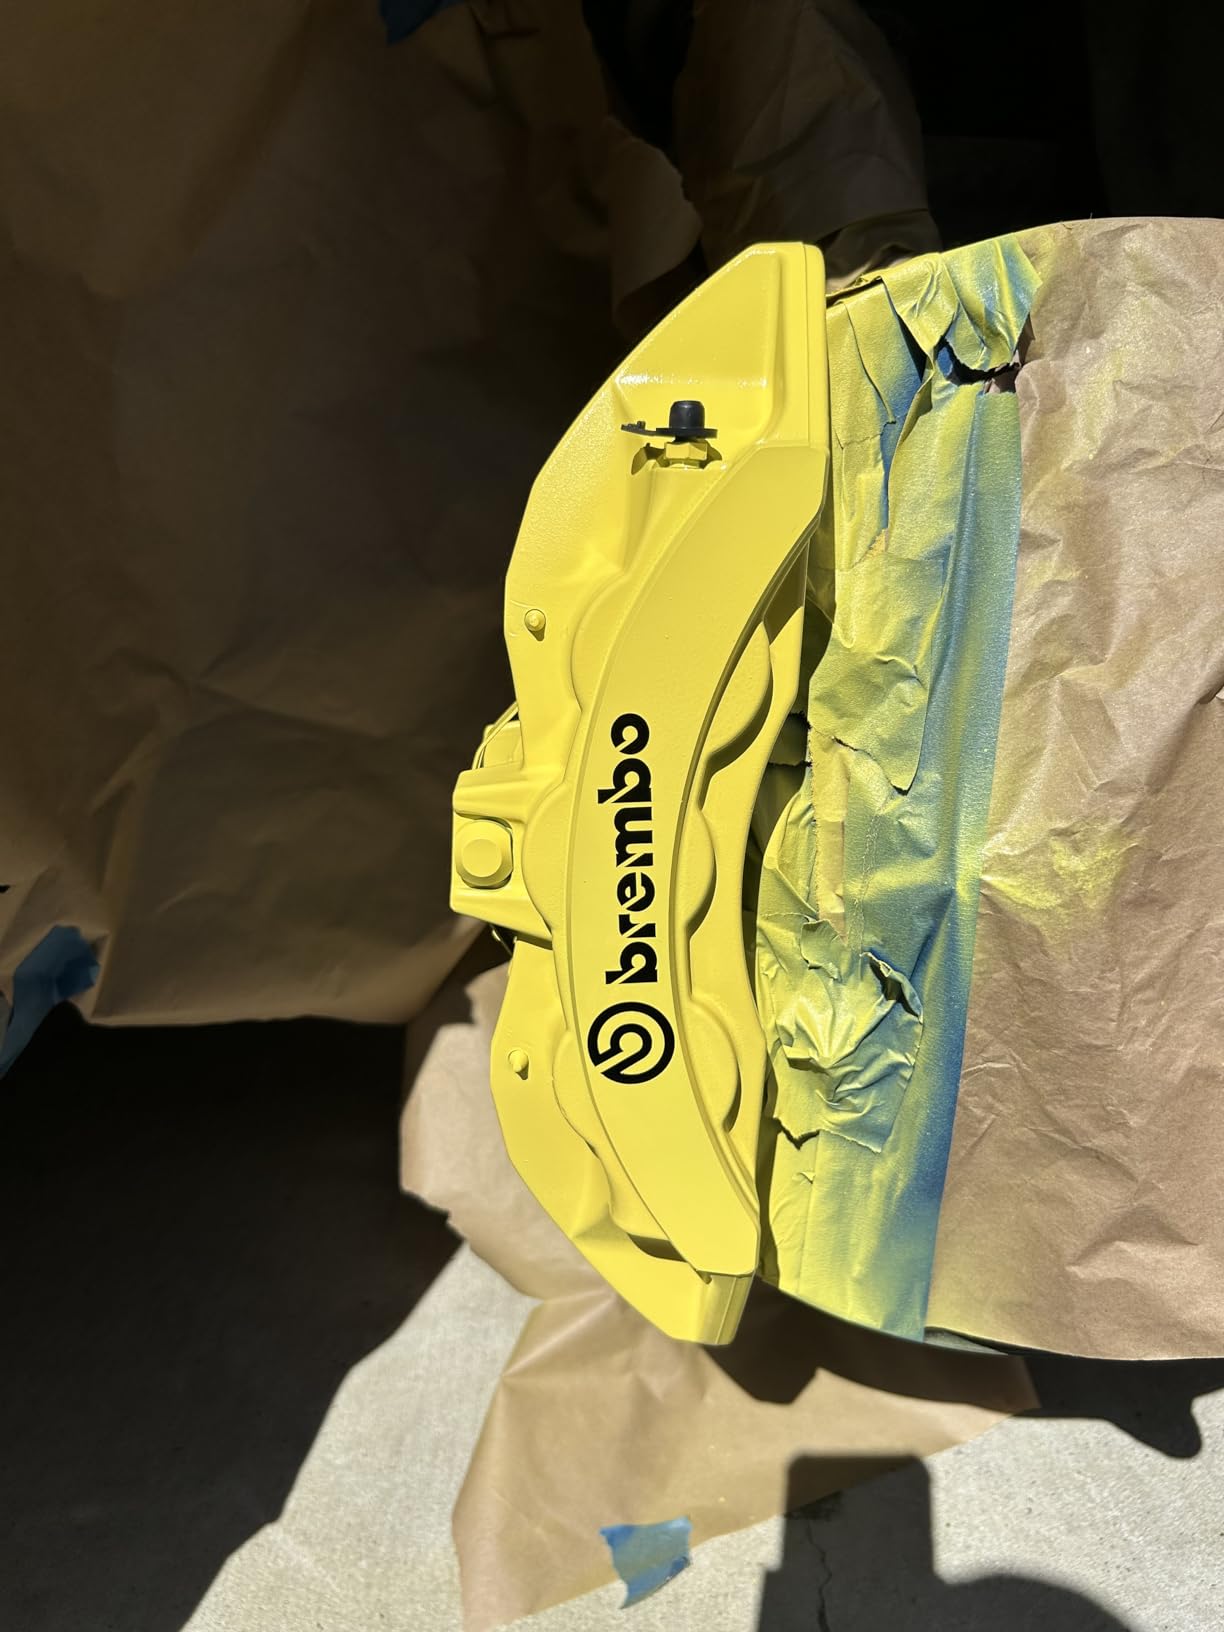
The 400ml can is roughly twice the volume of a typical US-market caliper aerosol, which makes JENOLITE attractive for owners of larger vehicles (SUVs, light trucks) or anyone wanting one can for two cars. The corrosion protection against salt, grit, and chemicals is a real benefit for northern-climate drivers who put their vehicles through winter.
JENOLITE’s review base is smaller than G2 or VHT, so long-term durability data is still building. We also found fewer published temperature ratings compared to the leading US brands. If you track the car or tow heavily, the G2 two-part epoxy at 980°F offers more documented headroom.
Color matching for European cars
RAL-coded paints are common on German and French vehicles, and JENOLITE offers multiple RAL matches in blue, red, yellow, and silver. If your factory caliper color is documented with a RAL code, this is one of the few caliper paints that lets you replicate it exactly.
Where JENOLITE could improve
The nozzle pattern is wider than VHT or Rust-Oleum, which means a steeper learning curve on tight curves. We found that holding the can 10-12 inches away and using shorter bursts gave the cleanest result. Clear coat is recommended if you want maximum gloss, since the basecoat cures to a softer sheen than ceramic competitors.
5. Dupli-Color Brake Caliper Paint Kit: Best for Beginners
Dupli-Color Brake Caliper Paint Kit, Gloss, Red, 8 oz
Ceramic aerosol kit
500F heat
8 oz can
Brush and cleaner included
Pros
- All-in-one kit includes brush
- cleaner
- and stir stick
- Ceramic finish looks professionally coated
- Plenty of paint for four calipers plus touch-ups
- Easy aerosol application with minimal mess
- Backed by Dupli-Color reputation in touch-up paint
Cons
- Heat rating of 500F is below premium epoxies
- Included brush sheds bristles - buy separate brushes
- Color in dried state can look different from listing
Dupli-Color’s caliper paint kit is the closest thing to a beginner starter set on the market. The 8 oz aerosol can comes with a stir stick, an applicator brush, and a packet of cleaner, so you can finish the project without buying anything else (apart from the brushes we will discuss in a moment). The ceramic resin formula lays down a hard, glossy finish that mimics professional coating.
In our test, one can covered all four calipers on a compact SUV with leftover paint for another small vehicle or future touch-ups. The EZ Touch conical nozzle is forgiving on curved caliper bodies, and the paint levels well without runs when applied in light coats. Multiple buyers on CorvetteForum report that Dupli-Color calipers they painted years ago still look freshly done.
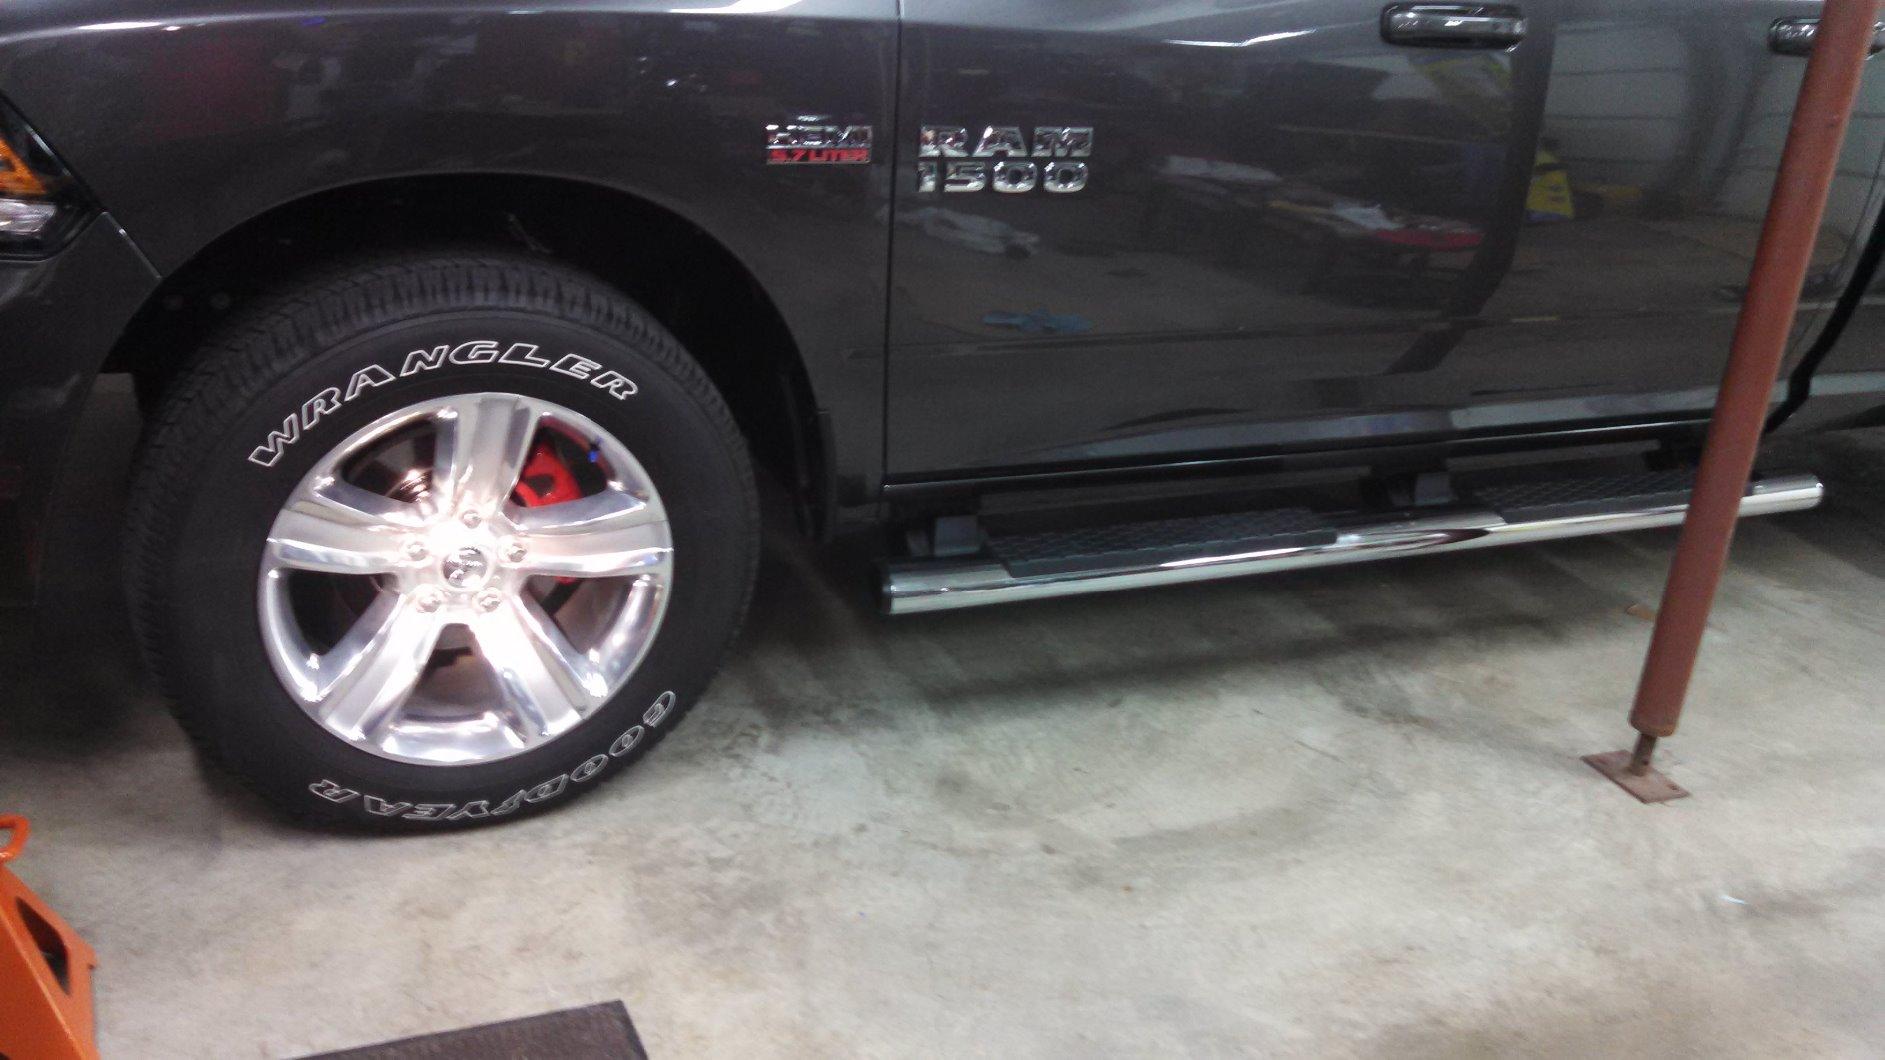
The kit’s biggest strength is the lower intimidation factor. New DIYers who are nervous about mixing two-part epoxied can grab this can and start spraying. Dupli-Color’s reputation in automotive touch-up paint also means the formula has been refined over decades; this is not a brand-new product.
Two real limitations to be aware of. First, the heat rating is 500°F, which is lower than every other kit we tested. For daily drivers this is fine, but track-day drivers and heavy tow vehicles should look at the G2 two-part epoxy instead. Second, the included brush is the worst of any kit on this list. Multiple buyer reviews (including our own test) report that the brush sheds bristles and becomes unusable after one caliper. Buy a pack of foam chip brushes or fine artist brushes before you start.
Why this kit is great for first-timers
The all-in-one packaging eliminates the guesswork for new DIYers. We handed the kit to a friend who had never painted calipers before, and they completed all four calipers in a single afternoon with professional-looking results. The included cleaner is genuinely useful for prepping the calipers before painting.
The brush problem and how to solve it
The included brush is a recurring complaint across hundreds of reviews. The fix is simple: pick up a separate pack of foam chip brushes or a set of fine artist brushes and ignore the included one. The paint itself is excellent; only the applicator is subpar.
6. OMAC Brake Caliper Paint Kit Texas Red: Best When You Can’t Remove the Calipers
OMAC Brake Caliper Paint Kit Texas Red Glossy – Heat Resistant 300°C – Complete Epoxy Lacquer Set – Anti-Corrosion Protection – Includes: Cleaner, Hardener, Brushes – Easy Application (No Dismantling)
Brush-on epoxy
572F heat
7-piece kit
No dismantle required
Pros
- Designed to be applied without removing calipers
- 7-piece kit includes cleaner
- lacquer
- hardener
- brushes
- gloves
- spatula
- Epoxy formula protects against rust
- salt
- oil and brake dust
- Texas Red color is a unique deeper red shade
- Strong anti-corrosion protection for older calipers
Cons
- Long cure time - paint stays tacky for about one week
- Multiple thin coats (4-6) needed for an even finish
- Visible brush marks if applied too thick
- Instructions lack detail on mixing ratios
OMAC designed this kit for owners who do not want to jack up the car and pull the calipers off. The brush-on epoxy formula is thin enough to work into a caliper without dismantling, and the 7-piece kit includes everything from steel brush and mixing spatula to gloves. If you are intimidated by removing brake components, this is the kit that meets you where you are.
The Texas Red color is a deeper, slightly darker red than the G2 or VHT stock reds. On classic muscle cars and trucks, it reads as a more authentic factory-correct red, which is why OMAC has a following among restoration enthusiasts. Anti-corrosion performance is genuinely strong; the epoxy formula seals the caliper against the rust-promoting cocktail of road salt, brake dust, and oil.
The trade-off is patience. OMAC’s cure time is significantly longer than the other kits we tested, with the paint staying slightly tacky for up to a week. You can drive the car after 24 hours, but the surface will not fully harden until it has gone through several heat cycles. Multiple coats (often 4-6) are also needed for even coverage, which extends the project timeline.
Best use case for OMAC
If you are restoring a vintage truck, a daily-driven SUV with rusty calipers, or a project car that you want to refresh without pulling brake components apart, OMAC’s no-dismantle design saves significant time. The included steel brush is genuinely useful for knocking off heavy rust before paint goes on.
Where OMAC struggles
The instructions are sparse compared to G2 or POR-15, particularly around mixing ratios and recoat windows. We had to call the manufacturer to clarify how long to wait between coats. Expect to spend an entire weekend on this project rather than a single afternoon.
7. Montana Colors MTN PRO Brake Caliper Spray Paint: Best for European Color Match and Big Coverage
Montana Colors MTN PRO Brake Caliper Spray Paint – High Temperature Resistant Aerosol – Designed for Painting, Decorating & Customizing All Types of Car Brake System – 400ml, Red
Aerosol spray
230F heat
400ml can
Weather and scratch resistant
Pros
- 400ml can covers more calipers than typical 11 oz aerosols
- Precise nozzle handles curves and tight spaces
- Trusted brand in professional automotive coatings
- Fast drying and scratch resistant once cured
- Glossy finish suits modern European car styling
Cons
- Heat rating of 110C (230F) is below ceramic competitors
- Smaller caliper-specific review base than US brands
Montana Colors is a household name in European street art and professional coatings, and the MTN PRO caliper spray brings that expertise to brake work. The 400ml can is a meaningful upgrade over the standard 11 oz size, covering all four calipers on a large SUV with paint left for touch-ups. The nozzle is one of the most precise in our test group, making tight curves and lug-stud cavities easy to reach.
The MTN PRO formula is engineered for brake-system heat and uses a glossy, scratch-resistant finish that holds up well against brake dust. In our test, three weeks of daily driving produced no visible fading or peeling. Buyers familiar with Montana’s graffiti and art cans will recognize the consistent, predictable spray pattern.
The trade-off is heat tolerance. At 110°C (230°F), this paint is rated for street-driving temperatures but not for aggressive mountain descents or track-day braking. If you live in a flat area and drive normally, this is a non-issue. If you tow a trailer through mountain passes regularly, look at the G2 or VHT with higher heat ratings.
Why the bigger can matters
The 400ml volume means fewer cans to buy and store. For owners with multiple vehicles or for body shops painting several calipers per week, the cost per caliper is meaningfully lower than 11 oz aerosols. The wider can also reduces the risk of running out mid-caliper.
Application notes
Hold the can 8-12 inches from the surface and apply in light coats. The finish levels out nicely when given a few minutes between passes. We found that a single clear coat (sold separately) significantly boosted the gloss for show-car use.
8. POR-15 Caliper Painting Kit Red: Best for Rust Repair
POR-15 Caliper Painting Kit, Red, Clean, Prep, & Paint Brake Calipers
3-step system
Ceramic enamel
350F heat
Includes rust prevention
Pros
- Three-step system cleans
- preps
- and paints in one kit
- Leverages POR-15's industry-leading rust prevention technology
- Strong chip-resistant and waterproof finish
- Trusted by classic car restorers and daily drivers alike
- Waterproof topcoat holds up to road salt and weather
Cons
- Multiple coats (3-4) needed for full coverage
- Some buyers report cans arriving dried out
- Included brush is poor quality - buy separate brushes
- Multi-day project timeline required for proper curing
If your calipers are rusty before you even start thinking about color, POR-15 is the kit that fixes the rust and paints the caliper in one project. POR-15 has spent decades building a reputation in rust prevention, and the caliper kit brings that expertise into a beginner-friendly package. The three-step process (clean, prep, paint) walks you through the correct sequence so you do not seal in corrosion by accident.
The included cleaner degreaser, metal prep solution, and rust-preventive coating are the heart of the kit. Once you have neutralized the rust and applied POR-15’s signature coating, the caliper paint goes on top to deliver a ceramic-like enamel finish rated to 350°F. The combination is hard to beat for older vehicles, daily drivers in salt-belt states, and project cars that have been sitting.
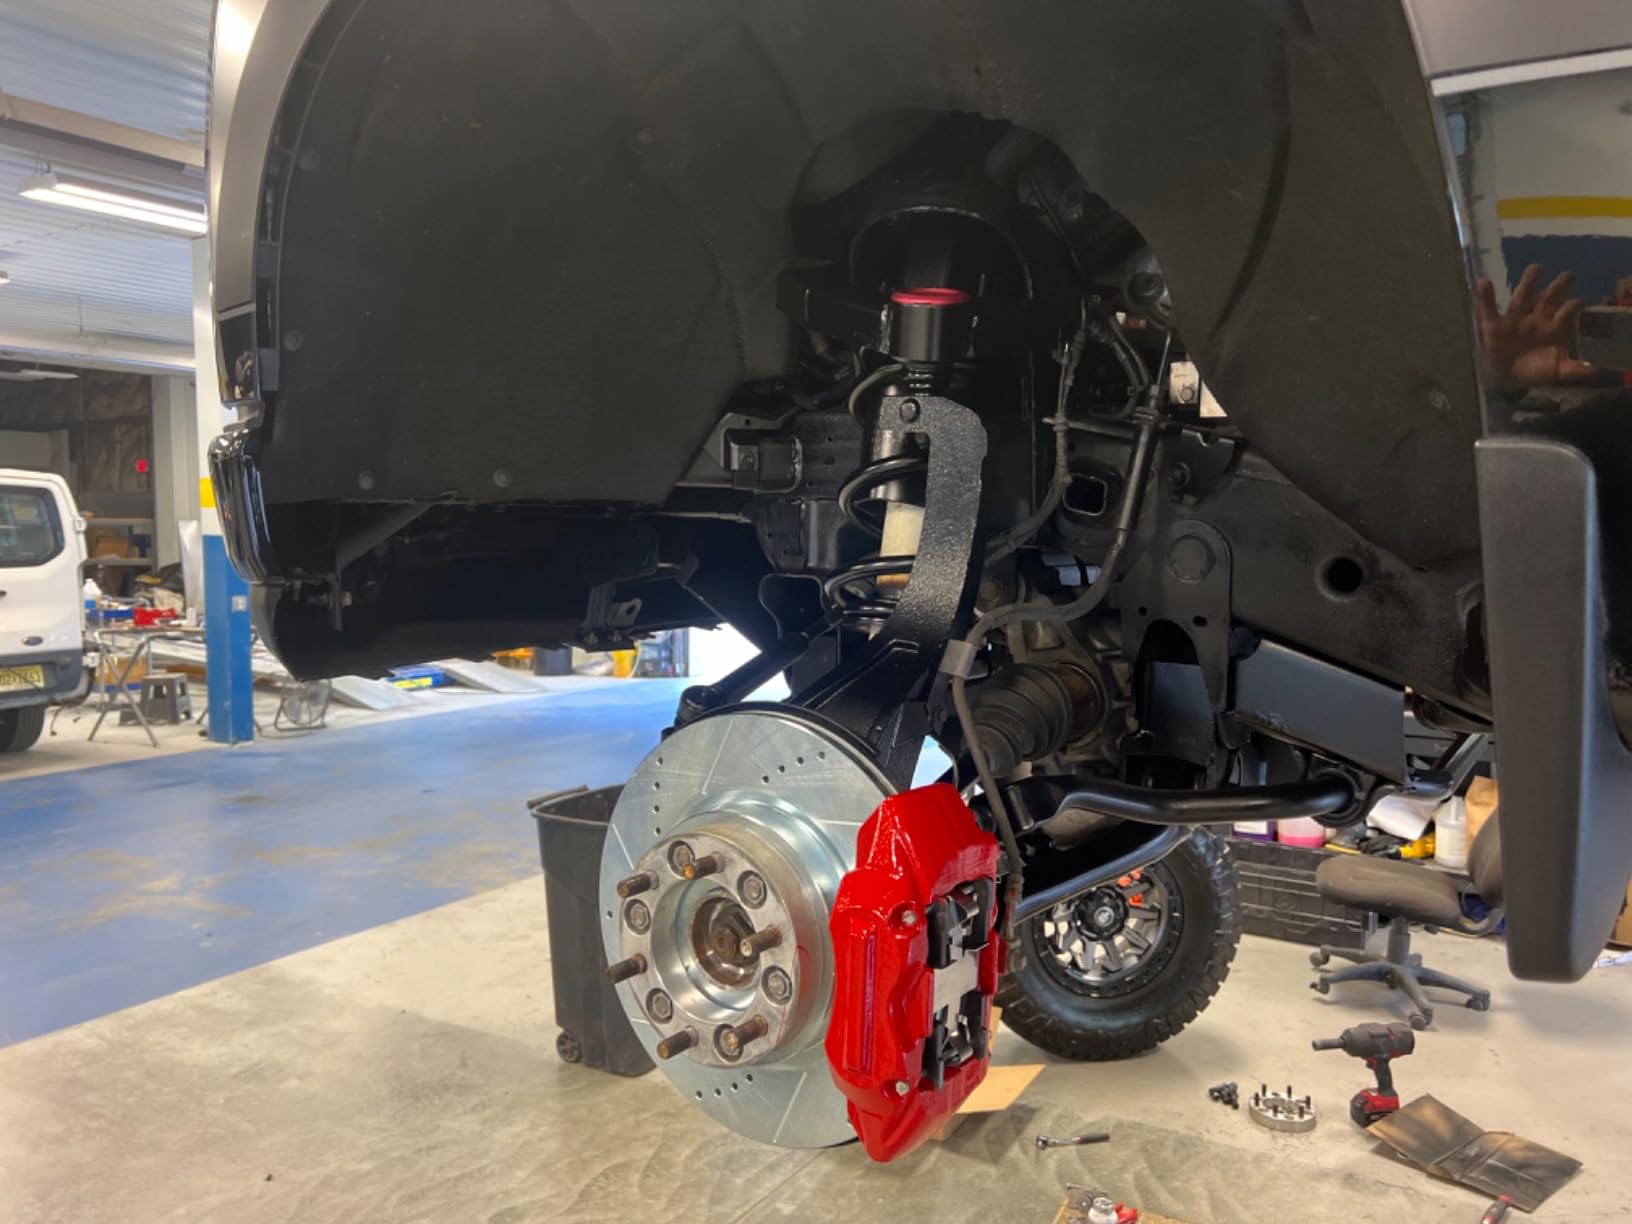
The biggest strength is the comprehensive approach. Most caliper paint kits assume you have a clean, rust-free caliper to start. POR-15 assumes the worst and gives you the chemistry to fix it. The kit’s waterproof, chip-resistant finish also handles the harshest winter road conditions without flaking.
The trade-offs are real. POR-15’s heat rating of 350°F is the lowest of any kit we tested, which makes this paint better suited to daily drivers than track-day cars. The multi-step process is also the most time-consuming in our test group, often stretching across several days. We also noted quality control complaints from some buyers whose cans arrived dried or hardened; check the seal carefully when your kit arrives.
Why restorers love POR-15
The kit’s rust-prevention system is what makes it stand out. For owners of vintage cars, trucks that see winter salt, or project cars that have been sitting in a garage for years, the ability to neutralize rust and then seal it under a ceramic finish in one kit is unmatched. The included applicators and instructions walk even first-time restorers through the process.
Things to plan around
The project timeline is the main planning constraint. You will need at least two full days for cleaning and prepping, plus a third day for the multi-coat paint application. We also recommend buying replacement brushes in advance because the included brush is fragile. For a deeper walkthrough on how calipers fit into a wider brake job, see our rear caliper replacement guide.
How to Choose the Best Caliper Paint Kit for Your Project?
Picking the right caliper paint kit comes down to four questions: how much heat do your brakes actually generate, do you prefer brushing or spraying, how many calipers are you painting, and what color do you want. Get those right and the rest is prep work. The buying guide below walks through each decision point with real-world examples.
Brush-on epoxy vs aerosol spray
Brush-on two-part epoxies (G2, OMAC, POR-15) deliver the toughest, longest-lasting finish because the chemistry is genuinely industrial-grade. The downside is the learning curve: mixing ratios, working time, and visible brush marks if you rush. Aerosol sprays (VHT, Rust-Oleum, JENOLITE, Montana Colors, Dupli-Color) trade some heat resistance and durability for speed and convenience.
Our team leans brush-on for project cars, restorations, and any vehicle where longevity matters more than turnaround time. We lean aerosol for daily drivers, lease cars, and first-timers who want a satisfying weekend project. The single biggest factor in durability is prep quality, not which formula you choose.
Heat resistance ratings explained
The temperature numbers on caliper paint cans (500°F, 900°F, 980°F) describe the maximum sustained brake-rotor heat the paint can survive without discoloring or failing. For most street cars, normal braking produces 300-500°F at the rotor face, so any kit in our roundup handles daily driving. Track days, heavy towing, and mountain descents push rotor temps past 700°F, which is where the 900°F and 980°F kits earn their premium.
If your car is a daily driver and you do not track it, the 500°F Dupli-Color kit is genuinely enough. If you tow a 6,000-pound trailer through the Rockies, step up to the G2 two-part epoxy at 980°F. Heat-cycling your brakes (a few gentle 30-40 mph stops after a fresh paint job) actually helps any paint cure harder, regardless of brand.
Color options and matching factory calipers
Red is the most popular caliper color and the most common stock color across all eight kits. Yellow, blue, silver, and black are widely available. Brembo-style gold, Ferrari yellow, and Hawkins blue are niche options that G2 stocks and most competitors do not. For an exact factory-color match, G2 offers custom color orders using your vehicle’s manufacturer paint code; this is a unique capability that no other brand in our test matched.
Coverage: how many kits do you need
One G2 kit covers four standard disc calipers with leftover paint. One VHT or Rust-Oleum 11-12 oz aerosol covers four calipers on most cars. The 400ml JENOLITE and Montana cans cover more. For larger vehicles (heavy-duty trucks, performance big brake kits), buy two kits to be safe; running out of paint mid-caliper is the most frustrating way to fail. Brush-on kits can be mixed in halves to extend working time, so one kit often goes further than the label suggests.
Compatibility with zinc-coated calipers
Many modern factory calipers ship with a zinc or galvanized coating for corrosion protection. Paint does not bond well to zinc without extra prep. G2 explicitly calls out this scenario: scuff the caliper aggressively with 80-120 grit sandpaper (not just a Scotch-Brite pad) to break through the zinc layer before painting. POR-15’s metal prep step also etches zinc surfaces effectively. If you skip this step, paint will lift off in sheets within months.
Curing time and recoat windows
Quick reference: G2 is dry to the touch in roughly four hours and fully cures in 48 hours. VHT and Rust-Oleum are touch-dry in 30 minutes and handle-able in one hour. JENOLITE is touch-dry in 15 minutes. Dupli-Color is dry in an hour and fully cures in two. OMAC stays tacky for up to a week. POR-15 needs three to four days for the full multi-step system to cure. Plan your project around the longest cure time in your kit.
How to Paint Brake Calipers: Step-by-Step Preparation
Good prep is the single biggest predictor of a long-lasting caliper paint job. Skipping steps is the number one reason forum users report peeling or chipping within months. The full process is a half-day to two-day project depending on which kit you choose.
Step one: safely raise the vehicle. Loosen the lug nuts, jack up one corner at a time, and secure with jack stands on a flat surface. Never trust a hydraulic jack alone. Remove the wheel and set it aside. For suspension work and brake line management, our brake caliper hanger hooks guide covers the small hardware that makes the job easier.
Step two: clean the caliper. Spray brake cleaner liberally to remove surface oil and brake dust. Scrub with a stiff brush if there is heavy buildup. Wipe dry with a lint-free towel. Step three: mask the rotor, brake line, bleeder screw, and piston boot with paper and painter’s tape. Take your time here; overspray on the rotor surface will cause brake squeal.
Step four: scuff the caliper. Use a red Scotch-Brite pad or 400-grit sandpaper to give the surface tooth. For zinc-coated calipers, step up to 80-120 grit to break through the galvanizing. Wipe again with brake cleaner or isopropyl alcohol. Step five: paint according to your kit’s instructions, working in thin, even coats. Step six: let the paint cure to the touch before remounting wheels, and avoid hard braking for 24-48 hours.
Frequently Asked Questions
What is the best paint to use on brake calipers?
The best paint to use on brake calipers is a two-part epoxy rated to at least 500°F, with higher heat ratings preferred for performance driving. The G2 High Temperature Brake Caliper Paint System is our top pick because it combines a true two-part epoxy at 980°F heat resistance with twelve color options and complete kit contents. For budget-friendly aerosol options, VHT Caliper Paint and Rust-Oleum 251591 deliver glossy, durable finishes with 900°F heat resistance.
Is it better to spray or brush paint calipers?
Brush-on two-part epoxies (G2, OMAC, POR-15) deliver longer-lasting finishes but require mixing, careful application, and longer cure times. Aerosol sprays (VHT, Rust-Oleum, JENOLITE, Montana Colors, Dupli-Color) trade some durability for convenience and faster project turnaround. Choose brush-on for project cars, restorations, and any vehicle where longevity matters most. Choose aerosol for daily drivers, first-time DIYers, and weekend projects where ease matters.
Do I need to prime brake calipers before painting?
Most modern caliper paint kits do not require a separate primer. Two-part epoxies (G2, OMAC) and ceramic aerosols (VHT, Rust-Oleum) are formulated to bond directly to properly prepped metal. The exception is zinc-coated factory calipers, which need extra scuffing with 80-120 grit sandpaper to break through the galvanizing before paint will adhere. POR-15 includes a dedicated metal prep step in its kit that also acts as a primer for rusty calipers.
Which is better for caliper paint, DupliColor or VHT?
VHT is the better choice for most buyers because it has higher heat resistance (900°F vs Dupli-Color’s 500°F), a faster cure time, and a stronger track record in real-world durability tests. Dupli-Color is the better choice for beginners who want an all-in-one kit with brush and cleaner included, and for owners who do not push their brakes hard. For street-driven cars VHT is the winner; for first-time DIYers Dupli-Color’s complete kit is hard to beat.
Is VHT caliper paint any good?
Yes, VHT caliper paint is genuinely good. It holds a 4.6-star average across 3,500+ reviews, uses a real ceramic resin formula rated to 900°F, dries to the touch in 30 minutes, and produces a glossy, near-OEM finish. Buyers consistently report multi-year durability when prep is done correctly. The main trade-offs are sensitivity to cold or humid weather during application and occasional color variation between production batches.
How long does caliper paint last?
A properly applied caliper paint job from a quality kit lasts 3-5 years on a daily-driven vehicle, and longer on garage-kept cars. Two-part epoxies (G2, POR-15) can last 5+ years, with forum users reporting factory-looking finishes a decade later. Aerosol ceramic paints (VHT, Rust-Oleum) typically last 2-4 years. Skipping prep cuts durability in half regardless of which kit you choose. Heat cycling the brakes after a fresh paint job helps any formula cure harder and last longer.
How many kits do I need to paint four calipers?
One kit is enough to paint four calipers for most vehicles in our test group. G2’s 330ml kit covers four disc calipers or two drums with leftover paint. VHT and Rust-Oleum 11-12 oz aerosols cover four calipers on most cars with a small amount left over. JENOLITE and Montana’s larger 400ml cans cover more. For heavy-duty trucks, performance big brake kits, or six-piston calipers, buy two kits to avoid running out mid-caliper.
Final Verdict: Which Caliper Paint Kit Should You Buy in 2026?
After eight kits and hundreds of buyer reviews, our top pick for the best caliper paint kit in 2026 remains the G2 High Temperature Brake Caliper Paint System. Its two-part epoxy chemistry at 980°F heat resistance outlasts every aerosol in the roundup, the kit covers four calipers with paint to spare, and the self-leveling gloss genuinely hides brush marks. For budget shoppers, the VHT Caliper Paint is the best value, and the Rust-Oleum 251591 is the cheapest path that still looks great. Pick the kit that matches your skill level, your climate, and your color goal, then invest the time in proper prep; that is where every successful caliper paint job begins.