
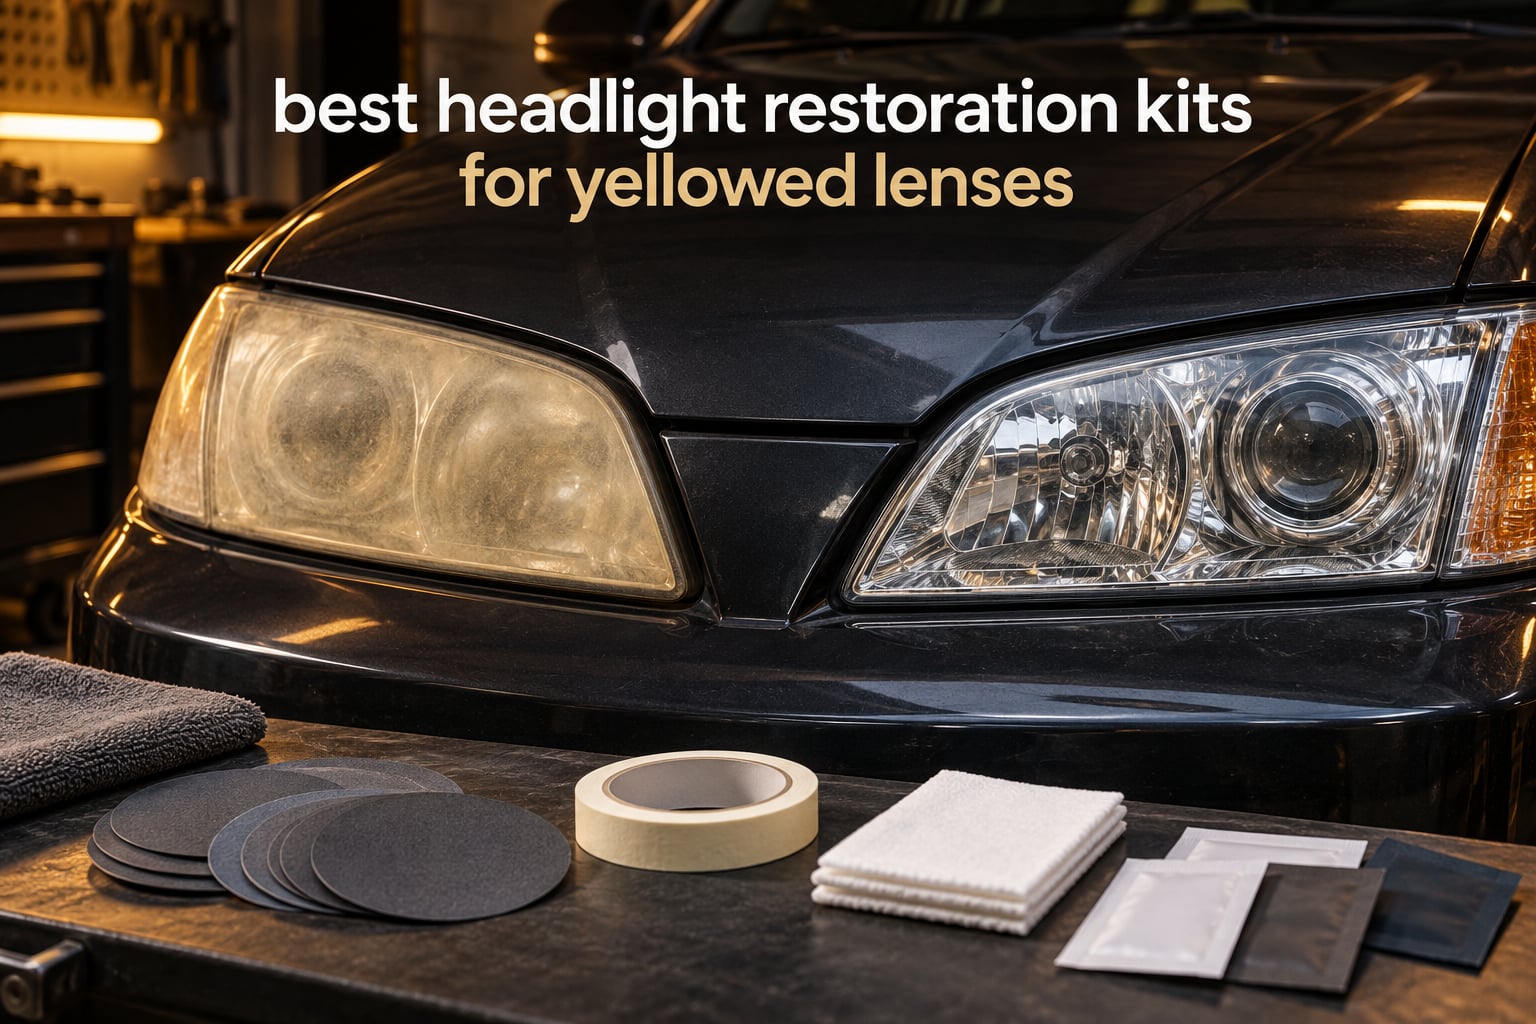
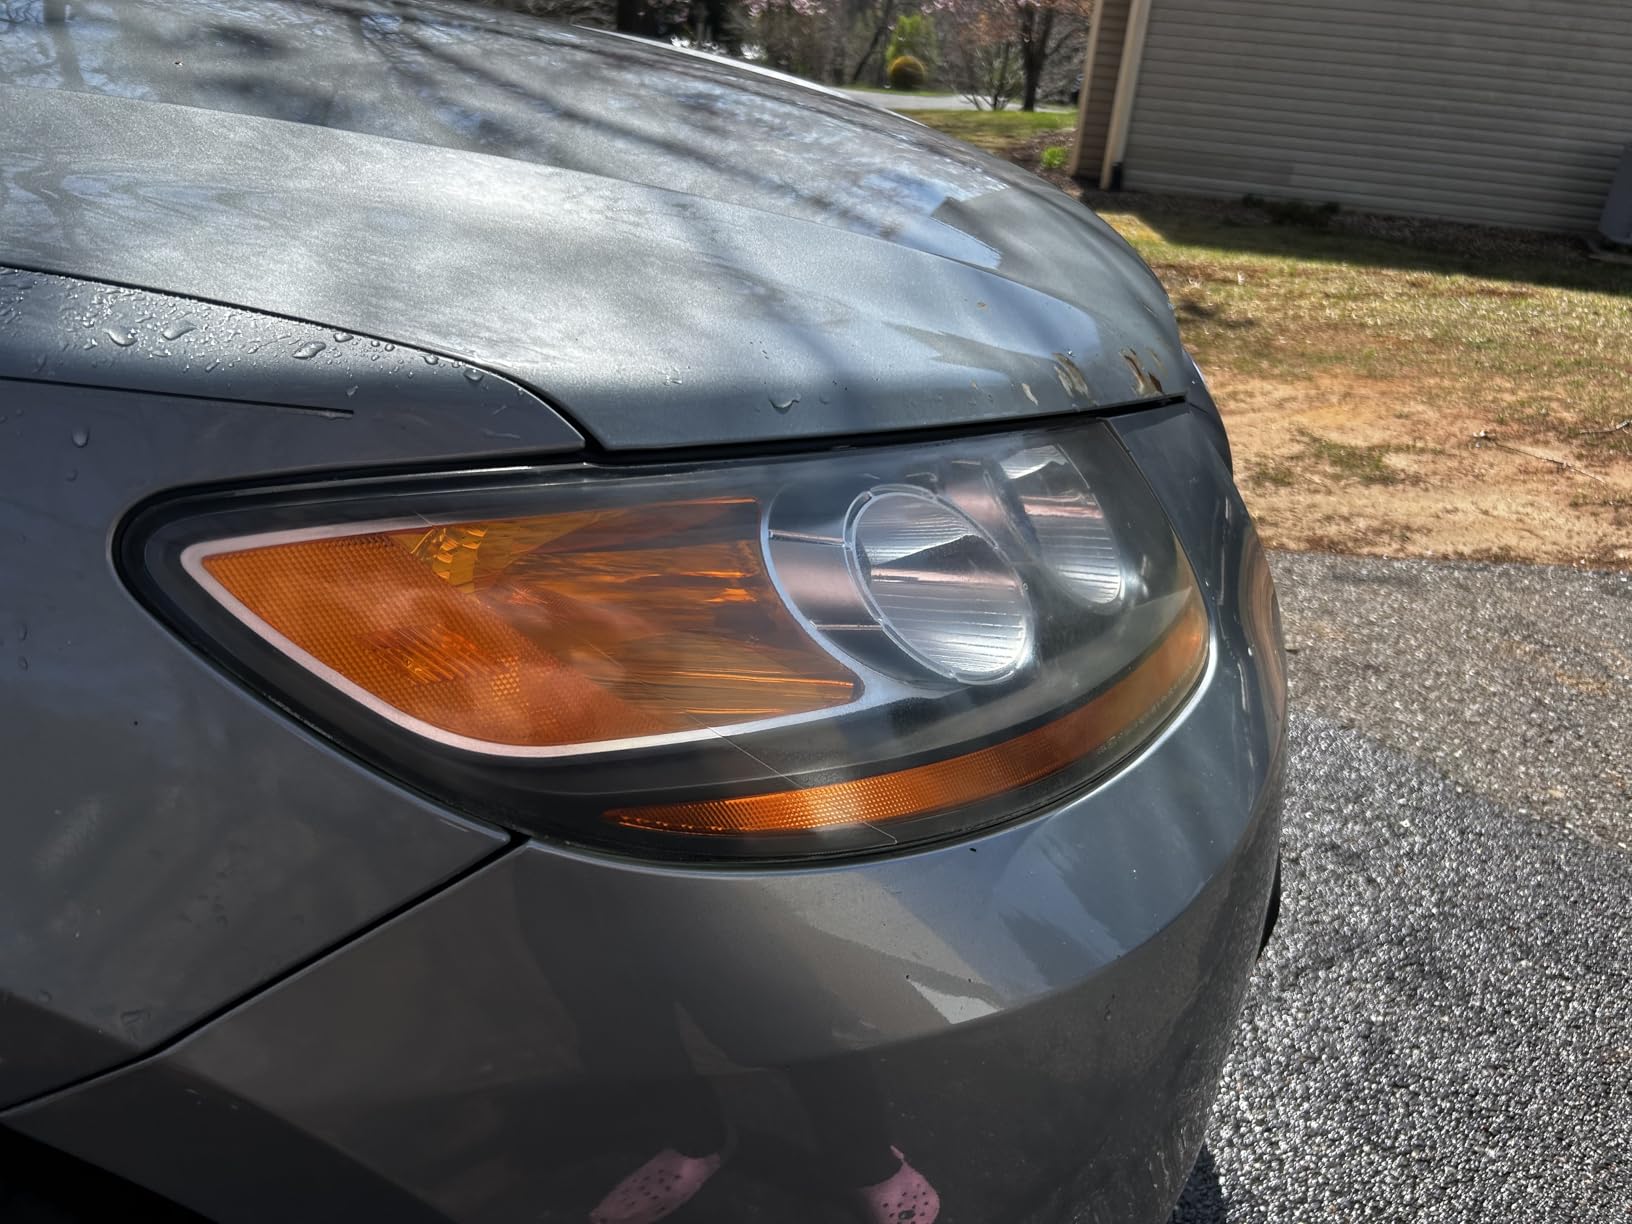
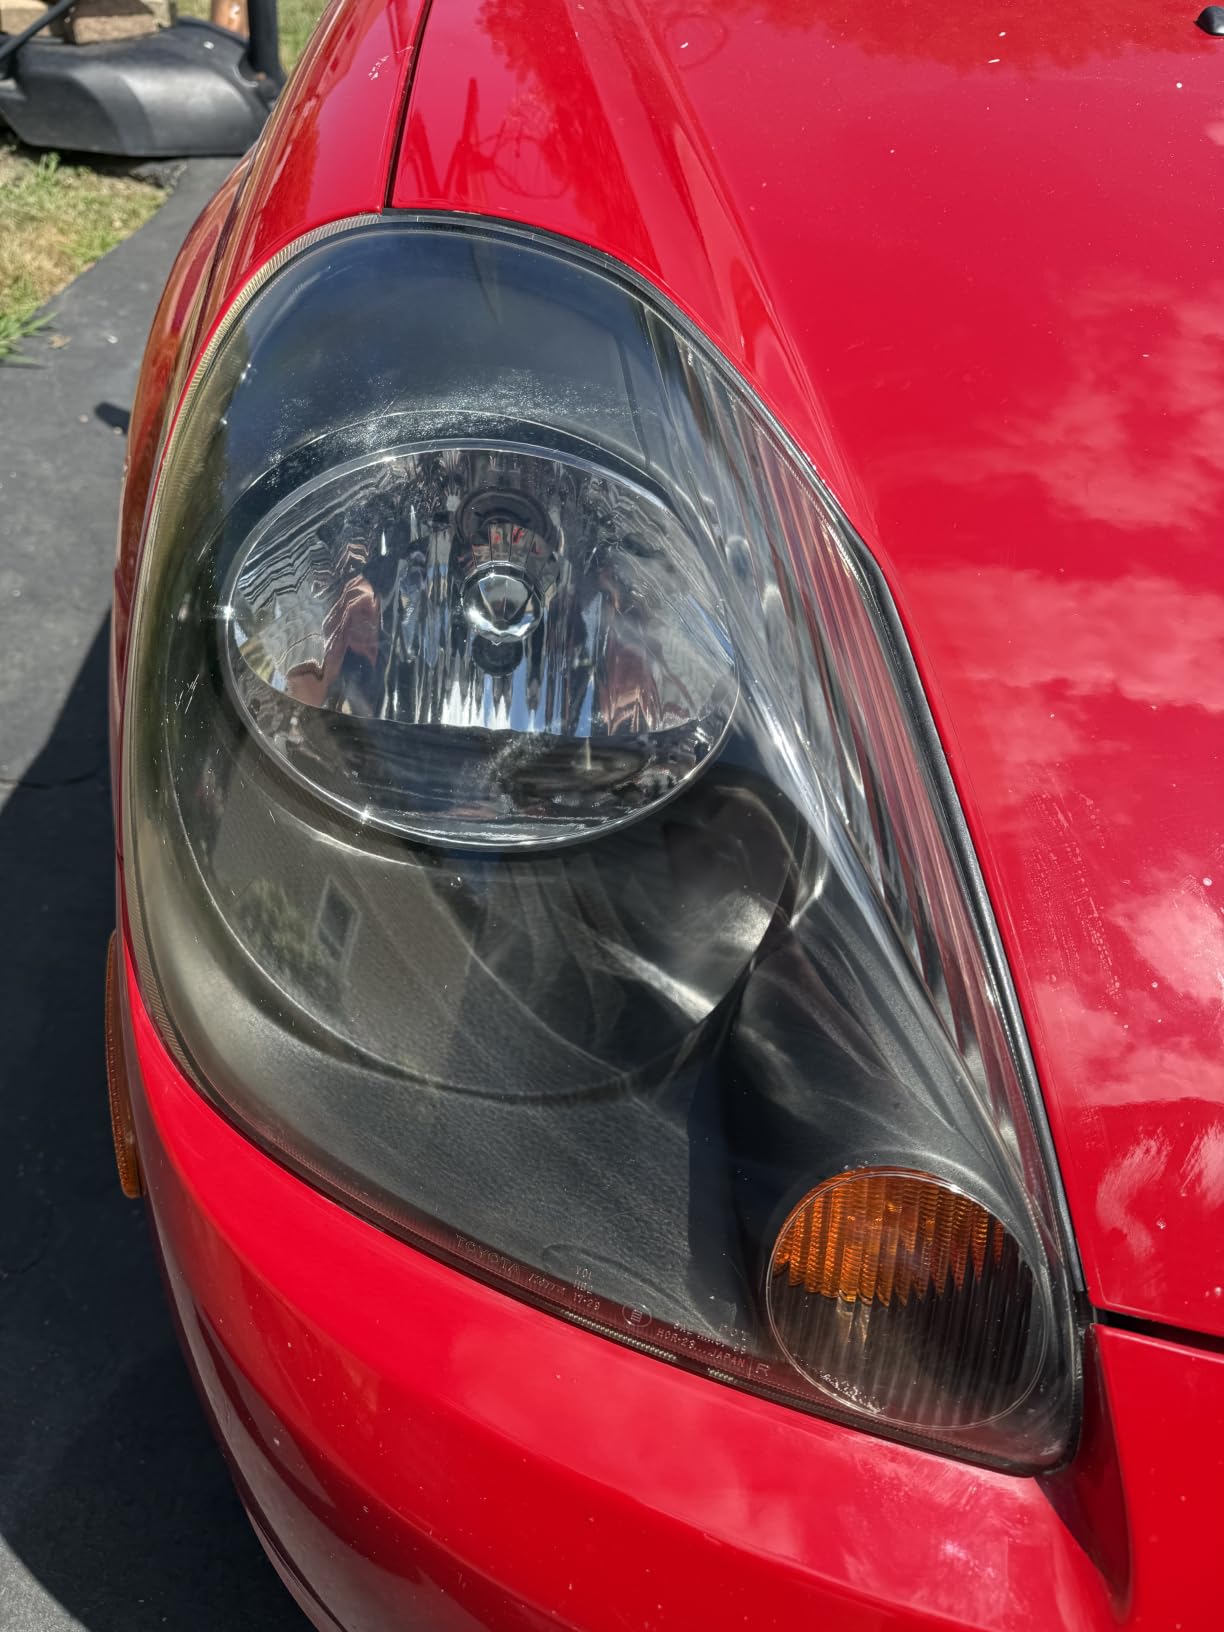
Yellowed headlights are the one piece of car maintenance that tends to sneak up on you. The lens looked fine when you bought the car, then one winter it starts throwing a dull amber cone onto the road, and now you cannot quite remember what the light used to look like. If you are searching for the best headlight restoration kits for yellowed lenses, the short answer is that almost every kit on the market will improve a hazy lens, and the difference between a good result and a great one comes down to one thing: whether the kit includes a real protective coating.
That distinction matters more than any brand name. A kit that only sands and polishes gives you a bright headlight on day one and the same amber haze back within a year. A kit that finishes with a UV block clear coat or a chemical-bonding ceramic layer gives you the same bright lens, except the protection is still doing its job two or three years later. Our team compared 12 kits side by side, weighed what actually comes in the box, and read through tens of thousands of buyer reports to sort out which products earn repeat use.
One safety note before we get into the list. AAA has measured badly degraded headlights producing a small fraction of the light of a new unit, and the IIHS has reported that vehicles with well-maintained lighting are involved in fewer nighttime crashes. Yellowing is not purely cosmetic. If your headlights look hazy in a dark garage, they are worth fixing, and most of the kits below take under an hour.
Table of Contents
Top 3 Best Headlight Restoration Kits in October

CERAKOTE Ceramic Headlight Kit
- 8 oxidation wipes
- sanding kit
- 2 ceramic coating wipes
- No power tools needed
- About 30 minutes per pair

3M Lens Restoration System…
- Six 500-grit discs
- Four 800-grit discs
- Trizact refining disc
- 3M rubbing compound
- Drill-activated correction

SYLVANIA Restoration Kit
- Surface activator
- Premium sandpaper
- Clarifying compound
- UV block clear coat
- Covers two lenses
All 12 Kits at a Glance in 2026
| Product | Specs | Action |
|---|---|---|
| CERAKOTE Ceramic Headlight Restoration Kit |
|
Check Latest Price |
| 3M Headlight Lens Restoration System 39008 |
|
Check Latest Price |
| SYLVANIA Headlight Restoration Kit |
|
Check Latest Price |
 3M Ultra Headlight Restoration Kit 39195 3M Ultra Headlight Restoration Kit 39195 |
|
Check Latest Price |
 Meguiar’s Two Step Headlight Restoration Kit Meguiar’s Two Step Headlight Restoration Kit |
|
Check Latest Price |
 Mothers NuLens Headlight Renewal Kit Mothers NuLens Headlight Renewal Kit |
|
Check Latest Price |
 Chemical Guys Headlight Restore and Protect Chemical Guys Headlight Restore and Protect |
|
Check Latest Price |
 Clear Lights Tech 3-Wipe System Clear Lights Tech 3-Wipe System |
|
Check Latest Price |
 Turtle Wax Headlight Restoration Kit Turtle Wax Headlight Restoration Kit |
|
Check Latest Price |
 Formula 1 Headlight Restorer and Sealant Formula 1 Headlight Restorer and Sealant |
|
Check Latest Price |
 POLIWELL Headlight Restoration Kit POLIWELL Headlight Restoration Kit |
|
Check Latest Price |
 3M Restore and Protect Kit 39194 3M Restore and Protect Kit 39194 |
|
Check Latest Price |
1. CERAKOTE Ceramic Headlight Restoration Kit Review: Best Overall Ceramic Seal
CERAKOTE® Ceramic Headlight Restoration Kit, 10 Wipe Kit
10-wipe system: 8 oxidation wipes, 1 sanding kit, 2 ceramic coating wipes
No power tools needed
About 30 minutes for a pair
Pros
- Coating chemically bonds to the lens for long-term UV protection
- No drill or power tools required
- About 30 minutes for a full pair
- Handles headlights
- fog lights and third brake lights
Cons
- Sandpaper supplied is thin and wears quickly on intricate lens designs
- A faint yellow cast can remain on severely yellowed lenses
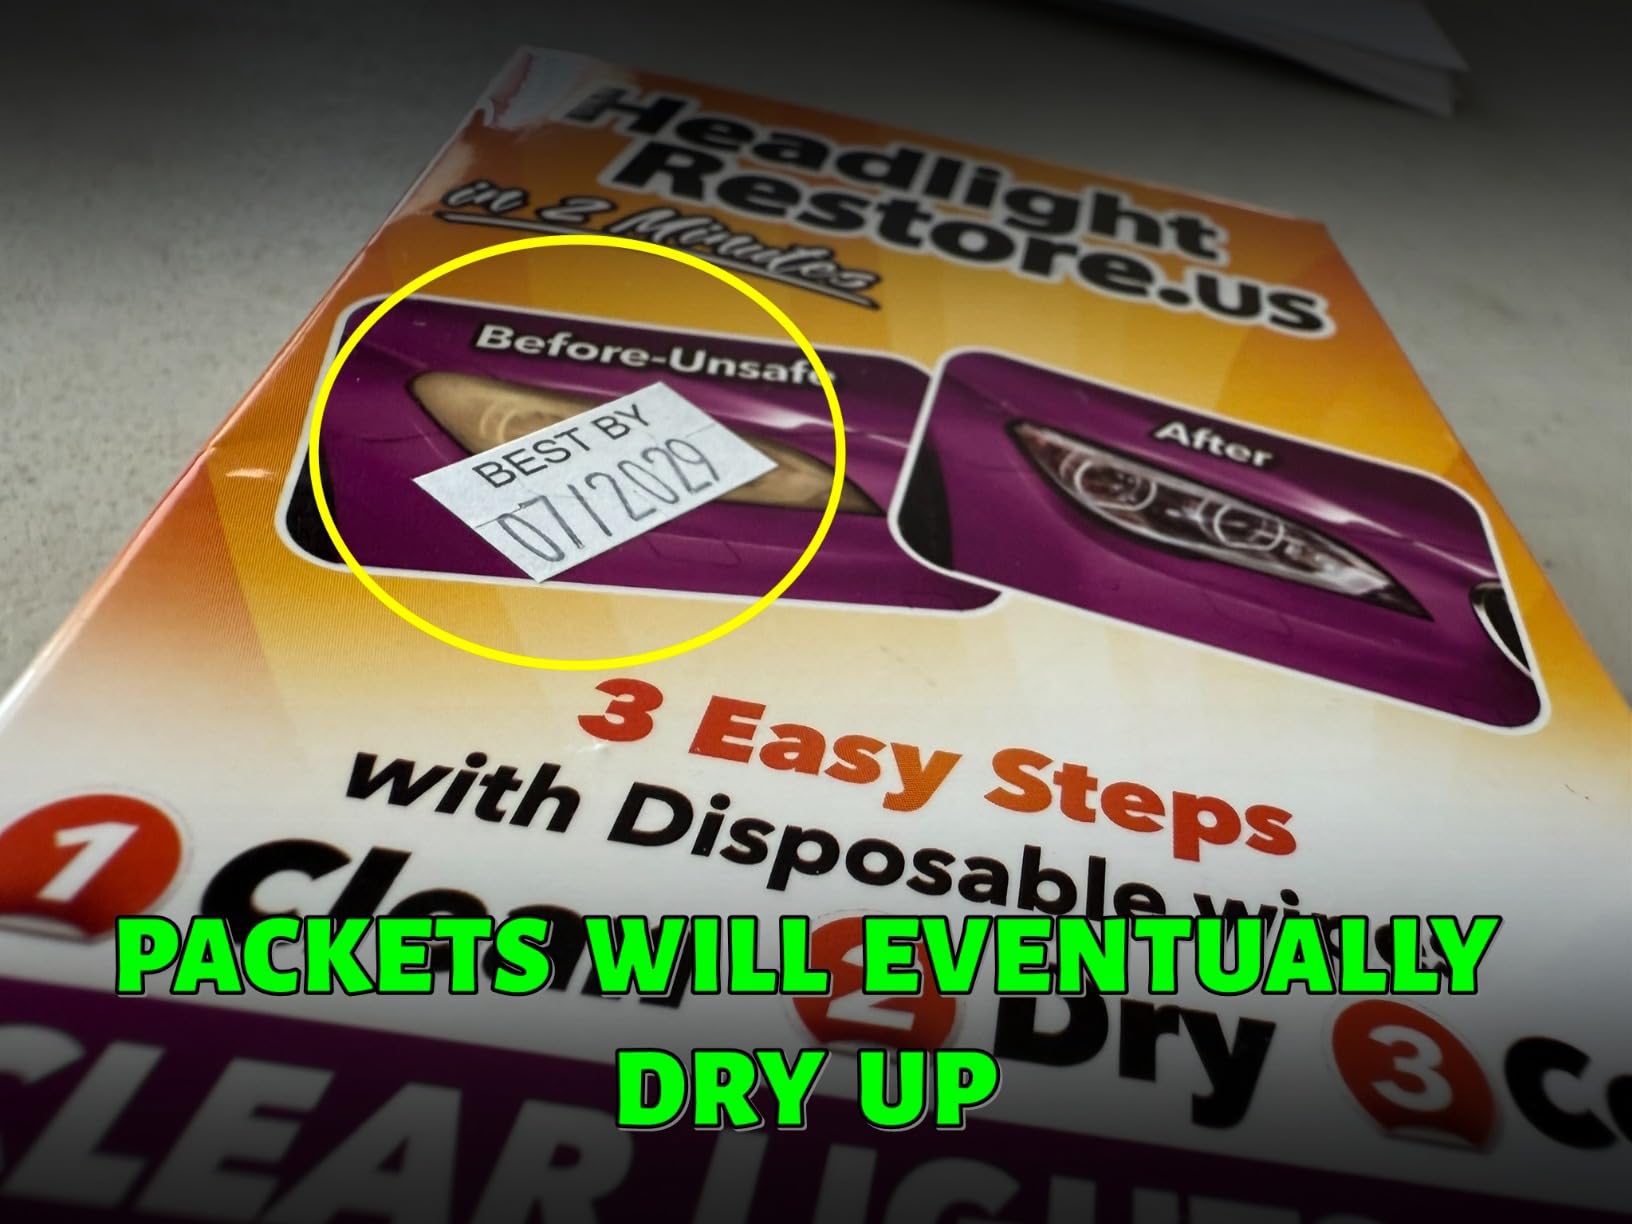
- Step 3 wipe packets occasionally arrive swollen
This is the kit we keep coming back to, and it holds the number one slot in the best headlight restoration kits for yellowed lenses ranking for one reason: the ceramic coating wipes are the real thing, not a marketing label on a wax sealant. The box contains eight oxidation-removing wipes, a sanding kit, and two ceramic coating wipes that you apply as the final step.
We ran this kit on a mid-life sedan with genuinely yellowed lenses and the whole job finished inside half an hour with no drill anywhere in sight. The sanding stage is the slow part, and on a lens with lots of moulded contours you will be working around vents and ridges for most of that time. The oxidation wipes before the sand do a good job of loosening the dead layer so the paper is not fighting bonded grime.
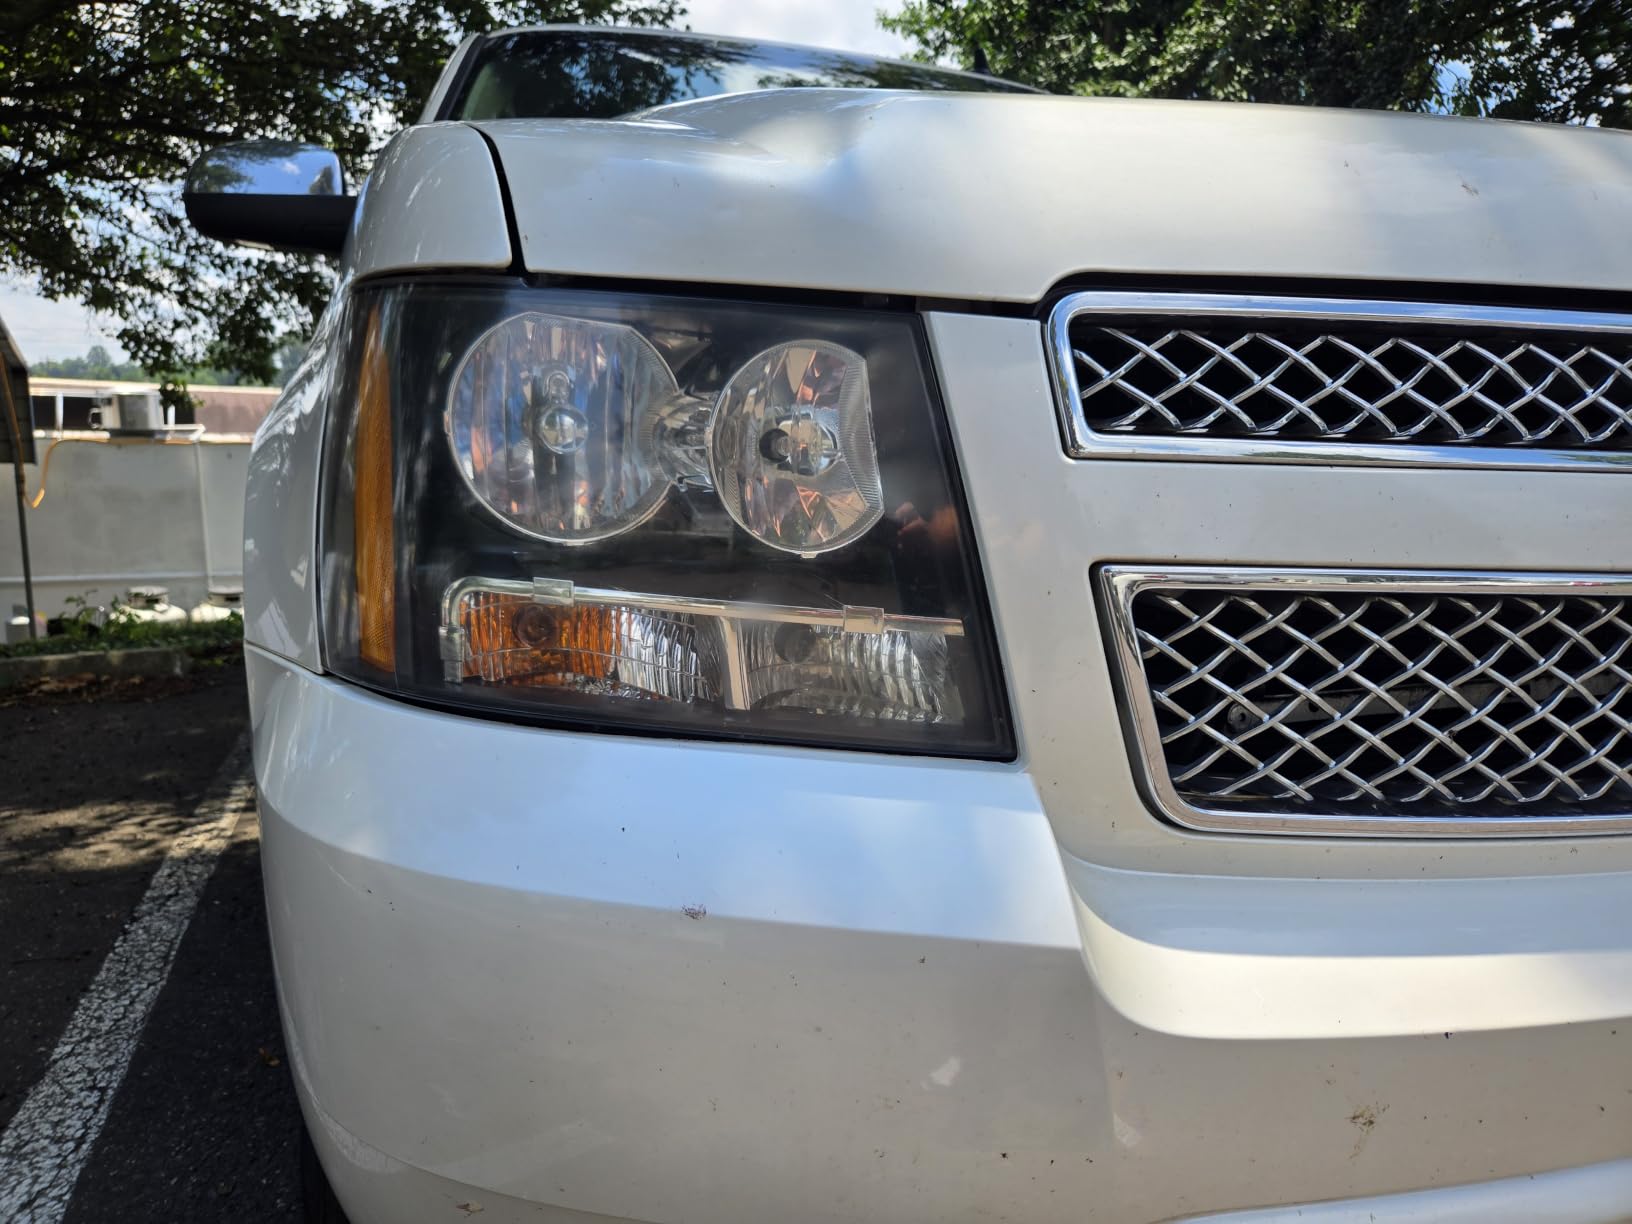
Where it earns the top spot is the finish. The self-leveling ceramic coating wipes leave a smooth, defect-free gloss and, according to owners posting on r/XTerra and r/Cartalk, they have held up for as long as three years on lightly to moderately hazed lenses. Forum owners also repeatedly praise how little the kit costs for a result that rivals a professional detail.
Be realistic about limits, though. The gentle prep does not strip deep oxidation, so on a decade-old lens that is far gone you may see streaks or a returning fog after a year or two. Bimmerfest and E46fanatics posters testing it on 20-plus-year-old BMW headlights reported good results that started degrading after a year or two. The sandpaper in the kit is also thinner than what a serious multi-stage job needs, so buy a better sheet if your lens is badly pitted.
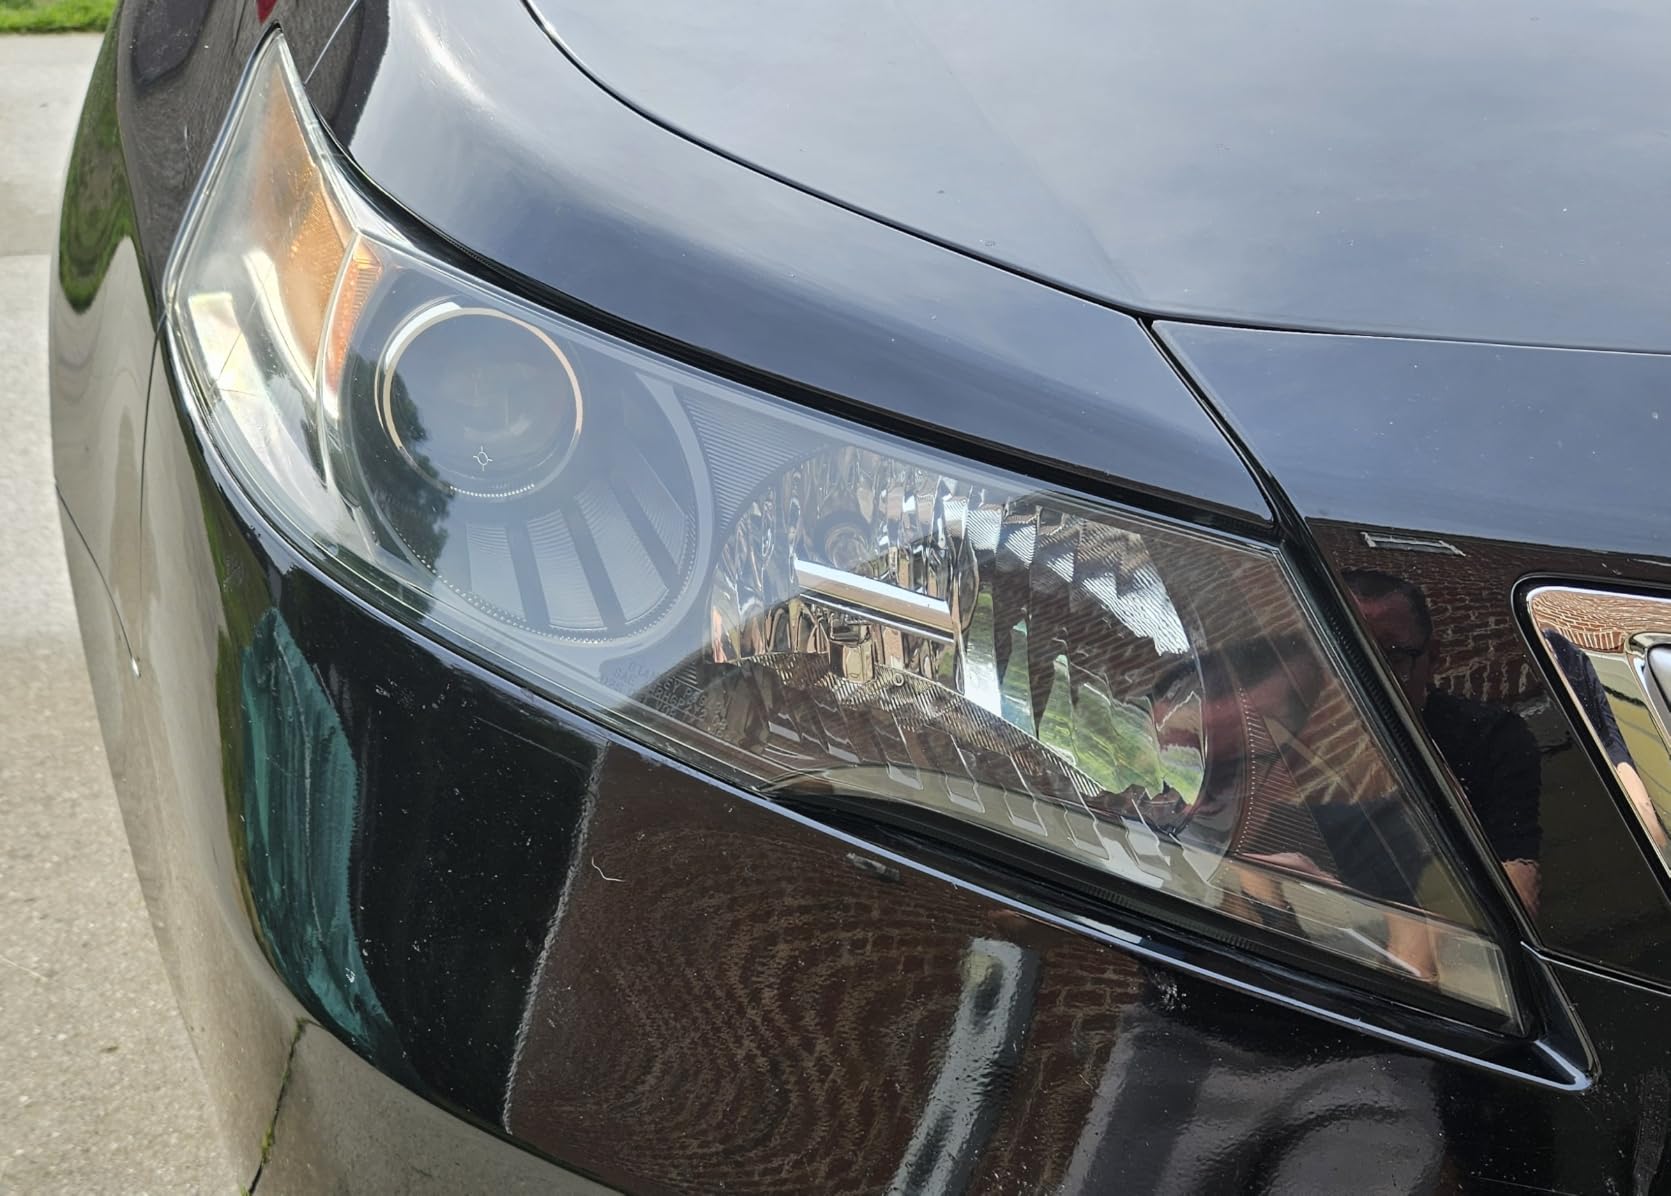
Is the ceramic coating worth it on a lightly hazed lens
Yes, and this is the exact situation where the kit performs best. If your lens is only mildly cloudy and the headlights still throw a white beam at dusk, the correction step barely has to work and nearly all of the visible improvement comes from the coating wiping away the surface film.
Owners using it as a maintenance top-up rather than a rescue job report the most consistent long-term results, because the coating is applied over an already sound surface instead of a sanded one.
Where it falls short
It is not a deep-correction tool. If the lens has pitting, rock strikes or a heavy amber cast that has been building for a decade, the sanding stage needs to run longer and you will want paper that lasts. Several reviewers also note that a slight yellow tint can survive the process on the worst lenses, so manage expectations on cars that have never been treated.
For deeper correction, the 3M system below cuts further. If you prefer a hand system with a printed instruction sequence and a bigger supply of material, the SYLVANIA kit is the alternative we point people toward.
2. 3M Headlight Lens Restoration System 39008 Review: Deepest Correction, No Protection
3M Headlight Lens Restoration System, 39008, 1 Kit
Six 500-grit and four 800-grit discs plus a Trizact refining disc and 1 fl oz rubbing compound
Drill activated
Plastic compatible
Pros
- Cuts through the heaviest yellowing and surface pitting
- Progressive grit system from 500 through 3000
- Handles scratched and rock-pitted lenses
- About 30 to 40 minutes per headlight
Cons
- No UV protection is included
- so lenses tend to re-yellow within about a year
- Requires a household drill or rotary tool
- Masking tape is not included in some kits
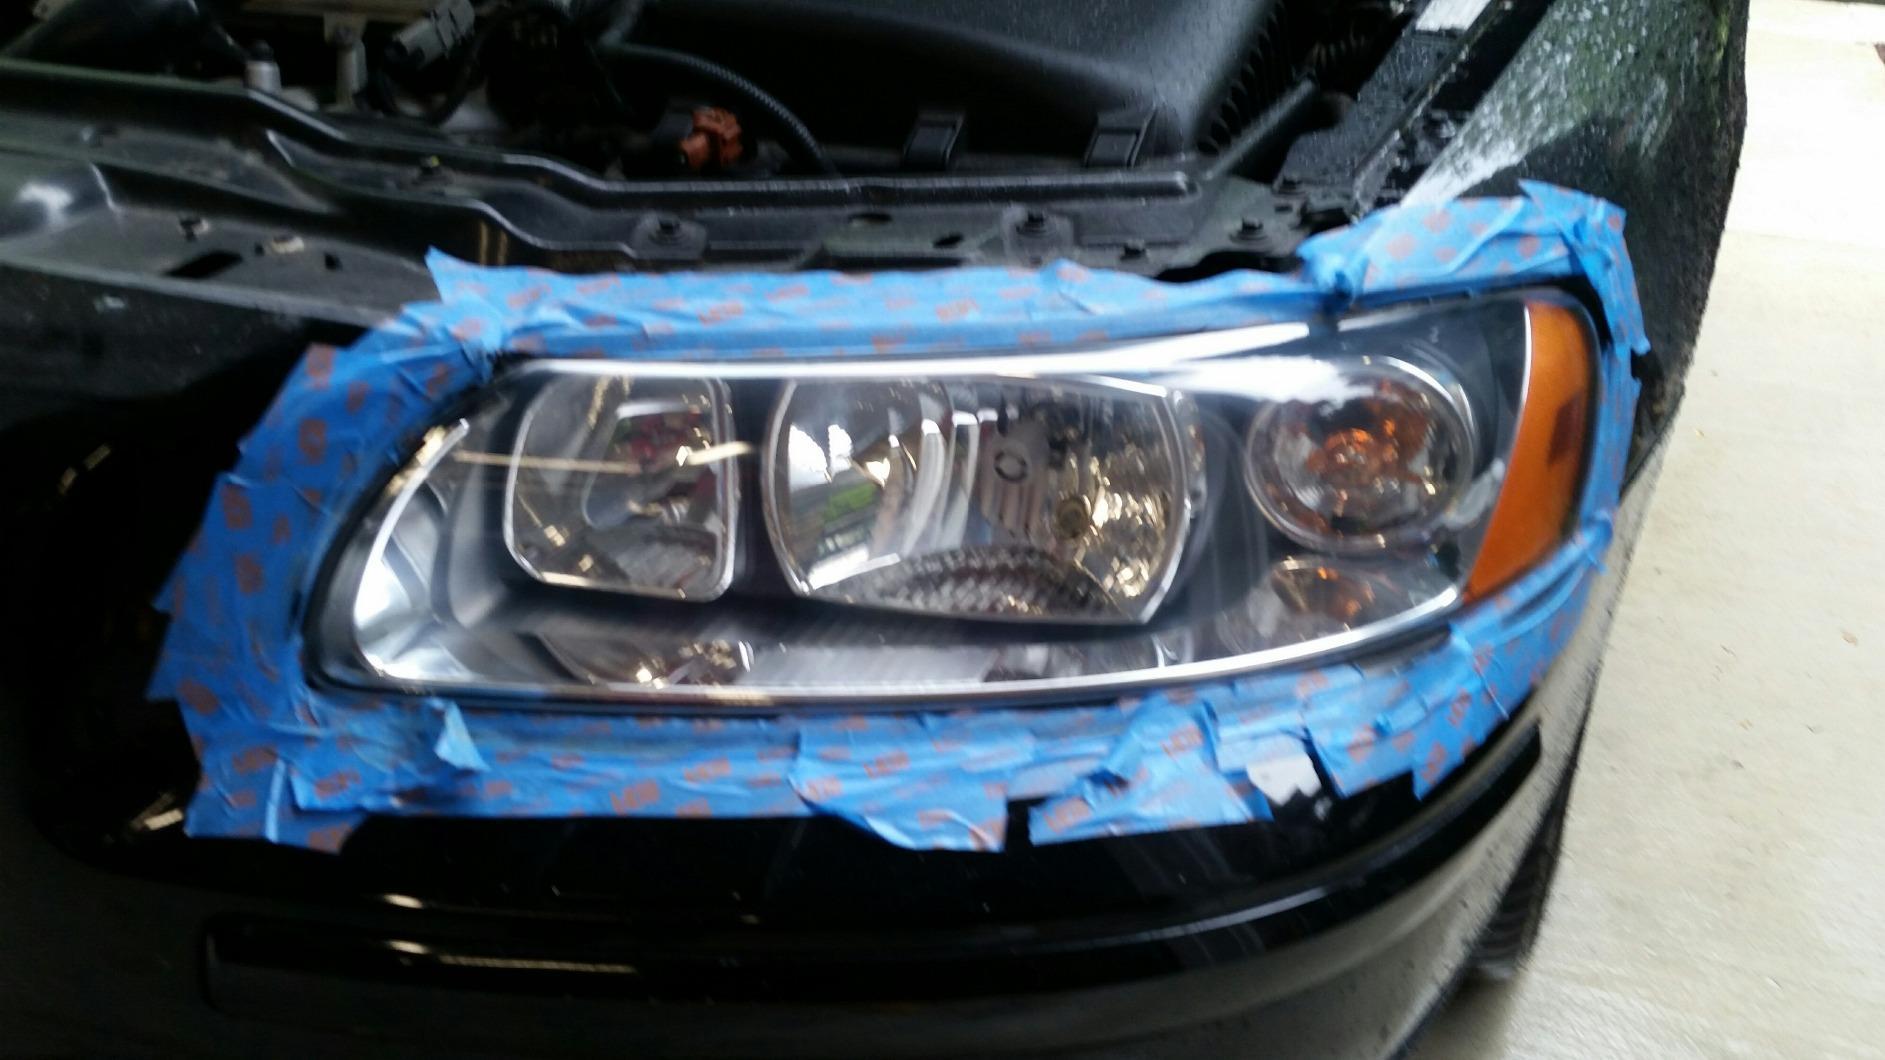
The 39008 is the most aggressive correction kit in this group, and that is both its strength and its problem. The box holds a disc pad holder, six 500-grit 3M Gold sanding discs, four 800-grit 3M White finishing discs, one Trizact refining disc, and a fluid ounce of rubbing compound. That is a full coarse-to-fine ladder rather than a single abrasive step.
On a lens that is genuinely far gone, this is the kit that moves the needle. Drill-activated sanding across three abrasive stages removes yellowing and fine pitting that a wipe system will never touch, and owners on r/XTerra and r/Cartalk consistently describe it as effective even on headlights they had written off. A headlight takes roughly 30 to 40 minutes to bring up properly.
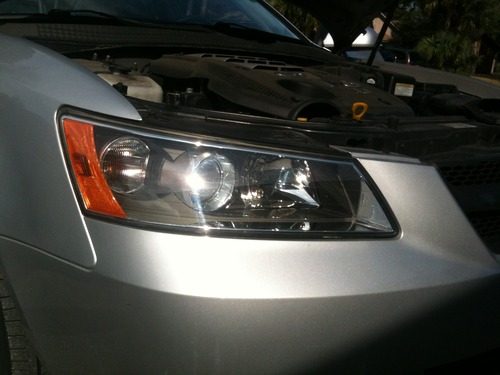
The catch is what the kit does not contain. There is no protective coating of any kind, and the most common sentence in the review set is some version of add a UV protectant afterwards or it will go yellow again. Without that step, a corrected lens typically starts clouding within a year. Several owners also report a white haze appearing when the grit sequence is rushed, so this is a technique-sensitive kit rather than a beginner one.
It also demands a household drill or rotary tool, which for a lot of people is the actual barrier. The disc pad holder is a Hookit-style pad, and the 3 inch diameter discs need to be kept wet with the included compound or they will load and burn the plastic.
When this is the right pick
Choose the 39008 when the lens has real surface damage. Deep pitting from rock chips, sandblasting scars, or a decade of heavy amber oxidation all respond to a three-stage abrasive ladder that a one-step polish simply cannot address.
Budget for a follow-up coating regardless of which sanding kit you use, and consider pairing it with the 3M Restore and Protect kit later in this list, which covers the refine and protect stages.
Where it falls short
Two things to plan around. First, no protection means the job is half finished, and skipping the sealant is the single most common regret in the reviews. Second, speed control decides the result: hold the drill steady and low, keep the disc moving, and keep the surface wet, or you will end up with a hazed lens that looks worse than the one you started with.
If you would rather have a kit that is complete out of the box, the 3M Ultra 39195 covers the same abrasive ladder and adds masking tape and clear coat wipes.
3. SYLVANIA Headlight Restoration Kit Review: The Complete Hand System
SYLVANIA Headlight Restoration Kit, Restores to Like-New Condition
Surface activator, premium sandpaper, clarifying compound and a UV block clear coat
Hand application
Covers two lenses
Pros
- UV block clear coat is included as part of the system
- No power tools required
- Covers both headlight lenses in one kit
- Backed by a well-known automotive lighting manufacturer
Cons
- Material quantity is tight for larger or multi-vehicle jobs
- Hand sanding is time intensive
- No drill option for faster correction on severe lenses
SYLVANIA is an OSRAM brand, and that matters more than it sounds. This is a lighting manufacturer building a restoration system for its own lenses, so the system is designed to put a proper UV block clear coat back on the surface, which is exactly the step most kits skip. The kit contains a surface activator, premium sandpaper, a clarifying compound, and the clear coat.
We recommend the SYLVANIA kit whenever someone wants full control of the sanding. r/Detailing regulars consistently point to hand kits for the reason we like it here: you feel the surface through the paper, so you can stop as soon as the oxidation is gone instead of drilling straight through the lens. It is slower than a drill kit, closer to 90 minutes for a full pair, and that trade is worth it on a lens you care about.
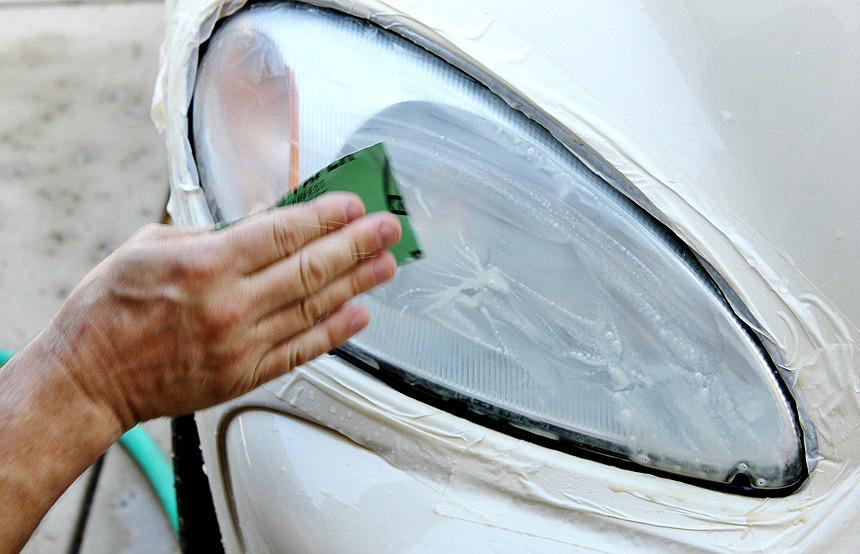
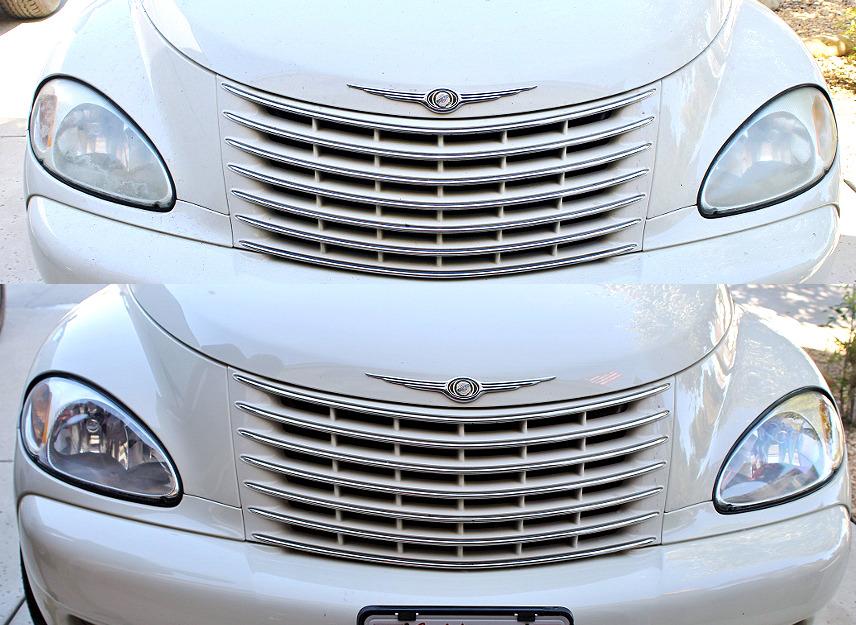
Durability is where this one earns its reputation. Users on r/Lexus and r/AutoDetailing report lenses that still looked new a year after the job, which is more than most correction kits of a similar tier can claim. The reason is the clear coat step, and you should not skip it even if you are in a hurry.
The limitation is quantity. One kit treats two lenses on a car, and if you have a truck with four lenses or want to do both cars in the driveway, you are buying again. The sandpaper supply is also sized for a single pair, so plan accordingly.
SYLVANIA or Cerakote, which should you pick
They are the two most recommended kits for the same reason, and both finish with real protection. The difference is the correction strength. SYLVANIA sands harder with dedicated paper and a separate clarifying compound, so it handles a worse lens. CERAKOTE works more like a wipe system with a sanding step attached, so it is faster and easier on a lens that is only mildly hazed.
If your lens is borderline, SYLVANIA is the safer choice. If it is only lightly cloudy and you want the job done in half an hour, CERAKOTE is the better fit.
Where it falls short
There is no drill path here at all, which puts a real time cost on a badly oxidized vehicle. The material is also not generous, and for a driver with a full set of four lenses this becomes a repeat purchase rather than a one-time job.
For a faster all-in-one box with masking tape and multiple grit stages already packed, look at the 3M Ultra 39195.
4. 3M Ultra Headlight Restoration Kit 39195 Review: Most Complete Box
3M Ultra Headlight Restoration Kit, Contains Masking Tape, Light Sanding Discs, Wax Protectant and More, Use on Plastic Lenses Headlights, Taillights and More, Easy Heavy-Duty Restoration (39195)
Disc pad holder, six 500-grit discs, four 800-grit discs, a 3000-grit Trizact disc and two clear coat wipes
Masking tape included
Pros
- Most complete package in the lineup
- Includes masking tape that other kits omit
- Works with a drill or by hand
- Clearly the best-ranked kit in the category by sales
Cons
- Clear coat wipes are a light protectant rather than a ceramic bond
- Requires separate purchase of a drill for fast correction
The 39195 is the version of the 3M system we recommend to anyone who wants one box that covers the whole job. You get the disc pad holder, six 500-grit Gold discs, four 800-grit White discs, a Trizact 3000-grit refining disc, and two quick headlight clear coat wipes, plus the masking tape that competitor kits frequently leave out.
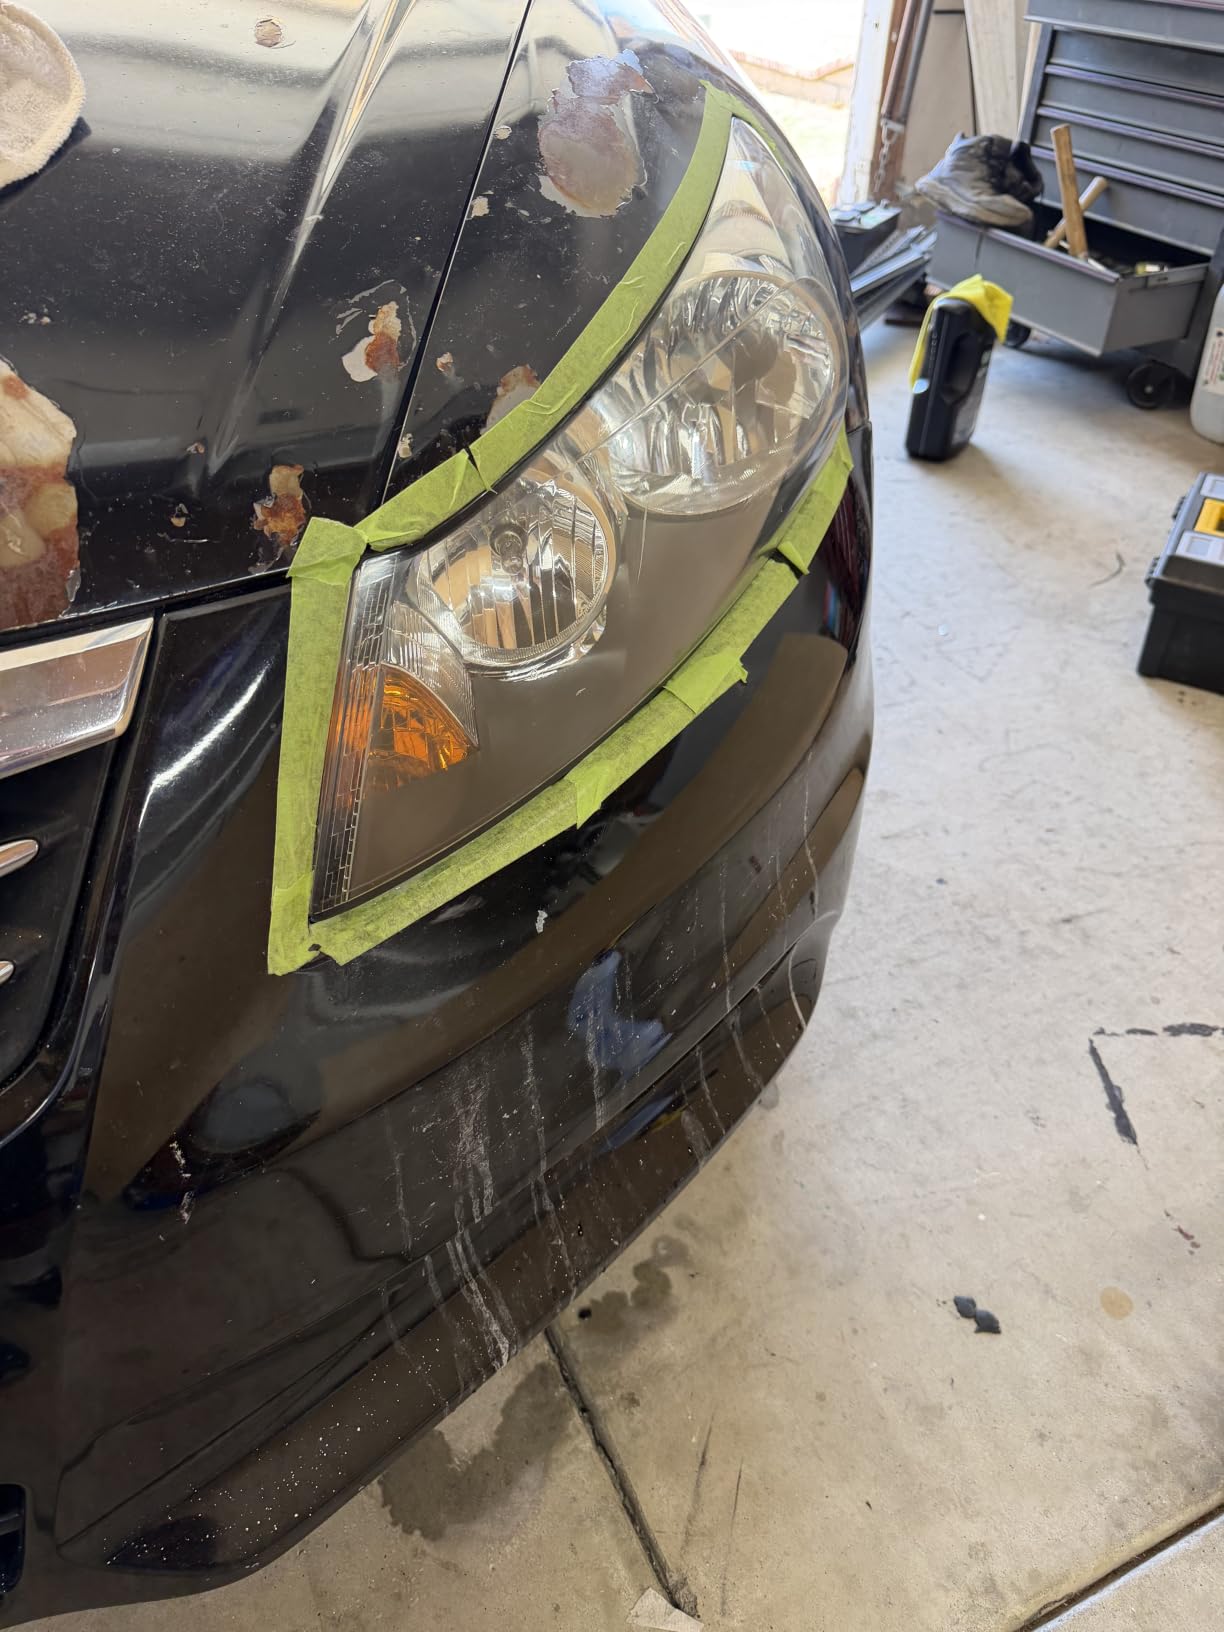
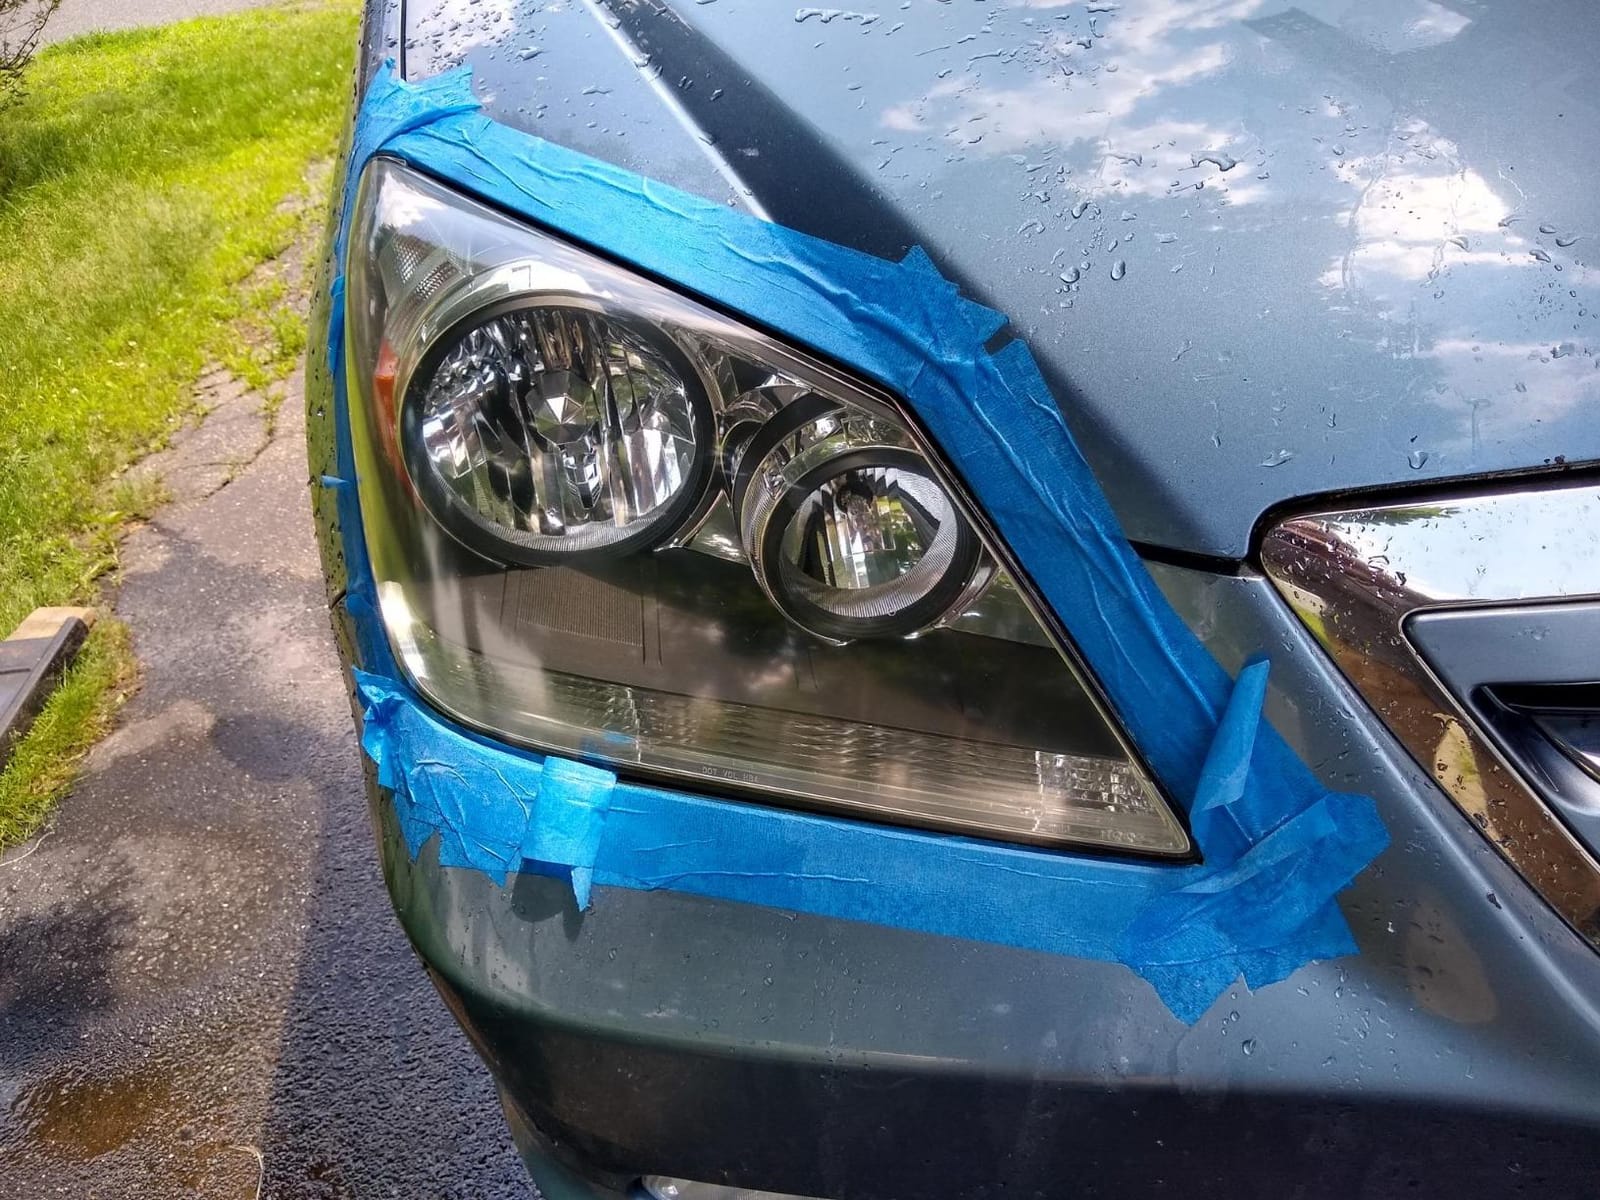
That tape detail sounds minor until you are working next to a painted bumper or a chrome grille. Masking the surrounding bodywork is the step that separates a clean job from one with compound streaks on the paint, and having it in the box removes the most common excuse for skipping it.
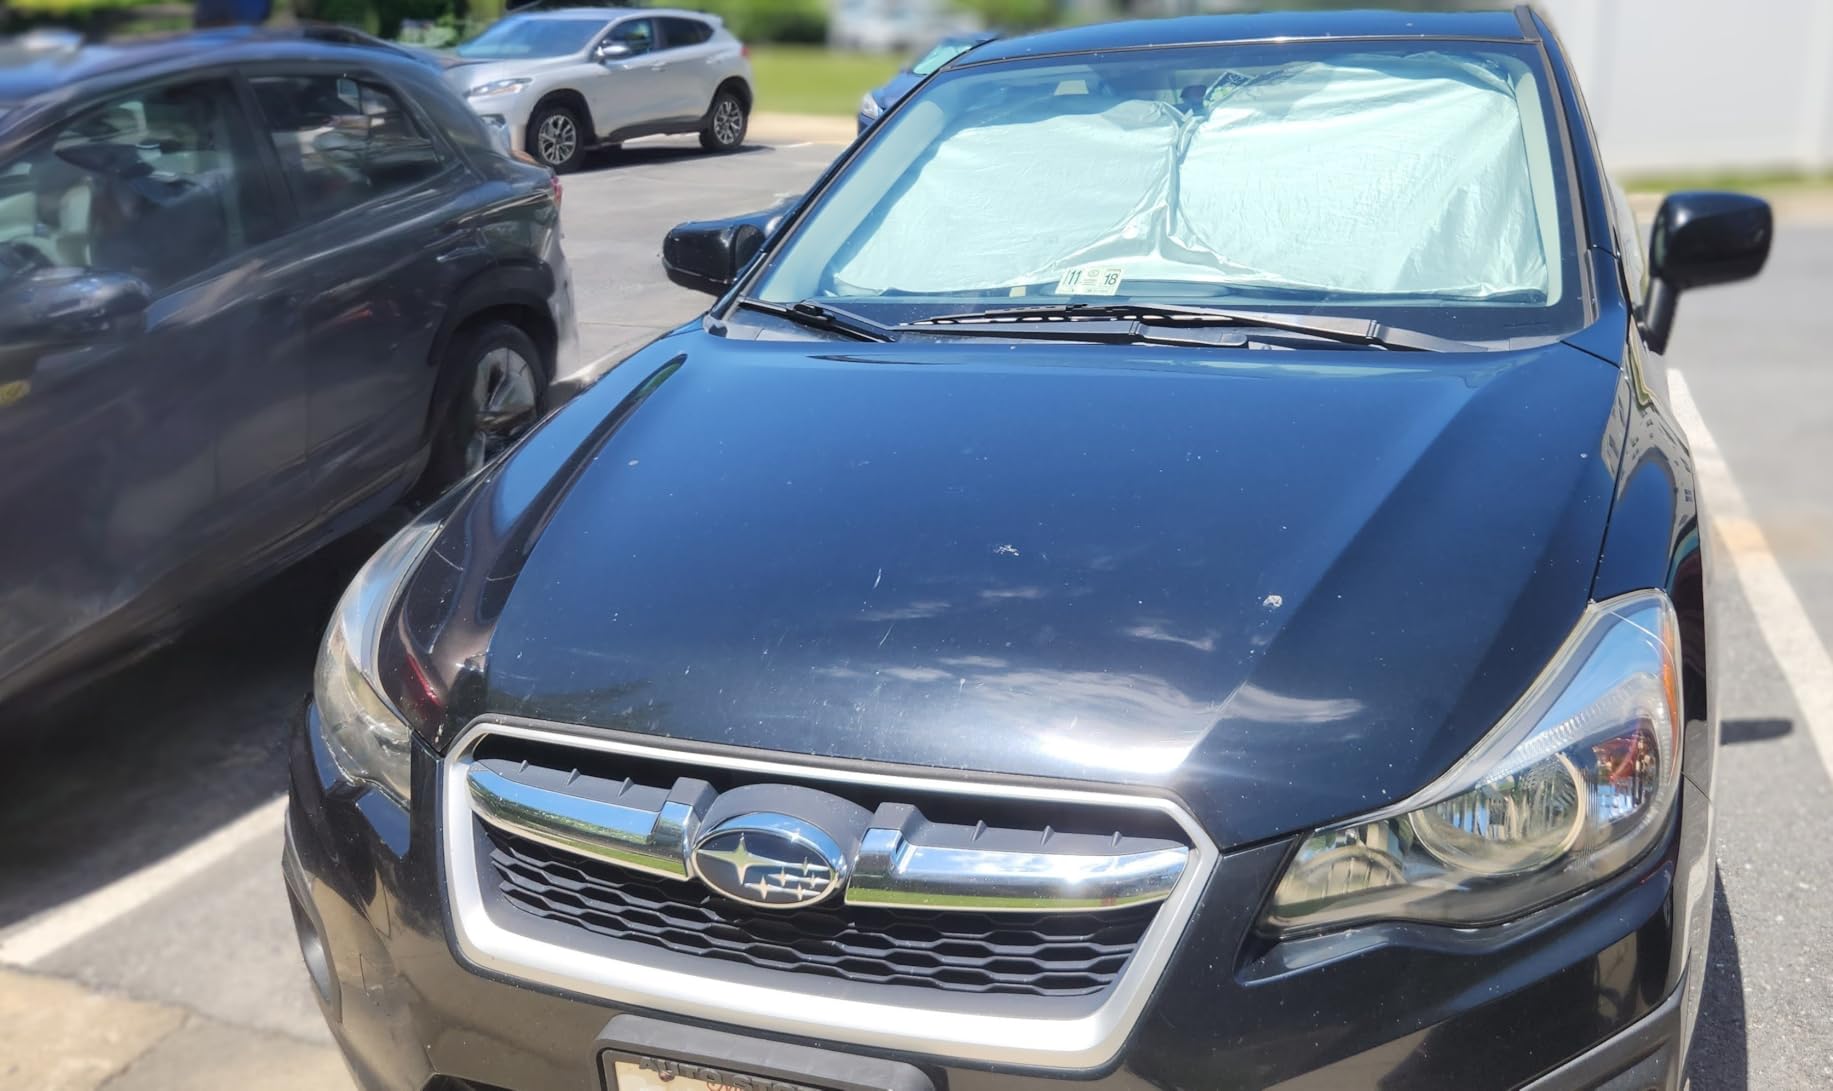
It ranks at the very top of the headlight restoration category by sales, and the 4.6 average across more than 16,000 reviews backs that up. Owners like that it runs with or without a drill, so you can scrub a badly hazed lens by hand for an hour or speed through the coarse stages in fifteen minutes.
What to understand is the protection level. The two quick clear coat wipes give the lens a layer of protection, but this is a light UV protectant rather than a chemical-bonding ceramic or a full hard clear coat. If you drive a lot of night miles or park in full sun, follow it with a stronger coating.
Best for
This is the kit for a first-time restoration on a car that is moderately yellowed, where you want the abrasive range to handle the bad patches but do not want to buy several products to get through the job. Everything you touch in one sitting is in the box, which keeps the learning curve short.
It also works on taillights, fog lights and directional lights, so one kit covers the whole exterior lighting package on most vehicles.
Where it falls short
It is a correction kit with a light topper, not a coating-first system. On a neglected lens the first winter will test that light protectant, and many owners add a separate UV sealant afterwards for that reason. It is also not the right tool for pitting, where the Mothers kit is stronger.
If long-term protection is your main priority rather than day-one clarity, the CERAKOTE ceramic wipes are the finish we would rather see on the lens.
5. Meguiar’s Two Step Headlight Restoration Kit Review: Fastest Hand Process
Meguiar’s Two Step Car Headlight Restoration Kit
Two step hand system with abrasive pads, cleaner and coating
Covers up to 12 months of protection
Enough for two to three vehicles
Pros
- Two clear steps with no sanding grit sequence to learn
- Coating protects against re-oxidation for up to 12 months
- Enough product for two or three vehicles
- No drill required
Cons
- Strips the factory UV layer so lenses need periodic retreatment
- Spray technique matters or it leaves a filmy haze
- Light scratches stay visible under bright light
Meguiar’s compresses the whole job into two steps. You spray the cleaner onto the included abrasive pads, work the lens until the haze clears, wipe it down, then apply the headlight coating. There is no multi-grit ladder to learn, which makes this the least intimidating kit on the list for a first attempt.
The coating is the reason this one is worth your time. It is documented to protect against yellowing and re-oxidation for up to 12 months, which is a defined window rather than the vague promise most kits make. In practice that means planning a top-up each year rather than each spring.
Quantity is another quiet advantage. One kit carries enough cleaner and coating for two to three vehicles, so it works well for a household with more than one car or for someone who likes to re-coat as part of a seasonal routine. A typical job takes under an hour for a pair of headlights by hand.
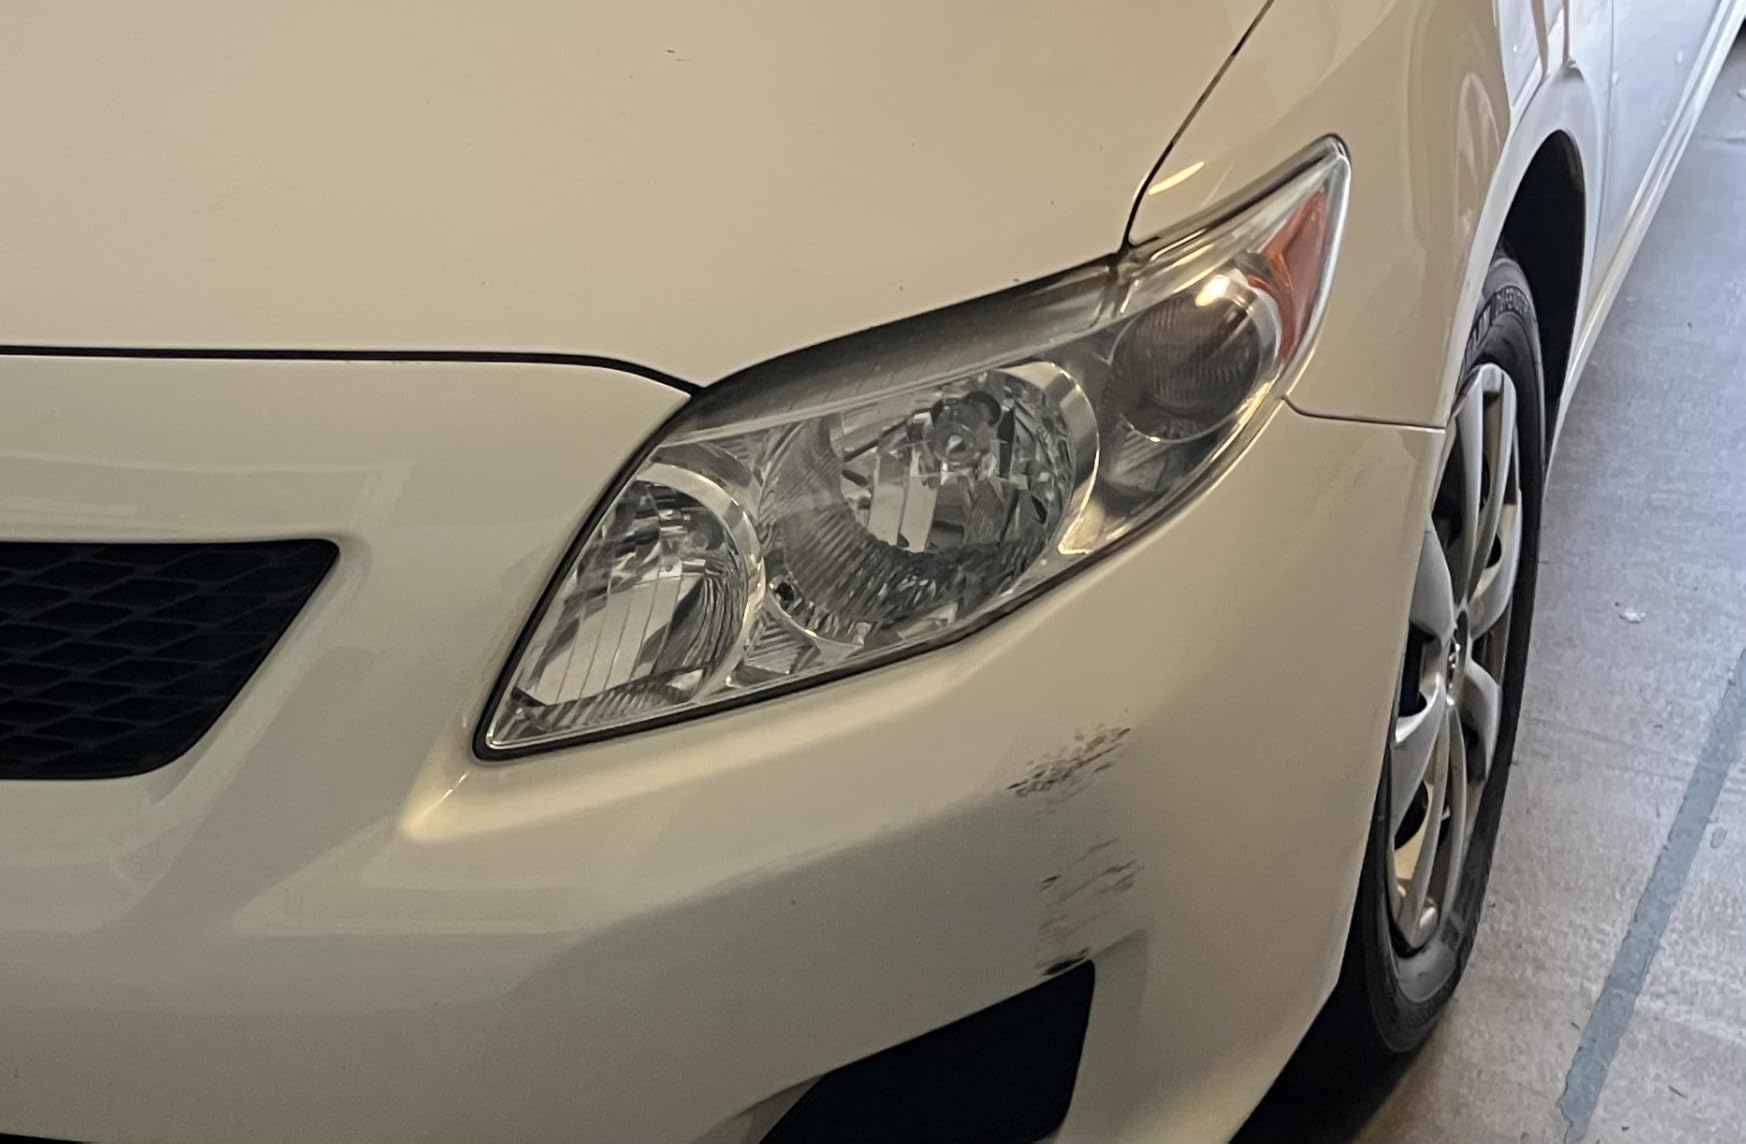
Two things to know. The abrasive pad removes the factory UV protection layer, so the lens is unprotected until the coating goes on, and you should not leave it sitting sealed overnight. And the spray step is technique-sensitive: over-spraying or under-spraying leaves a filmy haze that is harder to see than the original yellowing. Work in a sheltered, wind-free space and apply light, even passes.
Best for
Light to moderate haze on a lens you want to maintain rather than rescue. It is also the one to reach for when you have several vehicles and want a single kit that covers all of them plus a future re-coat.
It is a genuinely good option for taillights too, since the same two steps work on any uncoated clear plastic.
Where it falls short
It is not a heavy-correction tool. Fine scratches and swirl marks can remain visible under bright light, and the finish rarely looks factory-fresh under direct sun compared with a wet-sanded result. On a badly oxidized lens the hand work also takes real effort.
For a lens with genuine pitting, go with the Mothers NuLens kit, and for raw correction power the 3M 39008 goes deeper still.
6. Mothers NuLens Headlight Renewal Kit Review: Strongest on Pitted Lenses
Mothers NuLens Headlight Renewal Kit (07251)
PowerPlastic 4Lights polish, multi-grit sanding discs and a foam polishing tool
Oxidation-inhibiting polymers
Plastic compatible
Pros
- Strong correction on pitted and heavily oxidized lenses
- Polish leaves an oxidation-inhibiting protective layer
- Multiple grit discs cover roughly four headlights
- Foam polishing tool gives a clean finish
Cons
- Sparse box instructions are easy to follow out of order
- Close to two hours for a pair of lenses
- Not enough 1500 and 3000 grit discs to finish both lenses
The Mothers NuLens is the kit enthusiasts reach for when the lens is damaged rather than merely cloudy. The PowerPlastic 4Lights polish removes yellowing, stains and oxidation while leaving an oxidation-inhibiting polymer layer behind, and the multi-grit discs let you work a pitted surface down to something smooth. Users restoring badly oxidized headlights report genuinely like-new results when they follow the process in order.
This is also the most polarizing kit in the group, and the reason is the instructions. Owners frequently call the printed guidance sparse and easy to follow out of sequence, and getting the order wrong is the main reason for the 4.2 average. Read the process fully before you start, then work in sequence.
Time is the other big factor. A pair of lenses takes close to two hours, which is roughly double what a drill-driven kit needs, and some owners report that the 1500 and 3000 grit discs run out before both lenses are finished. Buy a separate sheet of paper at those grits rather than being left with a half-finished correction.
On the rotary tool instructions, be careful. Owners describe compound splattering onto surrounding paint and warn about melting or burning the plastic if the lens is not properly lubricated. Keep the surface wet and the speed low.
Best for
Lenses with real surface damage: rock pitting, sandblasting haze, or a vehicle that has never been treated and has decades of oxidation built up. The multi-grit progression plus the foam polishing tool produces a finish that no one-step product on this list can match.
It is also worth knowing the discs cover roughly four headlights, so it suits someone doing more than one vehicle.
Where it falls short
The weak box instructions and the tight disc quantities are the honest drawbacks, and both are avoidable if you plan ahead. It also does not include a dedicated lens protectant, so you will want to follow the polish with a UV coating if you want the result to hold for more than a season.
If you want comparable correction in half the time, the 3M Ultra 39195 has the same grit ladder and clearer packaging.
7. Chemical Guys Headlight Restore and Protect Review: One Bottle, Many Cars
Chemical Guys, Headlight Restore & Protect, Clears Cloudy Lenses, 16 oz
16 oz all-in-one liquid that cleans, restores and protects
Hand or machine application
Safe on headlights, taillights, fog lights and signals
Pros
- One bottle covers five or more sets of lights
- No sanding required so the job takes minutes
- Built-in UV protectant leaves a sealed finish
- Works by hand or with a machine buffer
Cons
- Real effort required by hand on a cloudy lens
- Severely pitted lenses need wet sanding first
- Protection can wash off sooner than expected
This is the efficiency pick. The 16 oz bottle is an all-in-one formula that cleans, restores and protects, and owners report one bottle handling five or more sets of lights. If you have a household with several cars, or you simply like having a maintenance product on the shelf, nothing else on this list gives you that much coverage per container.
There is no sanding step at all, which means the whole job happens in minutes rather than an hour. The haze and yellowing come up quickly on a moderately weathered lens, and the built-in protectant leaves a sealed finish in the same pass. You can apply it by hand with a foam applicator or run it on a machine buffer for faster coverage on bigger lenses.
It is also the most flexible product surface-wise here. It is documented for clear headlights, taillights, fog lights and turn signals, so the same bottle handles the entire lighting package.
The honest limitation is that no-sanding means no correction. On a smooth lens with surface haze it does everything you need. On a lens with pitting or a heavy amber cast, the abrasive content in the polish is not enough and you will need to wet sand first. By hand it also takes real physical effort, closer to an hour for a pair than the minutes the marketing suggests.
Best for
Fleet-style maintenance and multi-vehicle households. One bottle covering five or more sets of lights changes the maths entirely compared with single-use kits, and the same product handles fog lights and taillights without a second purchase.
It is also the right maintenance companion if you pair it with a proper CERAKOTE or SYLVANIA job once a year and use this between treatments.
Where it falls short
It is not a restoration tool for damaged lenses. Pitted, scratched or severely oxidized surfaces will clean up incompletely, and you will end up needing the abrasive step that this product deliberately skips.
Protection longevity is also inconsistent, with some owners reporting the sealed layer washing away sooner than expected. Follow it with a dedicated UV coating if longevity matters more than speed.
8. Clear Lights Tech 3-Wipe System Review: The Glove-Box Maintenance Kit
Clear Lights Tech, Headlight Restoration Kit – Headlight Cleaner 3-Wipe System, Helps Remove Yellowing & Oxidation, Helps Improve Headlight Visibility, Long-Lasting UV Protection.
Three-wipe system: two cleaning wipes and one UV-protective wipe
No tools or power required
Model RH1
Pros
- Fastest possible process with no sanding or tools
- UV-protective wipe is included as the final step
- Compact format fits in a glove box
- Very little mess and no cleanup
Cons
- Correction power is limited so deeply yellowed lenses stay yellow
- Small wipe count means few treatments per pack
- Best suited to maintenance rather than a full restoration
The Clear Lights Tech system is the simplest thing on this list. Two cleaning wipes remove the haze and oxidation, one UV-protective wipe seals it, and the entire job takes a couple of minutes with a set of kitchen towels. There is no drilling, no sanding sequence, no mixing, and almost no cleanup.
That makes it a maintenance product rather than a restoration product, and it is worth being clear about that. The appeal is convenience: the pack is small enough to live in a glove box, and a quick wipe before a long night drive or before an inspection is a realistic habit rather than a project.
The 4.0 average across more than 8,000 reviews reflects exactly that positioning. Owners are happy with the results on a lens that has mild haze and a dull surface film, and the bundled UV wipe means the lens does not immediately start re-yellowing, which is the failure mode of most cleaning-only products.
What it will not do is remove serious yellowing. There is no abrasive stage of any kind, so a lens with a genuine amber cast or surface pitting comes out looking slightly better rather than restored. The three-wipe format also runs out quickly, so treating a second vehicle or getting a second round of protection means another pack.
Best for
Keeping a recently restored lens clear. If you finished a full job with a ceramic or clear coat kit, one of these in the glove box is a cheap way to strip surface grime and re-protect the lens a couple of times a year without repeating the whole restoration.
It is also a sensible first purchase for someone whose headlights are only lightly hazed and who wants to see how their lenses respond before committing to a full kit.
Where it falls short
Correction is where it stops. No abrasive, no compounding, and no drill means heavily yellowed or pitted lenses stay yellowed no matter how many passes you make. Treat it as a top-up product and pair it with one of the real kits on this list for the initial job.
For a genuine no-sand option with far more product per purchase, the Chemical Guys bottle is the better value over time.
9. Turtle Wax Headlight Restoration Kit Review: Straightforward and Quick
Turtle Wax Headlight Restoration Kit for Cars, Trucks & SUVs
Precision sanding pad with lubricant, clarifying compound and sealant wipes
Under 30 minutes
Suitable for cars, trucks and SUVs
Pros
- Complete kit with sanding pad
- compound and sealant wipes
- Full job finishes in under 30 minutes
- Sealing wipe helps defend against future UV yellowing
- Familiar brand with a large car care range
Cons
- Sandpaper supply is small for more than one pair of lenses
- Sanding pad is small on modern wide headlights
- Protection is a light sealant rather than a hard coating
The Turtle Wax kit is the one we suggest when someone wants a real restoration without a learning curve. Everything needed is in the box: a precision sanding pad with lubricant, a clarifying compound, and sealant wipes for UV protection. A full job takes under 30 minutes, and the sequence is short enough to remember after the first attempt.
It performs reliably on foggy and moderately yellowed lenses, which is the most common starting point for a first restoration. The clarifying compound does the correction work after the sanding stage, and the sealing wipe handles the protection step, so you finish the job properly without buying a separate product.
Turtle Wax ranks in the top tier of the category by sales volume, and the 4.1 average across roughly 7,400 reviews reflects solid rather than spectacular performance. It is a car care brand with a wide range, so the product fits into an existing shelf of car chemicals and the application is familiar.
The paper supply is the main constraint. The included sheets are sized for a standard pair of headlights, and on a modern truck with wide or complex lens shapes you may run short. The sanding pad is also small relative to the size of a current headlight, so expect more passes than the thirty-minute estimate on larger vehicles.
Best for
First-time restorers working on a car with moderately yellowed headlights, and anyone who wants a completed job with protection in a single box for less than half an hour of work. The included lubricant is a nice touch, since keeping the surface wet is the single most important habit during sanding.
It is also a good maintenance companion if you plan to re-coat lenses each year rather than doing a full restoration each time.
Where it falls short
The sealing wipe is a light protectant rather than a ceramic bond or a hard clear coat, so durability is closer to a season than to multiple years. It also does not have the abrasive range to handle pitted or severely oxidized surfaces.
For a stronger seal, use this for the correction and follow with the CERAKOTE ceramic wipes, or go straight to the SYLVANIA system which includes a proper UV block clear coat.
10. Formula 1 Headlight Restorer and Sealant Review: Ten Minutes, No Sanding
Formula 1 Headlight Restorer & Sealant – One Step Polish to Clean & Renew Yellowed Headlights, Windscreens, or Exterior Plastics (8 oz.)
8 oz one-step liquid with carnauba wax
Cleans and seals in a single pass
Works on any clear plastic surface
Pros
- Genuinely one step with no masking
- sanding or tools
- About 10 minutes for both headlights
- Works on helmet visors
- screens and marine windows too
- Combines cleaning and sealing in one product
Cons
- Best suited to mild to moderate haze only
- Two coats can produce little change on a cloudy lens
- No UV clear coat included
- so longevity is limited
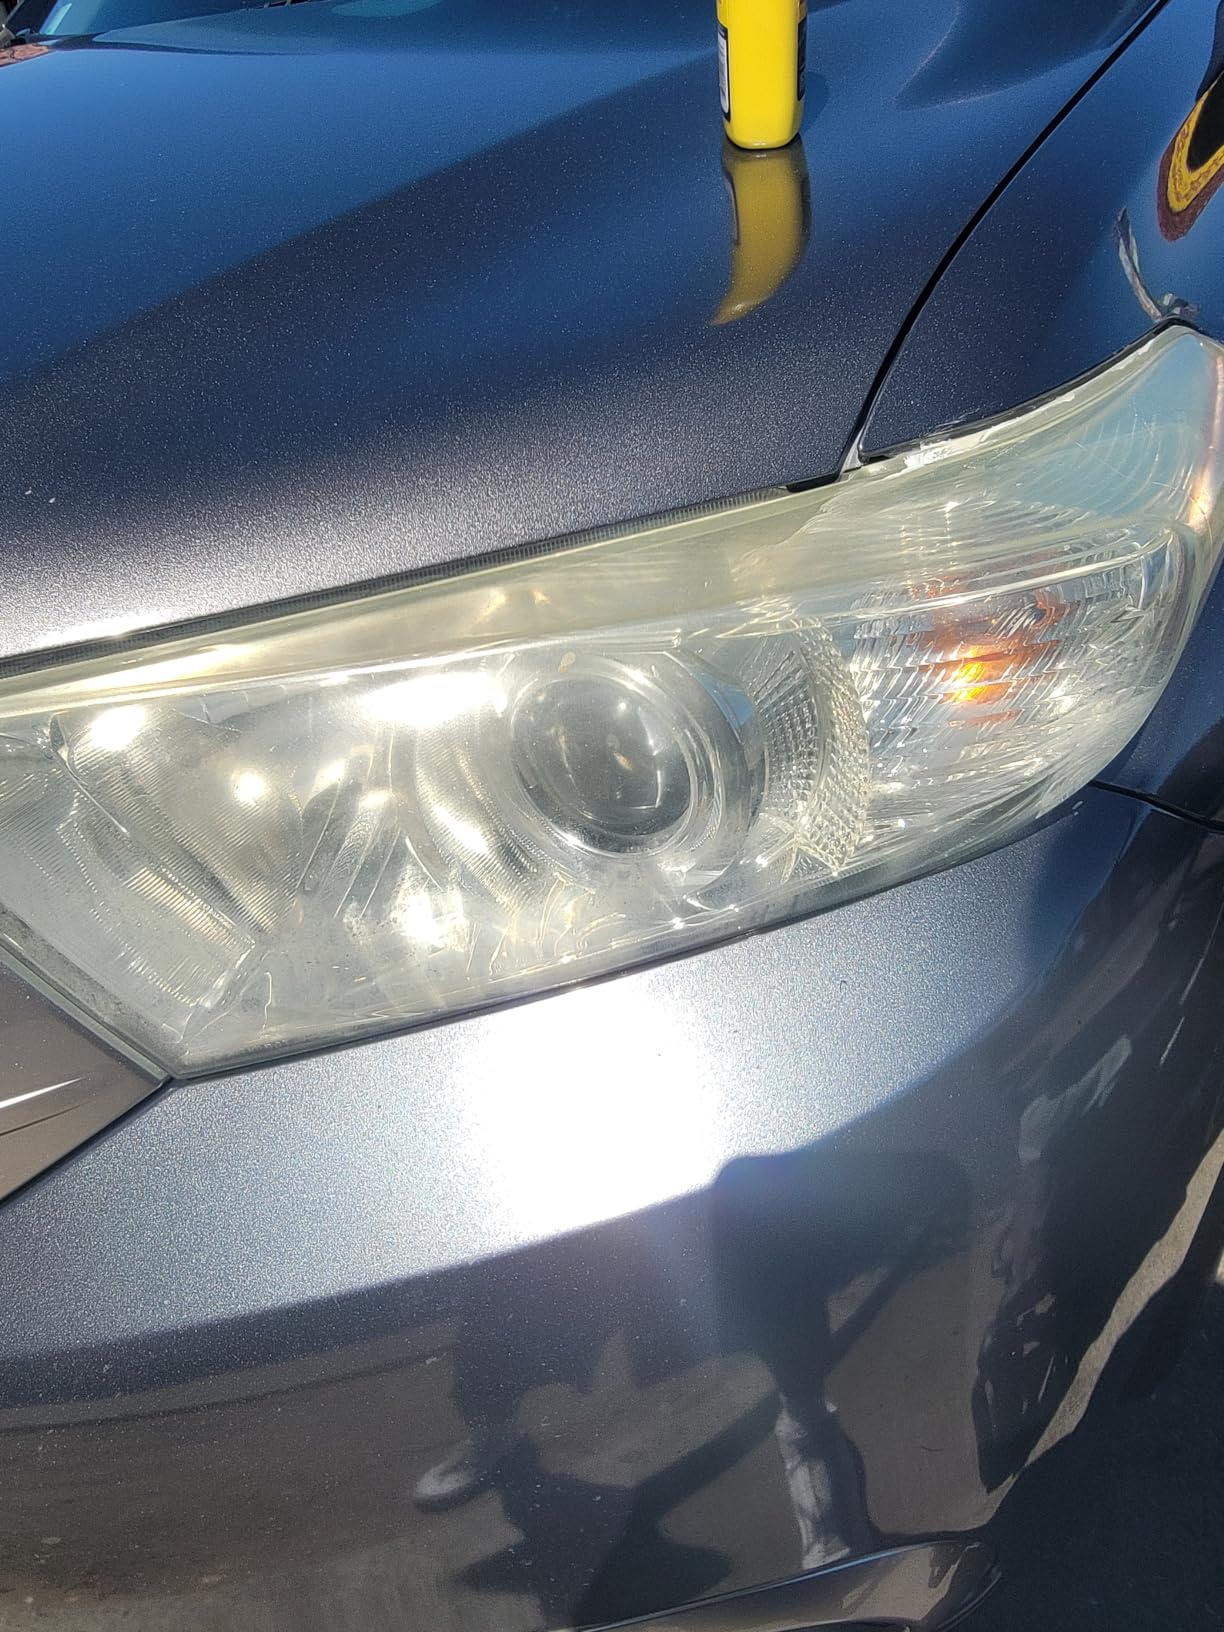
This is the fastest real fix here. You wash and dry the lens, shake the bottle, apply with a dry cloth in circular motions, and buff off the excess. No taping, no sandpaper, no tools, and roughly ten minutes for both headlights. The 8 oz bottle uses carnauba wax in the formula, so it cleans and seals in the same pass.
Its versatility is genuine. The same product works on brake lights, turn signals, helmet visors, motorcycle screens and marine windows, which makes it useful beyond a single pair of headlights and a sensible addition to a car care shelf.
Where expectations need managing is the severity it can handle. This is a mild to moderate haze product, and on a lens with a real amber cast two coats can produce almost no visible change. Reviewers who bought it for badly oxidized headlights tend to be the least satisfied, and they recommend following up with a separate UV sealant.
There is no UV clear coat in the kit, which is the key point. The carnauba seal gives you some protection, but this is not the coating that stops a lens re-yellowing over a multi-year horizon. The bottle also holds roughly enough sealant for about two cars.
Best for
A quick clean-up before an inspection, a night trip, or a sale. If the lens is only mildly cloudy and you want the whole job done between the driveway and the kitchen in ten minutes, nothing else on this list is faster.
It is also the practical choice for non-headlight clear plastics around the car, where a full restoration kit would be absurd overkill.
Where it falls short
It is a maintenance product, not a restoration kit. Severe yellowing, pitting, and sandblasting haze are all outside what it can fix, and the lack of a UV clear coat means the result is temporary by design.
For a no-sand option that can handle a genuinely yellowed lens, the Chemical Guys bottle is a stronger version of the same idea, and the SYLVANIA kit will actually correct the problem.
11. POLIWELL Headlight Restoration Kit Review: Everything Except the Polish
POLIWELL Headlight Restoration Kit for Yellowing & Oxidation Removal
8 cleaning wipes, 4 UV wipes, 600/800/1200 grit sandpaper, sanding block, tape, gloves and towel
2-year manufacturer warranty
Pros
- Most complete accessory list in the lineup
- 600 and 800 grit sheets reach defects other kits miss
- Includes tape
- gloves
- block and microfiber towel
- Two-year manufacturer warranty
Cons
- No finishing polish is included
- so the lens stays hazy after sanding
- No instructions included in the box
- Discs load quickly and need constant lubrication
The POLIWELL kit is unusual in what it includes rather than what it does. You get 8 cleaning wipes, 4 UV-protective wipes, a 600, 800 and 1200 grit sandpaper set, a 3-inch sanding block, masking tape, nitrile gloves and a microfiber towel, with a two-year manufacturer warranty behind it. The accessory list is the most complete in this roundup, and having the block, gloves and tape in the box removes the small annoyances that derail a first job.
The low-grit sheets are the draw. Reviewers single out the 800-grit discs for reaching deep scratches and dings that the other kits on this list walk past, and the range works on sedans, SUVs, trucks and motorcycles with a universal fit for plastic lenses.
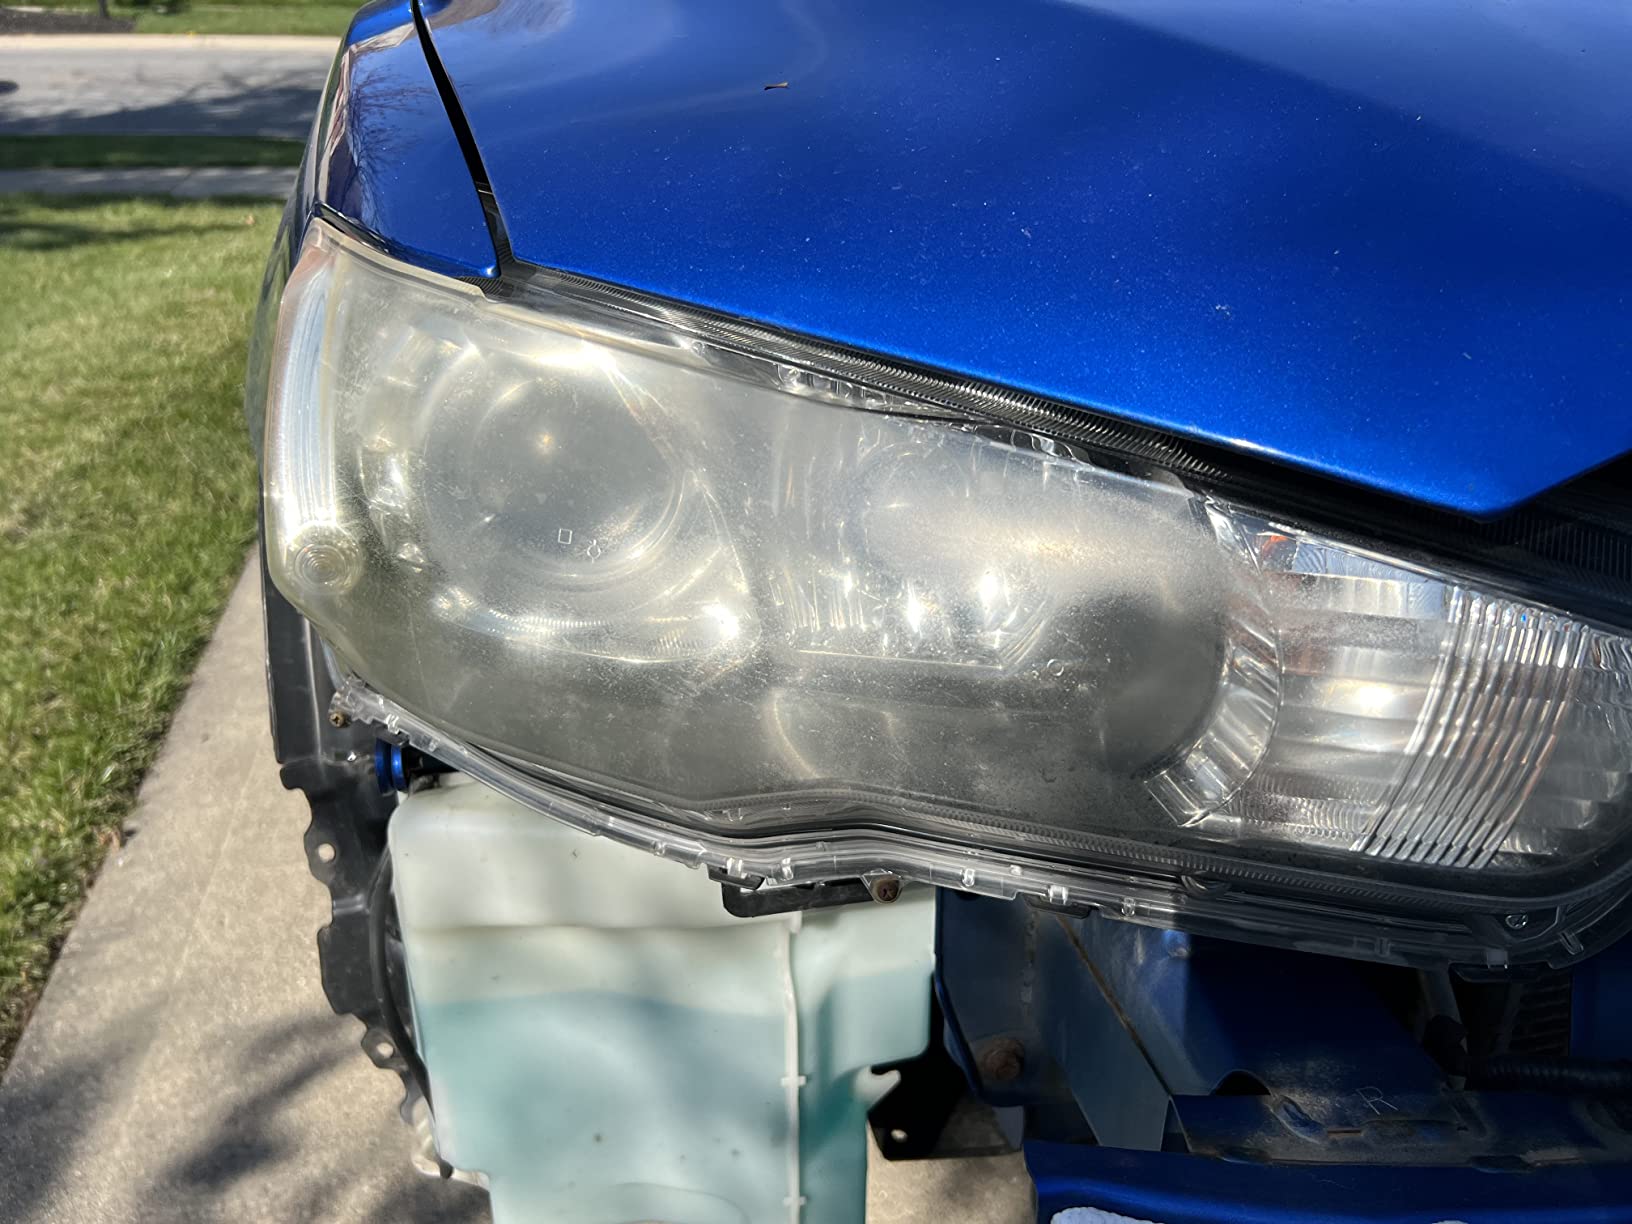
Now the significant gap. There is no finishing polish or compound in the box, and without one the lens sits hazy after the sanding stage no matter how good your technique is. Most owners work around this by pairing the kit with a separate plastic polish such as a Meguiar’s PlastX and a clear coat, which turns it into the abrasive stage of a longer process rather than a standalone restoration.
There are no instructions in the box either, and the marketing claim of 30-second restoration does not match the sanding the kit actually contains. The discs also load with acrylic residue quickly and need constant water lubrication, or they will start cutting unevenly.
Best for
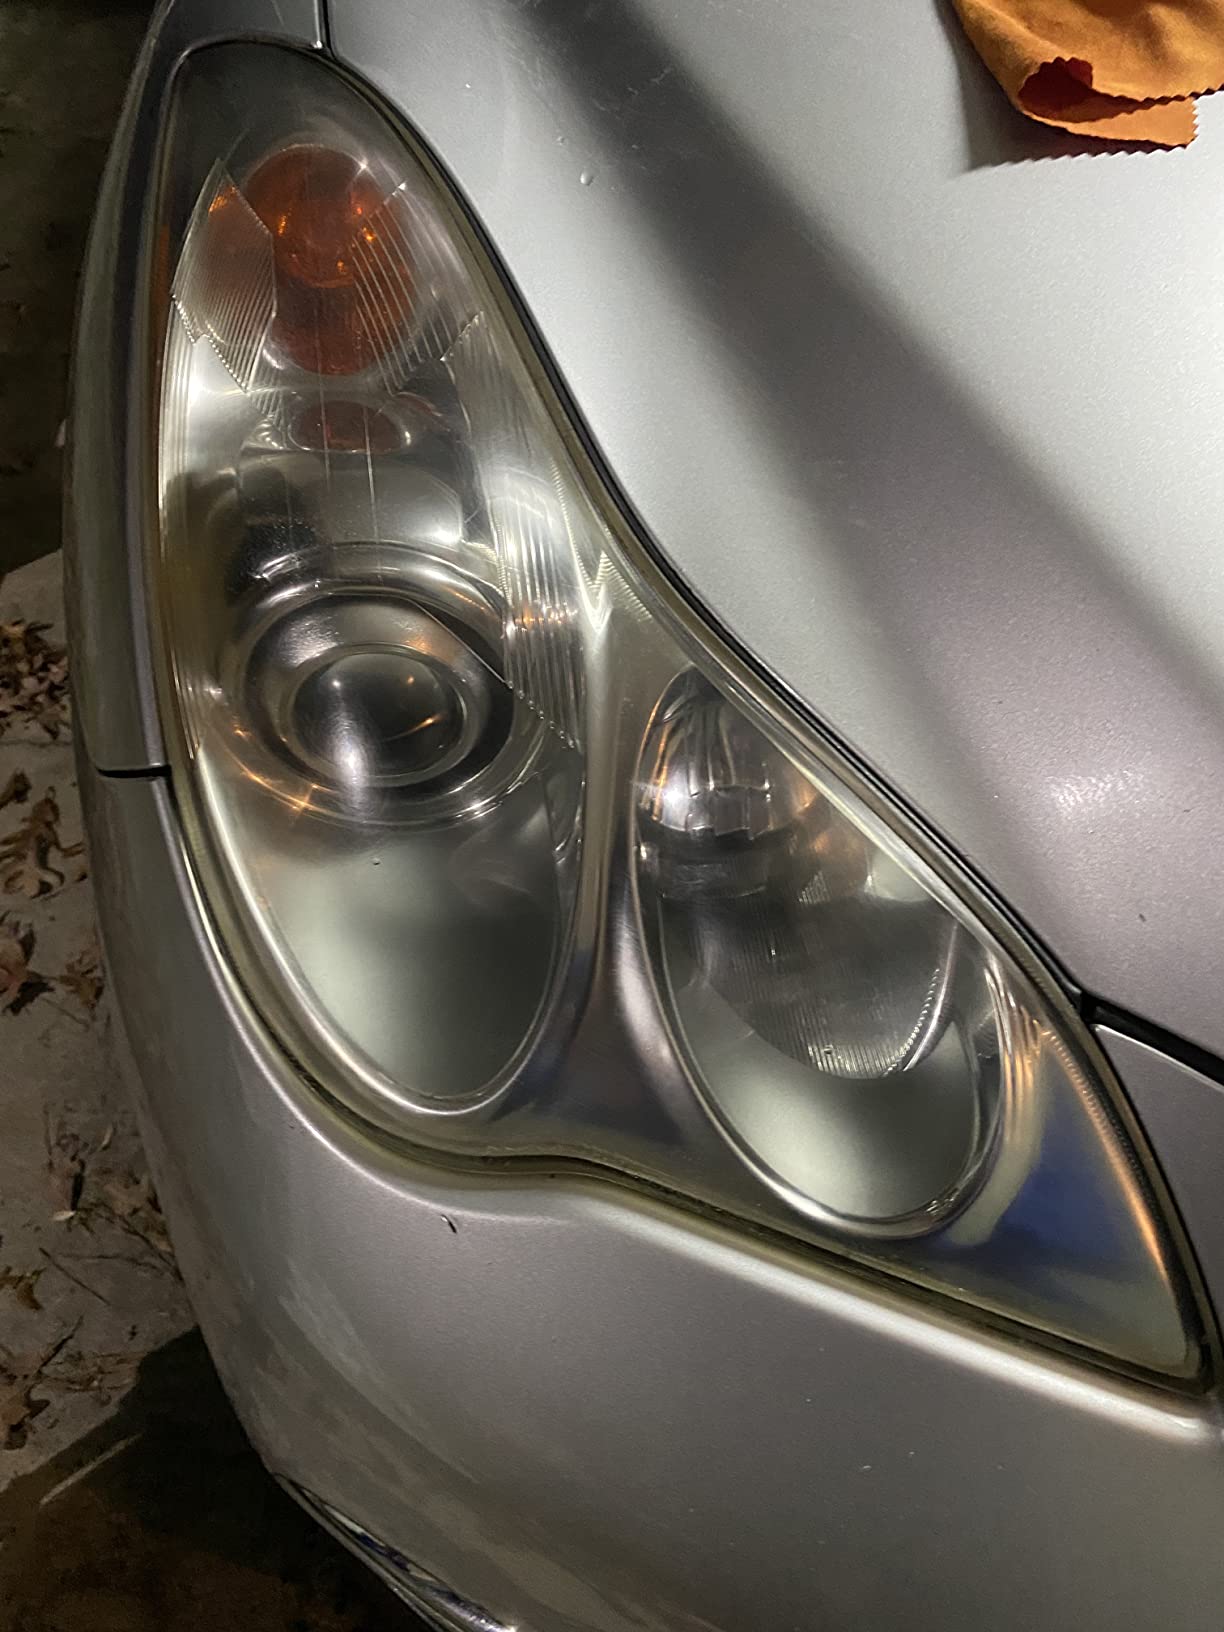
Anyone building a complete headlight toolkit who wants the accessories in one purchase, and owners with pitted or scratched lenses who need coarse paper that most kits in this price range do not include. The 600 and 1200 grit range bridges the gap between the 3M system’s coarse discs and its finer refining stage.
For a heavy oxidation job where you already own a polish and a sealant, this is a capable and well-equipped sanding kit.
Where it falls short
The missing finishing polish is not a minor inconvenience, it is the difference between a finished lens and an unfinished one. The absence of instructions means you need to already understand the grit progression, and on a less dirty lens the sanding can leave circular scratches and a blurry film where no correction was needed.
If you want a kit that works as a complete standalone job, pick the 3M Ultra 39195 or the SYLVANIA system instead.
12. 3M Restore and Protect Kit 39194 Review: The Refine Step Partner
3M Auto Restore and Protect Headlight Restoration Kit, Use On Plastic Lenses, Headlights, Taillight, Fog Lights and More, Includes Sanding Discs, Headlight Clear Coat Wipes, Foam Pad and Glove (39194)
Trizact refining discs at 1000 and 3000 grit, two quick clear coat wipes, foam pad and glove
Drill or hand use
Pros
- Refine and protect stages in one small box
- 1000 and 3000 grit plus a Hookit foam pad
- Pairs naturally with the coarser 3M sanding kits
- Works with or without a drill
Cons
- No coarse sanding discs so it cannot correct heavy oxidation alone
- Light clear coat wipes rather than a ceramic bond
- Less material than the larger 3M kits
The 39194 is the companion piece to the coarser 3M kits rather than a standalone restoration. Inside you get a 3M Trizact refining disc at 1000 grit, one at 3000 grit, two quick headlight clear coat wipes, a 3 inch foam pad with a Hookit attachment, and a disposable glove. That covers the refine stage after coarse sanding and the protect stage after polishing.
Used on its own it does very little, because there is no coarse abrasive in the box. The workflow it is designed for is straightforward: work the 500 and 800 grit discs from the 3M Ultra 39195 or the 39008 system across the lens, then use the 1000 and 3000 grit discs here to remove the sanding scratches, then finish with the clear coat wipes.
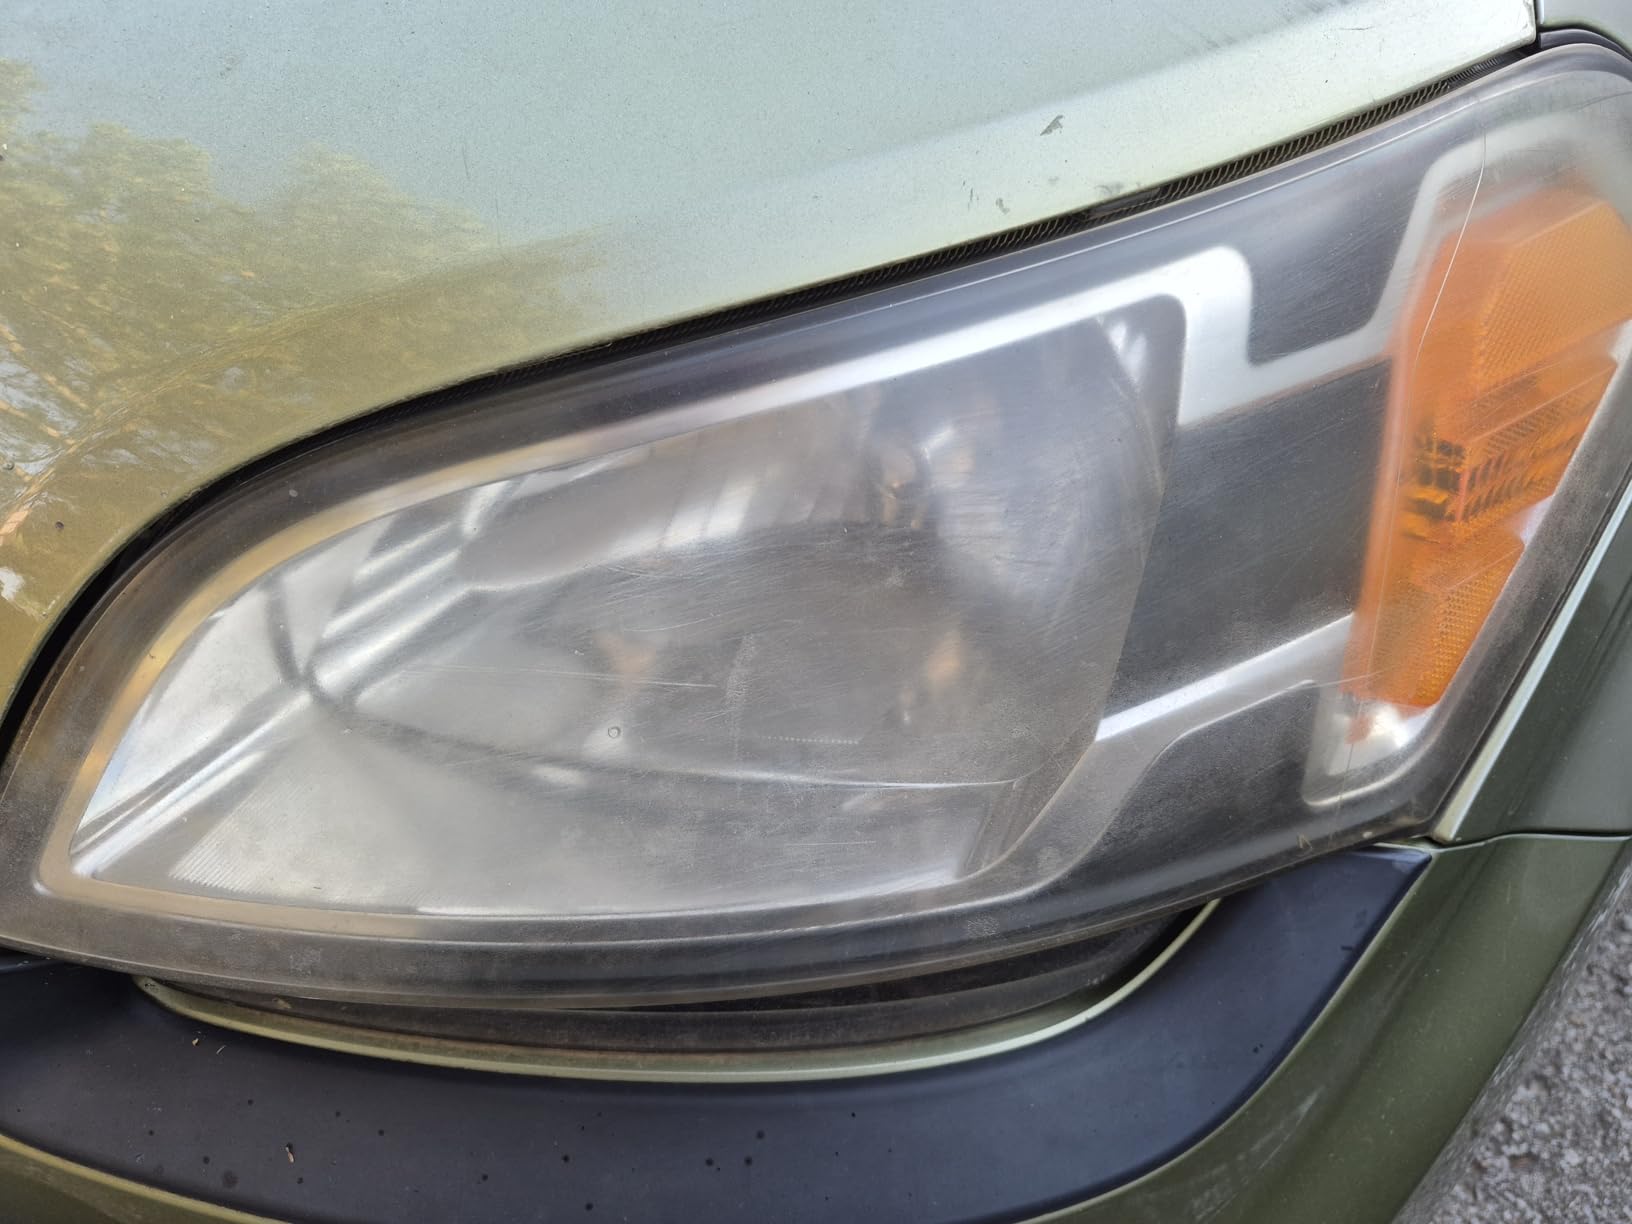
That pairing is the reason it holds a 4.5 average across nearly 8,000 reviews and ranks among the top sellers in the category. Many owners who bought the coarser kit without a plan for the finish step add this one to complete the sequence, and it is the least expensive way to add both a refining stage and a UV-protective top-up to a kit that ships with nothing.
The clear coat wipes are a light protectant rather than a chemical-bonding ceramic, so longevity is closer to a season. The box is also small, with limited material, so on a full set of four lenses you would be repeating quickly.
Best for
Owners of the 3M 39008 or 3M Ultra 39195 who need the finishing stage those kits leave open. It is a small, targeted purchase that closes a real gap: coarse correction without a refine step leaves visible scratch haze, and this is the missing piece.
It is also a reasonable entry purchase for someone who already owns paper and a polisher from a detailing kit and just needs the 1000 and 3000 grit discs plus a foam pad.
Where it falls short
It cannot rescue a heavily yellowed lens on its own, because there is no coarse stage. And the protection is a light clear coat wipe, not a ceramic bond, so it will not hold a lens clear for multiple years.
For a single kit that covers sanding, refining and protecting, the 3M Ultra 39195 already bundles the range, and the CERAKOTE system adds a stronger ceramic finish on top.
How to Tell What Your Headlights Actually Need
Most people buy the wrong kit because they judge severity by daylight. In a bright parking lot a lens that has lost 40 percent of its output still looks passable. Park in a dark garage or look at the beam pattern on a wall at dusk and the same lens tells the truth. That test is the fastest way to pick the right product.
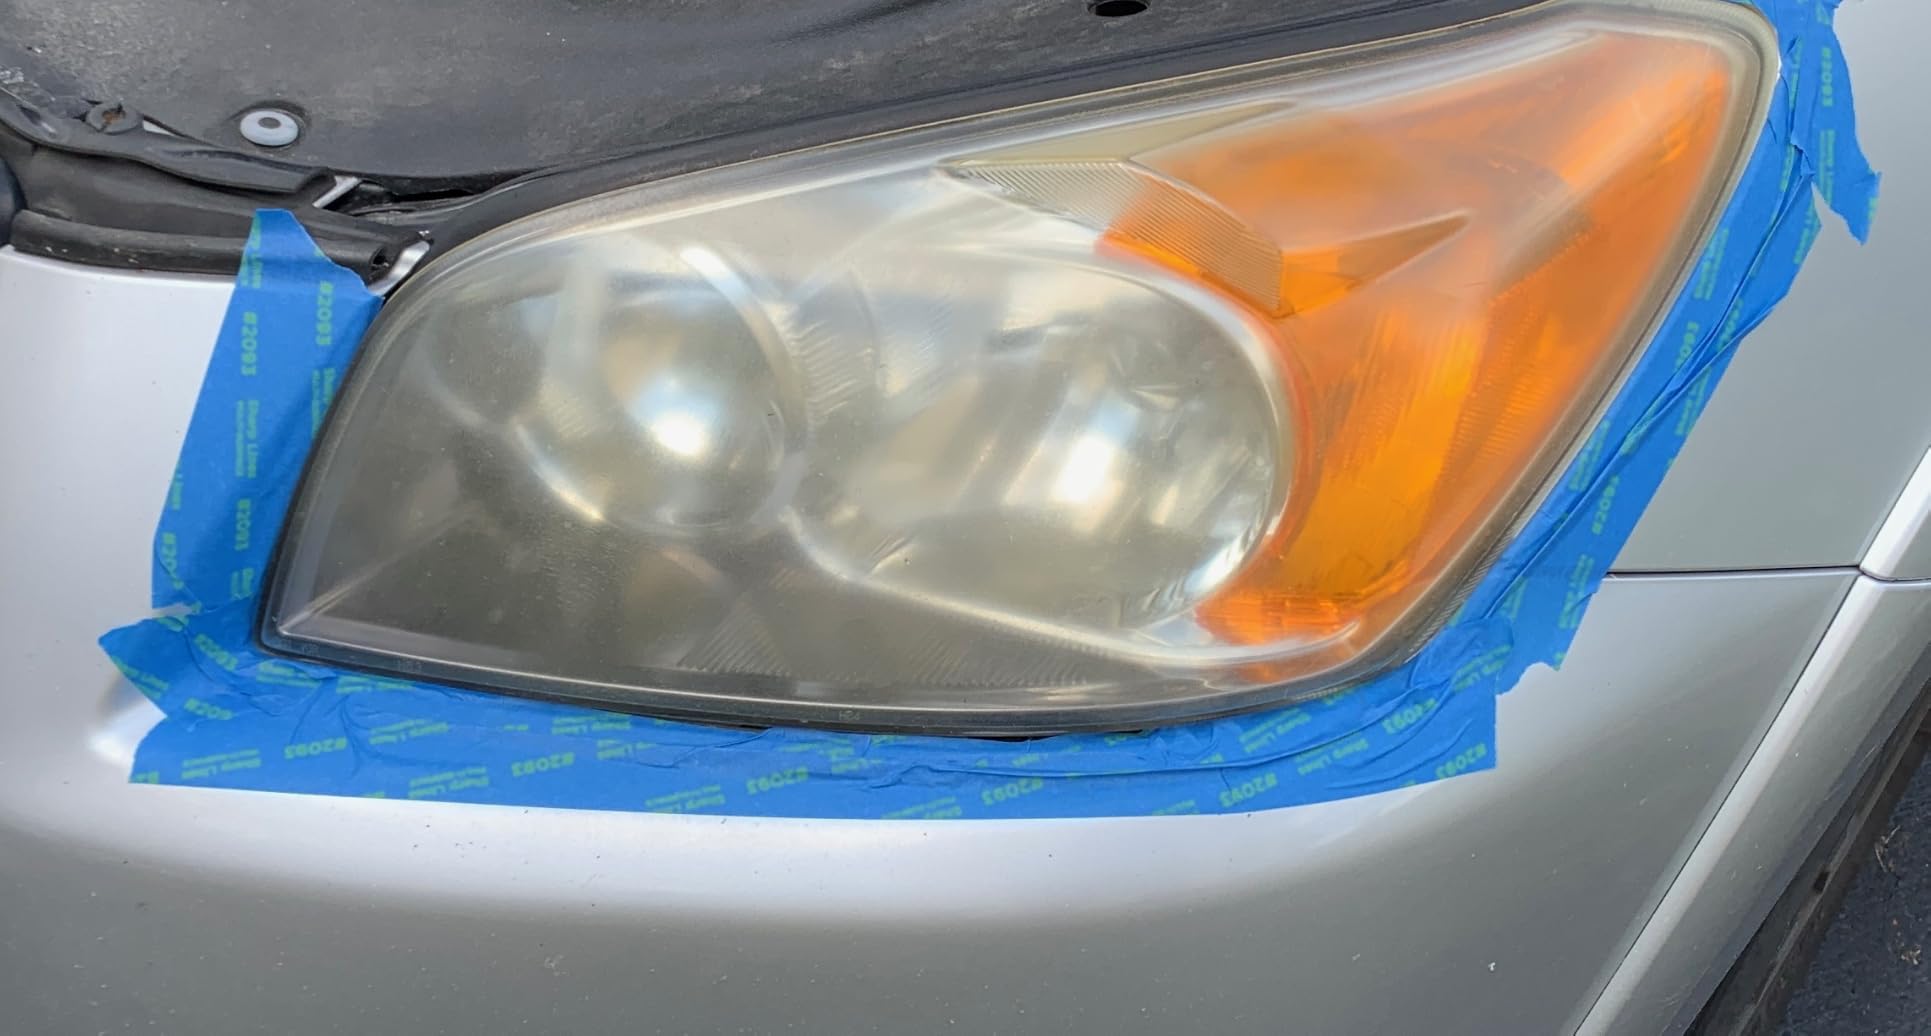
Start by checking whether the haze is on the outside or the inside, because the two problems have opposite answers. If the lens surface feels rough or gritty when you run a clean finger across it, the oxidation is external and a restoration kit will fix it. If the surface feels perfectly smooth but the lens still looks foggy, you are looking at internal hazing from a degraded factory hardcoat or a separated lens seal, and no kit on this list will correct it. That case needs a lens replacement or a professional reseal.
From there, match the severity. Light haze on lenses that still throw a white beam needs a coating and a wipe, which is where the Formula 1 restorer or the Clear Lights Tech system earn their place. Moderate yellowing with amber tint needs real correction plus protection, which is the SYLVANIA, Meguiar’s or Turtle Wax tier. Heavy yellowing, visible pitting and a beam that barely reaches the road need a full grit progression, which means the 3M Ultra 39195 or the Mothers NuLens kit.
If the lens has rock chips or sandblasting scars, pitting changes the answer. Surface pitting needs coarse paper and a machine to level the damage, which is the one case where a drill kit earns its extra setup time. It also carries the highest risk of burning the plastic, so keep the lens wet and the speed low.
The Grit Progression Guide for Headlight Restoration
Getting the grit order right is the question that comes up most often in restoration forums, and the answer is short: never skip a step upward. Each grit removes the scratches left by the previous one, so jumping from 800 straight to 3000 leaves an 800-grit scratch pattern that no polish will hide.
Start with 500 or 600 grit on a badly yellowed lens, wet the surface, and work in straight overlapping passes rather than circles, which is what creates swirl marks. Move to 800 or 1000 grit, then to 1500, then 2000, and finish the sanding at 3000. Each stage takes less time than the one before it, because each is removing finer damage. Keep the surface wet the whole way through; dry sanding on polycarbonate generates heat, and heat is what causes the melted, hazy finish that ruins a job.
After sanding, the lens still looks hazed because the fine scratches scatter light. A clarifying compound on a foam pad removes that haze, and only then does the coating go on. Skipping the polish and sealing a sanded lens is the most common way people end up with a lens that looks worse than before.
A final point on masking. Tape the surrounding paint, chrome and grille before you start, and check the edges of the lens for overspray. Most of the negative reviews across these products describe compound on the bodywork, and that is entirely avoidable.
What to Look for Before You Buy a Headlight Restoration Kit
The single most important feature is the protective coating. A kit that corrects without sealing is a half-measure, and the 3M 39008 is the clearest example: it does the most aggressive correction available here and includes no protection at all. Look for terms like UV block clear coat, ceramic coating, or a stated protection window such as the up to 12 months Meguiar’s documents.
Next, decide between drill and hand. A household drill turns a 90-minute hand job into roughly 20 minutes and is essential on pitted lenses, but it raises the risk of heat damage and compound splatter. If you do not own one, the hand kits here do the same correction at a slower pace, and the SYLVANIA system is the one we trust most for hand control.
Check the quantity next. A kit that covers one pair of lenses is fine for a sedan, but a truck with four lenses, a motorcycle with two lights plus a fog light, or a two-car household will need more material than one box provides. The Chemical Guys bottle and the Meguiar’s two-step kit both cover multiple vehicles, which matters more to most people than any other spec.
Finally, look at the grit range and the accessories. A kit that stops at 800 grit will not finish properly, and a 3M Trizact 3000-grit stage is what removes the sanding haze. Masking tape, gloves, a sanding block and a lubricant are the unglamorous items that decide whether the job looks professional when you finish.
If your headlights are damaged beyond a surface problem, we covered replacement options in our guides to the best headlight assemblies and the best projector headlight assemblies. For people who also want to change what is inside the housing, our LED headlight conversion kit guide covers that side of the job, and our earlier write-up on the best headlight restoration kits covers the basics in more detail.
Home Remedies That Do Not Fix Yellowed Headlights
WD-40 does not remove yellowing from headlights. It is a water displacer and lubricant that leaves an oily film, which can make a hazy lens look marginally clearer for a few days by filling surface micro-pits, but it does nothing to the oxidation and it can accelerate UV damage on plastic. Toothpaste is a mild abrasive that will haze a lens further and scratch the surface unevenly, and baking soda is too gentle to remove oxidation at all.
The reason these fail is the same reason real kits work. Yellowing is a chemically degraded layer on the surface of the polycarbonate. Removing it requires a controlled abrasive followed by a replacement protective layer, and none of the home options provide either. Lemon juice and vinegar are household acids that can leave etching on plastic, which is a permanent result rather than a temporary one.
There is one home habit that genuinely helps and it is not a product. Parking in a garage or under cover, and washing the lenses with a mild soap rather than leaving road film to bake under sunlight, slows the degradation cycle that started the problem in the first place.
Frequently Asked Questions
Which headlight restoration kit is best for badly yellowed lenses?
For heavily yellowed lenses choose a kit with a full grit progression and a real protective coating. The SYLVANIA Headlight Restoration Kit and the 3M Ultra 39195 both sand through multiple grits and include a UV block clear coat, while the 3M 39008 cuts the deepest but includes no protection at all, so it needs a separate sealant.
Does WD-40 remove yellowing from headlights?
No. WD-40 is a lubricant and water displacer that leaves an oily film which can make a hazy lens look slightly clearer for a few days, but it does not remove oxidation and can accelerate UV damage on plastic. Yellowing is a degraded surface layer on the polycarbonate that needs a controlled abrasive followed by a replacement protective coating.
Which is better, the Sylvania or Cerakote headlight restoration kit?
The SYLVANIA kit sands harder with dedicated paper and a separate clarifying compound, so it handles a worse lens and gives you more control by hand. The CERAKOTE kit works more like a wipe system with a sanding step attached, so it is faster and finishes with a chemical-bonding ceramic. Pick SYLVANIA for heavy damage and CERAKOTE for a lightly hazed lens you want done in about 30 minutes.
Does the 3M headlight restoration kit really work?
Yes, the 3M 39008 is the most aggressive correction kit in this roundup, using 500-grit, 800-grit and Trizact refining discs driven by a drill to remove deep yellowing, pitting and fine scratches. The key point is that it stops at the polishing stage, so adding a UV protectant afterwards is necessary or the lens will re-yellow within about a year.
Is the Cerakote ceramic headlight restoration kit any good?
Yes. It is a ten-wipe system with eight oxidation-removing wipes, a sanding kit and two ceramic coating wipes that chemically bond to the lens for long-term UV protection, and it holds a 4.6 average across more than 74,000 reviews. Its limit is correction strength: on deeply oxidized decade-old lenses the gentle prep can leave streaks or a returning fog after a year or two.
Do headlight restoration kits actually work?
They do, with one condition: the kit must include a protective coating. Sanding and polishing alone produces a clear lens on day one that starts re-yellowing within about a year. Kits that finish with a UV block clear coat or a chemical-bonding ceramic, such as SYLVANIA or CERAKOTE, hold their clarity far longer. AAA testing has found degraded headlights produce a small fraction of the light of a new unit, so the correction is a safety fix, not just cosmetic.
Can a restoration kit fix haze inside the headlight housing?
Usually not. If the lens surface feels smooth but the light still looks foggy, the haze is internal, caused by a degraded factory hardcoat or a failed lens seal. No abrasive kit can reach inside the housing, and that case needs a lens replacement or a professional reseal. Kits can only correct oxidation and yellowing on the outer surface.
How often should you restore headlights?
With a ceramic or clear coat finish, most owners report clarity holding for two to three years, so a re-coat every couple of seasons keeps a lens clear. A coating with a documented shorter window, such as the Meguiar’s two-step system that protects for up to 12 months, needs an annual touch-up. A quick wipe product like the Clear Lights Tech system works well as a maintenance top-up between full restorations.
The Best Headlight Restoration Kit for Your Lenses in 2026
After working through 12 kits, the CERAKOTE Ceramic Headlight Restoration Kit stays at the top of our best headlight restoration kits for yellowed lenses ranking because it is the rare product where the protection matches the promise. Ten wipes, no power tools, about 30 minutes, and a ceramic coating that chemically bonds to the lens and holds clarity for years rather than months. It is the right first buy for most people.
For a badly yellowed or pitted lens, pick the SYLVANIA Headlight Restoration Kit for stronger hand control with a proper UV block clear coat, or the 3M Ultra 39195 if you want a drill and a complete box. If you already own a coarse 3M sanding kit, the 3M 39194 covers the refine and protect stages that are otherwise missing. For quick maintenance between full jobs, the Chemical Guys bottle and the Clear Lights Tech wipes both work well.
Whichever you choose, the grit order is not optional. Start coarse, wet the surface throughout, polish out the sanding haze, and then seal it. That last step is what separates a restoration that lasts from one that repeats next spring.