
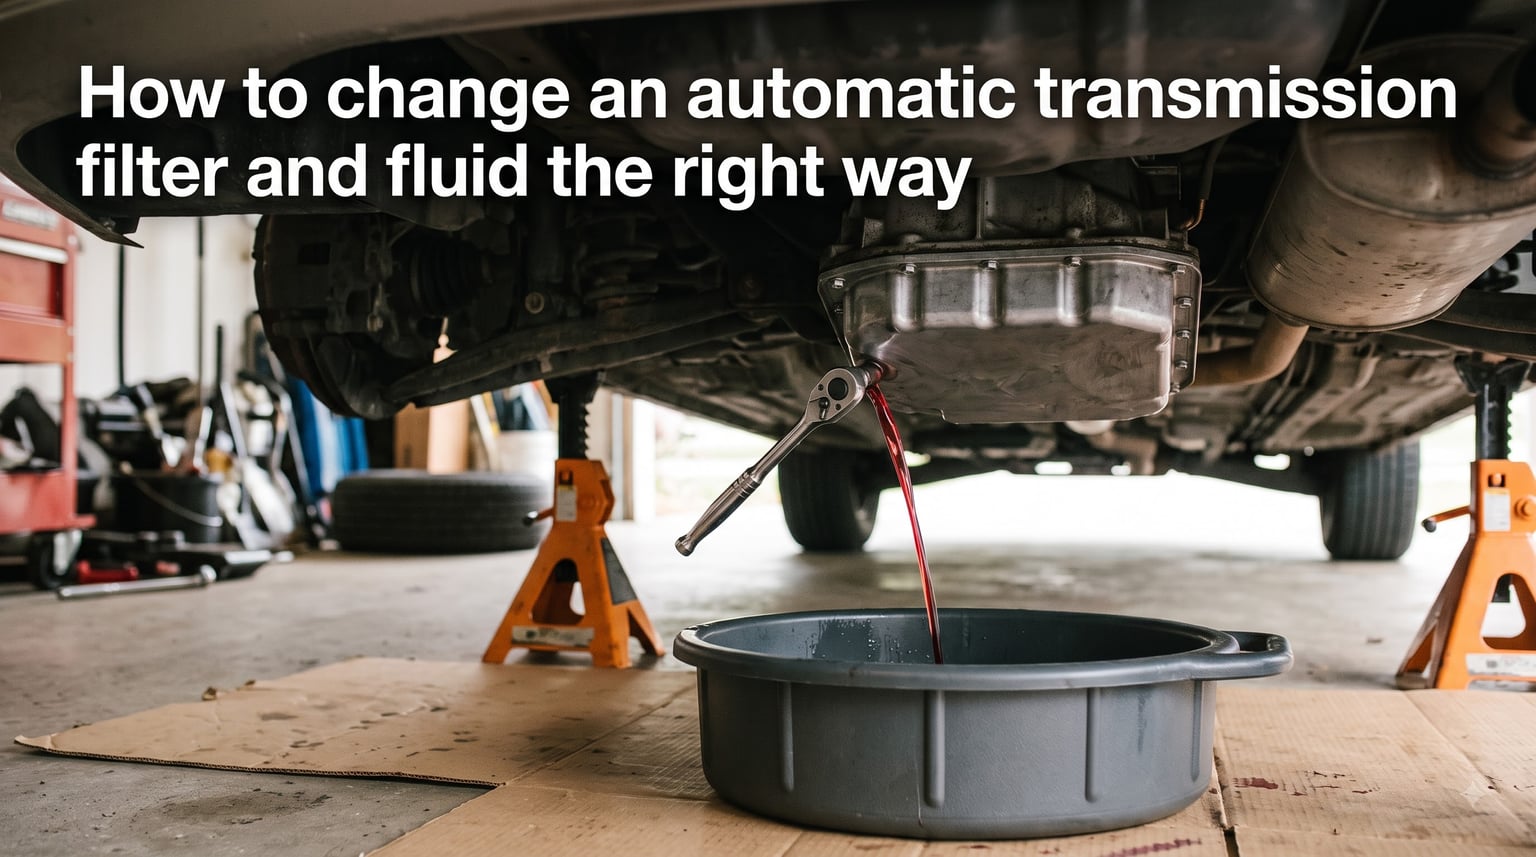
I learned how to change an automatic transmission filter and fluid the right way after ruining my first pan gasket on a 1998 pickup truck. The job is honestly easier than people think, but the order of steps matters a lot.
This guide covers what you need, how to do it without making a mess of your garage, and the high-mileage pitfalls most first-timers walk into. Whether you drive a Nissan, Ford, Chevy, or Toyota, the basic procedure is the same.
Yes, you can absolutely do this yourself in a couple of hours with basic hand tools. A shop charges several hundred dollars for the same job, so the savings here are real.
Table of Contents
Why Transmission Fluid and Filter Service Matters?
Automatic transmission fluid (ATF) does three jobs at once: it lubricates planetary gears and bearings, transfers hydraulic pressure to actuate clutches and bands, and carries heat away from friction surfaces. Over time, that fluid breaks down and collects the very wear particles it is supposed to keep suspended.
The transmission filter sits inside the pan and traps metal shavings, clutch debris, and sludge before they reach the valve body. A clogged filter starves the pump, drops line pressure, and is one of the leading causes of premature transmission failure.
Heat is the real killer here. Stop-and-go city driving, towing, and hauling all push transmission temperatures up. Every 20°F increase above 200°F roughly halves fluid life, which is why hot-climate vehicles need service more often.
Signs Your Transmission Fluid and Filter Need Changing
Fresh ATF is bright red and slightly sweet-smelling. If yours is dark brown, smells burnt, or has visible particles floating in it on the dipstick, you are already overdue.
Common warning signs include:
Hesitation or slipping when the transmission shifts between gears
A noticeable delay when shifting from Park to Drive or Reverse
Grinding or whining noises at low speeds
Transmission overheating warning light
Fluid that looks like dark maple syrup on the dipstick
I pull my dipstick every other oil change. If the fluid stops sticking to the stick cleanly or leaves dark streaks, that is my cue to plan a service soon.
When to Change Automatic Transmission Fluid?
Most manufacturers recommend changing automatic transmission fluid every 30,000 to 60,000 miles under normal driving, or every 25,000 to 30,000 miles under severe conditions like towing, mountain driving, or extreme heat.
Your owner’s manual is the source of truth here. Some newer vehicles claim lifetime-fill fluid, but ASE Master Technicians will tell you that lifetime really means 100,000 to 150,000 miles, not forever.
If you bought the vehicle used and do not know the last service date, treat it as overdue and change it now. The cost of prevention is far less than a replacement transmission.
Tools and Supplies You Will Need
Gather everything before you start. Mid-job trips to the parts store are how mistakes happen.
New transmission filter (match by VIN)
Transmission pan gasket (reuse only if rubber)
Correct ATF type for your vehicle (see owner manual)
Drain pan with at least 12-quart capacity
Socket and ratchet set with extensions
Torque wrench (foot-pound scale)
Screwdrivers, plastic scraper, lint-free rags
Floor jack and four jack stands
Safety glasses, nitrile gloves, shop apron
Plan for about 4 to 12 quarts of fluid depending on your transmission. Most sedans take around 8 to 10 quarts for a drain-and-fill.
How to Change an Automatic Transmission Filter and Fluid?
Work on level ground, in a well-ventilated space, and never under a vehicle supported only by a jack. This procedure assumes a traditional pan-and-filter automatic, not a sealed unit.
Step 1: Warm the Transmission Fluid
Start the engine and idle for 5 to 10 minutes. Warm fluid flows faster and carries more suspended debris out of the pan. Do not get the transmission fully hot, since hot ATF burns skin on contact.
Step 2: Raise and Secure the Vehicle
Use a floor jack to lift the front of the vehicle and set it on four jack stands. Confirm stability by pushing on the bumper before sliding underneath. Wheel chocks on the rear tires add an extra margin of safety.
Step 3: Locate the Transmission Pan and Drain Plug
The pan sits at the bottom of the transmission. Some have a small drain plug you can open to drop fluid without removing the whole pan. Most do not, which means you will drop the pan itself.
Step 4: Position the Drain Pan
Slide your drain pan directly under the transmission pan. Old fluid will hit anything within three feet, so cover your work area with cardboard or a tarp. I learned this the hard way on a concrete garage floor.
Step 5: Loosen Pan Bolts in a Spiral Pattern
Start at one corner and work your way around the pan, loosening each bolt a turn at a time. Do not remove any bolt fully yet. This staged loosening keeps fluid from dumping on one side and breaking the pan gasket seal unevenly.
Once all bolts are loose, carefully pry the pan free. Expect a final gush of fluid when the seal breaks.
Step 6: Drain and Inspect the Fluid
Let the pan drain completely into your catch pan. After it stops dripping, use a lint-free rag to wipe the inside of the pan and inspect the magnet. Fine metallic fuzz is normal wear. Large chunks or brass-colored flakes mean internal damage worth a professional inspection.
Step 7: Remove the Old Filter
The filter usually unscrews with a quarter-turn bayonet mount or is held by a single bolt. Pull it straight down and let residual fluid drip into the pan. Compare the old filter to the new one to confirm size and O-ring match.
Step 8: Clean the Pan and Mounting Surface
Scrape the old gasket material off the pan flange with a plastic scraper. Never use a metal scraper, since gouges in the sealing surface cause leaks. Wipe both the pan edge and the transmission mating surface with a clean rag.
Step 9: Install the New Filter and Gasket
Press the new filter into place until the bayonet tabs click or the mounting bolt is snug. Set the new gasket on the dry pan flange. Some installers add a thin bead of RTV silicone at the gasket corners, but most modern rubber gaskets do not need it.
Step 10: Reinstall the Pan in a Spiral Pattern With a Torque Wrench
Lift the pan back into position and hand-thread all bolts. Then tighten in a crisscross spiral pattern from the center out, working in two passes. Final torque is usually 8 to 12 ft-lbs on most domestic transmissions, though you should verify this in your factory service manual.
Over-tightening is the most common DIY mistake here and cracks the pan flange.
Step 11: Refill Through the Dipstick Tube
Lower the vehicle off the stands. Add about half the recommended total fluid capacity through the dipstick tube using a long-neck funnel. Start the engine and idle for 2 minutes, then shift through every gear with your foot on the brake.
Step 12: Check Level and Top Off
With the engine idling and the transmission in Park on level ground, check the dipstick. The fluid should sit between the two marks on a warm engine. Add fluid in small amounts until it reaches the correct line.
Take the vehicle for a 15-minute drive, then recheck when warm. Levels change as fluid circulates through the torque converter and cooler lines.
Drain and Fill vs Flush: Which Is Better
A drain-and-fill removes 30 to 50 percent of the old fluid and replaces it with new. A flush machine pushes fluid through the entire system under pressure, replacing close to 100 percent.
For most DIYers and especially for vehicles over 75,000 miles, drain-and-fill is safer. Flushes stir up sediment lodged in the torque converter and cooler lines, which can clog the new filter within hours.
Save the full flush for relatively new vehicles with regular service history, and only if you have a specific reason to replace all the fluid at once.
Sealed and Lifetime-Fill Transmissions Explained
Some modern transmissions have no dipstick and no service pan. They are filled at the factory and never meant to be opened by the owner. If your vehicle has a sealed transmission, the proper service is a dealer-only fill-and-level procedure through a dedicated check port.
CVT transmissions fall into a similar category. They use a completely different fluid that does not interchange with regular ATF, and the filter service often requires partial disassembly.
If your vehicle is sealed, do not attempt a DIY drain. You will not be able to refill it correctly without specialized equipment.
High-Mileage Transmission Considerations
Changing fluid on a transmission with 100,000 miles or more is a real decision. Many mechanics warn against it because they have seen flushes dislodge debris and clog the filter within days.
If you have a high-mileage vehicle that has never been serviced, start with a single drain-and-fill using the correct OEM fluid. Drive for 500 miles, then do a second drain-and-fill. This gradual approach cleans the system without shocking aged seals.
High-mileage ATF formulas contain extra seal conditioners and friction modifiers that help rejuvenate hardened gaskets. They are worth the small price premium.
Common Mistakes to Avoid
I have made most of these mistakes myself or watched friends make them. Learn from our errors.
Using the wrong ATF type: Dexron, Mercon, ATF+4, and CVT fluid are not interchangeable. The wrong fluid causes immediate shifting problems.
Over-tightening pan bolts: Cracks the flange and you are buying a new pan.
Skipping the filter: Old fluid with a new filter still leaves debris circulating.
Reusing a paper gasket: Always use a new rubber or composite gasket.
Mixing fluid brands: Stay with one brand to keep additive chemistry consistent.
Choosing the Right ATF for Your Vehicle
Check your owner manual or the stamping on your transmission dipstick for the exact specification. Common types include Dexron VI (most GM), Mercon LV (Ford), ATF+4 (Chrysler), and Toyota WS for many Toyota and Lexus vehicles.
Multi-vehicle ATF formulas are improving, but if you can buy the exact spec recommended by your manufacturer, that is the safest choice. Your transmission is the second most expensive component in your car after the engine. It is not the place to save ten dollars on fluid.
Frequently Asked Questions
Can I change my transmission fluid and filter myself?
Yes. With basic hand tools, jack stands, a torque wrench, and the correct ATF, most DIYers complete the job in two to three hours. The procedure works on most domestic and import vehicles with a traditional pan and filter setup.
How often should an automatic transmission filter be changed?
Most manufacturers recommend every 30,000 to 60,000 miles under normal driving, or 25,000 to 30,000 miles under severe conditions like towing, hot climates, or stop-and-go traffic. Replace the filter every time you drop the pan for a fluid change.
Is 100,000 miles too late to change transmission fluid?
No, but be careful. A full flush on a high-mileage transmission that has never been serviced can dislodge debris and clog the new filter. Use two consecutive drain-and-fills instead, with high-mileage fluid and 500 miles between services.
Why do mechanics say not to change transmission fluid?
Most mechanics who warn against it are talking about power-flush machines on neglected high-mileage transmissions. Sediment in the torque converter gets stirred up and clogs the filter or cooler lines. Drain-and-fill avoids this problem.
Is it necessary to change the automatic transmission filter when changing fluid?
Yes. The filter traps the debris the old fluid carried. If you only replace fluid and leave the old filter in place, you are pumping fresh ATF through a clogged screen and undoing most of the benefit.
What happens if you do not change transmission fluid?
Fluid loses its ability to lubricate and hold hydraulic pressure. You will see slipping, hard shifts, overheating, and eventually internal failure that costs far more than routine service.
Is flushing a transmission bad for high mileage?
It can be. Power flushing stirs up sediment and pushes it through narrow passages. For vehicles above 75,000 miles, drain-and-fill is the safer choice and still removes enough fluid to refresh the additive package.
What is the number one killer of automatic transmission fluid?
Heat. Every 20°F above 200°F roughly halves fluid life. Towing, hauling, hot climates, and stop-and-go driving all push temperatures up, which is why severe-service intervals are much shorter than normal.
Final Thoughts on How to Change an Automatic Transmission Filter and Fluid
Learning how to change an automatic transmission filter and fluid the right way saves you hundreds of dollars over the life of your vehicle and helps prevent the most expensive repair a car can have. The procedure is straightforward: warm the fluid, drain the pan, replace the filter and gasket, refill with the correct ATF, and torque everything back in a spiral pattern.
Take your time with bolt torque, do not skip the filter, and respect the high-mileage warnings. Your transmission will reward you with smoother shifts and a much longer service life.
Before you start, double-check your fluid specification against your owner manual and lay out every tool on a clean surface. That prep work is what separates a clean weekend job from a four-day disaster.
1 thought on “How to Change Automatic Transmission Filter and Fluid (September 2026)?”