
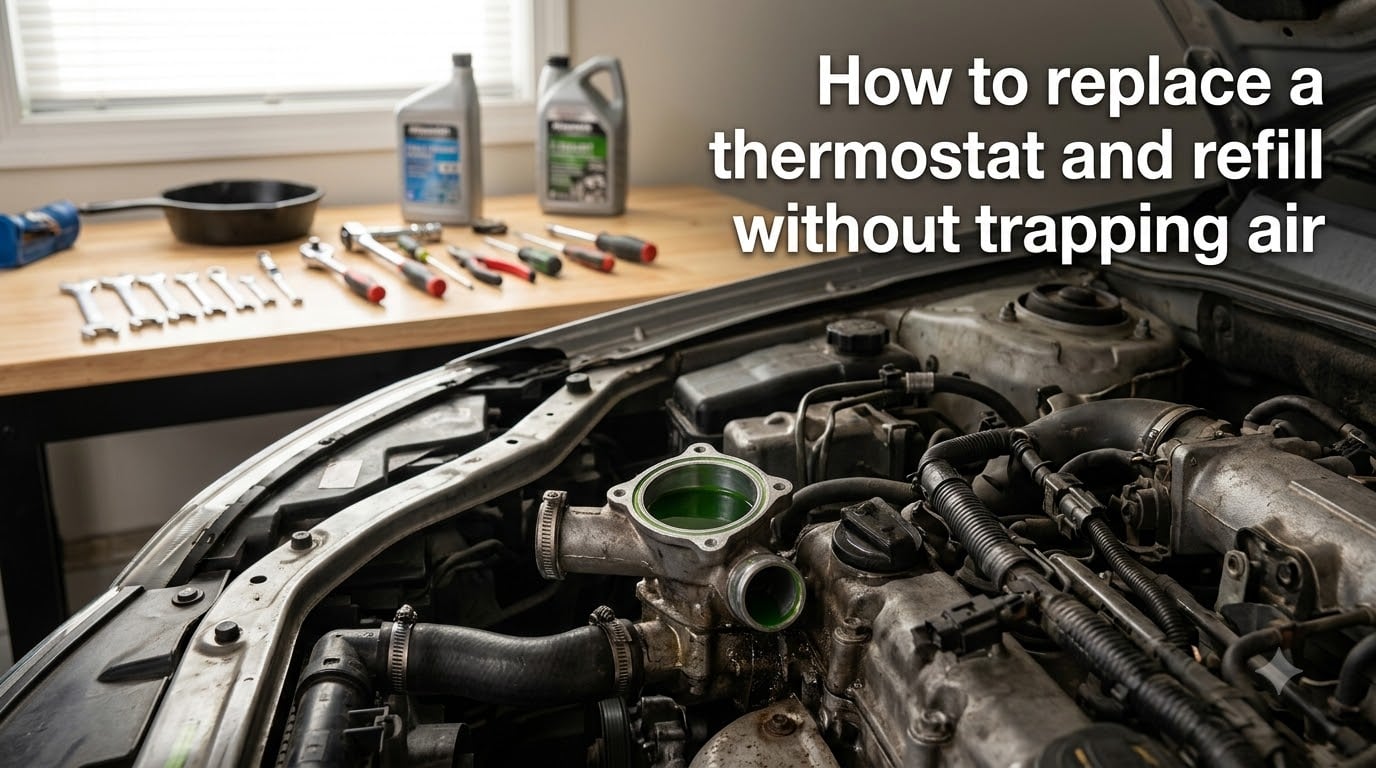
I have replaced more thermostats than I can count over the years, and the part that trips up most DIYers is not the swap itself. It is the refill. If you rush the bleeding process, you end up with an air pocket that causes overheating, a cold heater, or worse, a blown head gasket. This guide walks through exactly how to replace a thermostat and refill without trapping air, step by step, using three proven bleeding methods.
The thermostat is a small temperature-sensitive valve that controls coolant flow through your engine. When the engine is cold, it stays closed so the engine warms up fast. Once the engine hits operating temperature (usually around 190 to 205 degrees Fahrenheit), the thermostat opens and allows coolant to circulate through the radiator. If that valve fails closed, your engine overheats. If it fails open, your engine runs cold, burns more fuel, and never warms the cabin.
The real danger after a thermostat swap is trapped air. Coolant systems are sealed loops designed to move liquid, not air. When you drain and refill, air gets in. If that air lodges in the heater core or behind the thermostat, coolant cannot circulate properly. The temperature gauge spikes, the heater blows cold, and you can crack a cylinder head. The good news: bleeding the system is straightforward once you know the right technique.
Table of Contents
Signs of a Bad Thermostat
Before you tear into the job, confirm the thermostat is actually the problem. I have seen plenty of overheating issues blamed on a thermostat when the real culprit was a bad water pump or a clogged radiator.
Here are the most common symptoms of a failing thermostat:
The engine overheats quickly, sometimes within 10 minutes of driving.
The temperature gauge stays stuck on cold and never moves to the middle.
The heater blows cold air even after the engine has been running.
Coolant visibly boils over or pushes out of the radiator cap or overflow tank.
You notice inconsistent temperature swings between hot and cold on the gauge.
A quick test: let the engine idle from cold and feel the upper radiator hose. If the hose stays cool for a long time, then suddenly gets scorching hot all at once, the thermostat is likely sticking closed. If the hose warms up gradually right from startup, the thermostat may be stuck open. Either way, replacement is cheap insurance.
Tools and Materials Needed
Gather everything before you start so you are not running to the auto parts store mid-job with coolant dripping from your hands.
Required tools:
Socket set and ratchet (usually 10mm, 12mm, or 13mm depending on your vehicle)
Extension bar and swivel socket (thermostat housing bolts are often tucked behind the engine)
Drain pan large enough to hold 2 to 3 gallons of coolant
Pliers or hose clamp pliers
Flathead screwdriver and scraper for cleaning the old gasket material
New thermostat (matched to your engine) and new gasket or O-ring
Coolant (check your owner’s manual for the correct type — green, orange, pink, or HOAT)
Distilled water if you are mixing concentrated coolant
Optional but very helpful:
A spill-free funnel kit (this single tool makes bleeding the system dramatically easier)
Torque wrench (aluminum housings crack easily if over-tightened)
Rubber gloves and safety glasses
Shop rags or paper towels
How to Replace a Thermostat and Refill Without Trapping Air?
This is the core procedure. Follow each step in order and do not skip the bleeding section at the end, no matter how eager you are to button everything up.
Step 1: Work on a cold engine. Never open a cooling system on a hot engine. Pressurized coolant at 200-plus degrees can spray out and cause serious burns. Let the car sit for at least two to three hours, or overnight if possible.
Step 2: Drain the coolant. Place your drain pan under the radiator drain plug (petcock) at the bottom of the radiator. Open it slowly and let the coolant drain out. You do not always need to drain every drop, but removing at least half the coolant makes a mess far less likely when you crack open the thermostat housing.
Step 3: Locate and remove the thermostat housing. Follow the upper radiator hose back to the engine block. The metal housing where the hose attaches is the thermostat housing. Loosen the hose clamp, twist the hose gently to break it free, and pull it off. Then remove the two or three bolts holding the housing in place.
Step 4: Remove the old thermostat. Pull the thermostat straight out. Note its orientation before you remove it — most thermostats have a small arrow or a jiggle valve that must face a specific direction. The spring side almost always faces the engine block, not the radiator. Installing it backwards is one of the most common mistakes I see, and it will cause immediate overheating.
Step 5: Clean the mating surfaces. Use a plastic scraper or the edge of a putty knife to remove all old gasket material from both the housing and the engine block. Do not gouge the aluminum. A clean, smooth surface is what prevents leaks, so spend a few extra minutes here.
Step 6: Install the new thermostat and gasket. Drop in the new thermostat with the correct orientation. If your thermostat uses a rubber gasket, seat it around the rim. If it uses a paper gasket, you can apply a thin film of gasket sealant to hold it in place during assembly, but many mechanics skip sealant entirely on a clean surface.
Step 7: Reinstall the housing. Put the housing back over the thermostat and start all bolts by hand to avoid cross-threading. If you have a torque wrench, tighten to the factory spec (usually 18 to 22 ft-lbs for aluminum housings). If not, snug them down evenly in a crisscross pattern — tight enough to seal, but not so tight that you crack the housing.
Step 8: Reconnect the hose and close the drain plug. Slide the upper radiator hose back onto the housing, secure the clamp, and close the radiator drain petcock.
Step 9: Refill with fresh coolant. Pour coolant slowly into the radiator fill neck (or the coolant reservoir on vehicles with a sealed system). Fill to the base of the fill neck, then pause for 30 seconds to let air escape. Top it off again. Repeat until the level stops dropping.
Step 10: Bleed the air. This is the step most people skip, and it is the entire reason this guide exists. Proceed to the next section for the three best bleeding methods.
Three Methods to Bleed Air From the Cooling System
I always use one of three methods depending on what tools I have on hand and what vehicle I am working on. All three work. The spill-free funnel is the most reliable, but the other two get the job done with basic tools.
Method 1: The Spill-Free Funnel
This is the method I recommend to anyone who does their own coolant work more than once. A spill-free funnel kit (like the Lisle 24680 or similar) threads onto the radiator neck and holds extra coolant above the fill level so air bubbles can escape while coolant takes their place.
Attach the funnel to the radiator neck with the correct adapter. Pour coolant into the funnel until it is about a third full. Start the engine and turn the heater on full blast (this opens the heater core to coolant flow, which is a common hiding spot for air). Let the engine idle and reach operating temperature. You will see bubbles rise into the funnel as the thermostat opens. Keep the funnel topped off and wait until no more bubbles appear — usually 15 to 20 minutes. Rev the engine gently a few times to help dislodge stubborn pockets. When bubbles stop, remove the funnel, cap the system, and check the level after the engine cools.
Method 2: The Radiator Bleed Screw
Many European and some Asian vehicles have a small brass bleed screw on the thermostat housing or on a coolant pipe near the top of the engine. This screw is specifically designed to let trapped air escape.
Fill the system with coolant as normal. Leave the radiator cap off. Start the engine and let it idle. Loosen the bleed screw a quarter to half turn with a wrench. You will hear a hiss as air escapes. When a steady stream of coolant with no bubbles flows out of the screw, tighten it back down. Top off the radiator and install the cap.
If your vehicle has multiple bleed points (some BMWs and Hondas have two), bleed the lowest one first, then the highest one. This forces air upward and out.
Method 3: Jack Up the Front of the Car
If you have no funnel and no bleed screw, this old trick from forum mechanics works surprisingly well. Air rises to the highest point in the system. By jacking up the front of the car, you make the radiator fill neck the highest point, which gives trapped air a clear path out.
Jack the front of the vehicle safely and support it on jack stands. Remove the radiator cap. Start the engine and set the heater to maximum. Let it idle until the thermostat opens (you will feel the upper hose get hot). Squeeze the upper and lower radiator hoses by hand repeatedly to help push air pockets through the system. Add coolant as the level drops. When bubbles stop rising at the fill neck, shut it off, top off, and cap it.
This method takes patience. It can take 20 to 30 minutes of squeezing hoses and waiting. But it costs nothing and reliably gets the air out.
How to Burp a Coolant System Without a Funnel?
If you do not own a spill-free funnel, you can still burp the system effectively. The heater-core trick is your best friend here, and I learned it from a thread on r/MechanicAdvice years ago.
Fill the radiator to the top and leave the cap off. Start the engine and immediately turn the climate control to full heat, maximum fan speed. This opens the heater core valve and pulls coolant through the cabin heater loop, which is the most common place for air to hide. Let the engine idle until it reaches operating temperature and the thermostat opens. You will see the coolant level drop as air escapes and liquid fills the void. Keep topping off. Periodically squeeze the upper radiator hose to push bubbles out. When the heater blows consistently hot air and the coolant level stays steady for several minutes, the system is burped.
The heater blowing hot is your confirmation that coolant is flowing through the core with no air gap. If the heater goes cold while idling, you still have air in the system.
Common Mistakes to Avoid
I have made most of these mistakes myself so you do not have to. Here are the ones I see over and over in forum posts:
Installing the thermostat backwards. The spring side goes toward the engine block. Some thermostats have an arrow indicating flow direction. Get this wrong and your engine will overheat within minutes.
Reusing the old gasket. Always install a new gasket or O-ring with the new thermostat. A dried-out or compressed old gasket will leak coolant under pressure, and you will be doing the job again next weekend.
Over-tightening the housing bolts. Aluminum housings crack easily. Use a torque wrench if you have one, or tighten by feel with a short ratchet. Less is more here.
Mixing coolant types. Green (IAT), orange (Dex-Cool / OAT), and pink (HOAT / P-HOAT) coolants have different chemistries. Mixing them can cause sludge and corrosion. Check your owner’s manual for the correct type and do not guess.
Skipping the bleed entirely. This is the number-one mistake. Refilling and capping without bleeding leaves air in the system. You will not know until the temperature gauge spikes on the highway.
Using tap water instead of distilled. Tap water has minerals that deposit in the radiator and heater core. Always use distilled water when diluting concentrated coolant.
How to Know If Air Is Still Trapped
After you finish the job, watch for these signs during your first test drive:
The temperature gauge climbs above normal and then suddenly drops back down (air pocket passing through the sensor).
The heater blows warm, then cold, then warm again.
You hear gurgling sounds from behind the dashboard (air moving through the heater core).
The coolant level in the overflow tank drops significantly after the engine cools overnight.
If any of these happen, the system is not fully bled. Let it cool completely, remove the cap, and repeat the bleeding method you chose. Sometimes it takes two cycles to get every last bubble out.
Frequently Asked Questions
How do you bleed air trapped after replacing a thermostat?
Fill the radiator with coolant, leave the cap off, start the engine, and turn the heater to full blast. Let the engine reach operating temperature so the thermostat opens. Air bubbles will rise out of the fill neck as coolant circulates. Keep topping off the coolant until no more bubbles appear, then install the cap. A spill-free funnel kit makes this process faster and more reliable.
Do you have to drain all the coolant when changing a thermostat?
No, you do not need to drain every drop. Draining roughly half the coolant from the radiator drain plug is usually enough to get the level below the thermostat housing so it does not spill when you open it. Catch what drains in a clean pan and you can reuse it if it is in good condition.
How do you catch coolant when changing a thermostat?
Place a large drain pan (at least 2 to 3 gallon capacity) directly under the radiator drain plug before opening it. Open the petcock slowly and let the coolant drain at a controlled rate. For extra protection, position rags around the thermostat housing area before you remove the bolts to catch any residual coolant that spills from the block.
How do you burp a coolant system without a funnel?
Remove the radiator cap, start the engine, and set the heater to maximum. Squeeze the upper and lower radiator hoses repeatedly by hand to push air pockets toward the fill neck. Jacking up the front of the car also helps because it makes the radiator neck the highest point, giving trapped air a clear path out. Keep adding coolant until bubbles stop rising.
Is it safe to drive with air trapped in the coolant system?
No. Trapped air can cause the engine to overheat suddenly because coolant cannot reach hot spots, and the temperature gauge may not warn you in time. Air in the heater core means no cabin heat. Driving with air pockets risks head gasket failure or a cracked cylinder head, so always bleed the system completely before driving.
Conclusion
Replacing a thermostat is one of the most approachable DIY jobs on a car, but only if you treat the refill and bleeding with the same care as the swap itself. Learning how to replace a thermostat and refill without trapping air comes down to three things: pour coolant slowly, bleed the system until no bubbles remain, and always verify with a test drive while watching the temperature gauge. Whether you use a spill-free funnel, a bleed screw, or the jack-up-the-front method, the goal is the same — getting every air pocket out before you trust the car on the road.
If you bleed twice and the car still overheats, the problem may not be air at all. A failing water pump, a clogged radiator, or a blown head gasket can mimic the same symptoms. At that point, it is worth getting a professional diagnosis rather than chasing bubbles that may not exist.