
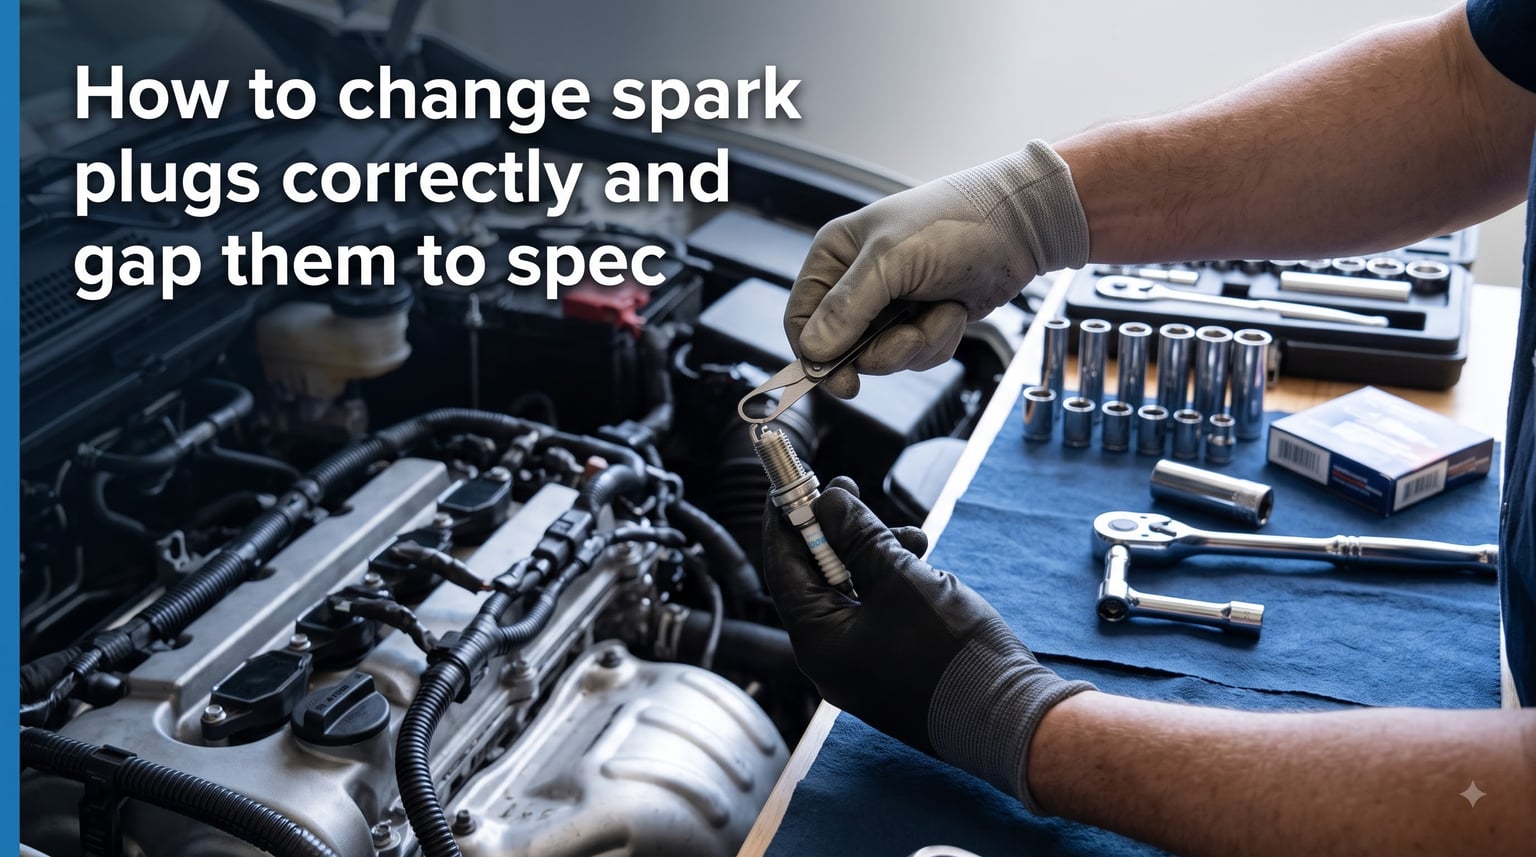
I have swapped spark plugs on everything from beat-up daily commuters to turbocharged project cars, and the process is the same every single time. The secret is patience, the right tools, and getting the gap dead-on before the plug ever touches the cylinder head. Learning how to change spark plugs and gap them correctly can save you $400 or more compared to dealer pricing, and it is one of the most rewarding DIY jobs you can do in your garage.
This guide walks you through the full process step by step: removal, gapping, installation, and torque. I will also cover the anti-seize debate, iridium plug handling, and what to do when a plug fights you on the way out.
Table of Contents
Why Spark Plug Gap Matters More Than You Think?
The spark plug gap is the distance between the center electrode and the ground electrode, and it controls how much voltage is needed to create a spark in the combustion chamber. Get it right and your engine fires cleanly on every stroke. Get it wrong and you deal with misfires, rough idle, poor fuel economy, and even check engine lights.
Most passenger car gaps fall between 0.028 and 0.060 inches, but you should always check your vehicle’s specific spec rather than guessing. The manufacturer number lives in your owner’s manual or on the under-hood emissions sticker.
A gap that is too wide demands more ignition voltage than your coil can deliver, which causes a weak spark or no spark at all under load. A gap that is too close fires easily but produces a small, weak spark that may not ignite the air-fuel mixture completely, leading to hesitation and poor combustion.
Forum mechanics on r/MechanicAdvice constantly see the same mistake: people install plugs straight from the box without checking the gap. Even plugs labeled as pre-gapped can shift during shipping, so verifying every plug is non-negotiable.
Tools and Parts You Need to Change and Gap Spark Plugs
The right tools make this job take 45 minutes instead of four hours of frustration. Here is what I keep in my spark plug kit.
Essential tools: spark plug socket (with rubber insert to protect the porcelain), 3/8-inch drive ratchet, extensions of varying lengths, a torque wrench, and a spark plug gap tool. You also need dielectric grease, anti-seize (optional, more on that later), and a clean shop rag.
Parts: the correct spark plugs for your engine (cross-reference your vehicle make, model, and year), and new ignition coil boots or spark plug wires if yours have over 100,000 miles on them.
Choosing the Right Gap Tool: Feeler Gauge vs Coin Style vs Wire Gauge
There are three main types of gap tools, and they are not created equal. Here is how I compare them based on years of use.
The wire gap tool (also called a wire feeler gauge) is my go-to. It uses precision wires of known thickness that slide between the electrodes. Since the wire is round, it does not scratch or damage the electrode surfaces, which matters a lot for iridium and platinum plugs with delicate tips.
The coin-style gap tool is the cheap disc you see at every auto parts counter. It works in a pinch, but the flat blade can scrape the electrode coating and the measurements are less precise. I use mine only for quick ballpark checks on copper plugs.
The traditional blade feeler gauge is the flat steel strips stacked together. It is accurate for measuring, but you should never use the flat blades to pry or bend an electrode. Use the gauge only to measure, then bend the ground strap separately.
Forum consensus across r/cars and r/MechanicAdvice strongly favors the wire gauge tool for modern plugs. I agree based on personal experience, especially for iridium plugs where a scratched electrode tip can shorten plug life significantly.
How to Remove Old Spark Plugs Safely
Removing old plugs is where most DIYers get into trouble, usually by rushing. Work on a cool engine only, because removing plugs from a hot aluminum head can damage the threads and the head itself.
Step 1: Disconnect and Label Everything
Disconnect the negative battery terminal first to prevent any electrical shorts. If your engine uses coil-on-plug (COP) ignition, disconnect the electrical connector from each ignition coil, remove the hold-down bolt, and pull the coil straight up. For traditional spark plug wires, grab the boot at the base, twist gently to break the seal, and pull. Never yank on the wire itself.
Label each wire or coil as you remove it so it goes back on the correct cylinder. Mixing up the firing order will cause a rough-running engine or a no-start condition.
Step 2: Clean the Plug Wells
Before removing any plug, blow compressed air into the spark plug well or use a shop vacuum to clear out dirt, sand, and debris. This is a step beginners skip and professionals never do. If dirt falls into the combustion chamber when you remove the plug, it can score the cylinder walls and cause long-term engine damage.
Step 3: Loosen and Remove the Plug
Thread the spark plug socket down into the well and attach your ratchet with the correct extension. Turn counterclockwise to loosen. If the plug resists, do not force it. Apply penetrating fluid like PB Blaster or Liquid Wrench and let it soak for 20 to 30 minutes, then try again.
For hard-to-reach plugs, especially on transverse V6 engines where the rear bank is tight against the firewall, use a swivel joint extension or a dedicated flex-head ratchet. Some vehicles require removing intake manifold components to access certain cylinders, so check a service manual for your specific engine before starting.
What to Do When a Spark Plug Is Stuck
A seized plug is every mechanic’s nightmare, especially on engines prone to plug thread damage like the Ford Triton 5.4L. If soaking with penetrant does not work after a few cycles, try this technique: loosen the plug a quarter turn, then tighten it back slightly, then loosen a half turn. This rocking motion breaks the corrosion bond gradually instead of shearing the threads.
If the plug still will not budge, stop. Forcing it can pull the helicoil threads out of the cylinder head, turning a $10 plug job into a $2,000 head repair. At that point, a professional shop with extraction experience is your safest bet.
How to Gap Spark Plugs Correctly?
Gapping is the most precise part of this job, and it is also the step where people cause the most damage. The goal is to set the distance between the center electrode and ground electrode to your engine’s specified measurement, usually between 0.028 and 0.060 inches.
Step 1: Find the Correct Gap Specification
Look up the gap spec in your owner’s manual, on the emissions sticker under the hood, or on the parts store lookup for your vehicle. Do not trust the gap printed on the spark plug box, because that is a generic reference for multiple applications and may not match your engine.
Step 2: Measure the Current Gap
Select the wire on your gap tool that matches your target measurement, or use the corresponding blade on a feeler gauge. Slide the wire between the center electrode and ground electrode. If it slides through with slight drag, the gap is correct. If it does not fit, the gap is too narrow. If it slides through with no resistance, the gap is too wide.
Step 3: Adjust the Ground Electrode
If the gap needs adjustment, gently bend the ground electrode (the curved metal strap that arcs over the center electrode). Use the bending tab on your gap tool or a small pair of needle-nose pliers. Bend only the ground strap, never touch the center electrode, especially on iridium and platinum plugs where the fine-wire tip is extremely fragile.
Tap the ground strap toward the center electrode to narrow the gap. Pry it away gently to widen the gap. Make tiny adjustments and re-measure each time. Patience here prevents broken electrodes and ruined plugs.
Special Handling for Iridium and Platinum Plugs
Iridium and platinum spark plugs have ultra-thin center electrodes, sometimes as small as 0.4mm in diameter. Champion Auto Parts and NGK both warn against prying or applying force to these fine-wire tips. If the gap is off on an iridium plug, you can usually only close the gap by tapping the ground strap down carefully. Opening the gap on these plugs is risky, and if the ground strap is already too wide from the factory, it may be safer to exchange the plug for a correctly gapped one.
I have broken an iridium electrode before by being impatient, and it is a $12 mistake you only make once. Handle these plugs like glass.
The Anti-Seize Debate: Should You Use It?
This is one of the most argued topics on car forums, and the answer depends on your cylinder head material. NGK and Denso explicitly state that their modern plugs have a special trivalent plating that eliminates the need for anti-seize on most applications. Applying anti-seize to a plated plug changes the friction coefficient, which means you risk over-torquing the plug even when following the torque spec.
However, if you live in an area with heavy road salt, drive an older vehicle with bare steel threads, or are installing plugs into an aluminum head with a history of plug seizure, a very thin layer of nickel-based anti-seize on the threads (keeping it off the electrode) is reasonable insurance. When using anti-seize, reduce your torque by about 25 percent to compensate for the reduced friction.
My rule of thumb: follow the plug manufacturer’s recommendation first, and use anti-seize only when you have a specific reason to.
Installing New Spark Plugs the Right Way
Installation is where proper technique prevents cross-threading, broken plugs, and damaged cylinder heads. Take it slow and use the right method every time.
Step 1: Hand-Thread the Plug
Never use the ratchet to start a spark plug. Instead, push the plug into the spark plug socket (the rubber insert holds it securely), lower it into the well, and thread it in by hand using only the extension bar. This prevents cross-threading, which can destroy the cylinder head threads in one careless turn.
Thread the plug in until it bottoms out by hand. It should turn smoothly the entire way. If you feel resistance partway through, stop, back the plug out, and check for crossed threads or debris.
Step 2: Torque to Specification
Using a torque wrench is the single most important step for long-term reliability. Under-torqued plugs can blow out of the cylinder head or cause poor heat transfer. Over-torqued plugs can crack the porcelain, distort the shell, or shear the threads.
Here are the standard torque specs based on plug and head type. For plugs with a flat seat and a gasket (the most common type), in a cast iron head, torque to 18 to 25 lb-ft. In an aluminum head with the same gasket seat, torque to 15 to 22 lb-ft. For plugs with a tapered seat (no gasket), torque to 7 to 15 lb-ft in iron heads and 5 to 10 lb-ft in aluminum heads.
If you are using anti-seize, reduce torque by approximately 25 percent across all categories. If you do not have a torque wrench, the old mechanic’s method is to tighten a new gasket-seat plug until the gasket crushes (you will feel resistance increase sharply), then turn an additional one-sixteenth to one-eighth of a turn. This is not as precise as a torque wrench, but it works in an emergency.
Step 3: Reinstall Coils or Wires
Apply a small dab of dielectric grease inside the coil boot or wire boot before reinstalling. This prevents moisture intrusion, prevents voltage tracking, and makes future removal far easier. Slide the coil or wire boot onto the plug until you feel it click or seat fully.
Reinstall any hold-down bolts for COP ignition coils, reconnect the electrical connectors, and make sure everything is routed away from exhaust manifolds and moving components.
What to Do After Installing New Spark Plugs
Reconnect the negative battery terminal and start the engine. Listen for a smooth idle with no misfires, hesitation, or unusual noises. Let the engine reach operating temperature, then take the vehicle for a short test drive.
Check for a check engine light during the test drive. If one appears, use an OBD2 scanner to read the code. A misfire code on a specific cylinder usually points to a connection issue at that coil or wire, not the plug itself.
Pop the hood after the test drive and listen for any ticking sounds that might indicate a loose plug or an exhaust leak at the plug well. Everything should sound smooth and quiet.
Troubleshooting Problems After Spark Plug Replacement
Most post-installation problems trace back to one of three issues: incorrect gap, a loose or cross-threaded plug, or a disconnected coil connector. Here is how to diagnose each one.
If the engine has a rough idle or misfire on one specific cylinder, check the coil connector first. A loose or partially connected electrical plug causes the same symptoms as a bad spark plug. Unplug and reconnect each coil connector firmly until you hear it click.
If multiple cylinders are misfiring, the gap may be wrong across the board. This happens when people skip the gapping step and assume the factory gap is correct. Pull the plugs, re-check every gap with your gauge, and adjust as needed.
If you hear a sharp ticking noise, the plug may be loose or the coil boot may not be seated. Shut the engine off, let it cool, and verify torque on the suspect plug. A loose plug can also allow combustion gases to escape past the threads, which damages the head over time.
If the engine cranks but will not start, you likely have the spark plug wires or COP coils connected in the wrong firing order. Double-check your labels from the removal step and correct any misplaced connections.
FAQs
Can you gap spark plugs yourself?
Yes, you can gap spark plugs yourself with a wire gap tool or feeler gauge. Slide the correct-size wire between the center and ground electrodes to measure, then gently bend the ground strap to adjust. Always hand-gap plugs before installation and never force the center electrode, especially on iridium and platinum plugs.
How to tell if spark plugs are gapped correctly?
A correctly gapped spark plug will let the matching gauge wire slide between the electrodes with slight drag. If the wire slides with no resistance, the gap is too wide. If it will not fit at all, the gap is too narrow. Your engine should idle smoothly with no misfires, hesitation, or check engine light after installation.
What to do immediately after changing spark plugs?
Reconnect the battery, start the engine, and let it reach operating temperature. Listen for smooth idle with no misfires, then take a short test drive. Check for check engine codes with an OBD2 scanner if anything feels off, and verify that all coil connectors are fully seated.
What happens if a spark plug gap is too close?
A gap that is too close produces a weak, small spark that may not fully ignite the air-fuel mixture. This causes poor fuel economy, sluggish acceleration, rough idle, and potential misfires. The engine may also run rich since unburned fuel passes through the combustion chamber, which can foul the plugs over time.
Conclusion
Knowing how to change spark plugs correctly and gap them to spec is a skill that pays for itself on the very first job. The key steps are simple: work on a cool engine, clean the plug wells, hand-thread the new plugs, gap each one with a wire gauge tool, and torque to spec. Skip any of those steps and you invite misfires, damaged threads, and wasted money.
Take your time, especially during removal and gapping. Iridium and platinum plugs demand a gentle hand, and stuck plugs need patience rather than brute force. Use a torque wrench every single time, and follow the plug manufacturer’s guidance on anti-seize rather than forum hearsay.
Next time your engine hits its service interval, you will have the confidence to tackle this job yourself and keep that $400 dealer quote in your pocket. Grab your gap tool, clear an afternoon, and get to work.