
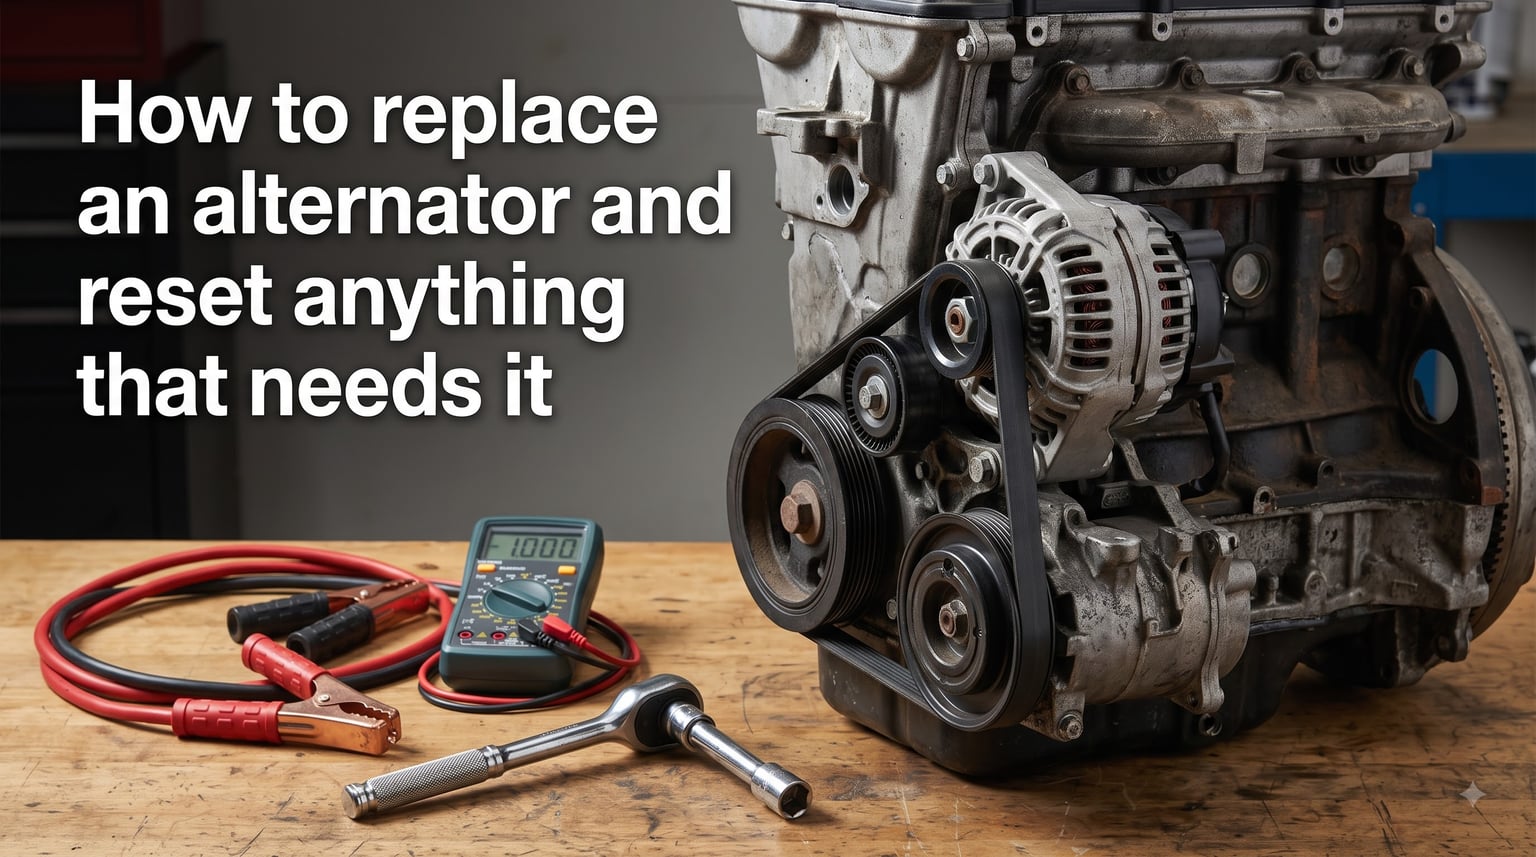
Learning how to replace an alternator and reset anything that needs it can save you hundreds of dollars in shop labor. I have done this job on everything from a 2005 Honda Civic to a 2014 Ford F-150, and the process is more approachable than most people think. The tricky part is not the swap itself but knowing what to reset afterward, which is where most DIYers and even some shop guides fall short.
In this guide, I walk you through the complete alternator replacement procedure from start to finish. I cover the symptoms of a failing unit, the tools you need, the removal and installation steps, and the reset procedures for the check engine light, idle settings, and electronic throttle. By the end, you will have a clear roadmap to get your charging system back online.
Table of Contents
Signs of a Bad Alternator
The alternator keeps your battery charged and powers every electrical system while the engine runs. When it starts failing, you get clear warning signs long before the car dies on the road. Catching these early can save you from being stranded.
Here are the most common symptoms of a bad alternator:
Dim or flickering headlights, especially at idle
Battery warning light illuminating on the dashboard
Electrical accessories (power windows, radio, wipers) running slowly
A dead battery that keeps dying even after a jump or charge
Growling, whining, or grinding noise from the front of the engine
Burning rubber smell from a slipping serpentine belt
Many people confuse a bad alternator with a bad battery. The quickest way to tell the difference: jump-start the car and then disconnect the jumper cables. If the engine dies within a few minutes, the alternator is not producing enough current to keep it running. If it stays running, your battery is the likely culprit.
A fully charged battery should read around 12.6 volts with the engine off. With the engine running and a healthy alternator, you should see between 13.8 and 14.4 volts at the battery terminals.
Tools Needed to Replace an Alternator
Having the right tools ready before you start makes the job go smoothly. I learned this the hard way halfway through a job with an auto parts store closing in 30 minutes.
Here is what you need:
Socket set (metric or standard depending on your vehicle, typically 10mm to 15mm)
Wrench set for stubborn bolts in tight spaces
Serpentine belt tool or a long breaker bar to release the belt tensioner
Multimeter for testing voltage before and after
Battery terminal puller (optional but helpful)
Torque wrench (recommended for proper bolt tightening)
Jack and jack stands if you need to access the alternator from underneath
Work gloves and safety glasses
Memory saver device (plugs into the OBD2 port or cigarette lighter to preserve radio and ECU settings)
A belt routing diagram is also essential. Most vehicles have one on a sticker under the hood, but if it is missing, take a photo of the belt routing before you remove anything.
Safety First: Disconnect the Battery
Warning: Always disconnect the negative battery cable before touching the alternator. The main power wire on the alternator is connected directly to the battery with no fuse in between. Shorting this terminal to the engine block with a wrench can cause sparks, burns, or even an explosion.
Loosen the negative terminal bolt and slide the cable off the post first. Tuck it down the side of the battery so it cannot accidentally spring back into contact. Then disconnect the positive terminal as an extra precaution. This is the single most important safety step in the entire job.
How to Replace an Alternator: Step-by-Step
Every vehicle is a little different, but the core process is the same across most cars and trucks. I have broken this into eight clear steps so you can follow along without getting lost.
Step 1: Disconnect the battery. Remove the negative cable first, then the positive. This protects you and the vehicle’s electronics from short circuits.
Step 2: Locate the alternator and study the belt routing. Find the alternator (usually near the top front of the engine) and take a clear photo of how the serpentine belt wraps around all the pulleys. This photo will save you 20 minutes of frustration later.
Step 3: Release the belt tensioner and remove the serpentine belt. Use your breaker bar or belt tool on the tensioner pulley bolt and rotate it to relieve tension. Slide the belt off the alternator pulley first, then off the remaining pulleys. If the tensioner is stiff, forum users on r/MechanicAdvice recommend spraying the pivot bolt with penetrating oil the night before.
Step 4: Disconnect the electrical connections. Most alternators have two connections: a small push-in plug (the field wire) and a large stud with a nut (the main power wire). Unplug the small connector first, then remove the nut holding the power cable. Keep the nut somewhere safe.
Step 5: Remove the mounting bolts. There are usually two bolts: a long pivot bolt at the bottom and a shorter adjustment bolt at the top. Some vehicles have a third bracket bolt. Loosen all of them and remove the alternator from its bracket.
Step 6: Compare the old and new alternator. Before installing, lay both units side by side. Check that the mounting ears, pulley diameter, plug location, and clock position (the orientation of the rear housing) all match. A mismatched unit will not bolt in correctly.
Step 7: Install the new alternator. Slide it into the bracket and start all mounting bolts by hand to avoid cross-threading. Torque the pivot bolt and adjustment bolt to your vehicle’s specification, typically 25 to 40 ft-lbs for the pivot and 15 to 25 ft-lbs for the adjustment bolt.
Step 8: Reconnect everything in reverse order. Reattach the power wire and plug, route the serpentine belt using your reference photo, release the tensioner to apply belt tension, and reconnect the battery cables (positive first, then negative).
How to Reset Everything After Alternator Replacement
This is the section most guides skip, and it is exactly what makes this guide different. Disconnecting the battery and swapping the alternator clears the ECU’s learned memory and can trigger warning lights. Here is what you need to reset and how to do it.
Reset the Check Engine Light
After an alternator replacement, the check engine light may stay on even though the new unit is working fine. The easiest way to clear it is with an OBD2 scanner. Plug the scanner into the port under the dashboard, read any stored codes to confirm they are charging-system related, then erase them.
If you do not have a scanner, disconnecting the negative battery cable for 10 to 15 minutes will clear the ECU memory on most vehicles. Keep in mind this also resets your radio presets and clock. Some newer vehicles (2015 and later) may require a scanner because the ECU does a soft clear only.
Perform an Idle Relearn Procedure
When the battery is disconnected, the ECU loses its learned idle settings. This can cause rough idle, stalling at stoplights, or a high idle on the first startup. The idle relearn procedure lets the computer relearn the correct idle parameters.
The general procedure for most vehicles:
Start the engine and let it reach operating temperature (about 10 minutes of idling).
Turn off all accessories: AC, radio, headlights, defroster.
Let the engine idle in park for 5 minutes without touching the gas pedal.
Turn the engine off for at least 60 seconds.
Restart and let it idle for another 5 minutes.
For specific brands, the procedure varies. Here are the common ones:
Ford: Turn the key to the ON position for 1 minute without starting. Turn it off for 1 minute. Start the engine and let it idle for 5 minutes in park, then 5 minutes in drive (with your foot on the brake).
GM (Chevy, GMC, Cadillac): Start the engine, let it idle in park for 3 minutes. Turn on the AC and let it idle for another 3 minutes. Put it in drive and idle for 3 minutes with your foot on the brake.
Toyota and Honda: These usually relearn automatically after a few drive cycles. If idle is rough, disconnect the negative cable for 10 minutes, then drive normally for 20 minutes including highway speeds.
Reset the Electronic Throttle Control
Many modern vehicles use an electronic throttle body (drive-by-wire) that also loses its calibration when the battery is disconnected. Symptoms include a surging idle, sluggish throttle response, or a sticking accelerator pedal. Resetting it takes about 5 minutes.
Throttle body relearn procedure:
Turn the ignition to the ON position (engine off, dashboard lights on).
Wait 3 minutes without touching the gas pedal.
Turn the ignition off for 1 minute.
Start the engine and let it idle in park for 1 minute.
Slowly depress the gas pedal to wide open throttle over 5 seconds, then slowly release.
Repeat three times.
On some vehicles, a scan tool with bidirectional controls can automate this process. Check your vehicle’s specific relearn procedure, as Nissan, Chrysler, and certain European brands have unique steps.
Reset Radio and Power Windows
After a battery disconnect, the radio may display “CODE” or “LOCKED” and your power windows may lose their auto-up and auto-down function. The radio code is usually on a card in your owner’s manual or accessible through the manufacturer’s website using your VIN.
To reset power windows, turn the key to ON, hold the window switch down until the window is fully open, then hold it up until fully closed and keep holding for 3 seconds. Repeat for each window.
How to Test Your Alternator After Installation?
Once everything is reassembled, you need to verify the new alternator is actually charging. This is a step I never skip because a defective new unit or a missed connection can leave you stranded again.
Test 1: Voltage at idle. Set your multimeter to DC volts and connect it across the battery terminals (red to positive, black to negative). Start the engine. A healthy alternator should produce 13.8 to 14.4 volts at idle.
Test 2: Voltage under load. With the engine running, turn on the headlights, AC, rear defroster, and radio. The voltage should stay above 13.2 volts. If it drops below 12.8 volts, the alternator is not keeping up with the electrical demand.
Test 3: Voltage drop test. Connect the multimeter between the alternator output post and the positive battery terminal. With the engine running and a load applied, the reading should be under 0.3 volts. A higher reading indicates a bad cable or loose connection.
If all three tests pass, your alternator replacement is complete and successful.
Common Mistakes to Avoid
Forum threads on r/MechanicAdvice and r/AskAMechanic reveal the same handful of mistakes over and over. Here is what to watch for so you do not repeat them.
Forgetting to disconnect the battery. This is the number one mistake. It can destroy your new alternator, blow fuses, or cause injury. Always disconnect first.
Not taking a belt routing photo. The serpentine belt wraps around 5 to 8 pulleys, and routing it wrong can destroy accessories or throw the belt off. Take a photo before removal.
Overtightening the belt. A belt that is too tight puts excessive load on the alternator bearings and the water pump. Modern spring-loaded tensioners eliminate manual adjustment, but if your vehicle has an adjustable bracket, leave about half an inch of deflection at the longest belt span.
Skipping the reset procedures. Many DIYers finish the install, start the car, and panic when it idles rough or the check engine light stays on. These are normal after a battery disconnect. Run the relearn procedures above before assuming something is wrong.
Ignoring related components. When you replace the alternator, inspect the serpentine belt, belt tensioner, and battery cables. A worn belt or weak tensioner will shorten the life of your new alternator. Forum users recommend replacing the belt if it has more than 60,000 miles on it.
FAQs
When replacing an alternator, what else needs to be replaced?
Inspect the serpentine belt, belt tensioner, and battery cables while the alternator is out. Replace the belt if it shows cracks, glazing, or has more than 60,000 miles. The tensioner should move freely with no wobble. Clean corroded battery terminals. You do not need to replace the battery unless it fails a load test.
Do I need to reset the computer after replacing the alternator?
Yes, in most cases. Disconnecting the battery to swap the alternator clears the ECU’s learned memory, which can cause rough idle and trigger the check engine light. Perform an idle relearn procedure and clear any stored codes with an OBD2 scanner or by disconnecting the battery for 10 minutes.
How do you reset an alternator?
You do not reset the alternator itself. What needs resetting is the vehicle’s computer after the battery has been disconnected. Clear the check engine light with a scanner, run the idle relearn procedure, and reset the electronic throttle body. These steps restore normal operation after power was interrupted.
What should I do after replacing my alternator?
After installation, reconnect the battery (positive first, then negative), start the engine, and test voltage with a multimeter. You should see 13.8 to 14.4 volts at the battery. Then perform the idle relearn and throttle relearn procedures, clear any check engine codes, and take the car for a 20-minute drive including highway speeds to confirm everything is working.
Conclusion
Replacing an alternator is one of the most rewarding DIY repairs you can do. The physical swap takes about 60 to 90 minutes on most vehicles, and the reset procedures add another 20 minutes. Knowing how to replace an alternator and reset anything that needs it puts you ahead of most guides that stop at the bolt removal step.
Take your time, follow the steps in order, and do not skip the safety or testing procedures. If your new alternator passes the three voltage tests and the engine idles smoothly after the relearn procedures, you have done the job right. Keep an OBD2 scanner in your toolbox for future work, and your charging system will serve you reliably for years.