
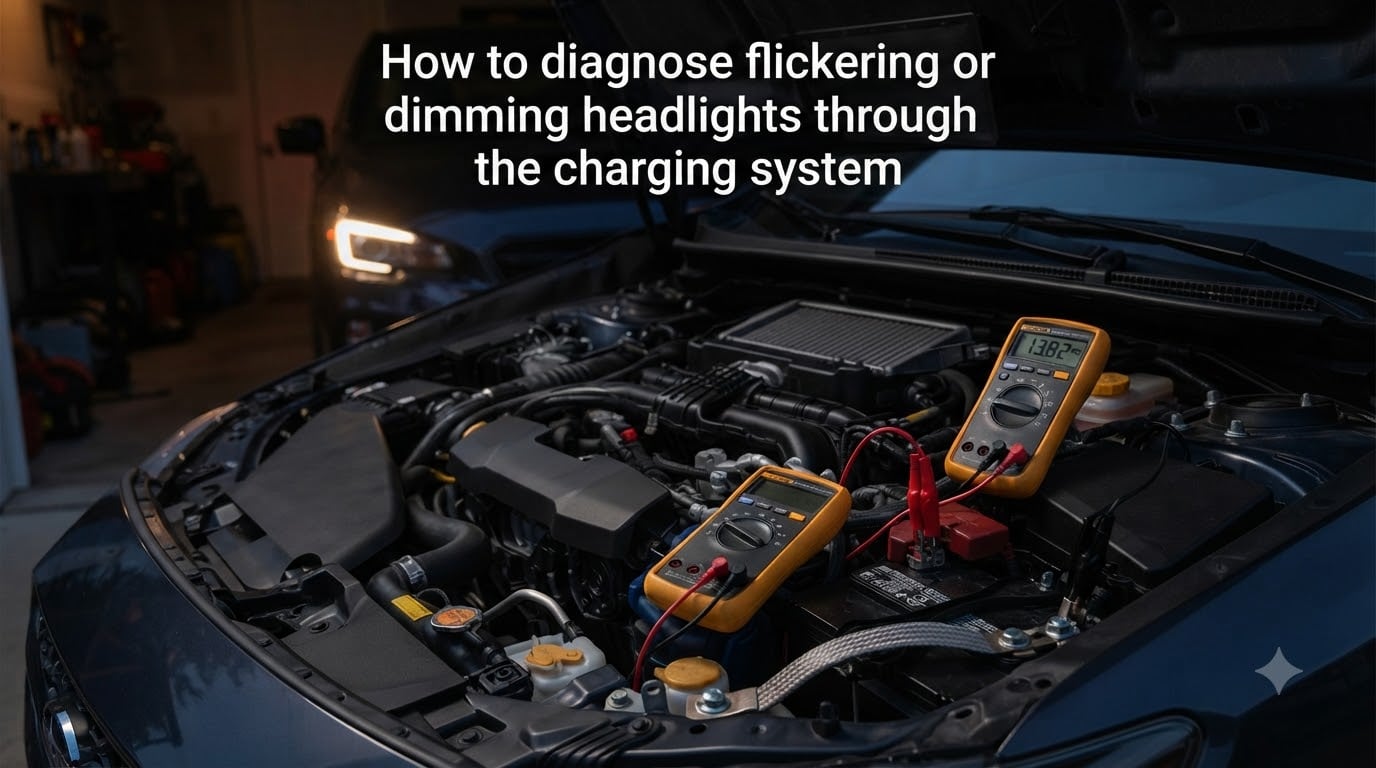
I first noticed my own headlights flickering at a stoplight one evening in February. By the time I pulled into a parking lot, the dash lights were pulsing with the engine idle. That was the night I learned how to diagnose flickering or dimming headlights through the charging system the hard way, and the procedure I share below is the exact one I now use before paying a shop for a charging-system guess.
If your headlights dim, pulse, or brighten with engine RPM, the charging system is the first place I look. In this guide I walk you through the same diagnostic process a shop technician uses, but with a multimeter you can buy for under $30. You will learn which component is actually failing, what voltage numbers prove it, and when the problem is something a $10 ground strap can fix instead of a $400 alternator.
Most charging-system failures follow a predictable pattern, which is why a structured test sequence beats guessing. By the end of this article you will have a complete troubleshooting flowchart, a voltage reference table you can print, and the ability to interpret what each reading means.
Table of Contents
Understanding the Charging System
The charging system in a modern car is a three-part loop that keeps your battery topped up and powers every electrical accessory while the engine runs. When any one of those three parts weakens, the symptoms show up first in the headlights, because they are the single largest steady draw on the system.
The Three Components That Keep Your Lights Stable
The alternator generates electricity as the engine spins. It produces alternating current, then converts it to direct current through a rectifier, and pushes that current into the battery and the rest of the electrical system.
The battery stores energy and supplies it during engine-off moments, like cranking the starter. It also smooths out voltage spikes from the alternator so your headlights see a steady supply.
The voltage regulator, usually built into the alternator on modern cars, clamps the alternator output to roughly 13.8 to 14.5 volts. Without that clamp, the alternator would push 16, 17, or more volts and fry your electronics.
When all three are healthy, headlights stay rock-steady at idle, at highway speed, and under load. The moment one starts to drift, the headlights are the canary.
How Current Flows Through the System
Current leaves the alternator through the main output stud, travels through a heavy-gauge wire to the battery positive, then returns through the chassis and ground straps to the alternator case. Every connection in that loop, both positive and negative, has to carry the full alternator output without resistance.
This matters for diagnosis because a single loose ground bolt or corroded terminal can cause the same dimming symptoms as a failed alternator. Many of the forum complaints I read involve owners who replaced a perfectly good alternator because the actual fault was a ground strap or a corroded battery terminal.
Symptoms: What Flickering and Dimming Tell You
Before I touch a multimeter, I always ask the driver what the lights are doing. Each pattern points to a different cause, and reading the symptom correctly saves an hour of testing.
Dim at Idle, Bright When Revving
If your headlights look weak at a stoplight but normalize when you press the gas, the alternator is probably not producing enough current at low RPM. The most common culprits are a worn drive belt that slips under low load, a failing diode trio in the alternator, or a weak voltage regulator.
This pattern also appears when the battery is weak and cannot buffer the alternator output. The alternator may be fine, but without a healthy battery to smooth the voltage, every dip in alternator output shows up in the lights.
Flicker While Driving
A consistent flicker at road speed usually means the alternator output is unstable. A bad diode, a loose alternator connector, or a worn brush set inside the alternator can all create this pattern. A flickering battery warning light alongside the headlights is a strong alternator signal.
If the flicker gets worse over bumps but not with RPM, suspect a loose connector, a damaged wire, or a corroded fuse contact rather than the alternator itself.
Brighten When Revving
If the headlights actually get brighter as RPM climbs, the regulator is failing to hold voltage down. This is dangerous, because over-voltage can damage headlights, the infotainment system, and the battery. I treat this as a stop-driving situation if it persists.
A battery that suddenly starts needing water, bulbs that fail repeatedly, or a sulfur smell from the battery are all signs the system has been overcharging. Check the regulator before it does more damage.
Headlights and Dash Lights Flicker Together
When the headlights, dash lights, and interior lights all pulse in sync, the problem is upstream in the charging system, not in a single circuit. The charge gauge on the dash may also jump around. This combined pattern almost always points to the alternator or voltage regulator.
Charging System Voltage Reference
These are the voltage ranges I use as a diagnostic baseline. Print this section or bookmark it for reference when you are under the hood with a meter.
- Battery at rest, engine off, sat overnight: 12.4 to 12.7 volts is healthy. Below 12.2 means undercharged or failing. Below 11.8 means a dead cell.
- Battery while cranking: Should not drop below 9.6 volts. A drop to 8 volts or lower points to a weak battery or high-resistance cable.
- Alternator output at idle, no load: 13.8 to 14.5 volts. Below 13.5 means undercharging. Above 14.8 means overcharging.
- Alternator output at idle, full load: Should stay above 13.2 volts with headlights, defroster, and blower on. Below 13.0 means the alternator cannot keep up.
- Alternator output at 2,000 RPM: Should be stable between 13.8 and 14.5 volts. Swing greater than 0.3 volts indicates regulator or brush wear.
- Voltage drop, positive side: Under 0.2 volts between battery positive and alternator output stud.
- Voltage drop, ground side: Under 0.1 volts between battery negative and alternator case.
These numbers are for a standard 12-volt lead-acid system. Some modern stop-start vehicles use AGM batteries with slightly different charge curves, but the diagnostic thresholds above still apply for most cars on the road.
Visual Inspection Checklist
I always start with my eyes and hands before breaking out a meter. About 30 percent of charging system complaints I have worked on came down to something visible.
Walk through these checks first. They take five minutes and cost nothing.
- Drive belt condition: Look for cracks, glazing, fraying, or missing chunks. A belt that looks shiny on the ribbed side is slipping.
- Belt tension: Push down on the belt midway between pulleys. It should give less than half an inch on a manual-tension setup. If it feels loose or makes a chirp on cold start, it is slipping.
- Battery terminals: White, blue, or green crust on the posts is corrosion. It creates resistance that drops voltage to the entire electrical system.
- Wiring and connectors: Follow the big alternator output wire to the battery and the small exciter wire to its connector. Look for melted insulation, loose crimps, or corrosion.
- Ground straps: Locate the engine-to-chassis and chassis-to-battery ground straps. They should be tight, clean, and free of rust at both ends.
- Battery case: A bulging or swollen battery case means overcharging has occurred. The battery is damaged and should be replaced before further testing.
- Fuse box: Check the main charging fuse or fusible link for corrosion, loose fit, or heat discoloration on the plastic.
If everything here looks clean and tight, you are ready to measure. If you find corrosion or a loose belt, fix those first and retest, because a lot of dimming disappears once those are corrected.
How to Diagnose Flickering or Dimming Headlights Through the Charging System Step by Step
This is the multimeter procedure I follow in my own driveway. A basic digital multimeter with a DC voltage setting is all you need. Set it to the 20V DC range for every test below.
Step 1: Measure Battery Voltage with the Engine Off
Touch the red lead to the positive battery terminal and the black lead to the negative terminal. A healthy, fully charged battery reads between 12.4 and 12.7 volts after sitting overnight.
A reading below 12.2 volts means the battery is undercharged or failing. Anything under 11.8 volts indicates a deeply discharged or dead cell battery. Write this number down, because it is your baseline.
If the battery reads low, charge it fully with a battery charger before continuing. A partially charged battery will skew every subsequent reading and can mask the real fault.
Step 2: Measure Battery Voltage with the Engine Running
Start the engine and let it idle. With no accessories on, you should see 13.8 to 14.5 volts at the battery. This is the alternator output at idle.
If the reading stays under 13.5 volts, the alternator is undercharging. If it climbs past 14.8 volts, the regulator is overcharging and you need to stop the engine and plan a repair.
Compare this number to your Step 1 reading. A healthy system shows a rise of about 1.5 to 2.0 volts when the engine starts. A rise of less than 1 volt suggests a weak alternator or a high-resistance connection.
Step 3: Run the Alternator Output Test Under Load
Turn on the headlights (high beam), the rear defroster, the blower fan on high, and the heated seats if you have them. These create the same load a cold winter night demands.
With everything on, engine idling, you still want to see at least 13.5 volts. If voltage drops below 13.2, the alternator cannot keep up with demand. In my experience this is the single most revealing test, because a weak alternator that reads 14.0 volts unloaded will often collapse to 12.6 under load.
This is the test that separates a marginal alternator from a good one. A parts store bench test with no load cannot replicate the demand your car places on the system in real driving.
Step 4: Rev the Engine to Check the Voltage Regulator
Hold engine RPM at 2,000 and watch the meter. The reading should stay flat or rise only slightly, never above 14.8 volts. A number that swings more than 0.3 volts as RPM changes points to worn regulator brushes or unstable alternator output.
One forum user tracked his voltage jumping from 14.0 to 14.6 every few seconds, and that instability turned out to be a regulator on its way out, not the battery the auto parts store had flagged.
Watch for overvoltage at higher RPM specifically. Some regulators only fail under the increased field current that comes with engine speed, so a reading that is fine at idle may climb to 15.5 volts at 2,500 RPM.
Step 5: Check for Voltage Drop in the Ground Circuit
Keep the engine running and accessories on. Switch the multimeter to DC volts and place the red lead on the battery positive post, then the black lead on the alternator case. A reading above 0.2 volts means there is resistance in the positive cable or the alternator output stud.
Repeat with red on battery negative and black on the engine block or alternator case. Anything over 0.1 volt on the ground side points to a bad ground strap. I have personally diagnosed dimming that two shops missed, only to find a 0.4-volt drop on a corroded chassis ground.
Voltage drop testing catches resistance that a simple continuity test misses. A wire can ring out as connected but still have enough internal corrosion to drop half a volt under load.
Troubleshooting Flowchart: Match Your Reading to the Cause
Use this flowchart after you complete the five-step multimeter procedure. It maps your actual readings to the most likely cause.
- Resting voltage below 12.2V, charging voltage normal (13.8 to 14.5V): Battery is weak or undercharged. Charge it, then retest. If it will not hold a charge above 12.4V overnight, replace the battery.
- Resting voltage normal, charging voltage below 13.5V at idle: Likely a worn drive belt, failing alternator, or high-resistance connection. Inspect the belt first, then perform the voltage drop test in Step 5.
- Charging voltage normal unloaded, drops below 13.2V under load: Alternator is weak. Output capacity has degraded even though the voltage regulator still functions at low demand.
- Charging voltage above 14.8V at any RPM: Voltage regulator has failed. Stop driving and replace the alternator or regulator before it damages the battery and electronics.
- Voltage swings more than 0.3V at steady RPM: Worn alternator brushes or a failing diode. Output is unstable even if the average voltage looks acceptable.
- Voltage drop above 0.2V on positive side or 0.1V on ground: Bad cable, corroded terminal, or loose ground strap. Fix the connection, then retest before condemning any component.
Common Causes and Their Signs
Once you have numbers in hand, you can map symptoms to parts. Here is the comparison I use when walking a customer through the findings.
Failing Alternator
The alternator is the most expensive component in this system, so I want clear evidence before replacing one. Watch for undervoltage at idle (under 13.5V), a battery warning light on the dash, dimming that worsens with accessories, and a whining or grinding noise from the alternator itself.
A tell-tale sign is a battery that goes dead overnight despite being new. If the alternator has a failed diode, it can drain the battery even when the car is parked.
Alternators typically last 80,000 to 150,000 miles. Heat, vibration, and electrical overload from aftermarket accessories like amplified stereos are the most common killers.
Weak or Failing Battery
A bad battery can absolutely cause flickering, even though many people assume that is an alternator problem. Look for slow cranking, a battery older than four or five years, and a resting voltage below 12.2 volts.
Batteries with a dead cell will sometimes read 12.4 volts at rest but collapse to 9 volts under the slightest load. An auto parts store load test catches most of these, though a few forum users have reported parts store tests passing on batteries that failed within days.
Aftermarket batteries sometimes cause compatibility issues with the vehicle charging system, especially in cars with smart charging or battery management modules. If you recently replaced the battery and the flickering started, verify the replacement matches the original group size and cold cranking amp rating.
Worn Drive Belt
A slipping belt cannot spin the alternator fast enough at idle. The slip is most noticeable on cold mornings, in damp weather, or right after a rain.
If the headlights dim only at idle and brighten when you rev, and you hear a chirp or squeal on cold start, the belt is the prime suspect. Cost to fix is usually under $50 if you DIY.
One forum user reported that a loose belt was causing intermittent flickering that vanished entirely after a belt tensioner replacement. The alternator and battery were both fine the whole time.
Bad Voltage Regulator
Most modern cars have the regulator inside the alternator. Symptoms include overvoltage above 14.8V, headlights that brighten with RPM, and an unusually short battery life.
A regulator can sometimes be replaced as a separate $30 part on older vehicles. On most modern alternators the whole unit gets replaced, which is why many people just install a remanufactured alternator.
Ground and Wiring Problems
Ground issues are the most commonly missed cause of dimming headlights, and they are also the cheapest to fix.
A vehicle ground strap is a thick braided cable that connects the engine block to the chassis and the chassis to the battery negative. When any of these develop resistance, current takes the path of least resistance through other components, and your headlights pay the price.
One Jeep Wrangler owner on Reddit chased an alternator replacement, a new battery, and two shop visits before discovering the root cause was a corroded ground strap at the firewall. A $12 part and an hour of work ended a six-month problem.
To check grounds visually, follow each strap to both ends. Both mounting points should be shiny metal, not painted, and the bolt should be tight. If you see rust or powder, disconnect the strap, sand both contact surfaces until bright, and reconnect.
Battery corrosion on terminals causes the same voltage drop symptoms. Clean the posts and clamp interiors with a wire brush, apply dielectric grease, and retest. This five-minute fix resolves a surprising number of flickering complaints.
Aftermarket Accessories and Overload
If you have added an amplified stereo, auxiliary lights, or a winch, the stock alternator may simply be undersized for the demand. The headlights dim because the charging system cannot keep up, not because anything is broken.
The fix is a higher-output alternator, a dual-battery setup, or a capacitor for stereo loads. Before upgrading, measure voltage drop under your typical accessory load to confirm the stock system is the bottleneck.
Cold Weather and Seasonal Factors
Cold weather is brutal on a marginal charging system. A battery that delivers 100 percent of its capacity at 80 degrees Fahrenheit delivers only about 65 percent at 20 degrees. Combine that with thicker engine oil, more alternator demand for defrosters and heated seats, and a belt that slips more when cold, and you get winter headlight complaints.
If your lights only flicker in the first few minutes of a cold start, give the battery a full charge and recheck. Many seasonal issues vanish once the system is back to full state of charge.
A belt that chirps only in cold weather but quiets after warmup is a sign the rubber has hardened and lost grip. Replace it before it leaves you stranded on the coldest morning of the year.
When to Seek Professional Help
There are times when a driveway diagnosis should hand off to a shop. If you measure overvoltage above 15V, the regulator is failing in a way that can damage your battery and electronics. If the alternator makes a grinding or whining noise with RPM changes, internal bearings may be failing. And if you see voltage drop that points to a wiring fault inside the dashboard harness, a shop with a wiring diagram and proper test lights is the safer call.
Anything involving the airbag system, ABS module, or modern CAN-bus lighting should also go to a professional. The risk of triggering a fault code cascade outweighs the savings.
If you have replaced the alternator, battery, and belt and the flickering persists, the problem is almost certainly a ground or wiring issue that requires systematic voltage drop testing across multiple circuits. A shop with experience in electrical diagnosis will find it faster than parts swapping.
Frequently Asked Questions
Are flickering headlights a sign of a failing alternator?
Yes, flickering headlights are one of the most common early signs of a failing alternator. When the alternator cannot produce stable voltage, the headlights pulse or dim in time with the regulator’s output. Confirm with a multimeter test showing under 13.5V at idle or unstable voltage as RPM changes.
How do you diagnose dim headlights?
Start with a visual inspection of the drive belt, battery terminals, and ground straps. Then use a multimeter to measure battery voltage with the engine off (12.4-12.7V is normal) and with the engine running (13.8-14.5V is normal). Turn on accessories and confirm voltage stays above 13.2V. Finally check for voltage drop on the positive and ground cables.
Can a bad battery cause headlights to flicker?
Yes. A battery with a dead or weak cell can cause the headlights to flicker or dim, especially at idle when the alternator output is lowest. A resting voltage below 12.2V or a battery older than four years should be load-tested before assuming the alternator is at fault.
Why do my headlights flicker while driving but the car runs fine?
Headlights can flicker while driving yet the engine runs fine because the engine only needs spark and fuel, not steady voltage. The charging system has to keep up with every electrical accessory, and a weak alternator, loose belt, or corroded ground will show up in the headlights first even though the engine is unaffected.
Can a bad fuse cause headlights to flicker?
A bad or loose fuse can cause flickering headlights, though it is less common than alternator or battery issues. Inspect the headlight fuse and the main charging system fuses for corrosion on the blades or a loose fit in the box. Flickering caused by a fuse usually gets worse over bumps rather than with RPM changes.
Why do my headlights dim only at idle?
Headlights dim only at idle when the alternator is not producing enough current at low RPM. Common causes include a worn drive belt that slips under low load, a weak alternator with failing diodes, or a battery that is too discharged to supplement the alternator output at idle.
Final Thoughts
Knowing how to diagnose flickering or dimming headlights through the charging system turns an expensive guess into a ten-minute test. Start with the visual inspection, confirm with a multimeter at each step, and use the troubleshooting flowchart to match your readings to a cause.
Run through the five-step multimeter procedure this weekend and you will know exactly what is failing, whether it is a $12 ground strap or a $300 alternator. Share your voltage readings in the comments and I will help you interpret them.