
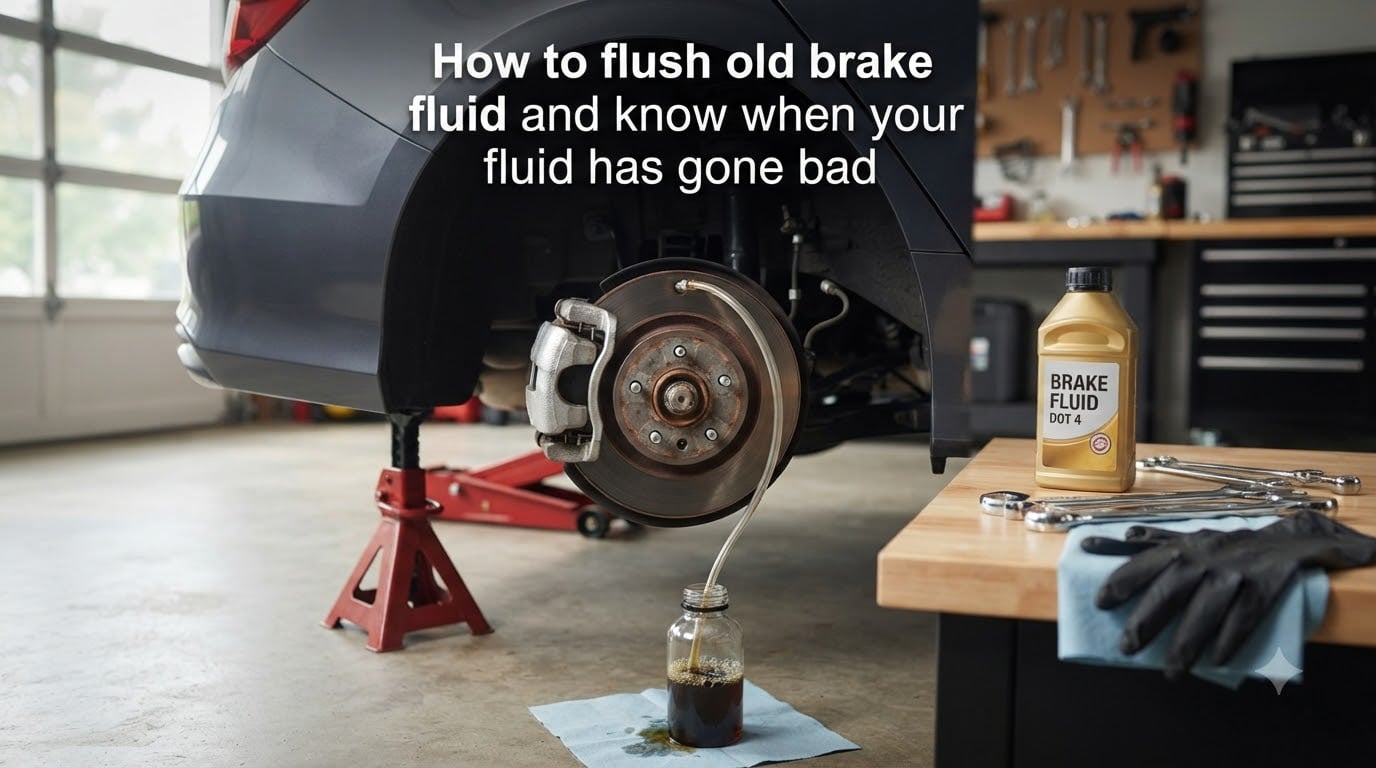
Learning how to flush brake fluid is one of the most useful DIY skills you can pick up, and it saves real money compared to a shop visit. After flushing the fluid on my own truck and two older sedans over the past few years, I can walk you through exactly when the fluid has gone bad, what tools you actually need, and the step-by-step method I trust.
In this guide, I will explain why brake fluid degrades even when your brakes feel fine, the warning signs most people miss, and three different flushing methods you can do at home. You will also get the cost breakdown, disposal rules, and answers to the questions mechanics hear most often about brake fluid flushes.
Table of Contents
Why Brake Fluid Degrades Over Time?
Brake fluid is hygroscopic, which means it naturally absorbs moisture from the air through every seal, hose, and even the master cylinder cap. That moisture is the main reason brake fluid goes bad, not the heat cycles most people assume.
Fresh DOT 3 fluid has a dry boiling point around 401°F. Once it absorbs about 3% water by volume, that boiling point can drop below 300°F. When fluid boils inside your brake lines, you get air bubbles in the system, and air bubbles mean a soft, spongy brake pedal exactly when you need firm stopping power.
Water also corrodes the inside of calipers, wheel cylinders, and the master cylinder bore. I have personally seen caliper bores pitted so badly from neglected brake fluid that the rebuild kit could not save them. This is the silent damage nobody talks about.
Independent testing from companies like Phoenix Systems shows most cars on the road have brake fluid with a boiling point below 300°F after just 18 months. That is well below the safe threshold for any kind of spirited driving or mountain descent.
Signs Your Brake Fluid Has Gone Bad
You can usually tell brake fluid is going bad before the brake pedal gives up. Here are the warning signs I check first on any used car or neglected daily driver.
Spongy or soft brake pedal. If the pedal feels mushy or sinks further than it used to, you likely have either air in the lines or fluid with a low boiling point creating vapor. Both point to old fluid.
Dark brown or black color. Fresh brake fluid is clear to light amber. Dark fluid means contamination from moisture, corrosion debris, or both. You can see this directly through the translucent master cylinder reservoir on most cars.
Burning or chemical smell after heavy braking. If your brakes smell hot after a single hard stop, the fluid is likely boiling internally. New fluid handles repeated hard braking without producing noticeable odor.
ABS warning light on the dash. Many ABS modules monitor fluid condition indirectly. While this can mean other issues, contaminated fluid is a common trigger that should not be ignored.
Longer stopping distance. If your car just feels slower to respond under hard braking, vapor in the fluid is reducing hydraulic pressure. This is the most dangerous sign because it only shows up when you actually need the brakes.
How to Test Brake Fluid Quality at Home
None of the top guides I looked at covered this, so I want to spend a minute on the testing options. Three reliable methods work in a home garage without lab equipment.
Electronic brake fluid testers. These $20 to $40 pen-style testers measure the boiling point of your fluid by testing its conductivity. They run on AA batteries and give you a green, yellow, or red reading. I keep one in my toolbox and use it on every used car I look at.
Test strips. Brake fluid test strips change color based on copper content, which rises as corrosion accelerates inside the system. Dip the strip in the reservoir and match the color to the bottle chart. High copper means the fluid is past due.
Visual inspection. Free and instant. Pull the master cylinder cap and look at the fluid. If it is dark, cloudy, or has visible particles, it needs to go. You can also check the level. If it is low, top it off and watch for a leak before flushing.
A simple refractometer used for coolant testing will not work on brake fluid, so do not waste money on the wrong tool. Stick with electronic testers or copper test strips for accurate results.
DOT 3 vs DOT 4 Brake Fluid Comparison
Every competitor article includes this comparison, and for good reason. Choosing the wrong fluid can damage seals or fail under heat. Here is the quick reference.
DOT 3 is the standard fluid for most passenger cars. It has a minimum dry boiling point of 401°F and a wet boiling point of 284°F. It is glycol-based and works fine for normal daily driving.
DOT 4 has a higher minimum dry boiling point of 446°F and a wet boiling point of 311°F. It is also glycol-based and includes corrosion inhibitors. It is required for most European cars and any vehicle that sees heavy braking.
DOT 5 is silicone-based and does not absorb water. It is used in some classic cars and military applications but should never be mixed with DOT 3 or DOT 4. DOT 5.1 is glycol-based like DOT 4 but with even higher boiling points.
The rule I follow: check your owner’s manual, buy the highest-grade fluid your car spec allows, and never mix DOT ratings in the same system. If your car calls for DOT 3, DOT 4 is usually a safe upgrade. If it calls for DOT 4, do not drop down to DOT 3.
Brake Fluid Flush vs Brake Bleeding: What’s the Difference
People use these terms interchangeably, but they are different procedures. A brake bleed removes air from the hydraulic system, usually after a part replacement or when air has entered a line.
A brake fluid flush replaces all the old fluid in the system with fresh fluid. It is preventive maintenance. You bleed and flush together in most cases, because flushing requires bleeding each caliper to push the old fluid out.
If you just replaced a caliper and got air in the line, you bleed. If you are doing a 30,000-mile service and want clean fluid throughout, you flush. Both end with the same result: a firm pedal with fresh fluid.
Tools Needed for a Brake Fluid Flush
Here is the complete kit I lay out before starting. You probably have most of it already.
Essential tools:
Floor jack and two jack stands
Lug wrench
Line wrench set (8mm, 10mm, 11mm are most common for bleeder screws)
Clear plastic tubing that fits snugly over the bleeder valve
Clean glass or plastic catch bottle
Turkey baster or fluid syringe for reservoir extraction
2 to 3 quarts of fresh brake fluid matching your spec
Shop rags and a water bottle for cleanup
Gloves and safety glasses
Optional but worth it:
Vacuum bleeder ($25 to $50) for one-person operation
Brake fluid tester to confirm old vs new condition
Scan tool capable of running the ABS bleed sequence
You will also need a helper for the two-person method, unless you invest in a vacuum bleeder. I will cover all three methods so you can pick the one that fits your setup.
How to Flush Brake Fluid: Step-by-Step Instructions?
Pick the method that matches your tools and whether you have a helper available. All three methods produce the same end result: clean fluid throughout the system.
Method 1: Two-Person Gravity Bleed (Most Reliable)
This is the method I trust most and the one most mechanics default to. It takes about 30 to 45 minutes per axle.
Step 1: Safely lift the vehicle. Loosen the lug nuts, jack up the car, and secure it on jack stands. Never work under a car supported only by a jack.
Step 2: Locate the bleeder screws. They are on the back side of each caliper or wheel cylinder. Clean the area around them with brake cleaner so debris does not fall in when you open them.
Step 3: Extract old fluid from the reservoir. Use a turkey baster to suck out as much old fluid as possible. Do not let the reservoir run dry during the procedure, or you will introduce air into the master cylinder.
Step 4: Refill with fresh fluid. Top off the master cylinder to the max line with fresh brake fluid matching your spec.
Step 5: Start at the wheel farthest from the master cylinder. On most rear-wheel-drive cars, that is the right rear. On front-wheel-drive cars, start at the right rear as well. The general rule: farthest first, closest last.
Step 6: Attach tubing and open the bleeder. Push clear tubing over the bleeder screw and submerge the other end in your catch bottle with an inch of clean fluid in it. Have your helper press the brake pedal slowly three to four times, then hold it down.
Step 7: Crack the bleeder open. While your helper holds the pedal down, open the bleeder about a quarter turn. Old fluid and air will bubble out. Close the bleeder before your helper releases the pedal.
Step 8: Repeat until clean fluid flows. Keep checking the reservoir and topping off. Repeat the pump-and-hold sequence until the fluid coming out is the same color as the fresh fluid in the bottle.
Step 9: Move to the next wheel. Right rear, then left rear, then right front, then left front. Check the master cylinder level every few minutes.
Method 2: Gravity Bleeding (Solo Method)
This works but is slower. Open each bleeder screw a half turn and let fluid drip into a catch bottle while you keep the reservoir topped off. Gravity will slowly push old fluid out.
It takes about 30 to 60 minutes per wheel, so plan for a full afternoon. I have used this method when I did not have a helper, and it works fine for a patient DIYer.
Method 3: Vacuum Bleeder (Easiest Solo Method)
A vacuum bleeder attaches to the bleeder screw and pulls fluid out with suction. You watch old fluid fill the reservoir on the bleeder until it runs clean.
Refill the master cylinder between each wheel. This is the fastest solo method and the one I recommend if you flush brake fluid regularly. The $30 to $50 cost pays for itself the first time you skip a shop visit.
How to Flush Brake Fluid with ABS Systems
Modern ABS systems have a separate hydraulic unit with its own internal passages. A standard flush leaves old fluid trapped inside the ABS modulator, which is exactly where corrosion likes to start.
To flush the ABS unit itself, you need a scan tool capable of running the manufacturer’s ABS bleed sequence. This cycles the ABS pump and valves to push old fluid out through each wheel.
The general sequence is: perform a standard brake flush first, then run the ABS bleed sequence on each wheel in order, then do one more manual bleed to catch what the cycle missed. Honda, Toyota, BMW, and Ford all have specific procedures, so check a service manual for your exact model.
If you do not have a scan tool, you can still get most of the benefit from a standard flush. The trapped fluid will mix with new fluid over the next few weeks of normal driving, which is better than skipping the service entirely.
How Often Should You Change Brake Fluid
The honest answer is that it depends on your driving conditions, but I give my own cars a flush every 2 years or 30,000 miles, whichever comes first.
Manufacturer recommendations vary from 2 to 5 years, and most owners manuals bury this in the maintenance schedule. Independent testing consistently shows fluid is past its safe window well before the manufacturer interval on most cars.
Flush more often if you drive in any of these conditions: mountain driving with frequent descents, towing heavy loads, track days or autocross, stop-and-go city traffic, or you live in a humid climate. Each of these accelerates moisture absorption or heat cycling.
You can flush less often if you garage-keep a low-mileage commuter car and drive mostly highway miles in a dry climate. Even then, do not skip beyond 3 years. The cost of an annual flush is tiny compared to a caliper replacement from corrosion damage.
DIY vs Shop: Brake Fluid Flush Cost Comparison
This is one of the most common questions on Reddit and car forums, and the price gap is huge. I checked quotes at three dealerships and two independent shops in my area last spring to confirm.
DIY cost: A bottle of DOT 4 fluid runs $8 to $15. Add a $25 vacuum bleeder if you do not already own one, and you are looking at $35 to $60 total for your first flush. Every flush after that costs just the fluid.
Independent shop cost: $90 to $130 for a standard flush, $150 to $200 if you have an ABS-equipped vehicle that requires scan tool bleeding.
Dealership cost: $150 to $250, often higher on European brands. The labor rate is the difference, not the fluid cost.
For most people, DIY is the better value once you own a basic tool set. Take it to a shop if you do not have jack stands, you do not have a helper and refuse to buy a vacuum bleeder, or your vehicle has a complex ABS system that requires factory scan tool access.
Common Mistakes to Avoid When Flushing Brake Fluid
I have made or watched other people make each of these mistakes. They are all avoidable with a little preparation.
Letting the master cylinder run dry. This is the most common DIY error. The moment air enters the master cylinder, you have a much harder bleeding job ahead of you. Keep the reservoir above the min line throughout the procedure.
Spilling brake fluid on paint. Brake fluid eats clear coat fast. Keep a water bottle and shop rags within arm’s reach. If you spill, rinse with water immediately. Do not wait until you finish the job.
Mixing DOT ratings. Stick to one fluid type per car. Mixing DOT 3 and DOT 4 in a pinch is technically okay, but mixing glycol-based and silicone-based fluids creates a gel that can clog your ABS modulator.
Overtightening bleeder screws. These are small and easy to strip. Snug is enough. Most specs call for 7 to 9 ft-lbs, which is barely past finger-tight.
Forgetting to bed in the brakes. After a flush, your brakes should feel firm immediately. If the pedal is spongy, you have air still in the system and need to bleed again.
How to Dispose of Old Brake Fluid
Used brake fluid is toxic and considered household hazardous waste. Do not pour it down a drain, on the ground, or into a storm sewer.
Most auto parts stores accept used brake fluid for free or a small fee. Check with Advance Auto Parts, AutoZone, or O’Reilly in your area. Many take it along with used motor oil.
Your local household hazardous waste collection event is another option. These run a few times per year in most counties and accept brake fluid, oil, paint, and chemicals at no charge.
Seal the used fluid in the original container or a clearly labeled plastic jug. Keep it away from pets and children until you can drop it off.
Frequently Asked Questions
Can I flush brake fluid by myself?
Yes, you can flush brake fluid by yourself using either the gravity method or a vacuum bleeder. The two-person pump-and-hold method is faster and what most mechanics use, but solo methods work fine if you are patient and keep the master cylinder topped off.
Are brake fluid flushes necessary?
Brake fluid flushes are necessary because brake fluid is hygroscopic and absorbs moisture over time. Moisture lowers the boiling point and corrodes calipers, wheel cylinders, and the master cylinder. A flush every 2 years or 30,000 miles prevents corrosion damage and keeps your brake pedal firm under hard use.
How do I know if my brake fluid needs to be flushed?
Your brake fluid needs to be flushed if it looks dark brown or black, if your brake pedal feels soft or spongy, if you smell a hot chemical odor after heavy braking, or if your ABS warning light comes on. You can also test it with an electronic brake fluid tester or copper test strips for an objective reading.
How to properly do a brake fluid flush?
To properly do a brake fluid flush: extract old fluid from the master cylinder with a turkey baster, refill with fresh fluid, then bleed each caliper starting with the wheel farthest from the master cylinder. Open each bleeder screw while a helper pumps the brake pedal, and continue until clean fluid flows out. Repeat on all four wheels and keep the reservoir topped off.
What happens if you never change your brake fluid?
If you never change your brake fluid, moisture contamination lowers the boiling point and causes the fluid to vaporize under hard braking, leading to a soft pedal and longer stopping distances. The water also corrodes caliper bores, wheel cylinders, and the master cylinder, eventually causing expensive component failure.
How long does a brake fluid flush take?
A brake fluid flush takes 30 to 45 minutes per axle for an experienced DIYer using the two-person method. A full four-wheel flush including ABS takes about 60 to 90 minutes. Gravity bleeding solo can take 2 to 3 hours.
Can you flush brake fluid without bleeding?
You cannot fully flush brake fluid without bleeding because the only way to push old fluid out of the calipers is through the bleeder screws. A partial flush by extracting fluid from the master cylinder alone only replaces the fluid in the reservoir, not in the lines, calipers, or ABS modulator.
What color should fresh brake fluid be?
Fresh brake fluid should be clear to light amber, similar in appearance to light cooking oil. Dark brown or black fluid indicates contamination from moisture and corrosion debris and should be flushed immediately.
Final Thoughts on Flushing Brake Fluid at Home
Knowing how to flush brake fluid puts a real safety service back in your hands for less than the cost of a shop visit. The job is straightforward once you understand why the fluid degrades, what tools you need, and the right order to bleed each wheel.
Start by testing your current fluid with an electronic tester or test strips to confirm it actually needs flushing. Then pick the method that fits your tools and grab a helper if you are going with the two-person approach. Take your time, keep the master cylinder topped off, and dispose of the old fluid at a hazardous waste drop-off.
If you have never flushed brake fluid before, doing it yourself every other year is one of the smartest maintenance habits you can build. Your brakes will respond more predictably, your calipers will last longer, and you will never have to wonder whether the dealer is upselling you on a real service.