
When your brakes start shaking, squealing, or feeling weak, the first question most drivers ask is whether a quick machine job will fix the rotors or whether the parts have to come off and go in the trash. Knowing how to tell if your brake rotors can be resurfaced or must be replaced saves real money, and it also directly affects how safely your car stops. I have walked dozens of cars through this exact decision in my own garage, and the rules I share below are the same ones professional techs use every day.
Most shops quote replacement by default because it pays better and removes any comeback risk. That does not always line up with what is best for your wallet or your car. This guide gives you a clear, no-fluff system for making the call yourself. You will learn what resurfacing actually does, the warning signs that say “machine it,” the warning signs that say “replace it,” how to measure rotor thickness at home, and the real cost difference between the two paths.
Table of Contents
Rotor Resurfacing Is a Machining Process That Restores the Rotor Surface
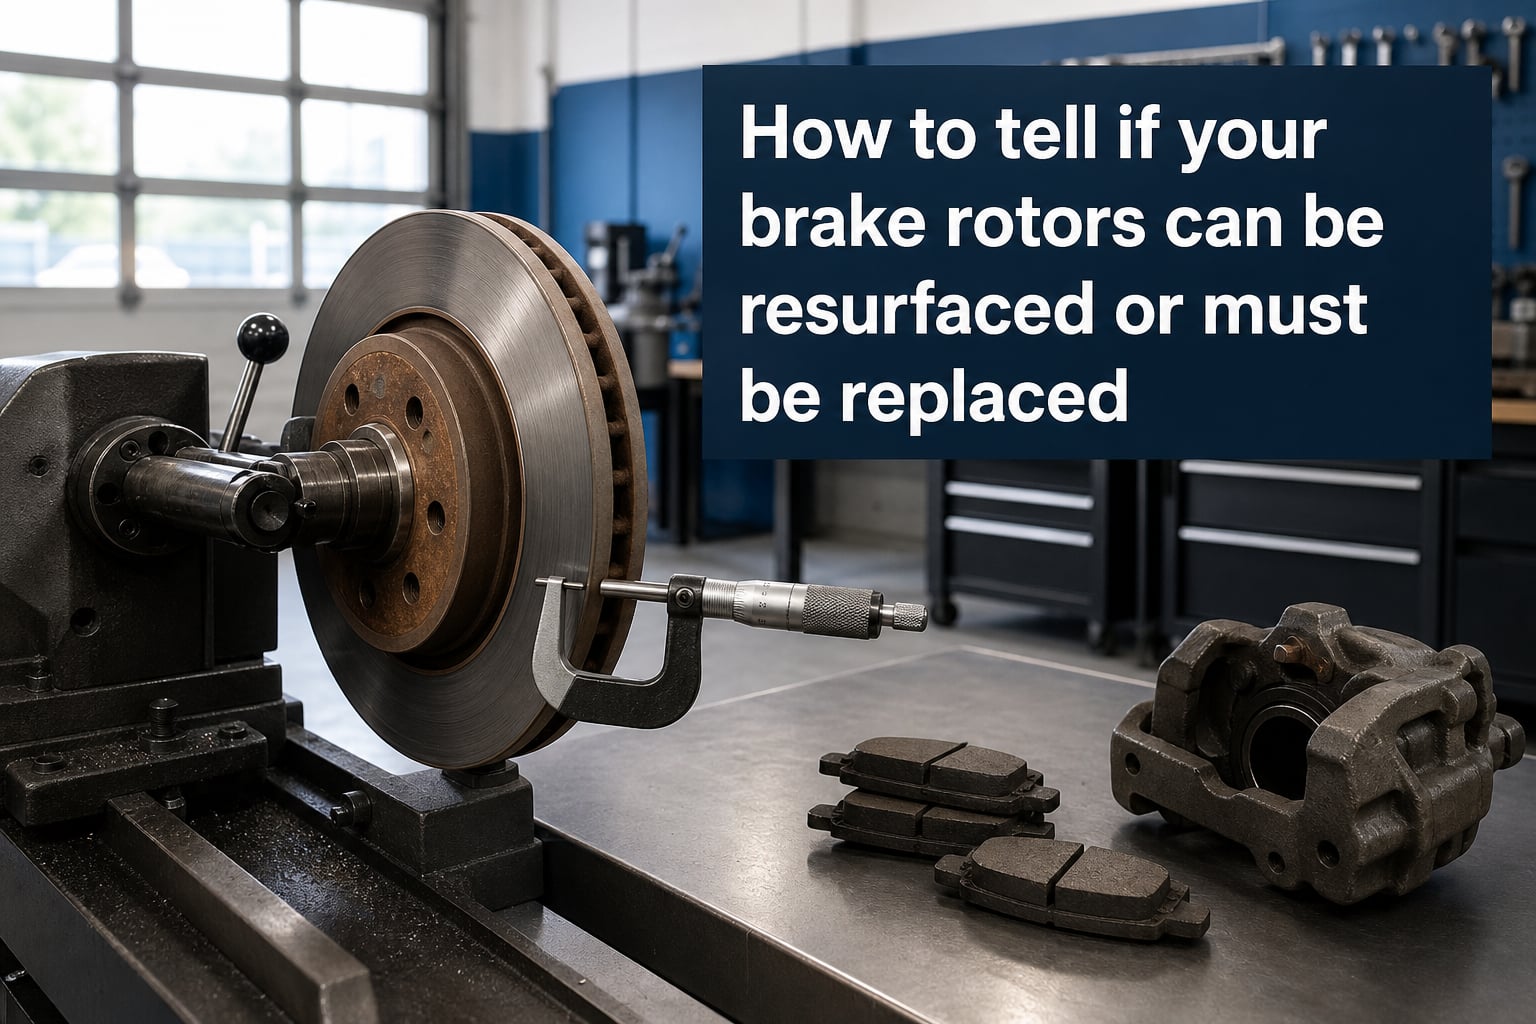
Rotor resurfacing is a machining process that removes a thin layer of metal from both faces of the brake rotor so the pad contact surface is flat, smooth, and free of hot spots. A shop mounts the rotor on a brake lathe, spins it, and shaves a measured amount off with a cutting tool until the runout is corrected and the friction surface is renewed.
This job costs far less than a new rotor and gets credited as a “turn” or “machine” job on your invoice. It works because most unevenness lives in the outer skin of the cast iron. Cut that skin away and you are left with usable iron that meets the original flatness spec. Most pads will bed into a freshly turned rotor as well as they do into a brand-new one, especially when the surface finish is clean.
Resurfacing only works when enough meat remains above the manufacturer’s minimum thickness. That number is stamped right on the rotor and must never be ignored. Below that line, you cannot resurface. The rotor is done. There is also a difference between an on-car lathe and an off-car lathe. Off-car lathes tend to produce a more accurate cut because the rotor is clamped and trued separately from the hub.
Signs Your Brake Rotors Can Be Resurfaced
You can usually resurface a rotor when the damage is on the surface and depth measurements still have margin above minimum. Here are the green-light conditions I check first.
Brake pulsation or steering wheel vibration during braking. A pulsing brake pedal or shaking steering wheel at speed usually means the rotor face is slightly warped or has a hot spot, both of which a lathe can clean up.
Squealing or scraping sounds that come and go. Light glazing or shallow ridges that produce noise but no structural damage are prime resurfacing candidates.
Visible grooves or scoring across the surface. Hairline grooves worn by old pads are exactly the kind of wear a brake lathe erases in one pass.
Surface rust only. The orange film that forms when a car sits for a week wipes off the first few brake applications. That is cosmetic, not structural.
Thickness still well above the discard spec. If you measure the rotor and it is still comfortably thicker than the minimum number cast into it, resurfacing is on the table.
When these symptoms show up together, resurfacing is normally the fastest, cheapest fix. I have turned rotors that looked rough and ended up smoother than new ones after a good machine pass. Just be sure to address the underlying cause at the same time. A sticking caliper, a worn guide pin, or a brake hose that does not release will ruin a fresh cut in short order.
How to Check Minimum Rotor Thickness Without Leaving Your Driveway?
You do not need a shop to confirm that a rotor is still resurfacing-eligible. All you need is the number stamped on the part and a good measurement tool. Rotors that fail this check are usually the ones that surprise owners with warped feel or braking noise later, so the five minutes it takes are well spent.
Step 1. Look at the outer edge of the rotor between the wheel spokes. There is usually a line of text that says something like “MIN THK 22.0mm” or “Discard at 0.815 in.” That is the legal limit. Anywhere south of it and the rotor is junk. Some castings use abbreviations like “Min. Th.” or print it on the vane section.
Step 2. Grab a vernier caliper or, better, a brake micrometer. Measure at four points around the rotor face and take the thinnest reading. A brake micrometer is preferred because the anvil is shaped to sit flat on the rotor friction ring.
Step 3. Subtract about 0.005 to 0.010 of an inch (0.13 to 0.25 mm) for the material the lathe will remove. If the result is still above the minimum, you are clear to resurface. This step is the one shops skip when they want to upsell you a new rotor, so do not skip it yourself.
Step 4. If the number is below minimum even before machining, skip resurfacing and order new rotors. No shop with any integrity will turn a rotor that is already past spec.
The difference between minimum thickness and discard thickness is simple. They are usually the same number. The manufacturer calls it the lowest safe working thickness. Lathe operators call it the line they will not cross. Some factory service manuals also publish a “re-machine” or “rework” limit that is a little above the discard number, which gives the shop a small safety buffer.
When Rotors Must Be Replaced Instead of Resurfaced?
Some problems make resurfacing a bad idea no matter how thick the rotor still is. If any of these show up, plan on a new set of rotors. I keep this list printed and taped to my workbench because it is the single most common shortcut I see in the trade.
Deep cracks visible on the rotor face or vanes. A crack that catches your fingernail means the rotor is about to fail. Machining it just creates a thinner, weaker part. Replace it.
Rust pitting you can feel with your finger. Pits the size of a pin head are normal. Pits you can hook a fingernail into have eaten below the safe layer.
Hard blue or rainbow heat spots. Severe overheating hardens the surface unevenly and can leave micro-cracks that resurfacing will not fix. The discoloration is a tell that the iron went past its tempering temperature.
Lateral runout above spec. Most manufacturers cap runout at around 0.002 to 0.005 of an inch. More than that and the rotor is too warped to live with.
Thickness already at or below the stamped minimum. No metal to cut, no resurfacing possible.
Drilled or slotted performance rotors. Many of these cannot be resurfaced without losing the engineered cooling or wear pattern. Check with the maker first.
If any item on this list applies, the answer is replacement. Resurfacing a rotor that should be replaced is the kind of shortcut that ends with a customer coming back angry. In almost every case it is cheaper to just buy new rotors than to gamble on a part that is structurally compromised.
How Many Times Can You Resurface the Same Rotor?
Every cut on the lathe removes metal, and a rotor only has so much to give. For most modern vented rotors the answer is once, sometimes twice if the car was originally specced with extra thickness. For older, thicker rotors I have seen three passes, but that is rare today. Composite, drilled, or slotted rotors usually cannot be resurfaced at all. When in doubt, ask a shop to dry-cut a sample and re-measure before you commit.
A useful rule of thumb: if more than about 0.040 of an inch (1.0 mm) has to come off to bring the rotor back to spec, you are at the end of the line. That usually means heavy scoring, deep rust, or a warp that may run through the whole casting. New rotors are the safer bet at that point.
Resurfacing vs Replacement Cost Comparison
The numbers here are what I see most often at independent shops and parts stores in 2026. Resurfacing is one of the biggest bargains in brakes when it works, and most drivers can save $100 to $200 per axle by going that route when the rotor still qualifies.
Resurfacing cost: About $15 to $40 per rotor for the machine work. Add pad replacement and you might walk out the door at $200 to $300 per axle.
Replacement cost: New economy rotors run $40 to $70 each and quality rotors $80 to $150 or more. With pads and labor, a full axle replacement commonly lands at $350 to $600 per axle.
Labor: Wheel removal, caliper removal, and installation are the same cost for both jobs. The decision only affects parts and the machine fee.
Net savings from resurfacing: Often $100 to $200 per axle, sometimes more on trucks and SUVs where rotors are pricier.
The catch is that resurfacing only saves money when the rotor is a good candidate. If the part is past spec or cracked, the cheap option turns into a safety problem that costs more than the new rotor would have. National chains like AutoZone and O’Reilly still offer in-store resurfacing at many locations, which keeps the price low and the turnaround quick.
Step-by-Step Brake Rotor Inspection You Can Do at Home
This walk-through takes about ten minutes per wheel and tells you 90 percent of what you need to know before calling a shop. Do all four wheels if you have time, since the rear rotors usually mirror what is happening up front.
Step 1. Park on level ground, chock the wheels, and crack the lugs before you lift. Jack up one corner at a time and use a sturdy jack stand. Never trust a hydraulic jack alone.
Step 2. Remove the wheel and look at the rotor face. Spin it slowly and watch for heavy discoloration, deep grooves, or visible cracks. A slight lip on the outer edge is normal pad debris buildup. A sharp ridge you can feel with your finger means pad run-out, which is the signature of a sticking caliper.
Step 3. Run a finger (with gloves on) lightly across the friction surface. Light roughness is normal. Grooves your nail catches are not. If you see a bluish tint anywhere, that section has been running hot and likely needs replacement.
Step 4. Measure the thickness with a caliper or brake micrometer at four points. Compare against the minimum number cast into the rotor. Take the thinnest reading, not the average.
Step 5. Check pad thickness while you are in there. Worn pads are often the reason a rotor looks worse than it is. If the pads are at the end of their life, plan on replacing them at the same time so the fresh rotor surface beds in correctly.
If everything checks out, take the rotor to a shop for resurfacing. If not, order replacements from a parts retailer and let them install it with the new pads.
Tips to Extend the Life of Resurfaced Brake Rotors
A freshly turned rotor will last a long time if you treat it right for the first few hundred miles. After pad installation, follow the bedding procedure your pad maker recommends. That usually means a series of moderate stops from 40 mph back to 10 mph, with cool-down laps between each one. Bedding transfers a thin, even layer of pad material onto the rotor face and prevents the hot spots that warp metal over time.
Avoid dragging the brakes down long grades, especially in heavy vehicles. Sustained heat is the number one killer of rotors. If you tow or live in hilly country, consider upgrading to slotted or drilled rotors the next time around. They run cooler and outgas better than smooth blanks under heavy use.
Watch for sticking caliper slides and weak return springs. Anything that keeps the pads lightly dragging builds heat fast and ruins even fresh cuts. Finally, replace brake fluid every two to three years. Old fluid boils under heavy use and that boiling is what causes the pedal to drop and the rotors to overheat. Fresh fluid with a high dry boiling point keeps the system stable when you need it most.
Frequently Asked Questions
How much does it usually cost to resurface a rotor?
Most shops charge between $15 and $40 per rotor for the machine work. With new pads and labor, a typical resurfacing job runs $200 to $300 per axle in 2026.
When can rotors no longer be resurfaced?
Rotors cannot be resurfaced when they are at or below the minimum thickness stamped on the casting, when they have deep cracks, severe heat spots, or heavy rust pitting, or when lateral runout is above the manufacturer’s spec.
Is it worth getting your rotors resurfaced?
Resurfacing is worth it when the rotors are still well above minimum thickness with only surface wear like light grooves, mild warpage, or glazing. It saves $100 to $200 per axle over replacement and gives braking performance equal to a new rotor.
At what thickness do rotors need to be replaced?
Rotors must be replaced when measured thickness is at or below the discard thickness cast into the rotor, which usually sits between 0.7 and 1.2 inches depending on the vehicle.
What is the discard thickness of a brake rotor?
Discard thickness is the manufacturer’s lowest safe working thickness for a rotor. It is stamped or cast into the rotor edge and is the same number commonly called minimum thickness.
How many times can you resurface a rotor?
Most modern rotors can be resurfaced once, sometimes twice. Older or thicker rotors may handle three passes. Drilled, slotted, or composite rotors often cannot be resurfaced at all.
Final Thoughts on Deciding Between Resurfacing and Replacing Rotors
The decision to resurface or replace brake rotors comes down to three checks: thickness above the stamped minimum, no structural damage like cracks or severe heat spots, and no disqualifying wear on composite or drilled rotors. When all three are clear, resurfacing saves real money. When any one fails, replacement is the only safe answer. Run the inspection, take a measurement, and you will know which path makes sense for your car in 2026.