
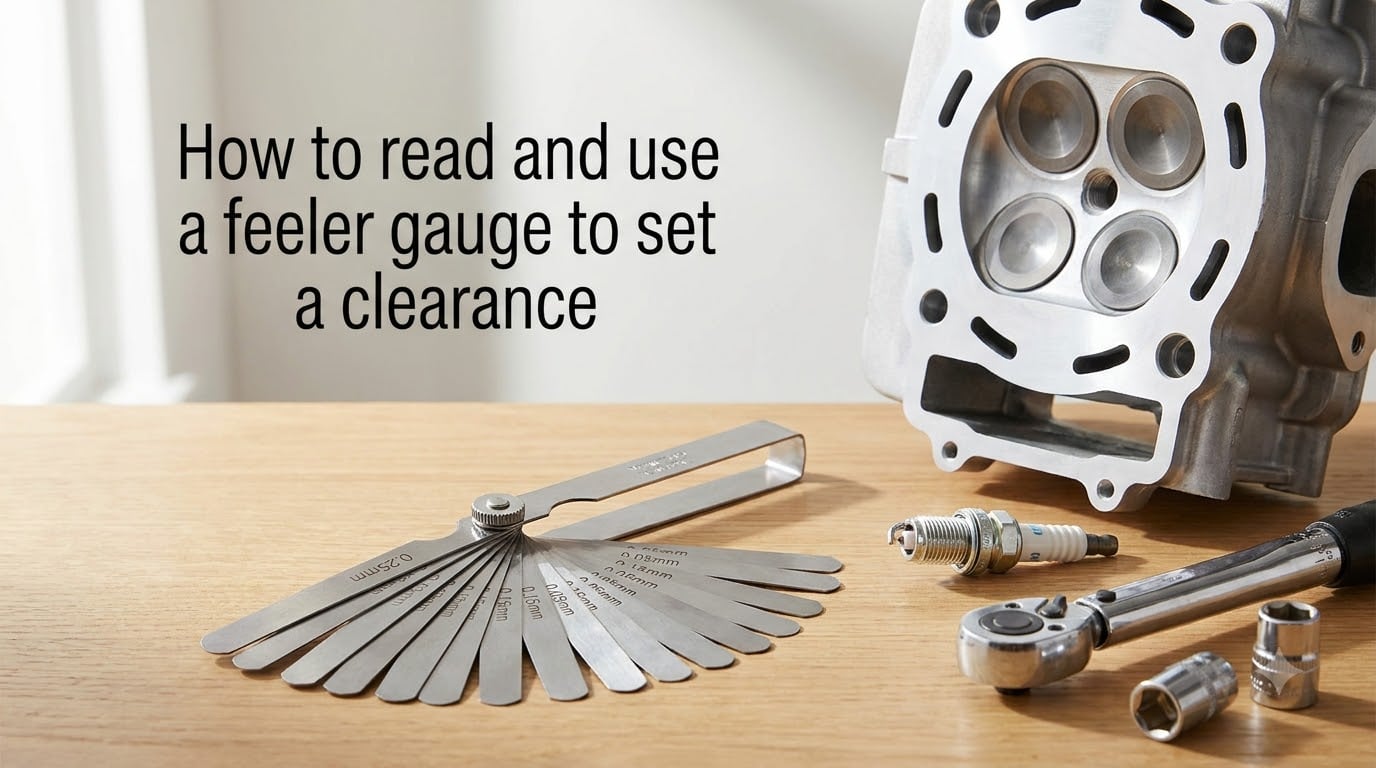
Setting the correct clearance on an engine, whether you are adjusting valve lash or checking a spark plug gap, comes down to one small tool: the feeler gauge. If you have ever wondered whether you are reading the blade correctly or whether the resistance you feel means the gap is right, you are in good company. In forums like r/MechanicAdvice and r/motorcycles, the number one question beginners ask is about how the gauge should actually feel when the clearance is correct. This guide covers everything from reading the stamped numbers to mastering the Go/No-Go technique that experienced mechanics rely on.
By the end, you will know exactly how to read and use a feeler gauge to set a clearance with confidence, including the tactile sensations that separate a guess from a precise measurement.
Table of Contents
What Is a Feeler Gauge?
A feeler gauge is a precision measuring tool made from thin, hardened steel strips of known, graduated thickness. Each blade represents one specific thickness, stamped directly onto its surface so you can identify it at a glance.
The purpose of the tool is simple: it measures small gaps and clearances between two components where a ruler or calliper would be useless. When you slide a blade of known thickness into a gap and feel the right amount of drag, you know the clearance matches that blade’s thickness.
Feeler gauges are used for valve clearance, tappet clearance, spark plug gaps, piston ring gaps, bearing clearance, and even guitar fret measurements. Anywhere a tight, precise gap needs verifying, this tool does the job.
Types of Feeler Gauges
Not all feeler gauges look the same. Understanding the different types helps you pick the right one for your specific task.
Blade Type (Leaf) Feeler Gauges
This is the most common type. Multiple thin metal blades of increasing thickness are hinged together in a folding set, much like a pocket knife. Each blade folds out individually, and you can combine two blades to hit a thickness that no single blade matches.
Blade feeler gauges are the go-to choice for valve clearance adjustments, spark plug gaps, and most automotive work.
Wire Type Feeler Gauges
Wire feeler gauges use round wire prongs instead of flat blades. They are designed for measuring round gaps, most commonly spark plug electrode gaps where a flat blade would not seat properly against the curved electrode.
Go/No-Go Feeler Gauges
These sets include blades marked as “Go” and “No-Go” based on tolerance limits. The Go blade should slide through the gap; the No-Go blade should not. This gives you a clear pass/fail check rather than a measurement you have to interpret.
Plastic Feeler Gauges
Plastic feeler gauges are non-conductive and non-marring, making them safe for delicate electrical components or surfaces where metal would cause damage. They are less common in automotive work but useful in electronics and finishing.
Feeler Gauge Sizes – Understanding the Numbers
Feeler gauge blades come marked in either metric (millimetres) or imperial (inches) measurements, and many sets include both. Knowing how to read these numbers is the first hurdle for beginners.
Metric Measurements
Metric blades are stamped with numbers like 0.05, 0.10, 0.15, and so on, all in millimetres. A blade marked “0.20” is exactly 0.20 mm thick. Metric sets typically range from 0.02 mm up to about 1.00 mm.
Imperial Measurements
Imperial blades use decimal inches. A blade marked “.010” means 0.010 inches, which equals ten thousandths of an inch. A blade marked “.004″ means 0.004 inches, or four thousandths. Most imperial sets range from 0.0015″ to 0.025”.
Quick Conversion Reference
Here is a handy conversion for the most common sizes:
0.04 mm = 0.0015″ (1.5 thou)
0.05 mm = 0.002″ (2 thou)
0.10 mm = 0.004″ (4 thou)
0.15 mm = 0.006″ (6 thou)
0.20 mm = 0.008″ (8 thou)
0.25 mm = 0.010″ (10 thou)
0.30 mm = 0.012″ (12 thou)
0.50 mm = 0.020″ (20 thou)
So when someone asks what .010 on a feeler gauge means, it is ten thousandths of an inch, equivalent to 0.25 mm. And .004 equals four thousandths of an inch, or 0.10 mm.
How to Read a Feeler Gauge
Reading a feeler gauge is straightforward once you understand the marking system. Here is the step-by-step process.
Step 1: Select the blade you want to use and fold it out from the set.
Step 2: Look at the stamped number on the blade. If your set is metric, the number is in millimetres (for example, 0.15 means 0.15 mm). If imperial, the number is in decimal inches (.015 means 0.015 inches).
Step 3: If you need a thickness not in your set, you can stack two blades together. Their thicknesses add up: a 0.10 mm blade plus a 0.05 mm blade gives you 0.15 mm total. Just make sure both blades are clean before stacking.
Step 4: Verify the blade is not bent, kinked, or worn thin at the tip, since damage throws off the reading.
Many sets are also colour coded or have etched markings that resist fading, making identification easier after years of use.
How to Use a Feeler Gauge to Set a Clearance
Knowing how to use a feeler gauge to set a clearance comes down to a repeatable process. Here is the procedure that experienced mechanics follow.
Step 1: Find the specification. Check your engine or component manual for the exact clearance required. This is your target.
Step 2: Position the component correctly. For valve clearance, the cam lobe must point away from the rocker arm or bucket so the valve is fully closed. For spark plugs, hold the plug by the thread with the ground electrode accessible.
Step 3: Select the target blade. Pull the blade matching your specification from the set. For example, if the spec is 0.15 mm, use the 0.15 mm blade.
Step 4: Insert the blade into the gap. Slide the blade between the valve stem and rocker arm (or between the spark plug electrodes). The blade should enter at a slight angle, not forced straight in.
Step 5: Assess the feel. The blade should slide through with light, consistent drag. If it slides freely with zero resistance, the gap is too large. Try the next size up. You should always feel friction, but never binding or force.
Step 6: Adjust and re-check. Make the needed adjustment and re-measure. Repeat until the feel is correct.
Step 7: Verify with the Go/No-Go method. Try one size thinner (should slide freely) and one size thicker (should not fit). This confirms your clearance is right on target.
The Go/No-Go Measurement Technique
The Go/No-Go technique is widely recommended by experienced mechanics on forums like r/Ducati and r/motorcycles. It removes the guesswork from interpreting drag.
Here is how it works. Once you have set what you believe is the correct clearance using the specified blade, take a blade one size thicker than your spec. Try to insert it into the gap. It should NOT go in. This is your No-Go check.
Now take a blade one size thinner than spec. It should slide through freely with little to no resistance. This is your Go check.
If the thinner blade goes in and the thicker blade does not, your clearance is within tolerance of the specification. This is the single most reliable method for confirming a correct setting, because it brackets the measurement on both sides.
One experienced forum user put it this way: the best method for valve clearances is to use the gauge for the recommended clearance plus one size thicker, and confirm the thicker one will not fit.
How the Gauge Should Feel (Tactile Guide)
This is the question that trips up more beginners than any other. Forum threads across r/MechanicAdvice, r/motorcycles, and bbs.homeshopmachinist.net all converge on the same answer.
The correct feel is a light, consistent drag. Imagine pulling a sheet of paper out from under a book that is resting lightly on it. There is resistance, but it is smooth and uniform across the entire stroke.
If the blade slides through with absolutely no resistance, as though it is falling through empty space, the gap is too large. Try the next size up. You should always feel friction, but never binding or force.
If the blade will not enter the gap at all, or you have to force it, the gap is too small. Forcing a thick blade can damage the blade and gives you a false reading.
If you get different readings with different gauges, the most likely cause is a dirty blade, a burr on the edge, or inconsistent insertion angle. Clean everything and try again with a steady, light hand.
Common Mistakes and How to Avoid Them
Even experienced users slip into bad habits. Here are the most common mistakes and how to avoid them.
Forcing the blade. If it does not fit, do not push harder. Forcing a blade into a tight gap damages the edge and gives a falsely large reading on the next check. Use a thinner blade or adjust the clearance.
Dirty or oily blades. Oil and grime add thickness. A blade with oil on it reads thicker than its stamped value. Wipe blades clean with a lint-free cloth before every measurement.
Wrong cam position for valve checks. If the cam lobe is not pointed away from the valve, the valve is not fully closed and you will get a false reading. Always confirm the lobe position before inserting the gauge.
Using a bent blade. A kinked blade no longer matches its stamped thickness at the bend point. Replace damaged blades rather than trying to straighten them.
Checking only one size. Measuring with a single blade and calling it done leaves you guessing. Always confirm with the Go/No-Go method.
Caring for Your Feeler Gauge
A feeler gauge is a precision tool, and a little care keeps it accurate for years.
Wipe each blade clean after use with a dry, lint-free cloth. If the blades get oily, use a mild solvent and dry them immediately. Apply a light coat of machine oil before storing if you live in a humid climate to prevent rust.
Store the gauge in its case folded closed. Do not leave blades exposed where they can get bent or nicked. Keep the set away from magnets, since hardened steel can become magnetised and attract metal debris.
Check blades periodically for wear. The tip is the first place to thin out, since it contacts surfaces most often. If a blade tip looks polished thinner than the body, replace the set.
FAQs
How do you know that a clearance is correct when using a feeler gauge?
A clearance is correct when the specified blade slides through the gap with light, consistent drag. The blade should neither fall through freely nor require force. Confirm by using the Go/No-Go method: one size thinner should slide in easily, and one size thicker should not fit at all.
What is .010 on a feeler gauge?
.010 on a feeler gauge means 0.010 inches, or ten thousandths of an inch. This is equivalent to 0.25 mm in metric measurement.
How to properly read a feeler gauge?
Find the number stamped on the blade. Metric sets use millimetres (0.15 means 0.15 mm) and imperial sets use decimal inches (.015 means 0.015 inches). You can stack two blades to reach a thickness not in your set by adding their values together.
What is .004 on a feeler gauge?
.004 on a feeler gauge means 0.004 inches, or four thousandths of an inch. In metric, this equals 0.10 mm.
Conclusion
Learning how to read and use a feeler gauge to set a clearance comes down to three things: understanding the stamped measurements, feeling for that light consistent drag, and confirming with the Go/No-Go method. Clean blades, correct cam positioning, and patience with the feel of the gauge are what separate a precise setting from a guess.
Grab your set, find your spec, and trust the process. Once you feel that perfect drag for the first time, you will never second-guess a clearance again.