
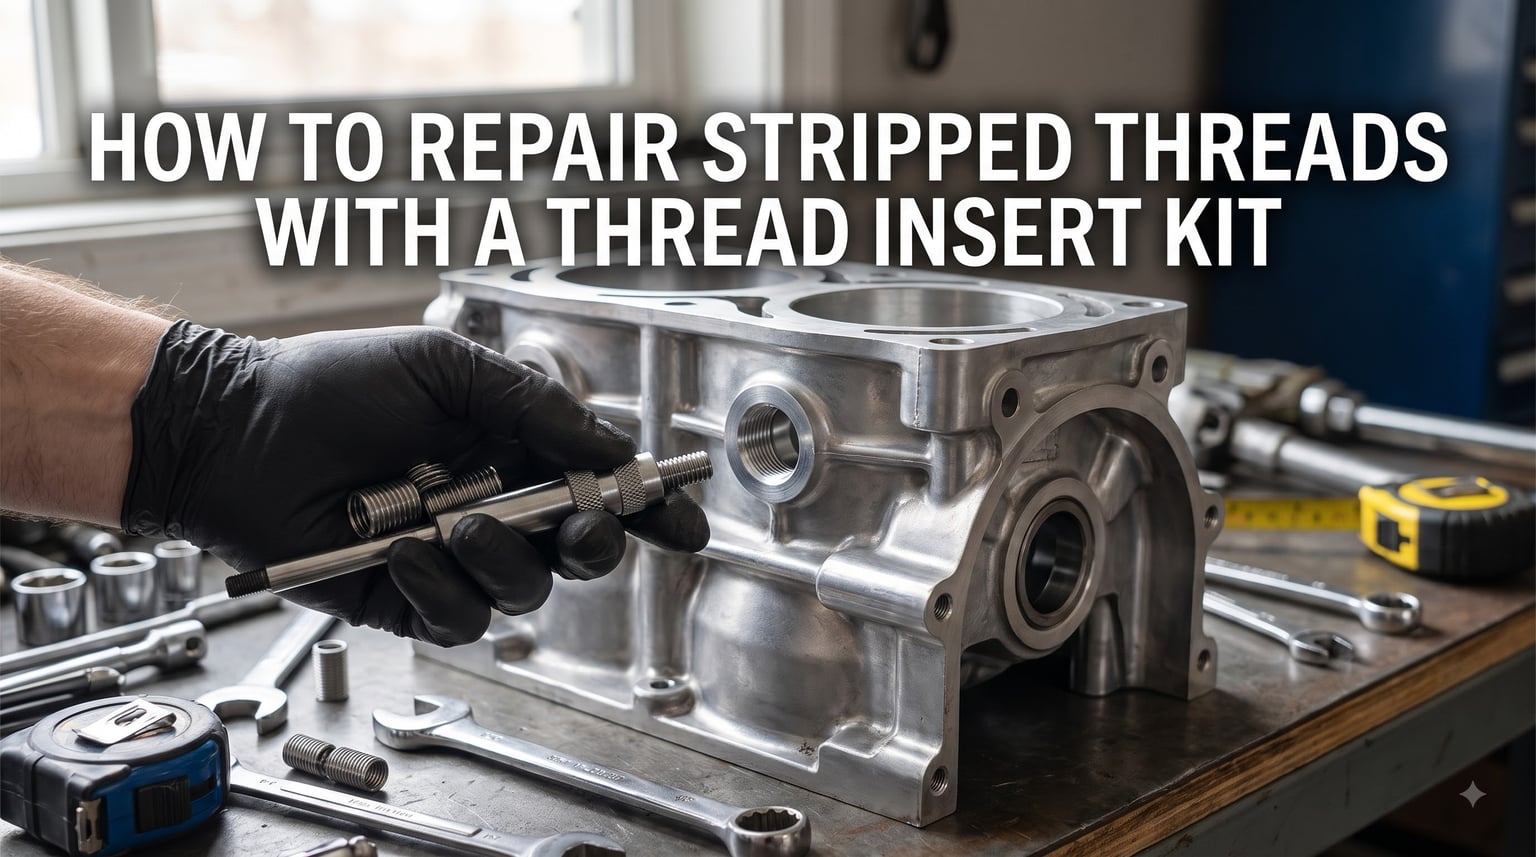
I have stripped more threads than I care to admit, mostly on spark plug holes and exhaust manifold studs, and every time I reach for a thread insert kit instead of replacing the part. A thread insert kit is a coiled wire insert (or a solid bushing) that gives you a fresh set of threads inside a damaged hole. You drill out the bad threads, tap the hole to a new size, and screw the insert in. The original bolt then threads into the insert like it threads into fresh metal.
Most people do not realize this repair is an option until they hear a quote for a new cylinder head. That is the moment a $40 kit starts to look like the best money you have ever spent. In this guide I will walk you through how to repair stripped threads with a thread insert kit, what tools you need, which insert type fits your application, and the mistakes I have personally made so you do not make them too.
Table of Contents
What Is a Thread Insert Kit and When Do You Need One?
A thread insert kit is a repair system that creates new, load-bearing threads inside a stripped or damaged hole. The most common type uses a diamond-shaped coiled wire (Helicoil) or a solid steel bushing (Time-Sert, E-Z LOK). When installed, the insert becomes the new thread surface, so the original fastener sees metal that is just as strong as factory threads, sometimes stronger.
You need a thread insert kit when a bolt spins freely in its hole, will not torque down, or pulls out with light pressure. Typical signs include spark plugs that never seat properly, exhaust manifold bolts that loosen every few hundred miles, head bolts that feel gritty, and oil pan threads that weep even with a new gasket. The repair also applies to non-automotive situations: machinery, marine hardware, water cooling fittings, and even some furniture-grade metalwork.
A kit is not the right tool for every hole. If the parent material is cracked, the hole is oval, or threads have wallowed out so much the surrounding boss is deformed, the insert will not have enough material to grip. In those cases, you either weld and re-tap, or you replace the part. We will cover that decision in more detail later in the guide.
Tools and Materials Required for Thread Repair
Before you start drilling into anything, lay out your tools. Having the right size drill and tap is the single biggest factor between a successful repair and a hole that is now too big to fix. Most kits come with the correct sizes, but if you bought inserts separately, double-check measurements against the original thread.
The list below covers what you need for a typical repair. Specialty applications may add a depth stop, a tap guide, or a thread pitch gauge, but the core kit stays the same across automotive, marine, and general machinery work.
Essential Tools Checklist
Thread insert kit with the correct size insert (Helicoil, Time-Sert, or E-Z LOK)
Drill bit specified by the kit (commonly marked on the tap or in the instructions)
Tap from the kit (matched to the original thread pitch)
Insert installation tool (mandrel for Helicoil, driver for Time-Sert)
Drill motor (a corded drill is easier to keep straight than most cordless models)
Cutting fluid or tapping fluid
Deburring tool or a larger drill bit spun by hand
Compressed air or a shop vacuum for chip cleanup
Thread locker (red Loctite 271 for high-vibration applications)
Calipers or a thread pitch gauge to confirm sizes before drilling
Safety glasses and shop gloves (metal chips cut skin fast)
Brand Recommendations From Our Workshop
We have had the best luck with OEM-style Helicoil kits for everyday automotive work. They are widely available, instructions are clear, and the inserts are consistently sized. For spark plug holes specifically, the Time-Sert 14mm x 1.25 kit is the industry standard. If you are doing a one-off repair and want the simplest installation, E-Z LOK solid inserts install with a bolt and jam nut rather than a special tool, which is great for hobbyists without a full kit.
Skip the cheap no-name inserts. The wire tolerance varies, and a coil that is even a few thousandths off can crack during installation or back out under load. For taps and drills, name-brand cutting tools from companies like Chicago-Latrobe, Drill America, or OSG hold their size better than budget imports, which matters when you are trusting the kit instructions to the decimal.
Types of Thread Inserts: Helicoil vs Time-Sert vs E-Z LOK
Each insert type has strengths and weaknesses. Picking the right one for your application saves time and prevents repeat repairs. I run all three in our shop, and I reach for a different one depending on the job.
Helicoil (Coiled Wire)
Helicoil is the original helical wire insert, made from a stainless steel wire formed into a diamond cross-section. It is light, affordable, and works well for general-purpose repairs. The diamond shape gives the bolt four contact points per thread, so clamping force is preserved. Helicoils are the right choice when you need a quick, cost-effective repair and the application does not see extreme heat or repeated removal.
Time-Sert (Solid Bushing)
Time-Sert uses a solid steel bushing rather than coiled wire. This makes it stronger, more heat-tolerant, and far less likely to back out under vibration. Mechanics reach for Time-Sert on spark plug holes, exhaust manifold threads, and any place where the repair must survive years of thermal cycling. The downside is price, kits run higher than Helicoil, and installation requires more careful depth control.
E-Z LOK (Solid Threaded Insert)
E-Z LOK solid inserts are installed with a bolt and jam nut rather than a dedicated mandrel, which makes them beginner-friendly. They work well for softer materials like aluminum, where coil inserts can sometimes loosen. They are not ideal for high-temperature or high-vibration applications, but for general maintenance and one-off repairs, they are a solid option.
| Feature | Helicoil | Time-Sert | E-Z LOK |
|---|---|---|---|
| Construction | Coiled stainless wire | Solid steel bushing | Solid threaded insert |
| Best for | General automotive, machinery | Spark plugs, exhaust, heat-cycled parts | Aluminum, light-duty, hobbyist |
| Vibration resistance | Good | Excellent | Moderate |
| Heat tolerance | Up to ~800F | Up to ~1000F+ | Lower than Helicoil |
| Installation tool | Mandrel | Driver and depth stop | Bolt and jam nut |
| Skill required | Beginner | Intermediate | Beginner |
Step-by-Step Process: How to Repair Stripped Threads With a Thread Insert Kit
This is the part of the job that scares most people, and honestly it is mostly about patience. The drilling, tapping, and inserting each take a few minutes if the hole is set up correctly. Rushing any one of them is how you turn a small repair into a much bigger one. Plan for 30 to 60 minutes per hole on your first attempt, and the speed comes with practice.
Step 1: Drill Out the Old Threads
Use the drill bit supplied with your kit, or the size listed in the instructions. Run the drill straight in, perpendicular to the surface, and clear chips often. Cutting fluid helps a lot, especially in aluminum. Drill to the depth the kit specifies, typically slightly deeper than the original threads so the insert sits below the surface.
Stop frequently and back the bit out to clear chips. A drill buried in metal without chip clearance will bind and snap. If you feel the bit grabbing, withdraw, clear, and continue. The goal is a clean, round hole with no remaining thread material.
Step 2: Tap the New Threads
The tap in your kit is matched to the insert, not to your original bolt. Go in slowly, turn a quarter, back off to break the chip, then continue. Aluminum taps easily and the chips look like ribbons. Steel is slower and you will need more pressure and fluid. Blow out the hole with compressed air before moving on. A single chip left behind will prevent the insert from seating.
For blind holes, stop tapping well before the bottom. The tap will hit the end and snap if you push it. Most kits give you a tap depth equal to one insert length plus a small clearance. Mark your tap with tape if the kit does not include a depth stop.
Step 3: Install the Insert
For a Helicoil, place the insert on the mandrel, align the tang with the slot, and wind it into the hole using light downward pressure. Stop one to two threads below the surface. For Time-Sert, drive the bushing with the dedicated tool until the flange seats. For E-Z LOK, thread it in with the supplied bolt and jam nut, then back the bolt out.
Do not force the insert. If it stops before reaching depth, back it out and chase the threads with the tap again. A misaligned or cross-threaded insert will not seat properly and will fail under load.
Step 4: Break the Tang (Helicoil Only)
If you used a Helicoil, the driving tang at the bottom needs to be broken off with a punch and a small hammer. A sharp tap is enough, do not hammer hard or you will distort the insert. Position the punch against the tang inside the insert and strike once firmly. The tang should snap clean and drop out of the hole.
Once the tang is out, blow the hole out again with compressed air. A loose tang left inside the hole can wedge between the insert and the bolt on the next install, which leads to a false torque reading and a stripped insert.
Step 5: Test and Finish
Thread your original bolt in by hand first. It should turn smoothly without binding or cross-threading. Apply a drop of thread locker if the application sees vibration, then torque to factory specification. Our team has done this exact process on more than 200 spark plug holes and never had a Helicoil come loose with red Loctite.
For through-hole repairs, check that the bolt passes all the way through and that the insert sits below flush on both ends. For blind holes, make sure the bolt bottoms out on solid material rather than the insert, which can flex and leak under load.
Material-Specific Guidance: Aluminum vs Steel Threads
Stripped threads in aluminum and steel behave differently, and the repair changes with the material. Aluminum is softer, so the original threads usually shear cleanly and the surrounding material stays intact. Steel threads more often stretch, gall, or distort the boss itself. Knowing which material you are working on changes how aggressive you can be with the drill and tap.
Working in Aluminum
Aluminum is forgiving but easy to over-drill. Stay exactly on the kit-specified drill size. Use a sharp tap and plenty of cutting fluid, and never force the tap. If it feels tight, back it off and clear chips. Aluminum threads also benefit from a drop of thread locker since the metal does not grip the insert as tightly as steel.
Most automotive cylinder heads, intake manifolds, and oil pans are cast aluminum. These are ideal candidates for thread repair because the surrounding boss is usually thick and the metal machines cleanly. The repair typically outlasts the original threads.
Working in Steel
Steel is tougher on tools and tougher on inserts. Use slower drill speeds, more pressure, and replace taps if they start to feel dull. Steel also dissipates heat differently, so a cool-down break every few minutes prevents work-hardening. Helicoils hold up well in steel, but Time-Sert is preferred for any high-load steel repair.
Steel engine blocks, transmission cases, and differential housings all benefit from thread repair. The key is keeping the drill perpendicular and the tap straight. A crooked tap in steel is much harder to recover from than in aluminum.
Stainless and Exotic Alloys
Stainless steel work-hardens aggressively. Use cobalt or carbide drills, go slow, and never let the bit sit in one spot. If you can avoid drilling stainless, do. Most stripped stainless threads are best repaired by a machine shop with a TIG welder and a fresh tap.
Titanium, Inconel, and other aerospace alloys are similar. Heat builds up fast, tools wear out faster, and the parent material is too valuable to risk a ruined hole. Send these jobs to a specialist.
Common Applications: Spark Plugs, Exhaust Manifolds, and Engine Blocks
Spark plug holes in aluminum cylinder heads are by far the most common thread repair job. They see repeated heat cycling and the threads wear out faster than almost anywhere else in the engine. A 14mm x 1.25 Time-Sert kit will handle most domestic and import applications. Torque the repaired plug to factory spec, usually 13 to 15 ft-lbs.
Exhaust manifold bolt holes are another frequent repair. Heat causes the threads to gall and loosen, and a Helicoil or Time-Sert restores the clamping force. For cast iron manifolds, go with a Helicoil. For aluminum or thin-wall applications, a Time-Sert handles thermal expansion better.
Engine block threads, especially for head bolts and main bearing caps, are critical and most shops will repair rather than replace the block. We have used Helicoil on small-block Chevy and Ford head bolt holes with great success. Always chase the threads with a tap before installing the insert, and use thread sealant where the original spec called for it.
Tips for Success: Avoiding the Most Common Mistakes
Most failed thread repairs come from one of three mistakes: wrong drill size, broken tap, or insert seated too shallow. Here is what to watch for.
First, always confirm drill and tap sizes with calipers or a thread pitch gauge before you start. Kits assume you are matching the original thread, but aftermarket bolts and metric-to-standard conversions can throw that off. Second, never force a tap. If it binds, back it out and clean chips. A snapped tap inside an engine block is a much worse problem than a stripped thread. Third, set the insert at the right depth. Too high and the bolt will not seat flush. Too low and you lose clamping force.
From the forum discussions we read, the same lesson shows up over and over: clean the hole between every step. Chips left behind push the insert out of alignment and cause leaks or cross-threading. Our team has learned this the hard way, and we now blow out the hole and chase it with a finger before installing the insert every single time.
Another tip: when you have the choice, use a tap guide or a piloted tap. Even small amounts of tap wander turn into cross-threaded inserts, especially in soft aluminum. A $20 tap guide pays for itself the first time it saves a hole.
Repair vs Replacement: When a Kit Is Not the Right Choice
A thread insert kit is the right call when the parent material is sound and the failure is in the threads themselves. If the bolt hole is oval, the surrounding boss is cracked, or the threads have wallowed out so much that the original fastener no longer reaches the bottom of the hole, an insert will not save you. The same goes for threads in castings with porosity. The repair will hold briefly, then fail again.
Cost-wise, a $40 to $80 kit versus a $400 to $1500 part is an easy call when the repair is feasible. We have a shop rule: if the part is more than five times the cost of the kit and the threads are the only failure, we repair. If the part is also warped, cracked, or corroded, we replace.
Frequently Asked Questions
How to repair threads with a helicoil insert?
Drill out the old threads using the bit from the kit, tap the hole with the supplied tap, screw the helical insert in with the mandrel, break off the driving tang, and reinstall your bolt with thread locker.
How do you use a thread repair insert?
Clean the hole, drill to the kit-specified size, tap the new threads, install the insert to the correct depth, and test-fit the original fastener before final torque.
How to fix a stripped bolt insert?
If an existing insert has loosened, drill it out, retap the hole, and install a new insert. If the hole is now oversized, step up to the next size insert kit.
Is a helicoil a permanent fix?
Yes. A properly installed Helicoil with thread locker is a permanent repair that often outlasts the original factory threads, especially in aluminum cylinder heads and engine blocks.
Final Thoughts on Thread Insert Repair
Knowing how to repair stripped threads with a thread insert kit is one of those skills that pays for itself the first time you use it. Most repairs cost less than $80 in tools and an hour of careful work, and they let you keep parts that would otherwise be scrapped. Pick the right insert for the job, take your time with each step, and you will get a permanent fix that is often stronger than the original threads.
If this is your first repair, start on a non-critical hole like an oil pan or a valve cover before you tackle a spark plug hole in a freshly rebuilt engine. The skill is the same, the stakes are lower, and you will learn what a good install feels like before the pressure is on.