
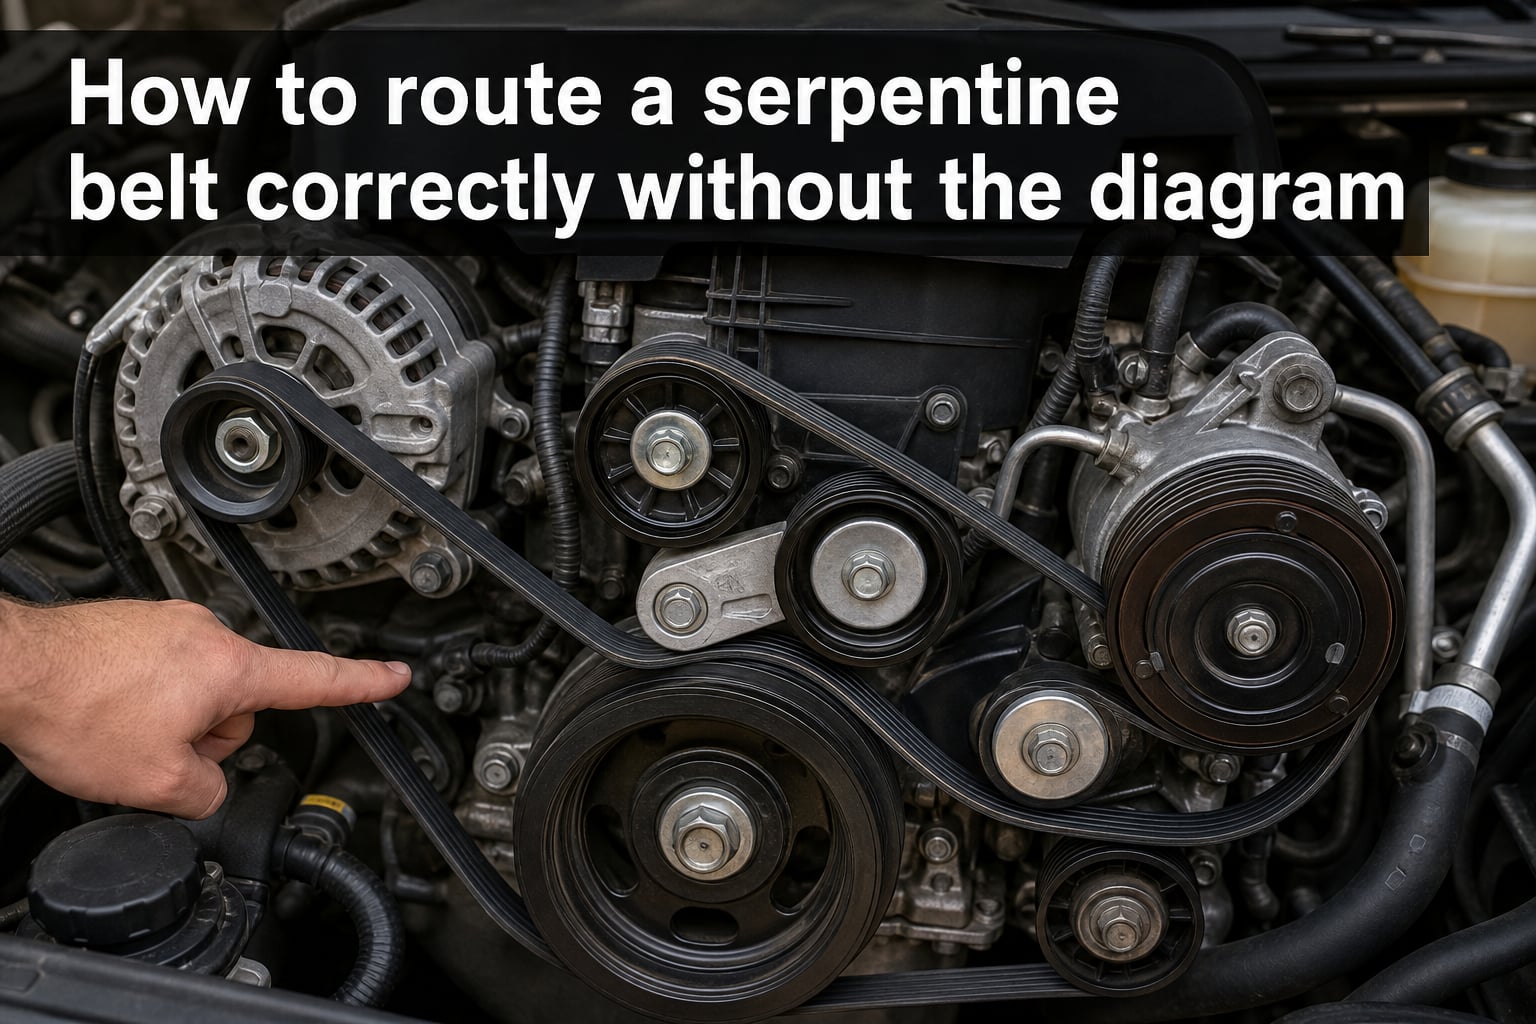
You pop the hood, ready to swap out a worn serpentine belt, and discover the routing diagram is missing, faded beyond recognition, or stuck on a different engine. I have been there, and it is one of the most frustrating moments for any DIY mechanic. The good news is that learning how to route a serpentine belt correctly without the diagram is absolutely doable with the right approach and a few trusted techniques from working mechanics.
In this guide, I will walk you through the exact methods our team uses to figure out belt routing when no reference is available, then give you a clear step-by-step installation process. We will also cover safety, what goes wrong with incorrect routing, and the memorization tricks that have saved countless DIYers from a second trip to the parts store.
Table of Contents
What a Serpentine Belt Does and Why Routing Matters?
A serpentine belt is a single, long, multi-ribbed rubber belt that drives nearly all of your engine’s belt-powered accessories. It snakes (serpentines) around multiple pulleys connected to the crankshaft, alternator, power steering pump, AC compressor, water pump, and any idler or tensioner pulleys.
Routing matters because each accessory has to spin in the right direction at the right speed. Route the belt wrong and one or more components will spin backwards, work poorly, or not at all. I have seen engines with the belt installed a single groove off, and the result was a dead AC compressor and a charging system warning light within minutes.
Each vehicle has a specific belt path because the pulleys are mounted at fixed angles and distances from each other. The belt length is also engineered for that exact route, so the belt will only fit one correct way around the pulleys (most of the time).
Where to Look for the Belt Routing Diagram First
Before you try to figure out routing from scratch, check these spots. You might be surprised how often the diagram is hiding in plain sight.
Under the hood sticker: Many cars from the 1990s onward have a white or yellow sticker on the radiator support, hood underside, or strut tower showing the belt path.
Owner’s manual: The maintenance section usually includes a routing diagram for the serpentine belt.
Manufacturer websites: Ford, GM, Chrysler, and Toyota all host free PDF service manuals with belt routing diagrams.
Belt maker apps: Gates and Dayco both have free apps (NaviGates and Belt Buddy) where you enter your vehicle and instantly see the routing.
YouTube: Search your exact year, make, model, and engine. ChrisFix and Scotty Kilmer channels are reliable.
If you have exhausted every one of these and still cannot find the diagram, that is where the real work begins. The next section is exactly what you need.
Methods to Route a Serpentine Belt Without the Diagram
When there is no diagram to follow, mechanics and forum regulars on r/MechanicAdvice and r/AskMechanics rely on a handful of proven techniques. These are the methods I reach for first.
The Sharpie Trick for Memorizing Belt Routing
If the belt is still on the engine and you are replacing it because it is worn, you have a perfect template. Before you remove anything, take a photo with your phone, then use a black Sharpie to draw a line on each pulley tracing the belt path.
Mechanics who use this method say it is foolproof because you can literally see the grooves the belt was sitting in. When you install the new belt, just match the Sharpie lines you drew. I tested this on a 2007 Honda Accord and routed a new belt in under 10 minutes without ever looking up a diagram.
The Crayon Diagram Method
This is the most-mentioned trick in mechanic forums. Take a crayon and rub it across each pulley where the belt rides. The crayon fills the grooves the belt was in and creates a visible track. When you install the new belt, you simply align it with the crayon marks.
One Reddit user on r/Jeep described using this on a Wrangler TJ after the under-hood diagram disintegrated in the sun. They said the crayon lines were still visible weeks later and made the install a one-shot job.
Photo and Video Documentation
Your smartphone is your best friend here. Before loosening the tensioner, take 5 to 10 photos from different angles. Shoot a short video while slowly narrating which pulleys the belt wraps around and in what order.
This sounds obvious, but a surprising number of DIYers forget to do it, then scramble when the belt pops off and they cannot remember the path. I keep a dedicated album on my phone called “Car Projects” just for situations like this.
Tracing Pulley Rotation Direction
If the old belt is already gone and you have no reference at all, you can still figure out routing by understanding how each accessory works. Components like the alternator, power steering pump, and water pump must spin clockwise (viewed from the front of the engine on most vehicles).
Start at the crankshaft pulley (the biggest one at the bottom of the engine), then trace upward to whichever component is closest. The belt will follow the natural groove path between pulleys. On a four-cylinder engine, the path typically runs: crankshaft up to the alternator, across to the tensioner, down to the AC compressor, and back to the crankshaft.
Counting and Matching Pulleys
Before you buy a new belt, lay the old one on the ground next to the pulleys. Each pulley leaves a wear pattern. Match the ribbed side of the belt to the ribbed pulleys (grooved) and the smooth side to the smooth pulleys (backside idler or tensioner). This confirms you have the right belt and the right orientation.
Step-by-Step Serpentine Belt Installation Without a Diagram
Now let us put it all together. Here is the exact sequence our team follows when we have to install a belt with no reference in front of us.
Step 1: Disconnect the Battery and Gather Tools
Pop the negative terminal off the battery. You do not want the engine cranking while your hands are near the belt path. Grab a 3/8″ drive ratchet or breaker bar, the correct size socket for your tensioner (usually 13mm, 15mm, or 18mm), and a flashlight.
Step 2: Locate the Automatic Belt Tensioner
Find the spring-loaded tensioner pulley. It is usually a distinctive pulley with a square drive hole in the center for your ratchet. The tensioner is what keeps proper tension on the belt as it stretches over time.
Step 3: Release the Tensioner
Insert your ratchet or breaker bar into the tensioner’s square drive. Rotate it counterclockwise (or clockwise, depending on the engine) to relieve tension. This loosens the belt enough to slip it off any one of the pulleys.
Step 4: Remove the Old Belt
With tension released, work the belt off one pulley at a time. Do not force it. If it is stuck, release more tension. Now is when you apply the Sharpie, crayon, or photo method before fully removing the belt if you have not done so already.
Step 5: Compare Old Belt to New Belt
Lay them side by side and confirm the length, rib count, and width match. A mismatch means the wrong part is in your hand, and routing “success” will still leave you with a thrown belt or a component spinning the wrong way.
Step 6: Route the New Belt
Starting at the crankshaft pulley, route the belt according to your Sharpie lines, crayon marks, photo, or memorized path. Work it onto each pulley one at a time, leaving the tensioner pulley for last. This is a rule I never break. The tensioner is always the final step.
Step 7: Re-Tension and Verify
Re-engage the tensioner to apply proper tension to the belt. The belt should have about half an inch of play when pushed with your thumb on the longest run between pulleys. Spin each accessory pulley by hand to confirm the belt is fully seated in the grooves and not riding on the edge.
Step 8: Start the Engine and Test
Reconnect the battery. Start the engine and let it idle. Watch the belt for 60 seconds. The AC should engage, the alternator light should stay off, and you should hear no squealing. If anything sounds or looks off, shut it down and re-check the routing.
Safety Precautions Before You Touch the Belt
Working around a running engine is dangerous. I want to call out the critical rules before you start.
Disconnect the battery. Prevents accidental starts while hands are near pulleys.
Never work on a hot engine. Belts, pulleys, and coolant components can cause severe burns.
Keep loose clothing and jewelry away. A belt can pull a shirt sleeve or necklace in faster than you can react.
Use proper tools. Cheater bars on a breaker bar can snap and injure you.
Double-check before starting. A belt routed wrong can shred itself, throw debris, or damage an accessory.
Signs You Routed the Serpentine Belt Wrong
If your belt is installed incorrectly, the engine will usually tell you quickly. Watch for these symptoms.
Squealing or Chirping on Startup
A belt that is not seated fully in the pulley grooves will slip under load and emit a high-pitched squeal. This is the most common symptom of misrouting.
Accessories Not Working
If your AC stops blowing cold, the alternator light comes on, or the power steering goes stiff, one of those components is likely not being driven. Recheck whether the belt is actually wrapped around that pulley.
Component Spinning Backward
This is the dangerous one. If the belt wraps around the wrong side of a pulley, the accessory spins backward. Some components (like the water pump) handle this briefly. Others (like the AC compressor) can be damaged almost immediately.
Belt Thrown Off the Pulleys
A badly routed belt will jump off a pulley under load, sometimes within seconds of starting the engine. This is loud and obvious, and it will shred the belt in short order.
Excessive Vibration
Misaligned belt tracking can cause vibration in the accessories, which you will feel through the steering wheel or hear as a wobble at idle.
Pro Tips From Mechanics Who Have Done It Hundreds of Times
After talking with shop owners and reading through years of forum threads, a few patterns show up again and again.
Tensioner last, every time. This is the single most repeated tip. Mount every other pulley first, save the tensioner for the final step so you can use its spring tension to slip the belt into place.
Draw it before you start. If you have to figure out routing from scratch, sketch the path on a piece of cardboard before you install the belt. Hold the cardboard next to the engine and match the pulleys one by one.
Replace the tensioner with the belt. If the belt is old enough to be replaced, the tensioner usually is too. Most manufacturers recommend replacing both at the same service interval (typically 60,000 to 100,000 miles).
Buy a slightly longer belt if you have a deleted accessory. If you removed the AC compressor and now need to bypass it, the standard belt will not fit. Get a shorter belt that skips the compressor pulley, or have a parts store match a belt to your modified pulley setup.
When in doubt, call a pro. If you have spent 30 minutes and the belt is not clicking into place, you are forcing it. Stop and either pay a shop for a 15-minute install or wait until you can verify the routing with another source.
Frequently Asked Questions
What happens if you route a serpentine belt wrong?
A misrouted belt will cause one or more accessories to spin backward or not at all. You will typically hear squealing on startup, see a warning light for the alternator or charging system, lose AC function, or have the belt jump off a pulley entirely. In some cases, a component like the AC compressor can be damaged within minutes of running backwards.
Does it matter which direction a serpentine belt goes?
Yes, direction matters. Multi-ribbed serpentine belts are directional, meaning the ribs must sit in the grooves of each pulley with the smooth side wrapping around the back of any idler or tensioner pulleys. Installing it upside down will cause slipping, squealing, and rapid wear.
Is there a wrong way to put on a serpentine belt?
There are several wrong ways. The belt can be installed with a pulley skipped, on the wrong side of a tensioner or idler, or upside down. Any of these will cause the belt to throw off, squeal, or fail to drive one or more accessories.
Where is the serpentine belt routing diagram?
The diagram is usually on a sticker under the hood (radiator support, hood underside, or strut tower), in the owner’s manual, in the manufacturer’s free online service manual, or in apps like Gates NaviGates or Dayco Belt Buddy. If none of those work, YouTube videos specific to your year, make, model, and engine are usually available.
Can you bypass an AC pulley on a serpentine belt?
Yes, but you need a shorter belt designed for the configuration without the AC compressor. Most parts stores can look up a bypass belt for your specific vehicle, or you can measure the route around the remaining pulleys and match a belt by length.
Wrapping Up: How to Route a Serpentine Belt Without the Diagram
Learning how to route a serpentine belt correctly without the diagram is one of those skills that separates a confident DIYer from one who hesitates. The Sharpie trick, crayon method, and good photo documentation will cover you 95% of the time. The remaining 5% (deleted accessories, modified engines, or completely missing diagrams) requires tracing pulley rotation and understanding your accessories.
Before any install, disconnect the battery, gather the right tools, and always mount the tensioner last. After the belt is on, start the engine and listen for squealing, watch for warning lights, and confirm every accessory is working. If something feels off, shut it down and re-check the routing. A 15-minute re-route beats a tow truck any day of the week.
Got questions about your specific vehicle? Drop the year, make, model, and engine in the comments and I will help you figure out the belt path. You can also bookmark this page so the next time the diagram is missing, you have a plan ready to go.