
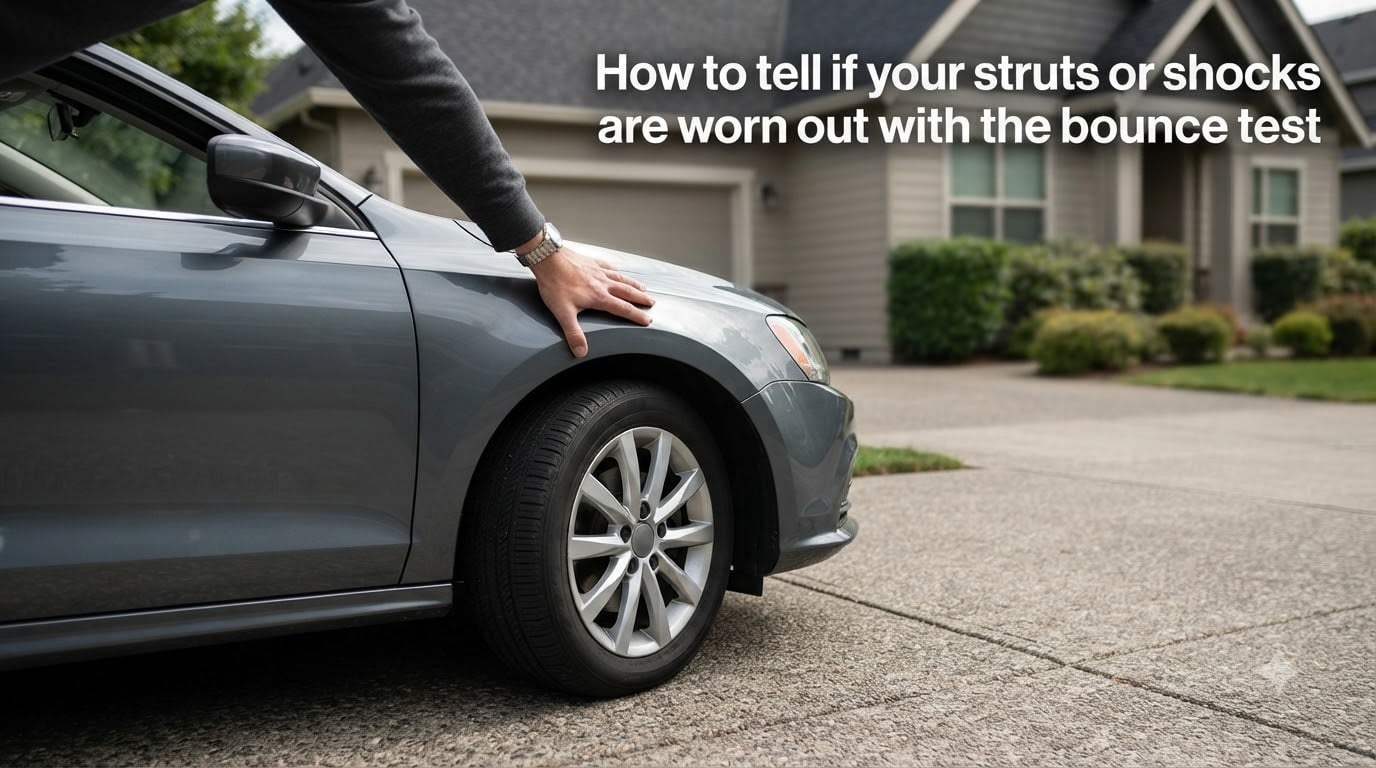
Worn shocks and struts creep up on you. The ride gets a little softer, the car leans a touch more in corners, and you stop noticing until something feels off. The good news is you can run a quick diagnostic in your driveway called the bounce test, and it takes less than two minutes per corner.
In this guide I will walk you through how to tell if your struts or shocks are worn out with the bounce test, what the results actually mean, and when to follow up with a closer look. I have used this exact procedure on everything from a 1993 Honda Accord to a Subaru Outback past 180,000 miles, and it consistently separates a healthy suspension from one that needs attention.
You do not need tools, a lift, or any mechanical experience. You just need flat ground and a few minutes.
Table of Contents
What Are Shocks and Struts?
Shocks and struts are the parts of your suspension that control how much your car bounces. They dampen the up-and-down motion of the coil springs so your tires stay planted on the road instead of pogo-sticking over every bump.
A shock absorber is a standalone hydraulic cylinder that does one job: it resists spring movement. A strut is a structural part that combines a shock absorber and a coil spring into a single assembly, and it also serves as a mounting point for the steering knuckle. Most cars use struts up front and shocks in the rear, but configurations vary.
Both rely on hydraulic fluid pushed through small valves by a piston. When that fluid leaks out or the internal seals wear down, the dampening force drops, and your car starts bouncing more than it should.
How to Tell If Your Struts or Shocks Are Worn Out With the Bounce Test?
The bounce test is a simple DIY diagnostic that checks whether your shocks or struts still control spring oscillation. Here is the short version: press down firmly on one corner of your parked vehicle, release it, and count how many times the car bounces before it settles.
If the vehicle comes to rest after one bounce or less, the dampers are doing their job. If it bounces two or three times before settling, the component is borderline and worth watching. If it bounces more than three times, or keeps oscillating like a pogo stick, the shock or strut on that corner is worn out and needs replacement.
Mechanics on forums like r/MechanicAdvice are quick to point out that the bounce test is a screening tool, not a definitive diagnosis. A worn component can still pass the test, and a healthy but soft-sprung vehicle might bounce more than you expect. Treat a positive result as a sign to follow up with a visual inspection, not a verdict on its own.
One common question from car owners is whether shocks can be bad without leaking. They absolutely can. Internal valve wear, bent piston rods, and degraded gas charge all reduce performance without leaving visible fluid on the outside. That is why the bounce test exists alongside visual checks rather than replacing them.
Step-by-Step Bounce Test Procedure
Here is exactly how I run the bounce test on each corner of a vehicle. Park on level ground, set the parking brake, and make sure the car is empty of heavy cargo.
Step 1: Pick a corner. Start at one front corner and work your way around. The front corners usually carry more weight, so they tend to show wear first.
Step 2: Press down firmly. Place both hands on the bodywork above the wheel — the fender or quarter panel, not the hood or glass. Push straight down with your body weight to compress the suspension, then immediately let go.
Step 3: Count the bounces. Watch the corner of the vehicle. Count how many full up-and-down cycles it makes before settling to rest. One bounce or fewer is good. Two to three is borderline. More than three is a fail.
Step 4: Repeat the push three times. A single push can give a misleading result if the car was already at an odd position. Do it three times and look for a consistent pattern.
Step 5: Move to the next corner. Test all four corners the same way. Compare the results — if one corner bounces noticeably more than the others, that is your suspect.
Step 6: Note any unusual noises. A clunk, squeak, or thump during the test can point to worn mounts, bushings, or a loose component in addition to the damper itself.
A warning worth flagging: the bounce test only tells you about the up-and-down motion of that one corner. It does not measure side-to-side stability, body roll, or how the suspension behaves under braking. That is why it pairs with a road test and visual inspection rather than standing alone.
Signs Your Shocks or Struts Are Worn
The bounce test is the quickest check, but worn suspension almost always shows up in other ways first. Here are the symptoms I look for before even walking out to the car:
Excessive bouncing after bumps: The car keeps floating after a speed bump or dip instead of settling right away.
Nose dive under braking: The front of the car lurches forward when you press the brake pedal, increasing stopping distance.
Squat on acceleration: The rear sinks when you take off from a stop.
Body roll in corners: The car leans heavily into turns and feels unstable.
Uneven or cupped tire wear: Worn dampers let the tire bounce as it rolls, creating scalloped patches on the tread.
A thump-thump noise at low speeds: Drivers on Subaru and VW forums repeatedly mention this as an early warning sign.
Hydraulic fluid on the damper body: A visible leak along the shaft or pooling at the bottom of the strut is a clear red flag.
If you notice three or more of these together, the bounce test is mostly a confirmation of what you already suspect.
Visual Inspection Tips
The bounce test tells you how the suspension behaves. A visual inspection tells you why. Here is what to look for, and it answers the common question of how to test struts without removing them.
Check for fluid leaks: Run a finger along the damper shaft. A light film is normal; a wet, dripping shaft means the seal is gone.
Look at the dust boot: A torn or missing boot lets dirt into the seal, which accelerates wear.
Inspect the mounts and bushings: Cracked, sagging, or oil-soaked rubber at the top mount can cause noise even when the damper is fine.
Examine the coil spring: A broken coil spring bottom seat will cause a clunk and uneven ride height.
Measure ride height: Park on flat ground and compare the gap between the fender and tire at all four corners. A corner sitting noticeably lower suggests a broken spring or collapsed strut.
This is the part where a phone flashlight and ten minutes save you a trip to the shop if everything checks out, or confirm that you need one.
Jounce Test vs Bounce Test: What Is the Difference?
This distinction is missing from most articles online, and it confuses a lot of car owners. The jounce test and the bounce test are not the same thing.
The bounce test, which I described above, involves pushing down on the body and counting the rebounds. The jounce test is harder on the car: you push down hard and fast to compress the suspension, then sharply release. The goal is to see whether the damper can control a sudden, violent motion the way it would over a deep pothole.
The jounce test is more useful for finding badly worn components because it puts the damper through a bigger range of motion. It is also rougher on old suspension, so do not do it on a car you suspect already has a broken spring or mount. For most owners, the standard bounce test is the safer starting point.
How Long Do Shocks and Struts Last?
Most manufacturers and technicians agree on a range of 50,000 to 100,000 miles for shocks and struts under normal driving. That window shifts based on roads, driving style, and load.
City driving on smooth pavement stretches the lifespan. Rough rural roads, frequent towing, and heavy loads shorten it. A car that spends its life on potholed streets might need new dampers at 40,000 miles, while a highway cruiser can push past 100,000 without issue.
One Subaru Outback owner on the forums was recommended strut replacement at 186,000 miles, which lines up with the upper end of the range. Age matters too — rubber components dry out, and hydraulic fluid degrades even when the car sits. A low-mileage 15-year-old car can have worn suspension purely from time.
What Happens If You Ignore Worn Shocks?
Worn shocks and struts are not just a comfort issue. They directly affect safety, and the cost of waiting is almost always higher than the cost of acting.
The most immediate risk is increased braking distance. When the front suspension cannot keep the tires planted during heavy braking, the anti-lock brake system and electronic stability control lose traction to work with. Modern crash avoidance systems like automatic emergency braking depend on the tires staying in contact with the road, and worn dampers undermine that.
There is also a cascade effect on other components. Cupped tires need replacement sooner. Worn dampers transfer more force into springs, mounts, and bushings, which then fail early. A suspension job that could have been four shocks becomes four shocks plus springs, mounts, and an alignment.
The short version: a positive bounce test is not something to drive on for another year.
FAQs
How many bounces means bad shocks?
More than three bounces after you release the corner of the vehicle is a clear sign the shock or strut is worn. One bounce or fewer is healthy, two to three is borderline, and anything beyond three means the damper has lost its ability to control the spring and should be replaced.
Is the bounce test accurate for diagnosing worn shocks?
The bounce test is a valid screening tool but not a definitive diagnosis. Mechanics and forum users agree it is useful for catching badly worn components, but a healthy-but-soft-sprung car can bounce more than expected, and an internally worn shock can still pass. Always follow a positive result with a visual inspection.
Can shocks be bad without leaking?
Yes. Shocks can lose performance from internal valve wear, a degraded gas charge, or a bent piston rod without any visible fluid leak. This is why the bounce test and a road test matter alongside a visual check for leaks.
Should I replace all four shocks at the same time?
Most technicians recommend replacing shocks or struts in pairs per axle, and ideally all four at once for balanced handling and braking. Replacing only one corner can create uneven dampening side to side, which affects stability.
Conclusion
Knowing how to tell if your struts or shocks are worn out with the bounce test gives you a fast, free way to screen your suspension at home. Press, release, count — more than three bounces means it is time for a closer look. Pair the result with a visual inspection and a road test, and if anything lines up, get a professional opinion before the wear spreads to your tires, mounts, and safety systems.