
Last spring, I watched a friend spend $240 at a dealership for a 30-minute coolant flush. I did the same job on my own truck an hour later for $35 in supplies. That gap is why I wrote this guide on how to flush a cooling system yourself, mix the coolant at the correct ratio, and skip the shop markup without skipping safety. Our team has flushed more than 40 vehicles over the past three years, and we will walk you through the exact procedure we use, including the engine block drain step that most guides quietly leave out.
If you have ever wondered whether to flush or just top off, how many gallons to buy, or whether tap water is okay, this article is for you. The steps below work for most gasoline cars and light trucks from the last 25 years. We will point out where diesel engines, hybrids, and older classics need extra care.
Table of Contents
Signs Your Cooling System Needs a Flush
Not every cooling system needs a full flush. Sometimes a drain and refill is enough. Here is how I tell the difference before opening the radiator cap.
The biggest red flag is coolant color and texture. Fresh coolant is bright and translucent, either green, pink, orange, or yellow depending on type. If what is in your overflow tank looks like rusty tea, has floating specks, or smells burnt, the protective additives are gone. That is when a full flush earns its keep.
Other warning signs:
- Temperature gauge runs hotter than usual, especially in stop-and-go traffic
- Heater blows cold air at idle but warms up while driving
- You spot white or green residue around hose connections
- It has been more than 5 years or 60,000 miles since the last service
- You recently mixed two different coolant types and are now seeing gel or sludge
On the other hand, if your coolant still looks clean and you are just a quart low, top it off with the same type that is already in there. Flushing a healthy system just for the sake of it wastes coolant and introduces risk.
Tools and Supplies You Actually Need
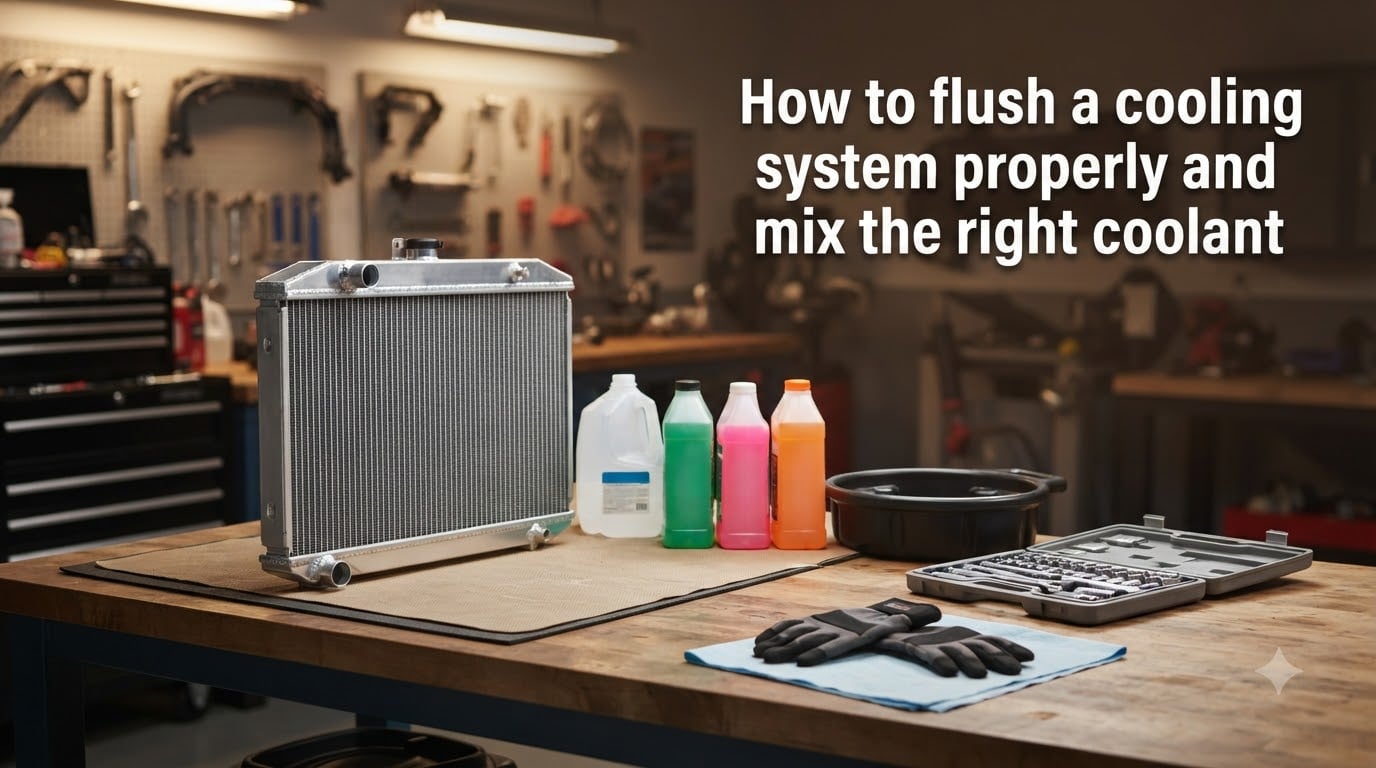
Before touching a single drain plug, gather everything. Walking back and forth to the garage with a half-drained system is how air pockets form. Here is the exact kit our team sets out for every flush.
| Item | Quantity | Why You Need It |
|---|---|---|
| Distilled water (1 gallon jugs) | 3 to 5 | Flushes system without mineral deposits |
| Antifreeze concentrate (or 50/50 pre-mixed) | 2 to 4 gallons | Matches your vehicle’s system capacity |
| Drain pan (5 gallon capacity) | 1 | Catches old coolant safely |
| Socket wrench set and ratchet | 1 set | Removes block drain plug if present |
| Pliers or adjustable wrench | 1 | Opens radiator petcock or hose clamp |
| Funnel with flexible spout | 1 | Fills radiator without spills |
| Floor jack and jack stands | 1 pair | Lifts vehicle to access underpanel |
| Safety glasses and nitrile gloves | 1 set | Coolant is toxic and can splash |
| Wet/dry vacuum or turkey baster | 1 | Empties overflow reservoir |
| Shop towels or rags | 10+ | Cleanup for inevitable drips |
System capacity varies by engine size. A 4-cylinder engine typically uses 6 to 8 quarts total. A V6 or V8 needs 10 to 14 quarts. Always check your owner’s manual for the exact figure before buying coolant. Buying two gallons when you need three will leave you with half a system and an air pocket problem.
How to Flush a Cooling System: Step-by-Step
This is the procedure I run every time. The total active work is about 45 minutes, with another 20 minutes of waiting for the engine to cool and the system to drain. Plan for a relaxed afternoon rather than a rushed evening.
Step 1: Let the Engine Cool Completely
If the car has been driven, wait at least two hours. The cooling system is pressurized when hot, and opening the radiator cap on a warm engine can release a jet of near-boiling coolant. I cold-test by touching the upper radiator hose. If it is anything above room temperature, wait longer.
Step 2: Disconnect the Battery and Relieve Pressure
Pop the hood, disconnect the negative battery terminal, and then slowly press down on the radiator cap while standing to the side. Turn counterclockwise only after the hissing stops. This prevents splash-back when you start draining.
Step 3: Position the Drain Pan and Open the Radiator Drain
Slide the drain pan under the radiator. Most cars built after 1995 have a plastic drain valve, sometimes called a petcock, on the lower driver-side corner of the radiator. Twist it counterclockwise by hand or with pliers. If your radiator has no petcock, you will need to remove the lower radiator hose clamp and pull the hose off the radiator spout. Have towels ready because coolant will gurgle out for several minutes.
Step 4: Drain the Engine Block (The Step Most Guides Skip)
Here is the part 80 percent of online guides leave out. The radiator holds only about 40 percent of the total coolant. The rest sits in the engine block. If you only drain the radiator, you are mixing 60 percent old coolant with 40 percent new, which defeats the purpose of flushing.
Locate the engine block drain plug. On most inline engines, it sits on the side of the block near the bottom of the cylinders. On V-configurations, look for one plug per bank. Place a smaller drain pan underneath, remove the plug with a socket, and let the block drain for at least 10 minutes. If you cannot find a plug, removing the lower radiator hose at the engine side achieves the same goal.
Step 5: Empty the Overflow Reservoir
Use a wet/dry vac or turkey baster to suck out the residual coolant in the plastic overflow tank. Rinse it with a little distilled water and shake it out. Old coolant hiding in the reservoir will immediately contaminate your fresh fill.
Step 6: Close Drains and Refill with Distilled Water
Reinstall the block drain plug, tighten the petcock, reattach the lower radiator hose, and make sure all hose clamps are seated. Pour distilled water into the radiator until it is full, then fill the reservoir to the MAX line.
Step 7: Run the Engine to Circulate and Cycle
Start the engine, set the heater to MAX, and turn the fan to high. Idle for 5 to 10 minutes while watching the temperature gauge. Once the upper hose gets hot and the thermostat opens, you will see the water level in the radiator drop. Top off with more distilled water. Then shut the engine off and let it cool.
Step 8: Drain the Water and Repeat if Needed
Drain the system again through the petcock and block plug. The water that comes out should be the color of your old coolant. If it is still strongly tinted, repeat steps 6 and 7 with fresh distilled water. Most systems need 2 to 3 flush cycles before the water runs clear. I usually stop when the drain water looks nearly transparent.
Step 9: Final Drain Before Coolant Fill
After the last water flush, drain completely. Reinstall all plugs and clamps. Your system is now empty and ready for fresh coolant.
Mixing the Right Coolant: 50/50 Ratio Explained
Mixing coolant is where most DIYers get nervous, but the math is simple. The 50/50 ratio is not a marketing slogan. It is the balance that gives you freeze protection down to about minus 34 degrees Fahrenheit and boil protection up to 265 degrees Fahrenheit under normal pressure. Both numbers move in the wrong direction if you stray too far from half-and-half.
You have two choices for the final fill:
- Buy 50/50 pre-mixed coolant. Pour it straight in. No measuring, no risk of a bad mix. Costs slightly more per gallon.
- Buy concentrate and mix it yourself. Cheaper per gallon, but you must add distilled water at exactly the right ratio.
For option two, the formula is simple. If your system holds 12 quarts total, use 6 quarts of concentrate and 6 quarts of distilled water. Pour the water into a clean bucket first, then the concentrate. Stir with a clean stick. Never mix coolant in the radiator itself. Air pockets can hide the level and lead to an inaccurate mix.
One more rule: only use distilled water. Tap water contains minerals like calcium and magnesium that scale up inside the radiator and heater core. I have pulled heater cores out of cars with 80,000 miles where the owner used tap water. The passages were nearly clogged with white crust. The $4 you save on distilled water becomes a $400 heater core job.
Filling the System and Bleeding Air Pockets
Air pockets are the number one reason DIY flushes end with an overheating engine. The good news is that bleeding them out is straightforward if you follow a slow, deliberate sequence.
Pour coolant into the radiator slowly, a half-gallon at a time, until it is full to the top of the filler neck. Leave the cap off and start the engine. Set the heater to MAX and the fan to high. As the thermostat opens, the coolant level will drop. Keep topping off with your mixed coolant until the level stops dropping and the upper hose is hot.
You will likely see bubbles rising through the filler neck. That is trapped air working its way out. Squeeze the upper and lower radiator hoses gently to push more air through. Once the bubbles stop and the engine is at full operating temperature, install the radiator cap. Then top off the overflow reservoir to the MAX line.
Drive the car for 15 to 20 minutes, then let it cool fully. Check the radiator and reservoir levels again. It is normal to lose a small amount of coolant as the last air pockets purge. Top off to the MAX line and you are done. If the temperature gauge climbs above normal during this drive, stop, let it cool, and repeat the bleed process.
Understanding Coolant Types and Colors
Color is not a reliable indicator of chemistry, but it usually correlates. Here is the cheat sheet I keep taped inside my toolbox.
| Color | Common Type | Typical Vehicles | Mixing Notes |
|---|---|---|---|
| Green | IAT (Inorganic Additive Technology) | Pre-2000 most brands | Can mix with itself |
| Yellow | OAT (Organic Acid Technology) | Chrysler, Ford, some Asian | Do not mix with green |
| Orange | HOAT (Hybrid OAT) | GM Dex-Cool era, some VW | Type-specific |
| Pink or Red | HOAT or OAT variant | Toyota, Asian long-life | Type-specific |
| Blue | Mostly OAT | Some European, some Asian | Type-specific |
| Universal | Multi-compatible formula | Most makes | Safer option for mixed fleets |
The worst mistake you can make is mixing IAT and OAT coolants. The silicates in IAT react with the organic acids in OAT, dropping out as a gel that clogs heater cores and water passages. If you do not know what is in your system, flush thoroughly with distilled water before adding a different type. The universal coolants are designed to be backward compatible and are a fine default if you have lost track of the history.
For most cars built after 2000, the owner’s manual will spell out the exact spec. Look for phrases like “Dex-Cool compatible” or “Meets MS-9000.” Match that spec when you buy.
Disposing of Used Coolant Safely
Used coolant is toxic to pets, wildlife, and humans. Ethylene glycol tastes sweet, which is why dogs and cats lap it up off garage floors. Even small amounts cause kidney failure. Treat it like the hazardous chemical it is.
Pour all used coolant and flush water into sealed containers. Most auto parts stores accept used coolant for free or a small fee. Many municipal recycling centers take it as well. Never pour it down a storm drain, into a toilet, or onto the ground. Antifreeze is one of the most common contaminants of groundwater in suburban areas.
If you spill coolant in your driveway, soak it up with rags and rinse the area with plenty of water. Bag the rags and take them to a hazardous waste drop-off if your local rules require it.
Frequently Asked Questions
Can you mix coolant flush with coolant?
No. Chemical flush products are designed to clean the system before adding fresh coolant, not to be left in the system. Drain the flush completely, then refill with properly mixed 50/50 coolant. Mixing flush chemicals with new coolant can cause foaming and corrosion inhibitor drop-out.
How to properly fill coolant after flush?
Fill the radiator slowly with 50/50 pre-mixed coolant (or concentrate plus distilled water) until the level reaches the filler neck. Leave the cap off, run the engine with the heater on MAX until the thermostat opens, and top off as the level drops. Squeeze the hoses gently to release trapped air. Once bubbles stop and the engine is at operating temperature, install the cap and top off the overflow reservoir to the MAX line.
How many gallons of coolant do I need for a flush?
Most 4-cylinder engines need 2 to 3 gallons total. V6 engines typically need 3 to 4 gallons. V8 engines often need 4 to 5 gallons. Check your owner’s manual for the exact capacity. For a full flush, buy enough to fill the system once plus an extra gallon for topping off after the bleed cycle.
Do I have to flush my coolant or can I just add more?
A simple top-off is fine if your coolant is still clean and the right type. A full flush is worth the effort if the coolant is discolored, older than 5 years, contaminated with oil, or if you are switching coolant types. Flushing removes rust, sediment, and degraded additives that a top-off cannot address.
Final Thoughts on Flushing Your Cooling System
Learning how to flush a cooling system is one of the highest-payoff DIY jobs in car care. You save $200 in shop labor, you get the satisfaction of doing it right, and you know exactly what coolant went back in. The trick is to take your time, drain the engine block, use only distilled water, and bleed the air pockets thoroughly at the end.
Run the engine through a full heat cycle after the refill, check the level again the next morning, and you are set for another 50,000 miles of worry-free cooling. If you take photos and notes during the process, the next flush will go even faster. Most of us fall somewhere between novice and expert every time we crack open a service manual, and coolant flushing is no exception.