
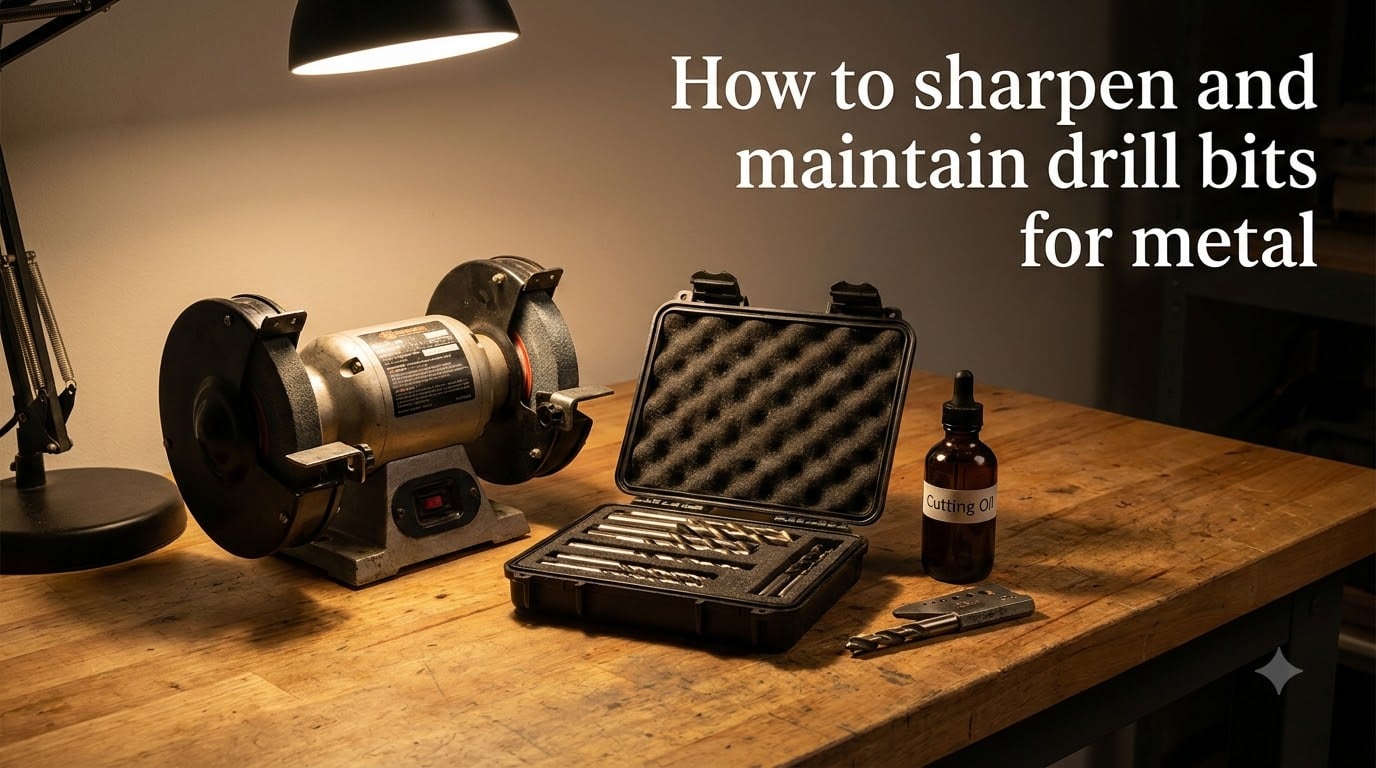
If your drill bits are burning through metal instead of cutting clean holes, I have been there. After ruining three sets of bits in one summer, I committed to learning how to sharpen and maintain drill bits for metal the right way. This guide is everything I wish I had known before wasting time, money, and frustration in my shop.
Drill bits for metal are precision tools, and like any cutting tool, they need regular care. Sharpening restores geometry, but maintenance prevents the damage that ruins cutting edges in the first place. Together, both extend bit life and improve hole quality. I’ll walk you through bit types, sharpening techniques, angle specifications, lubrication, and storage so you can get the most out of every bit you own.
Table of Contents
What Are the Main Drill Bit Types for Metal?
Before you sharpen, you need to know what you are sharpening. The three most common drill bit materials for metal are HSS, cobalt, and carbide, and each behaves differently during grinding and use.
HSS (High-Speed Steel) is the most common and least expensive option. It works well for mild steel, aluminum, wood, and plastic. HSS bits are easy to sharpen with a bench grinder, file, or dedicated sharpener. They are best for general DIY work and softer metals.
Cobalt drill bits (M35 or M42) are HSS bits with 5 to 8 percent cobalt added. The cobalt makes them harder and more heat-resistant. They handle stainless steel, cast iron, and other tough alloys. Cobalt bits are sharpenable, but they require more skill and a good grinding wheel to avoid overheating.
Carbide drill bits are the hardest and most brittle. They are designed for hardened steel, tool steel, and high-volume production. Carbide resists heat but chips easily if you drop it or grind it incorrectly. Most DIYers sharpen carbide on a diamond wheel or send it to a professional.
Identifying your bit is simple. Check the shank near the cutting edge. HSS bits are usually silver or gold (gold means titanium coating). Cobalt bits are often muted gold or bronze with a clear M35 or M42 marking. Carbide bits are typically dark gray or black with a smooth, almost ceramic appearance.
How to Tell When Your Drill Bit Needs Sharpening
A dull bit tells you it needs sharpening long before it stops working. Here are the signs I watch for every time I pull a bit out of storage.
The bit produces blue or purple discoloration on metal, meaning it generates too much heat.
Holes come out rough with jagged edges or oversized diameters.
You need to push harder to make the bit cut.
The bit squeals or chatters instead of cutting smoothly.
Visible chips, flats, or rounding on the cutting edges.
The point looks rounded or worn compared to the edges.
If you notice two or more of these at once, stop drilling and sharpen the bit. Continuing to force a dull bit generates heat that costs you the bit’s temper, the heat treatment that keeps it hard. Once a bit loses its temper, no amount of sharpening will bring it back.
HSS vs Cobalt vs Carbide Comparison for Sharpening
Choosing the right bit matters because each material sharpens differently. Here is the comparison I wish someone had handed me on day one.
| Property | HSS | Cobalt (M35/M42) | Carbide |
|---|---|---|---|
| Best for | Mild steel, aluminum, wood | Stainless steel, cast iron | Hardened steel, production |
| Sharpening ease | Easy | Moderate | Difficult |
| Heat tolerance | Low | High | Very high |
| Cost per bit | Low | Moderate | High |
| Typical point angle | 118 degrees | 135 degrees | 140 degrees |
| DIY sharpenable | Yes | Yes | Requires diamond wheel |
| Number of sharpenings | 5 to 10 times | 3 to 6 times | 1 to 3 times |
The key takeaway: HSS is the most forgiving to learn on, cobalt is the everyday workhorse for metal, and carbide is a specialty tool best left untouched until you have sharpening experience.
How to Sharpen Drill Bits for Metal With a Bench Grinder?
The bench grinder is my favorite tool for sharpening metal drill bits when done correctly. It produces faster, cleaner results than any other method I have tried. Follow these steps for a sharp, symmetrical edge.
Step 1: Set up your workspace safely. Wear safety glasses, hearing protection, and avoid loose clothing. Keep a fire extinguisher nearby since metal sparks can ignite debris. Make sure your grinder has a proper tool rest set close to the wheel (about 1/8 inch gap).
Step 2: Inspect the bit. Look at the cutting edges under bright light. Identify the chisel edge in the center, the two cutting lips, and the flutes. The original point angle tells you what to restore. Standard metal drill bits use 118 degrees, while harder metals benefit from 135 degrees.
Step 3: Position the bit. Hold the bit with both hands, lay the cutting lip flat on the tool rest, and align the drill so the point angle matches the wheel. The cutting edge should be horizontal to the wheel surface.
Step 4: Grind the first lip. Turn the bit on and slowly rotate the bit downward while rolling your wrist to match the original angle. Use light pressure. A few seconds of contact is enough. Dip the bit in water every few seconds to prevent overheating.
Step 5: Flip and repeat. Rotate the bit 180 degrees and grind the opposite lip the same way. The goal is to remove the same amount of material from both sides so the chisel edge stays centered.
Step 6: Check your symmetry. Use a drill point gauge or hold the bit against a flat reference. Both cutting edges should be the same length and angle. If one side is shorter, give it another light pass.
Safety note: If the cutting edge turns blue or the bit feels too hot to hold, you have gone too far. You are removing the hardness that makes the bit work. Slow down, use less pressure, and cool the bit often.
Alternative Sharpening Methods for Metal Drill Bits
Sometimes a bench grinder is not the right tool. Here are alternatives that work for different situations.
Drill Doctor or dedicated sharpeners: These jigs hold the bit at the correct angle and grind a precise edge. They are excellent for beginners and for bits under 3/4 inch. They cost more upfront but save time and prevent mistakes. The trade-off is they struggle with larger bits that machinists prefer to dress on a wheel.
Hand file method: A small triangular file works for minor touch-ups on small bits. Hold the bit in a vise and file the lip with smooth, even strokes. This method is slow and requires patience, but it works in a pinch when no power tools are available.
Angle grinder: Fast and aggressive, but dangerous for small bits. The wheel is too coarse to control edge geometry. I only use this method in emergencies when the bit is too far gone for anything else.
Dremel or rotary tool: Good for detail work and small bits, especially forstner bits or specialty shapes. Use a sharpening stone attachment and work slowly. Skip this for standard twist drills; the bit is too small to hold steady.
Drill Bit Sharpening Angles for Different Metals
Angle matters as much as technique. The point angle determines how the bit cuts and how much force it needs. Match the angle to the metal for the best results.
| Metal Type | Point Angle | Relief Angle | Best Bit Type |
|---|---|---|---|
| Aluminum, soft metals | 118 degrees | 12 to 15 degrees | HSS |
| Mild steel, general purpose | 118 degrees | 12 to 15 degrees | HSS |
| Stainless steel | 135 degrees | 10 to 12 degrees | Cobalt |
| Cast iron | 118 to 135 degrees | 10 to 12 degrees | Cobalt |
| Hardened steel | 135 degrees | 8 to 10 degrees | Carbide |
The relief angle (the angle behind the cutting lip) prevents the bit from rubbing against the hole wall. Standard twist drills have a relief angle of about 12 to 15 degrees. Harder metals need a smaller relief angle to keep the edge strong.
Twist drill geometry can feel complicated at first. The point angle, relief angle, and chisel edge work together. When you restore the bit, focus on matching the original factory geometry rather than inventing new angles. Most bits arrive ready to use; you are simply restoring what the manufacturer built.
Cutting Fluid and Lubrication for Metal Drilling
Cutting fluid is the single most important maintenance step you can take. Heat is the enemy of any drill bit, and cutting fluid pulls heat away from the cutting edge while reducing friction.
Best options for metal drilling:
Sulfur-based cutting oil for steel and stainless steel.
Synthetic cutting fluid for high-volume production work.
Tap magic or dedicated drilling oil for general use.
Vegetable oil as a cheap, non-toxic alternative for light jobs.
Does WD-40 help drill bits? Yes, but not as well as dedicated cutting oil. WD-40 works as a short-term lubricant for light drilling in soft metal. For serious work on stainless or hardened steel, it evaporates too quickly and lacks the extreme pressure additives that real cutting fluid contains. I keep WD-40 in my shop for quick touch-ups and use real cutting oil for anything that matters.
Apply cutting fluid every few seconds during drilling. The goal is to keep the bit and the hole wet. If you see smoke or smell burning, add more fluid or slow down. Drilling dry is the fastest way to ruin a good bit.
How to Maintain Drill Bits for Metal So They Last Longer
Sharpening is half the battle. Daily maintenance keeps your bits sharp longer and prevents the kind of damage that makes sharpening impossible.
Cleaning after each use: Wipe bits with a cloth dampened with cutting oil. Pay attention to the flutes, where metal chips and debris accumulate. Built-up debris interferes with chip clearance and causes the bit to bind.
Inspection routine: Once a month, lay out every bit and check each one under good light. Look for chips, cracks, or visible wear. Run your finger carefully along the cutting edge. A sharp bit feels distinct; a dull one feels rounded.
Proper storage: Tossing bits into a drawer is the fastest way to dull them. The cutting edges bang against each other and lose their edge. Use a dedicated drill bit index, magnetic holder, or foam-lined case. Keep bits organized by size so you find what you need quickly.
Handling practices: Always insert bits into the chuck with the drill off. Never use pliers or wrenches to tighten chucks; use the chuck key. Avoid dropping bits or mixing them with other tools in a toolbox.
Corrosion prevention: Lightly coat bits with cutting oil before long-term storage. This prevents rust without leaving a sticky residue. Check stored bits every few months and reapply if needed.
When to Sharpen vs Replace Metal Drill Bits?
Sharpening has limits. Knowing when to stop and buy a new bit saves time and prevents damaged workpieces.
| Condition | Action |
|---|---|
| Light dulling, fresh edges | Sharpen |
| Visible chips under 2mm | Sharpen if experienced |
| Heavy wear, bit shortened significantly | Replace |
| Blue or purple discoloration | Replace (lost temper) |
| Cracks visible in the shank | Replace immediately |
Is it worth sharpening drill bits? For HSS and cobalt bits, sharpening pays off economically. A quality drill bit costs 4 to 15 dollars. A Drill Doctor or bench grinder costs more upfront but restores dozens of bits. Once you have the setup, every sharpening is essentially free. Carbide bits are often cheaper to replace because they are difficult to grind and lose size quickly with each sharpening.
Troubleshooting Common Drill Bit Sharpening Problems
Even with the right technique, things go wrong. Here are the issues I run into most often and how to fix them.
Bit still won’t cut after sharpening. The most common cause is asymmetric cutting edges. Recheck with a drill point gauge. If one lip is longer, the bit walks and cuts off-center. Grind the longer side until they match.
Bit cuts but produces oversized holes. The point angle is probably wrong. A flattened or rounded point drills bigger than the bit diameter. Restore the original point angle and avoid excessive grinding.
Bit overheats and turns blue. You are grinding too long or pressing too hard. Use lighter pressure, cool the bit in water every few seconds, and switch to a softer grinding wheel if your current one is too aggressive.
Chisel edge cracks or chips during sharpening. The chisel edge is the thin web between the cutting lips. It is brittle by design. Reduce pressure near the center and avoid overheating. If the chisel edge is damaged, the bit needs professional sharpening or replacement.
Bit grabs and chatters when drilling. The relief angle is too small, or the cutting edge is too sharp. A small flat (about 0.5mm) behind the cutting lip helps the bit bite gradually. This is normal on factory bits and should be preserved during sharpening.
Frequently Asked Questions
How to sharpen a drill bit for drilling metal?
Hold the bit at the original point angle (118 or 135 degrees) against a bench grinder wheel. Lightly rotate the bit to grind the cutting lip, then flip and repeat on the opposite side. Keep both lips the same length and dip the bit in water often to prevent overheating.
How to maintain metal drill bits?
Clean bits after each use with cutting oil, inspect them monthly for chips or wear, store them in a dedicated index or foam case, and apply a thin oil coat before long-term storage. Always use cutting fluid during drilling to reduce heat and extend bit life.
Does WD-40 help drill bits?
WD-40 works as a short-term lubricant for light drilling in soft metal, but it evaporates too quickly for serious work on stainless or hardened steel. Use dedicated cutting oil for jobs that require sustained heat reduction and lubrication.
Is it worth sharpening drill bits?
Yes, for HSS and cobalt bits. Sharpening costs time and a small investment in a bench grinder or Drill Doctor, but it restores dozens of bits for years. Replace carbide bits or bits that have lost their temper (shown by blue discoloration).
Final Thoughts on Sharpening and Maintaining Drill Bits for Metal
Learning how to sharpen and maintain drill bits for metal is one of the most rewarding skills you can build in your shop. Sharp bits cut faster, produce cleaner holes, and save you money on replacements. The basics are simple: match the bit type to the metal, restore the original angles, use cutting fluid, and store bits properly between uses.
Start with HSS bits on a bench grinder while you build confidence. Add cutting fluid to every drilling job. Inspect and clean your bits monthly. Within a few months, you will spend less on replacements and your holes will look noticeably better. That is the real payoff of mastering drill bit care.