
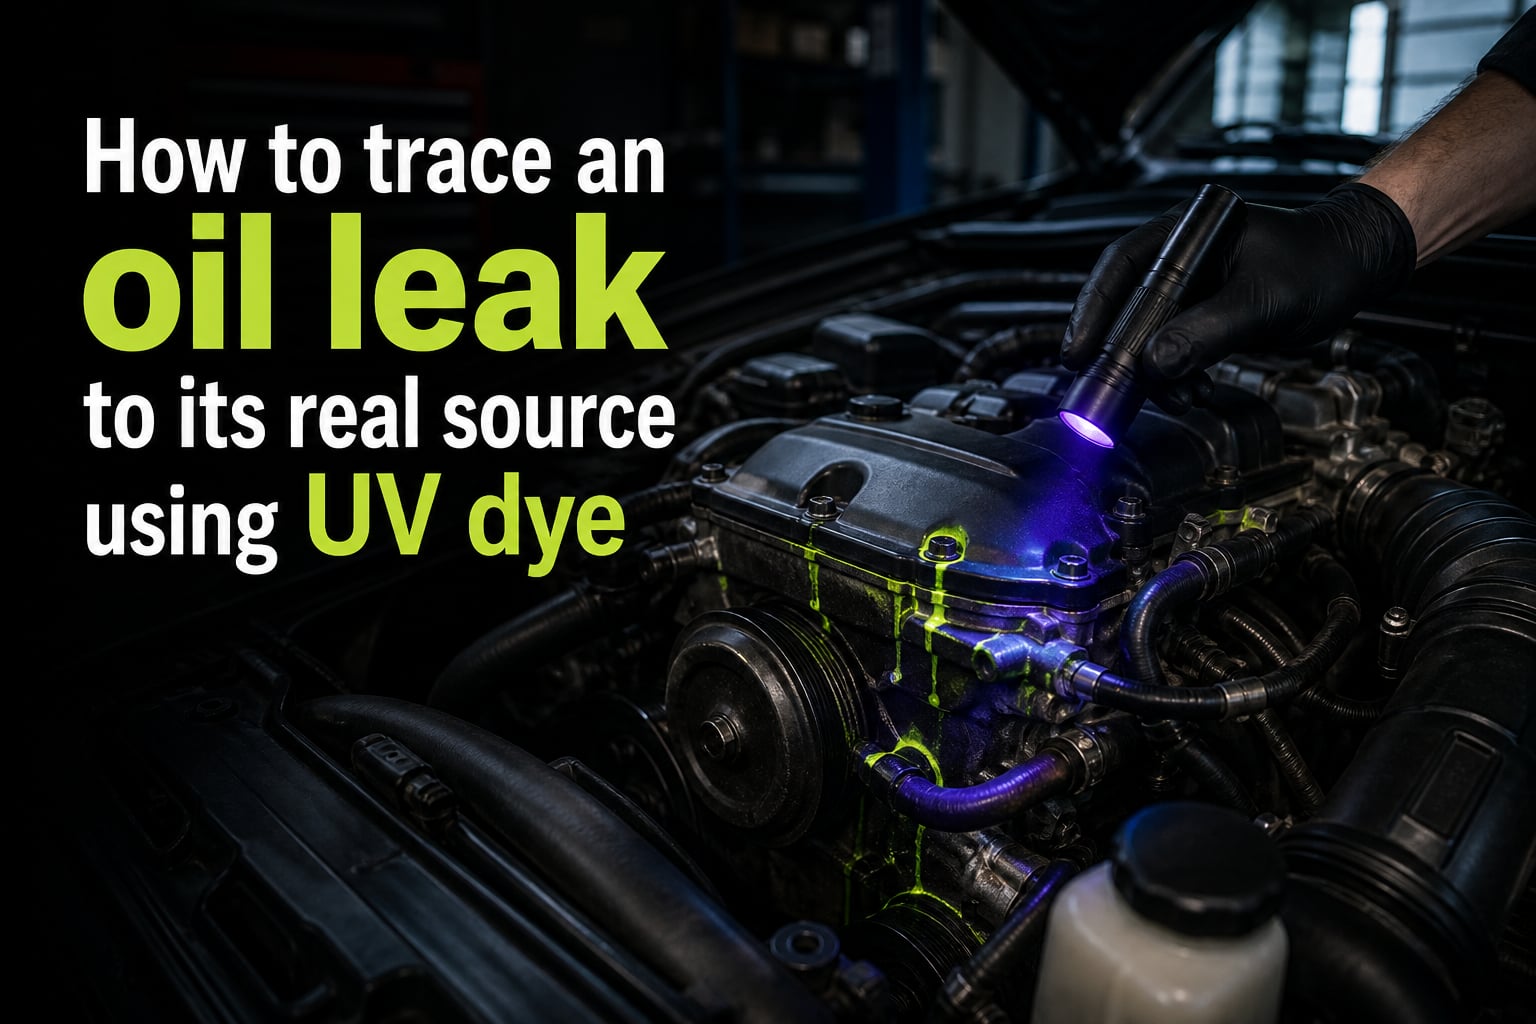
You have oil spots under the car, but staring at the engine bay tells you nothing. The oil migrates across covers, down bell housings, and pools in places that hide where it actually started. If you want to trace an oil leak to its real source using UV dye, you need a method that follows oil back to the exact gasket, seal, or component it came from. I have used UV dye on dozens of stubborn leaks, and it remains the fastest non-destructive way to find what is actually leaking. Here is how to do it right.
Table of Contents
What Is UV Dye Leak Detection and How It Works?
UV dye leak detection uses a fluorescent dye added to engine oil that glows brightly when illuminated by a UV (black) light. The dye circulates with the oil through the entire engine, so any oil escaping from a gasket, seal, or component carries the dye with it. Under UV light, the leak path lights up like a roadmap, allowing you to follow it back to the source.
The reason this works is fluorescence. The dye absorbs invisible UV energy at a specific wavelength and re-emits it as visible light, typically a bright yellow-green glow. Even tiny traces of oil that you would never see with your naked eye become obvious under the right UV light. I have found drips that were invisible to the eye but shone like neon under a 365nm flashlight.
Why beat the guesswork with UV dye? Because oil migrates. A valve cover gasket can drip oil that runs down the back of the engine and ends up pooling near the oil pan. Without UV dye, you would replace the oil pan gasket and still have a leak. The dye follows the actual oil path and shows you where the trail begins.
The Best UV Light Wavelength for Oil Leak Detection
The best UV light wavelength for oil leak detection is 365 nanometers (nm). A true 365nm UV flashlight produces the strongest fluorescent response from standard leak detection dyes and ignores most ambient light interference. If you buy one tool for this job, buy a 365nm UV flashlight, not the cheaper 395nm models marketed as “black lights.”
Here is why wavelength matters. A 365nm UV light sits deeper in the ultraviolet range, closer to invisible. The dye absorbs 365nm energy efficiently and re-emits a bright, sharp glow. A 395nm flashlight produces a more violet visible glow that drowns out the fluorescence effect. The 395nm light works for casual uses (checking currency) but is noticeably weaker for oil leak detection.
One bonus: most modern motor oils already contain fluorescent additives and naturally glow under 365nm UV light. If you do not want to add dye, simply scan with a 365nm light after cleaning the engine. You will often see old leak residue glowing. Adding dye makes the path brighter and lets you trace active leaks rather than old ones.
Step-by-Step Process to Trace an Oil Leak With UV Dye
Follow these seven steps to trace an oil leak to its real source using UV dye. Skipping cleaning or testing in daylight ruins the results. I run through this exact list each time.
Step 1: Clean the engine bay thoroughly. Degrease the engine with a quality engine degreaser, rinse, and let it dry fully. Any old oil residue will glow under UV light and create false leads. Spend 20-30 minutes here, more time than the rest of the job combined. If your engine is caked in old grime, a professional steam cleaning saves hours.
Step 2: Add the UV dye to the oil. Most aftermarket kits include one or two bottles of dye that you pour into the oil filler cap. The standard dose is one ounce (about 30 ml) per quart of oil capacity. Some OEM-grade dyes come pre-mixed with engine oil or ATF. Read your specific kit’s instructions before adding.
Step 3: Run the engine to circulate the dye. Idle the engine for 15-30 minutes to push dye through the oil galleries, upper valve train, and turbo seals. Some leaks at the top of the engine will show up during this idle period. For leaks deeper in the engine, you need actual driving miles.
Step 4: Drive the vehicle 50-150 miles. Take the car through varied driving conditions, including highway cruise, stop-and-go, and at least one aggressive acceleration to load the engine. Driving ensures dye reaches everywhere the oil circulates, including rear main seals and transmission interfaces.
Step 5: Inspect under UV light in a dark area. Pull into a garage or wait until dusk. Block all ambient light. Scan the entire engine bay, suspension, and underbody with your 365nm flashlight. The leak source will glow, often bright enough to see even at a distance. Look for drips, streaks, and pooling oil.
Step 6: Use dye penetrant developer for slow leaks. Spray dye penetrant developer (a white spray that dries chalky) on suspicious areas after cleaning. Where oil seeps through, the white coating becomes translucent and reveals the leak source. This step catches the slow drips that pure UV light misses.
Step 7: Pinpoint the source and document it. Trace the glowing path of oil upward to its highest point. The highest point of a glowing trail is almost always the actual leak source. Take photos of the fluorescent patterns with your phone or a UV-camera so you can reference them later.
How Long to Run the Engine After Adding UV Dye
You should run the engine for at least 15 minutes of idle plus 50-150 miles of mixed driving after adding UV dye to detect most oil leaks. Slow leaks at the bottom of the engine (oil pan, rear main seal) require more driving time than top-end gasket leaks that dye reaches within the first idle cycle.
For quick top-end leaks like valve cover gaskets, 30 minutes of idle is often enough. For pan gaskets, rear main seals, or timing cover leaks, plan on 100+ miles of driving. Some mechanic forums recommend 200 miles for the toughest slow leaks. If you do not see the source after 150 miles, the leak may be too slow for dye detection, and you should consider pressurizing the crankcase instead.
A practical guideline I use: after adding dye, drive normally for two to three days of regular use, then inspect. That gives dye time to migrate through every internal passage and reach leaks that do not show up during a single test drive.
Common Oil Leak Sources Found With UV Dye
The most common oil leak sources found with UV dye are valve cover gaskets, oil pan gaskets, timing covers, rear main seals, and front crankshaft seals. These five spots account for the bulk of engine oil leaks in modern vehicles, and UV dye lights each one up clearly. Once you know the usual suspects, scanning goes much faster.
Top-end gasket leaks: Valve cover gaskets, spark plug tube seals, and the upper timing cover area. These typically show up first because dye reaches them quickly during idle. Look at the cylinder head edges and around the spark plug wells.
Bottom-end gasket and seal leaks: Oil pan gasket, front crank seal, rear main seal, and lower timing cover. Oil migrates from these down the bell housing and transmission, which is why bottom-end leaks often look like transmission leaks without UV dye to distinguish them.
Less obvious sources: Oil filter housing gaskets on some V6 and V8 engines, turbocharger seals and oil feed lines on turbo cars, and PCV system failure causing crankcase pressure that pushes oil past gaskets. UV dye helps you avoid replacing the wrong seal.
Tips for Getting the Best Results With UV Dye
Get the best UV dye leak detection results by working in complete darkness, cleaning thoroughly beforehand, and tracing oil paths upward to their highest point. Skipping these three details is why most DIY attempts fail. I treat them as hard rules.
Work in total darkness. Even small amounts of daylight or fluorescent shop lighting wash out the fluorescent signal. A pitch-black garage is ideal. If you must work outdoors, wait until well after sunset and turn off all nearby lights. The dye glow looks completely different in true darkness versus even slightly lit spaces.
Trace the path of oil migration upward. Oil drips downward, so the highest glowing point on any wet trail is the leak source. Newer drips appear bright; older residue looks dimmer and grainier. Look at the entire wet surface to find the highest spot. Most people stop at the first visible drip and miss the actual leak above it.
Do multiple inspection passes. After a quick first scan, wipe down everything you plan to ignore and rescan. This removes residual glow from unrelated areas and helps your eye focus on the active leak. Two passes catch what one pass misses.
Safety Precautions When Using UV Light for Leak Detection
You should wear UV-protective safety glasses when shining a UV flashlight around an engine bay, especially for extended inspection sessions. Even though 365nm UV is mild compared to industrial UV sources, repeated exposure can irritate the eyes and skin. Treat your UV flashlight as eye safety equipment, not a casual toy.
Never stare directly into the UV flashlight beam. Indirect exposure during normal inspection is fine, but pointing the beam into your eyes from a few inches away can cause photokeratitis (a painful flash burn) within minutes. Most automotive UV flashlights ship with a warning label for this reason.
Keep UV lights away from plastic and rubber for long periods. UV energy degrades certain plastics and rubber over time, and a focused beam can warm rubber hoses. Avoid resting the flashlight directly on belts or coolant hoses while inspecting nearby areas.
Alternative Methods When UV Dye Is Not Enough
When UV dye does not reveal the leak, three alternatives work well: talcum powder dusting, pressurizing the crankcase, and dye penetrant developer spray. Each one solves a specific problem where UV dye alone falls short.
Talcum powder method: Dry the suspected area completely, dust with baby powder or talc, then run the engine briefly. The powder turns dark exactly where oil seeps through, even on slow leaks that UV dye misses. This is a classic aircraft mechanic trick that works because powder is far more visible against fresh oil than dye fluorescence is in dim conditions.
Pressurizing the crankcase: Seal the dipstick tube and oil filler, then apply low-pressure shop air (around 1-2 psi) through the oil fill hole. Soap the engine exterior with a soapy water solution. Bubbles form exactly where air escapes, which is also where oil would leak under normal pressure. This method catches leaks even with the engine off.
Dye penetrant developer spray: After cleaning and applying UV dye, spray a thin coat of dye penetrant developer (a chalky white spray) on the suspect area. The coating stays opaque where there is no leak and turns translucent where oil seeps through. This triples the visibility of slow leaks that pure UV dye misses.
UV Dye Compatibility With Different Oil Types
Most UV dyes are compatible with synthetic, semi-synthetic, and conventional motor oils, plus ATF, power steering fluid, and even diesel fuel. The dye is a small additive load that does not react with the base oil chemistry in any meaningful way. You can use a standard automotive UV dye kit across virtually every fluid system in your vehicle.
For diesel applications, marine engines, and motorcycles, check the dye label for compatibility. Two-stroke engines and some specialty racing oils use additive packages that can mask fluorescence. When in doubt, use a dye specifically labeled for that fluid type. Most major brands (Tracerline, ATD Tools, OTR Auto Engineering) sell separate dye formulations for oil versus fuel versus coolant systems.
After your leak diagnosis, the dye stays in your oil and is harmless during normal operation. Standard oil changes flush out the dye over time. You do not need a special flush procedure afterward.
FAQs
How long does UV dye take to find a major oil leak?
For a major leak, UV dye usually shows up after 15-30 minutes of idle or 50-100 miles of driving. Slow leaks at the bottom of the engine may require up to 150 miles of mixed driving before the dye reaches the leak point and becomes visible under UV light.
Can UV light detect oil leaks without adding dye?
Yes, modern motor oils contain fluorescent additives that glow under a 365nm UV light, so a dark garage inspection can reveal active leak paths without adding dye. Adding fresh dye makes the trace brighter and helps you distinguish current leaks from old residue.
Can I use UV dye after draining the oil?
If you have already drained the oil for a service, add the dye into the new oil during refill. Most OEM-grade oils do not contain enough fluorescent tracer for reliable detection, so adding dye is the best path. If the engine is fully drained and you want to bypass refill, you can add dye to a small amount of oil circulated through individual components, but the standard approach is to add it during refilling.
What is the difference between 365nm and 395nm UV lights?
A 365nm UV light sits deeper in the UV spectrum and produces a stronger fluorescent response from standard leak detection dyes. A 395nm UV light emits more visible violet light that washes out the dye glow. For oil leak detection, choose a true 365nm flashlight for the clearest trace.
Is UV dye safe for my engine?
Yes, UV dye at recommended doses is safe for engine oils, transmissions, power steering, and most other automotive fluids. The dye stays in your oil during normal operation and is removed during your next fluid change. Always follow the kit’s dosage instructions to avoid overdosing.
Final Thoughts on Tracing Oil Leaks With UV Dye
Tracing an oil leak to its real source using UV dye is one of the most satisfying DIY auto jobs because it removes guesswork. Clean the engine thoroughly, add the dye, idle briefly, drive 50-150 miles, then inspect in darkness with a 365nm flashlight. Trace the glowing path upward to its highest point, and you have your leak. Add dye penetrant developer for the slow leaks that pure UV light misses.
If you have tried UV dye twice and still cannot find the source, take the car to a shop with a smoke machine or pressurization rig. Some leaks are too slow or too sealed for dye detection. Otherwise, the approach above works on the vast majority of engine leaks and saves you from replacing parts that were never the real problem.