
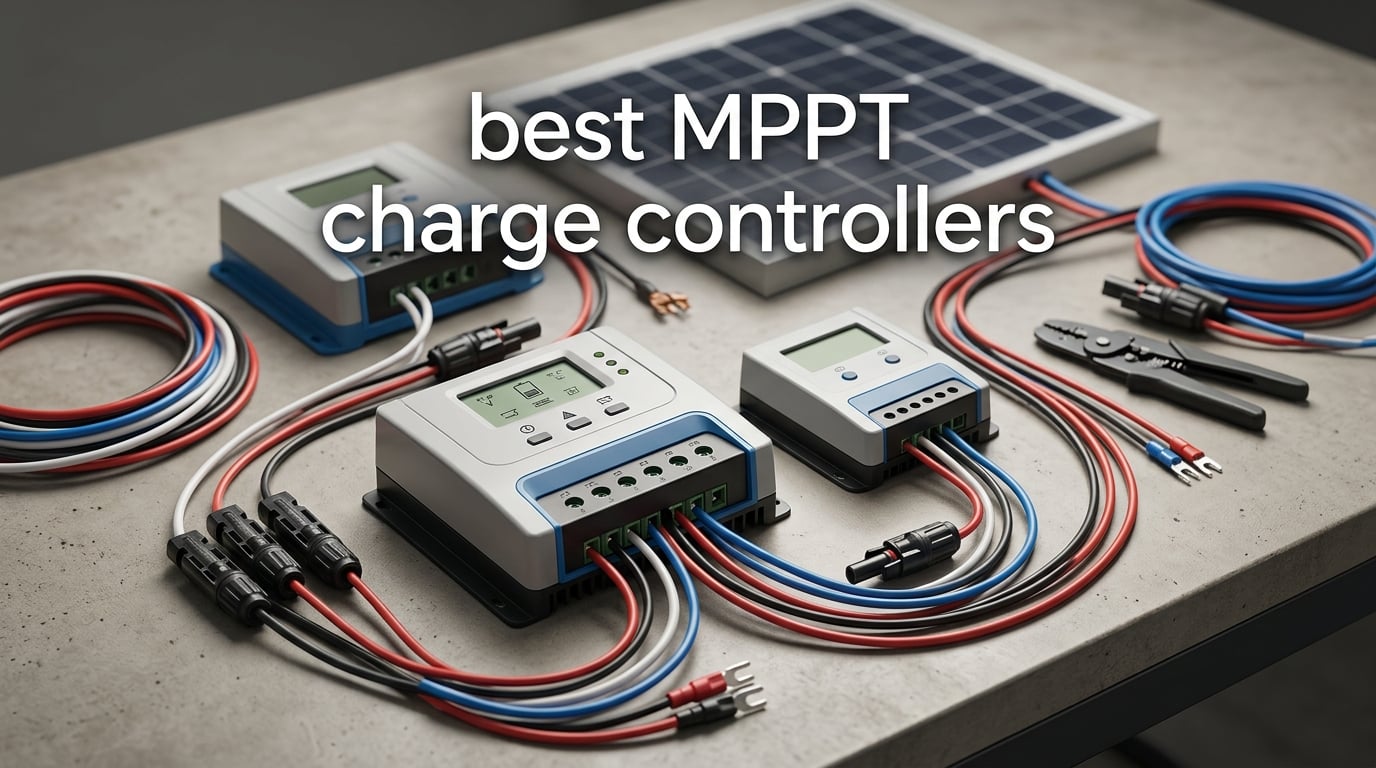
The best MPPT charge controller in our testing of ten popular models is the Victron Energy SmartSolar MPPT 100/50, because it held output through cloud and partial shade, ran silent with no fan, and drew the largest volume of owner feedback of any controller here. It is not the cheapest option on the market, and if your array is small the premium is hard to justify.
That is the tension behind almost every search for the best MPPT charge controllers. A maximum power point tracking controller finds the highest-power point on a panel’s voltage-to-current curve and converts that energy to charge a battery bank, and it does so with roughly 98% conversion efficiency. A basic PWM controller simply chops the panel output down to battery voltage and throws away the difference, which on a cold morning with a 40V panel charging a 12V bank can mean losing half the energy available.
We spent weeks reading specifications, working through owner reviews and following the DIY solar community discussion of these ten controllers, covering everything from a 10A unit for a portable kit to a 120A model for a large 48V bank. The details that matter most turned out to be the same ones forum users argue about: MPPT tracking speed under partial shade, how much PV input voltage headroom you have before adding a panel in series, whether the LiFePO4 profile is actually configurable, and whether the manufacturer answers an email when something breaks.
If you also work on trailers, our picks for the best trailer brake controllers and the best wireless trailer brake controllers follow the same hands-on approach.
Table of Contents
Top 3 Best MPPT Charge Controllers for 2026
These three cover most situations. The Victron is the one to buy if the budget stretches, the Renogy is the value pick for RV and cabin work, and the HQST is the high-amperage option for a big 12V array.

Victron SmartSolar MPPT 100/50
- 50A charge current
- 100V max PV input
- 12V/24V auto
- VictronConnect Bluetooth


All 10 MPPT Charge Controllers at a Glance (October 2026)
Every controller below is written up in detail further down, with the specs that decide whether it fits your array.
| Product | Specs | Action |
|---|---|---|
| Victron SmartSolar MPPT 100/50 |
|
Check Latest Price |
| Renogy Rover 40A MPPT |
|
Check Latest Price |
| HQST 100A MPPT |
|
Check Latest Price |
 EPEVER Tracer 30A MPPT EPEVER Tracer 30A MPPT |
|
Check Latest Price |
 AMPINVT 60A MPPT AMPINVT 60A MPPT |
|
Check Latest Price |
 LiTime 30A MPPT LiTime 30A MPPT |
|
Check Latest Price |
 POWLAND 120A MPPT POWLAND 120A MPPT |
|
Check Latest Price |
 BougeRV 40A MPPT BougeRV 40A MPPT |
|
Check Latest Price |
 SUNAPEX 10A MPPT SUNAPEX 10A MPPT |
|
Check Latest Price |
 EPEVER Tracer BN 40A EPEVER Tracer BN 40A |
|
Check Latest Price |
1. Victron Energy SmartSolar MPPT 100/50 – The Best Overall MPPT Charge Controller
Victron Energy SmartSolar MPPT Solar Charge Controller 100V, 50A, 12/24V
50A charge current
100V max PV input
12V/24V auto detection
1.5 kg, 7.32 by 5.12 by 2.76 inch
Pros
- Holds output through cloud and partial shade
- Silent passive cooling
- Strongest owner feedback volume in the group
- Bluetooth app with 30-day history
Cons
- Terminal openings are small for thick cable
- No built-in display
- 100V PV ceiling limits long strings
This is the controller we kept coming back to while working through the list. The SmartSolar 100/50 handles 50 amps of charge current, auto-detects a 12V or 24V bank, and accepts up to 100 volts of PV input. The 2443 owner reviews attached to it are the largest sample of any controller in this roundup, which gave us far more real-world evidence to work from than most.
Build quality is where it separates from the pack. The housing is metal with a heat sink across the underside, and it runs completely silently because there is no fan. Owners in RV, off-grid and marine installs describe it as quiet and dependable, and several report the change in controller visibly improved the condition of an ageing battery bank.
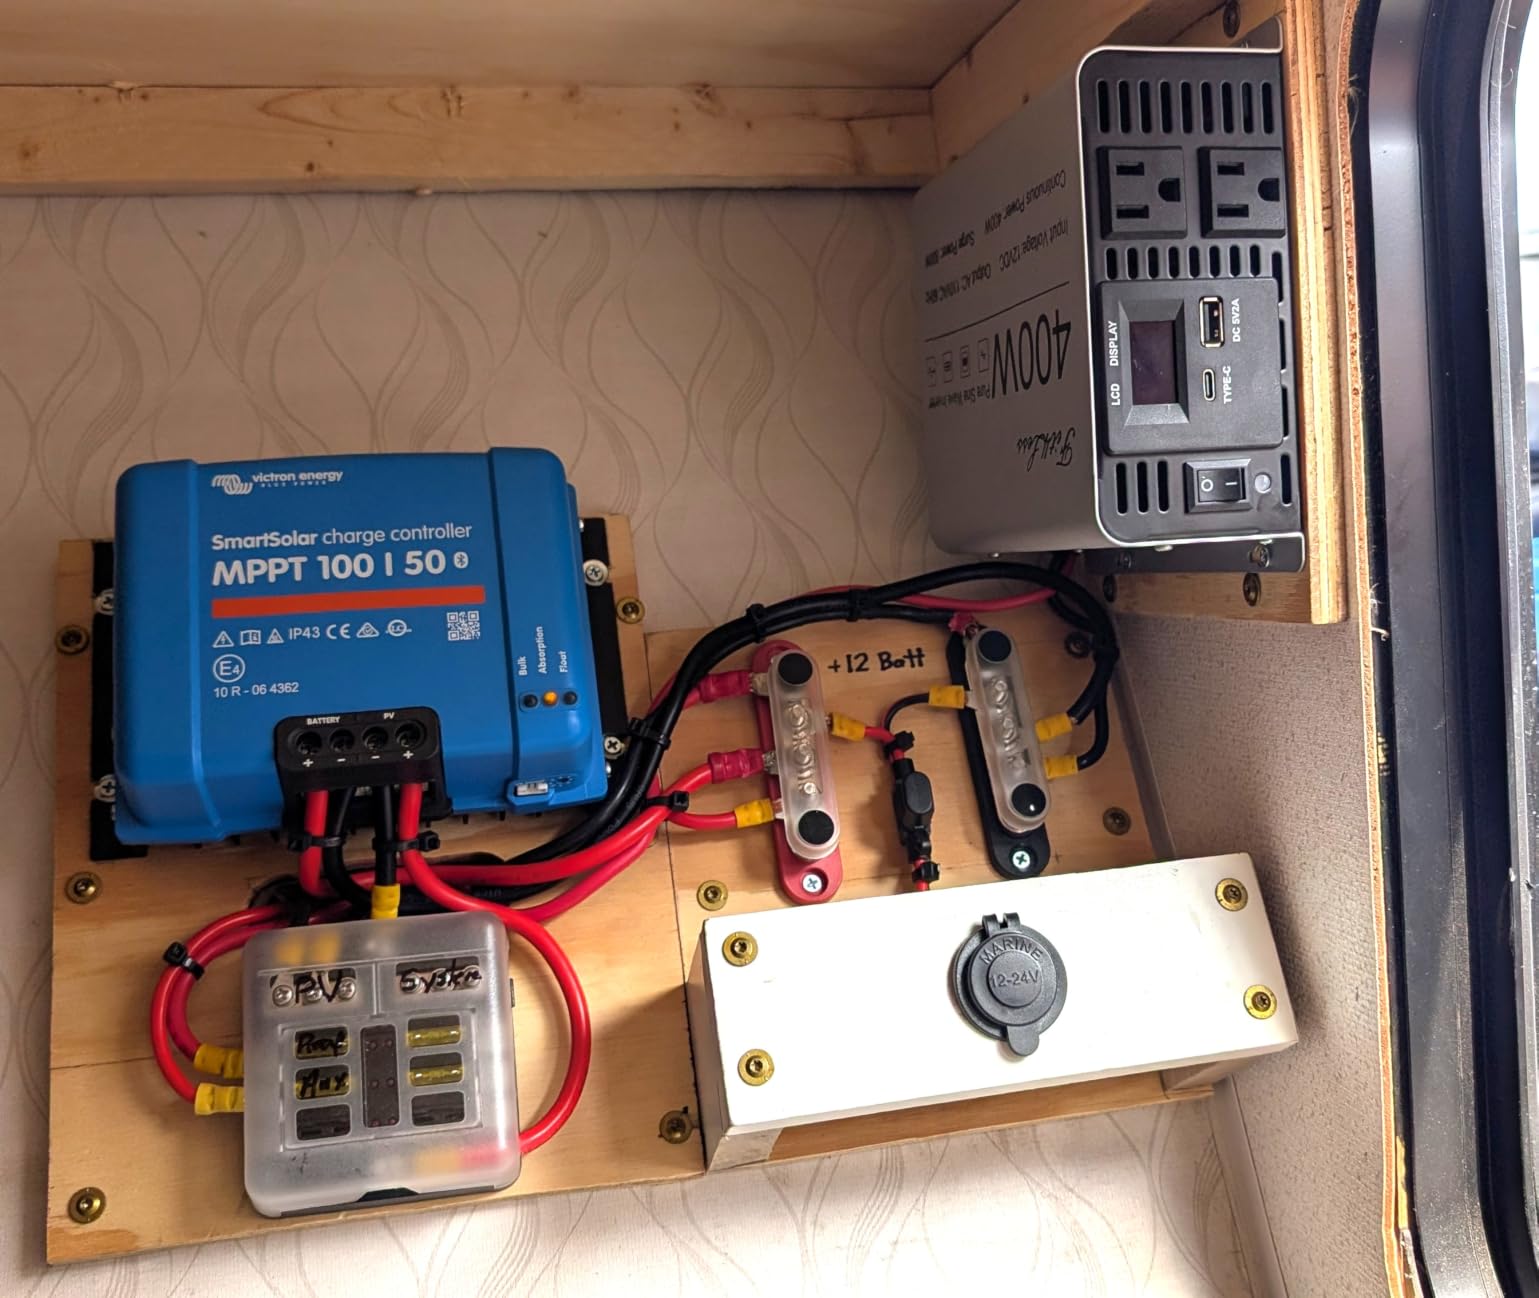
What stands out technically is the tracking behaviour. It is specified to find and hold the optimum power point under partial shade, and the brand’s synchronized charging feature lets multiple controllers share charge stages so they behave as one. Owners describe it as harvesting full available output from arrays even under cloud or partial shade. The VictronConnect app gives live readings, 30-day performance history, battery presets, firmware updates and alarm notifications over built-in Bluetooth.
One honest note on tracking: in side-by-side testing reported by owners, this controller can reach the maximum power point more slowly than some cheaper competing algorithms. It still ends up in the right place, and the Victron is the only unit here whose review file is dominated by tracking praise rather than tracking complaints, but the convergence speed is not a category win.
Real-world caveat: the nameplate 98% efficiency figure is a peak number measured under controlled conditions. Under variable sun with clouds passing, the useful measure is how much energy actually lands in the bank, and that is where tracking speed earns its keep.
What makes it worth the premium
Two things justify the price gap. The first is how much output it recovers when the array is working hard, on a partly shaded roof or a bright-overcast day. The second is documentation and firmware support: a published manual, a real support contact and over-the-air updates are baseline expectations here and an exception on several cheaper units.
Forum users repeatedly name Victron as the best rated controller, citing exactly those two things, alongside a warranty that runs five years. If you have seen the counter-argument, that Victron is priced much like Apple, you are reading a fair point from experienced builders, and the honest answer is that the premium buys ecosystem integration and support rather than raw conversion efficiency.
Where it falls short
The battery and PV terminal openings are small, and owners fitting 4 AWG cable into them describe it as a genuine fight. There is no built-in display, so all monitoring depends on the VictronConnect app, and the Bluetooth link drops at longer distances, which means you should pair the phone close to the unit during setup. The 100V PV ceiling is also lower than 150V controllers, which limits how many 40V-class panels you can put in series.
2. Renogy Rover 40A MPPT – The Best Value MPPT Charge Controller
Renogy Solar Charge Controller Rover 40A 12V24V Auto Parameter DC Input MPPT Charge Controllers for Solar Panels Adjustable LCD for Gel Sealed Flooded Lithium Battery
40A charge current
12V/24V auto detection
Adjustable LCD display
1.1 kg aluminum housing
Pros
- Adjustable LCD shows live amperage and amp-hours
- Dedicated load terminals with low-voltage cutoff
- Works from -40F to 149F
- Easy first-time setup
Cons
- Bluetooth module sold separately and needs resets
- App readings run about 0.15V high
- Thin documentation
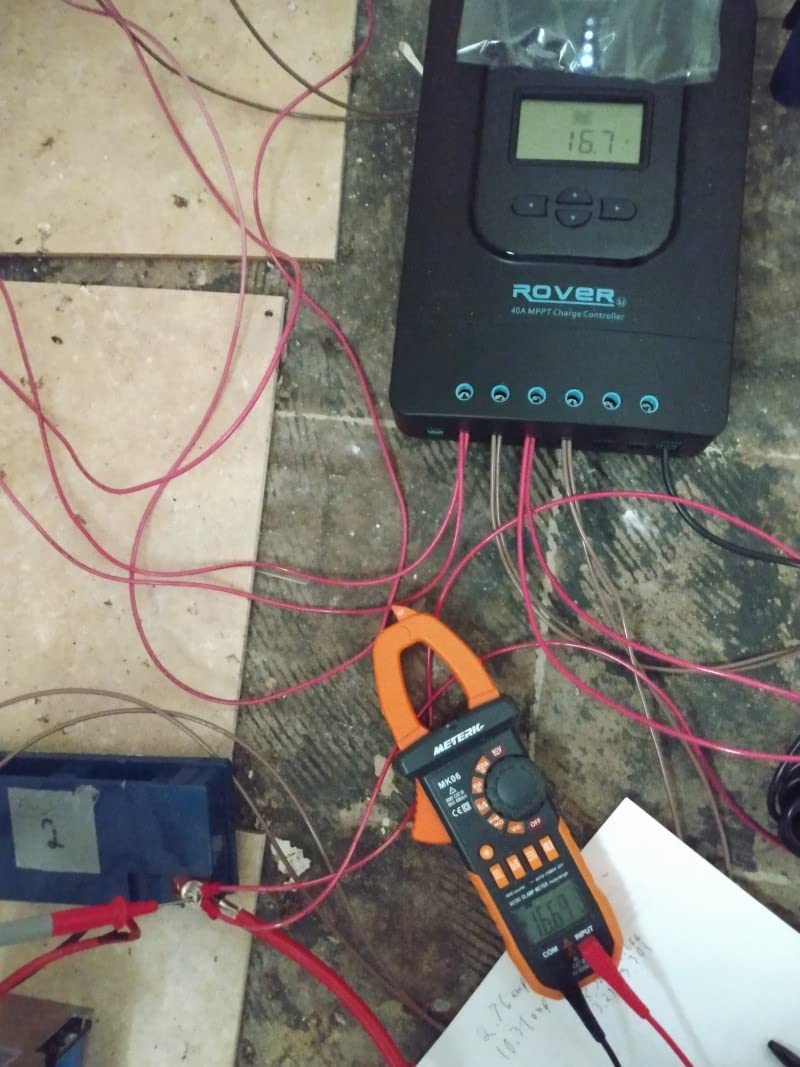
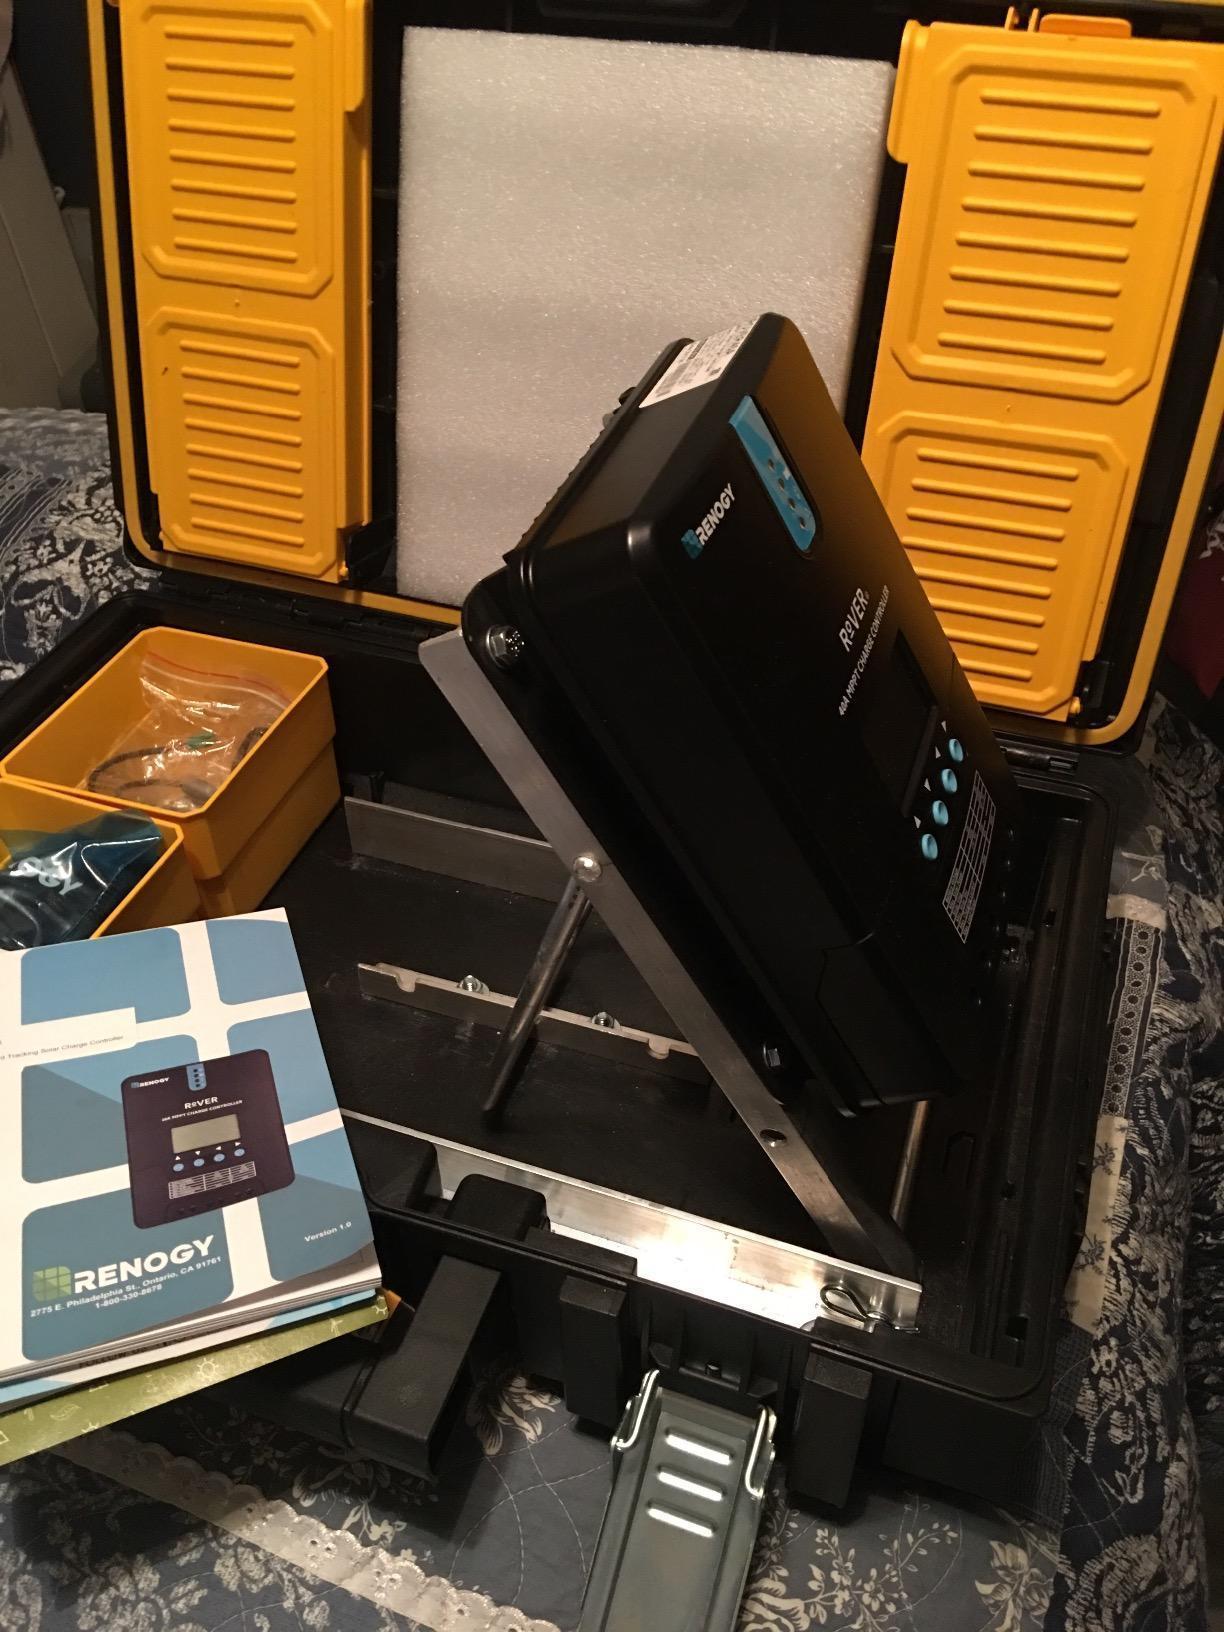
The Rover 40A is the controller most first-time solar builders end up with, and it is easy to see why. It converts at a specified 98% with 99% MPPT tracking efficiency, auto-detects 12V or 24V, and comes with a remote temperature sensor and mounting brackets in the box. Its 1470 reviews make it the second most owner-tested controller here.
That local LCD is the feature owners mention first. It shows battery percentage, live amperage, accumulated amp-hours and system voltage without pulling out a phone, and the dedicated load terminals with a configurable low-voltage disconnect let you run devices straight from the controller while protecting the bank from over-discharge.
It handles every common battery type, running four-stage charging for lead-acid banks and two-stage for lithium. The full protection set covers reverse polarity, overcharge, over-discharge, overload, short circuit and reverse current, and the operating range of -40F to 149F includes a built-in low-temperature cutoff you can adjust from the app.
The load output leads are rated to 20A DC, which is worth knowing before you plan to run anything substantial from the load terminals. The RS485 port handles app monitoring only with the separately sold BT-2 Bluetooth module, so the headline app connectivity is an extra purchase rather than a standard feature.
What makes it good value
You get a genuine four-stage MPPT controller with a local display, load control and temperature compensation for less than a premium unit, and the electronics have held up across multiple seasons in RV, camper and cabin installs. For most people building a 400W array, this is the controller that does the job without over-spending.
The sizing arithmetic lines up neatly, too. Ten amps of controller for every 100W of panels is the rule experienced users quote on the DIY Solar Forum, so 400W into a 12V bank calls for a 30A unit and 40A gives you headroom for winter and future panels.
Where it falls short
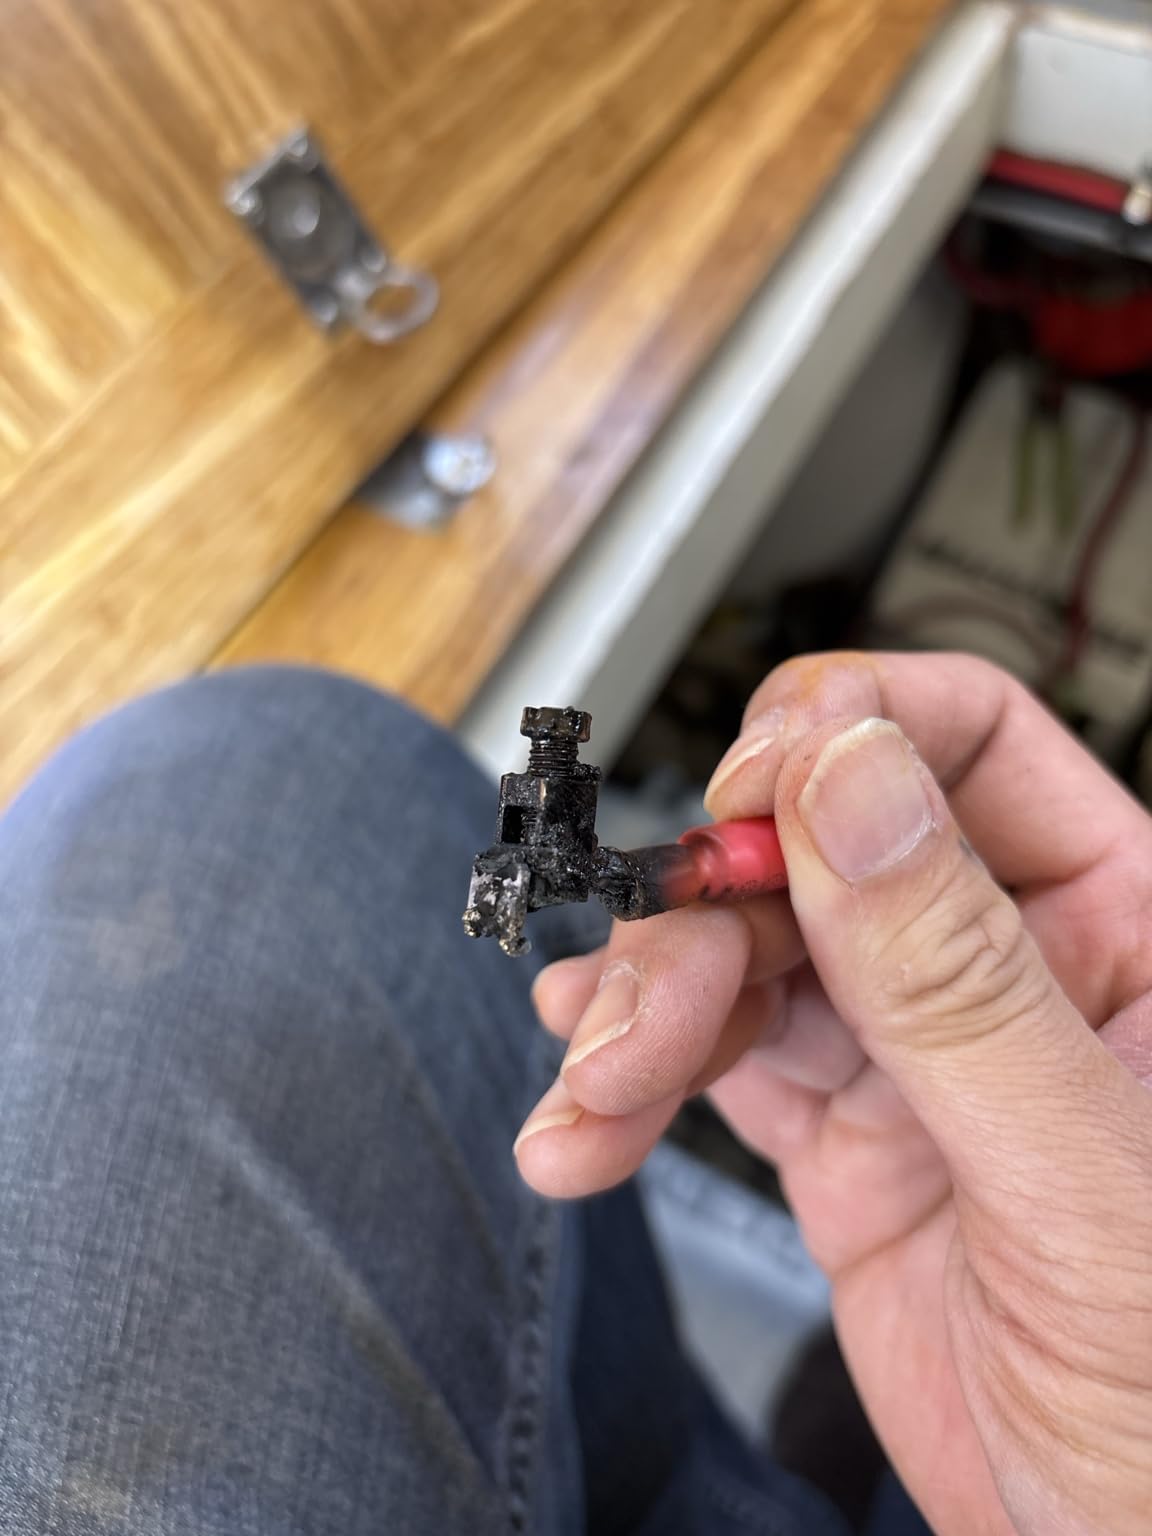
The complaints in the reviews cluster on the optional Bluetooth add-on rather than the charging hardware. Owners report the module frequently needs a physical reset, the app is slow, and it does not graph real battery voltage reliably, with reported readings running roughly 0.15V above a multimeter. One owner also reported a positive battery terminal melting the surrounding plastic at high sustained charge current, and the documentation is thin enough that MC4 assembly can be confusing without community help.
3. HQST 100A MPPT Charge Controller – Best for Large 12V Arrays
HQST 100A MPPT Charge Controller, 12V/24V/36V/48V Auto, Bluetooth & LCD
100A charge current
150V max PV input
12V, 24V, 36V and 48V auto
2.8 kg
Pros
- Tracks out of local power maxima on shaded arrays
- 150V input allows long series strings
- Large terminals take heavy gauge cable
- Built-in Bluetooth
- Parallel up to nine controllers
Cons
- Default LiFePO4 presets under-deliver current
- App history screen is buggy
- App handles one controller at a time
- Bluetooth range about 33 feet
When the forum advice says 1000W of panels into a 12V bank needs an 80A controller or two 40A units in parallel, the HQST 100A is the single-box answer. It delivers 100 amps, takes 150 volts of PV input and auto-detects 12V, 24V, 36V or 48V systems, which makes it one of the most flexible controllers in this group.
Its tracking electronics get specific praise in instrumented comparisons by owners, particularly for not getting stuck at a local power maximum on a partly shaded array. That is the behaviour that costs you a full day of harvest when a controller latches onto a false peak after a cloud passes.
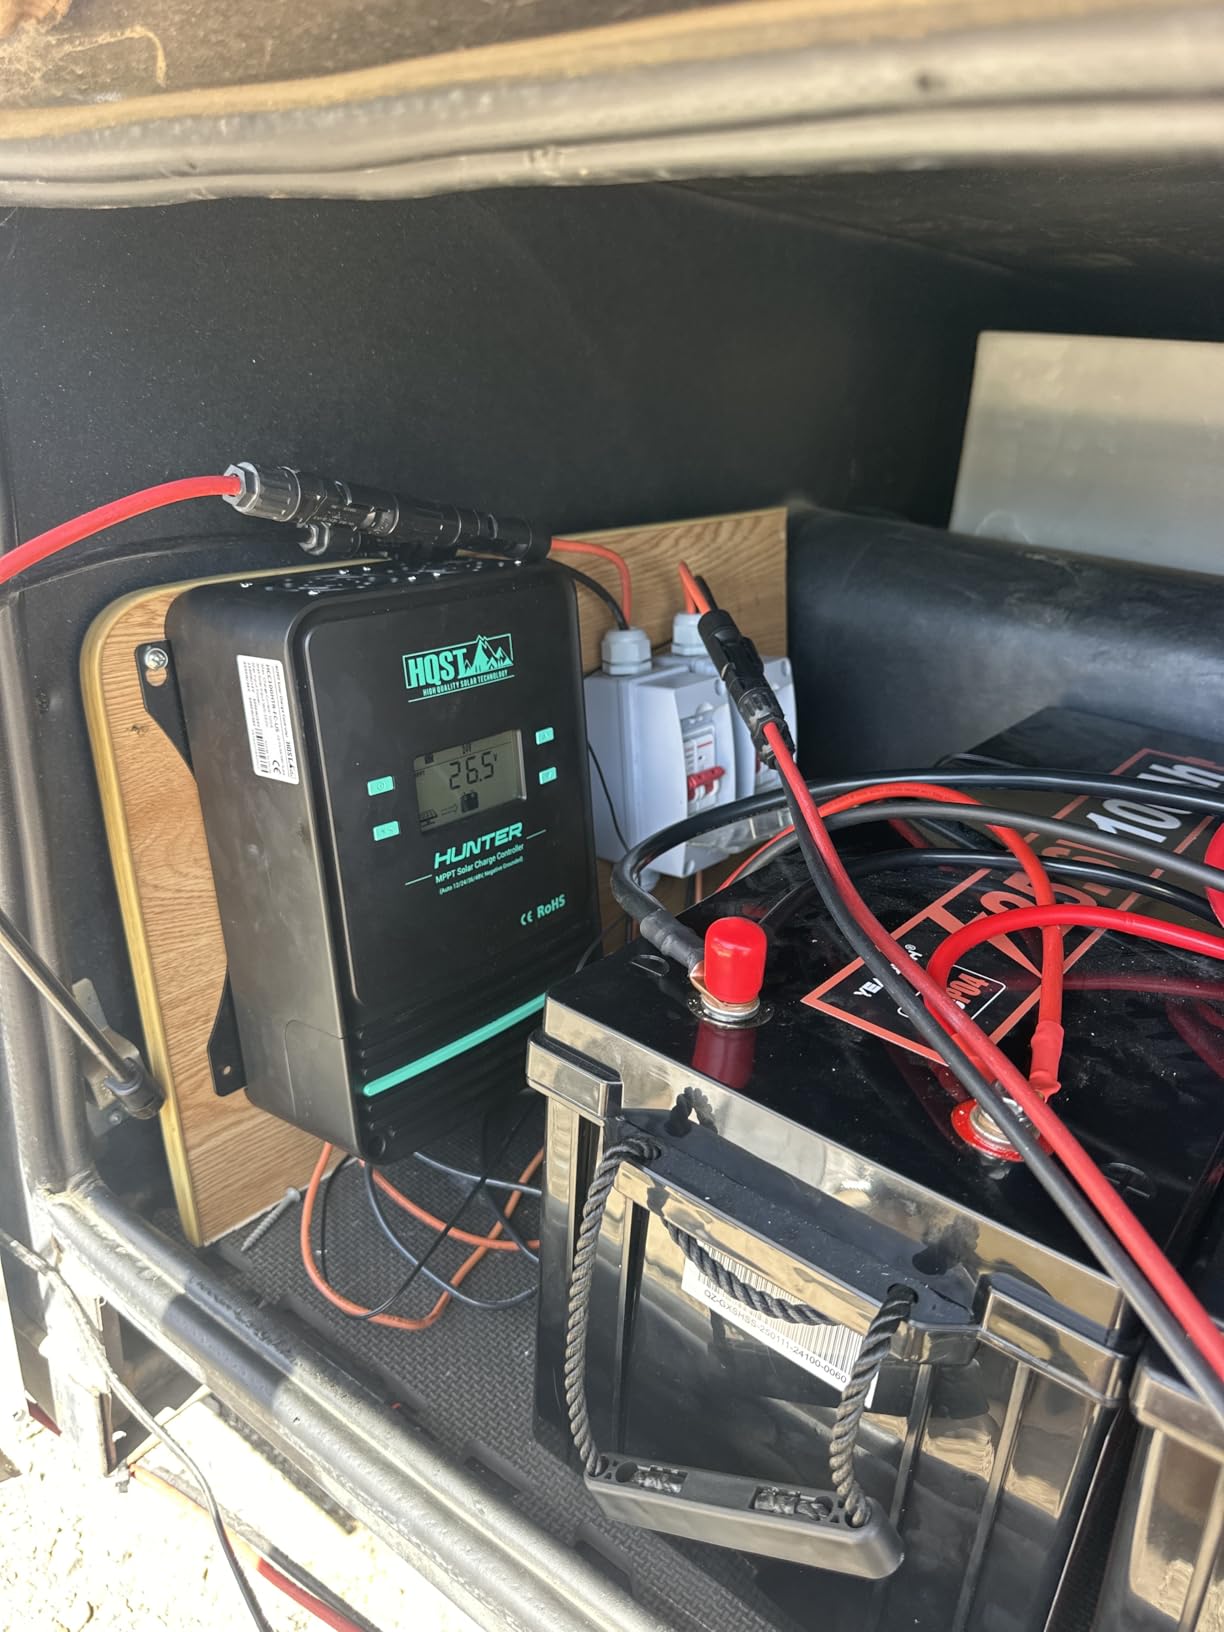
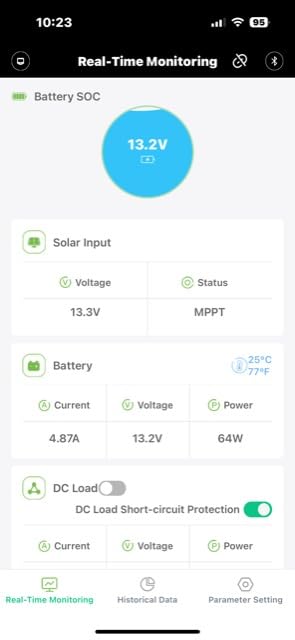
The 150V PV ceiling is the practical headline. With 12V panels you can put a long string in series, cut the wire gauge needed back from the roof to the controller, and remove the Y connectors that cause early failures. Terminals are large and accept heavy gauge cable without drama, which matters at this amperage.
Cooling here is active rather than passive. Two fans trigger at high power or above 113F, and the chassis is negatively grounded with ten protections including reverse polarity on both inputs. For a shed or basement install that is sensible; in a sealed cabinet on a boat it is worth thinking about.
What makes it work for large systems
Multiple units link together cleanly, and the parallel charge extension supports up to nine controllers on a single battery bank. That means you can start with one and add capacity as your array grows without redesigning the install, which directly answers the expansion worry raised in DIY solar communities.
Bluetooth is built in rather than sold separately, and the ChargePro apps can store up to 300 days of history. It also supports LiFePO4, sealed, AGM, GEL, flooded and custom battery types, with a low-temperature charging cutoff below 32F and a discharge cutoff below 5F for lithium banks.
Where it falls short
The default LiFePO4 and user presets under-deliver current, so you need to change parameters manually to reach the full array output. Owners regularly compare the ChargePro app unfavourably with multi-device apps from other brands: the history page skips days and shows partly random data, it handles only one controller at a time, and the voltage reporting runs noticeably higher than the actual battery terminal voltage.
4. EPEVER Tracer 30A MPPT – Best for Small 12V Arrays
EPEVER MPPT Solar Charge Controller 30A 12V 24V Auto Max PV 100V
30A charge current
100V max PV input
390W panels at 12V, 780W at 24V
1.26 kg with LCD
Pros
- Very quiet with no sharp fan noise
- Tracking above 99.5%
- Temperature compensation included
- RS485 remote monitoring options
Cons
- Remote monitoring hardware is an extra purchase
- 100V input limits series string length
- Menu setup takes practice
The Tracer3210AN-G3 handles 30 amps with a 100V maximum PV input and a stated limit of 390W of panels at 12V or 780W at 24V. That makes it a natural match for a small cabin array, a pair of 200W panels, or an RV system that will grow slowly.
What stood out most in the owner feedback is the silence. Owners of earlier generations complained about sharp fan noise, and this generation is quiet enough to live with in a sleeping compartment. Tracking efficiency is specified above 99.5% with up to 98% DC-to-DC conversion, and output is held across the working range without capacity derating.
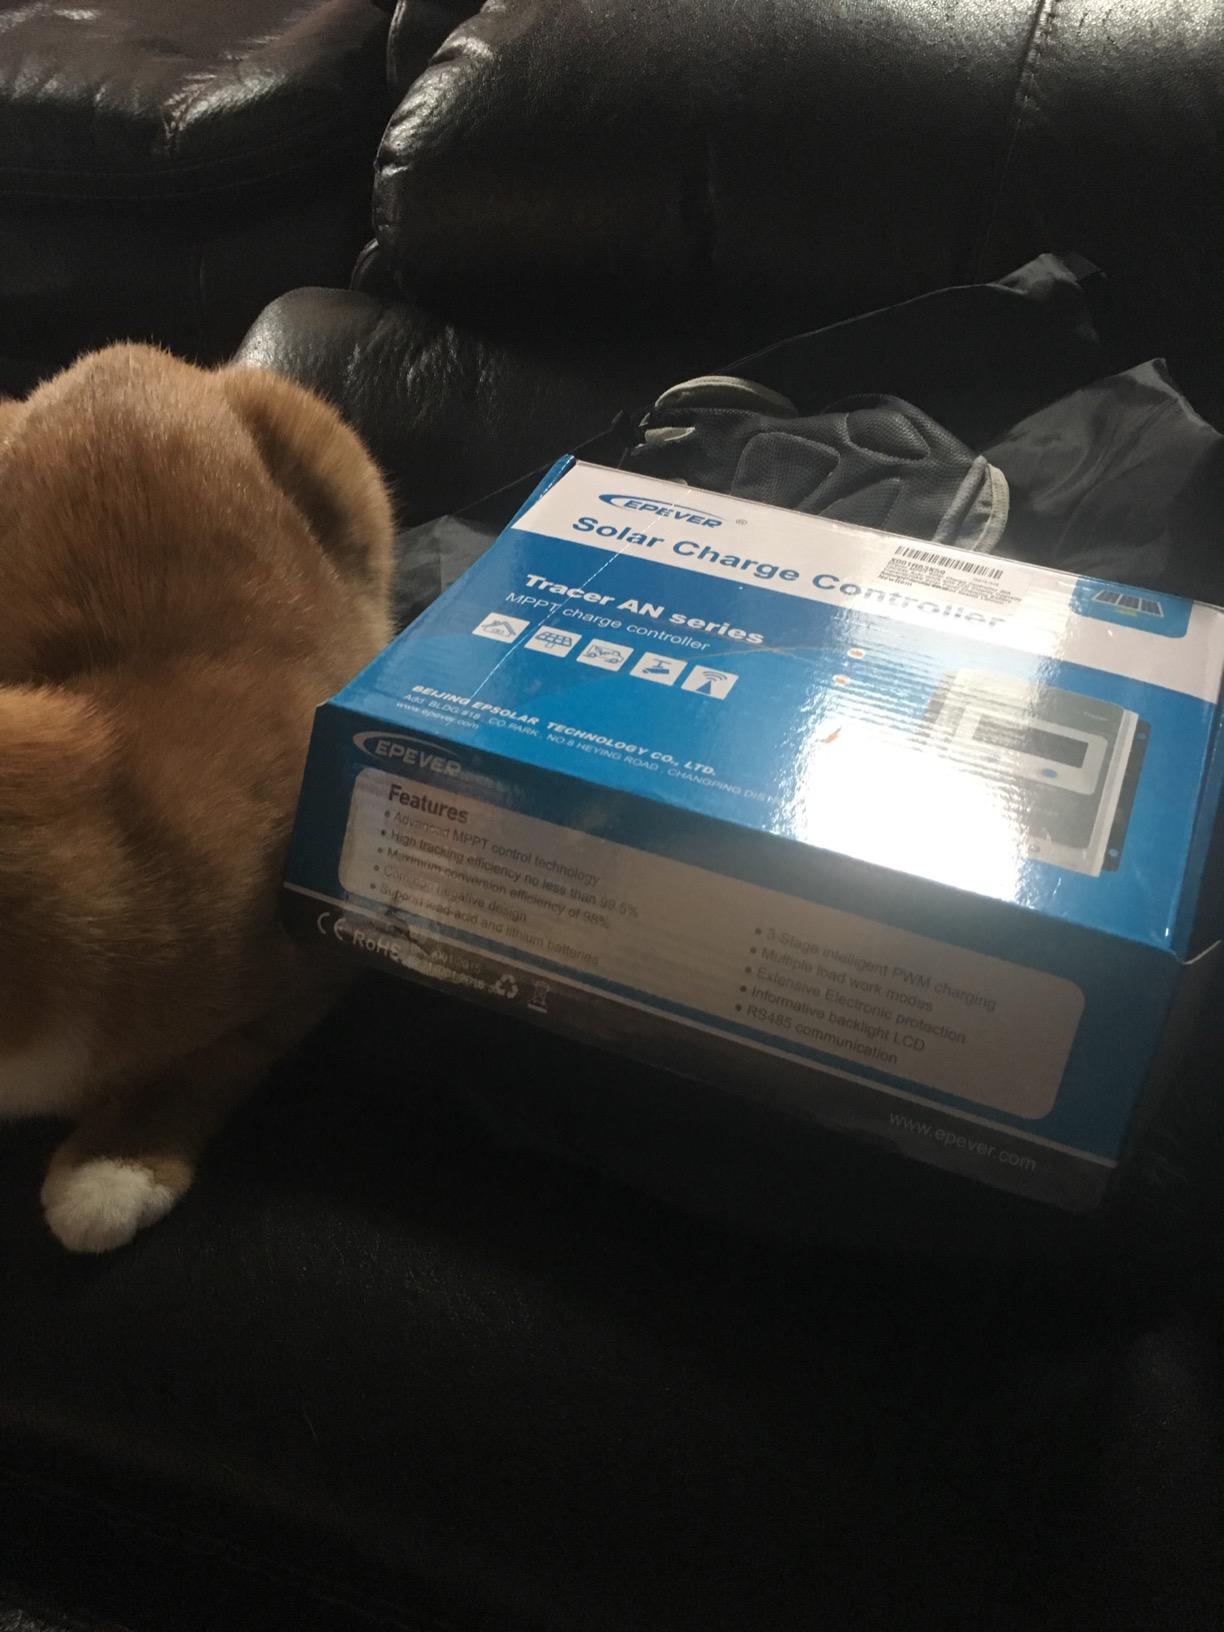
Battery support is broad for the tier: Gel, AGM, flooded, sealed, LiFePO4 at both 4s for 12V and 8s for 24V, Li(NiCoMn)O2, plus user-defined types. Temperature compensation, real-time energy statistics and overheating power reduction are all included rather than sold as extras, and grounding is common negative.
The RS485 Modbus interface is the quiet strength here. It works with an MT50 or MT52 remote meter, a WiFi adapter, a BLE adapter, the eLOG01 logger and PC software, so you can pick your monitoring path instead of accepting whatever the manufacturer bundled.
Why experienced installers recommend EPEVER
Long-term owners on solar forums place EPEVER as a good brand that is not quite top tier, and clearly better than entry-level brands. The specific technical point they raise is tracking: the A-series readjusts faster to big insolation changes and uneven panel shading than the N-series, which is exactly the behaviour that decides how much energy you collect on a partly cloudy day.
It is also one of the few controllers here with a documented menu, which removes the single most common complaint in DIY solar forums. Users buy controllers with no available manual, cannot find the LiFePO4 setting, and end up reverse-engineering the configuration from community posts, and the Tracer’s menu codes are published rather than guessed at.
Where it falls short
The 100V maximum PV voltage is lower than 150V units, which limits how long a series string you can build. All remote monitoring hardware, including the MT50 meter and the WiFi or BLE adapters, is a separate purchase, and the menu-based setup takes some practice if you have never configured a controller before. The written owner feedback on this listing is also lighter than the larger controllers here, at 217 reviews.
5. AMPINVT 60A MPPT – Best for 48V Battery Banks
Ampinvt MPPT Solar Charge Controller 60A 12V 24V 36V 48V Battery System Auto,Max Input 150V PV Solar Panel Regulator for AGM Sealed Gel Flooded Lithium Battery
60A charge current
150V max PV input
900W at 12V up to 3400W at 48V
LCD with load control
Pros
- Fast MPPT convergence in side-by-side tests
- Metal build with clamp terminals
- Supports 48V banks with a 150V ceiling
- Menu most owners can operate unread
Cons
- Two owners reported failure after about nine months
- WiFi app described as unreliable
- Support called unresponsive
Few controllers in this group handle a 48V bank without specialist knowledge, and the AMPINVT AP-60C does it with automatic detection across 12V, 24V and 48V, with 36V set manually. It takes up to 900W of panels at 12V, 1700W at 24V, 2700W at 36V and 3400W at 48V through a 150V maximum PV input.
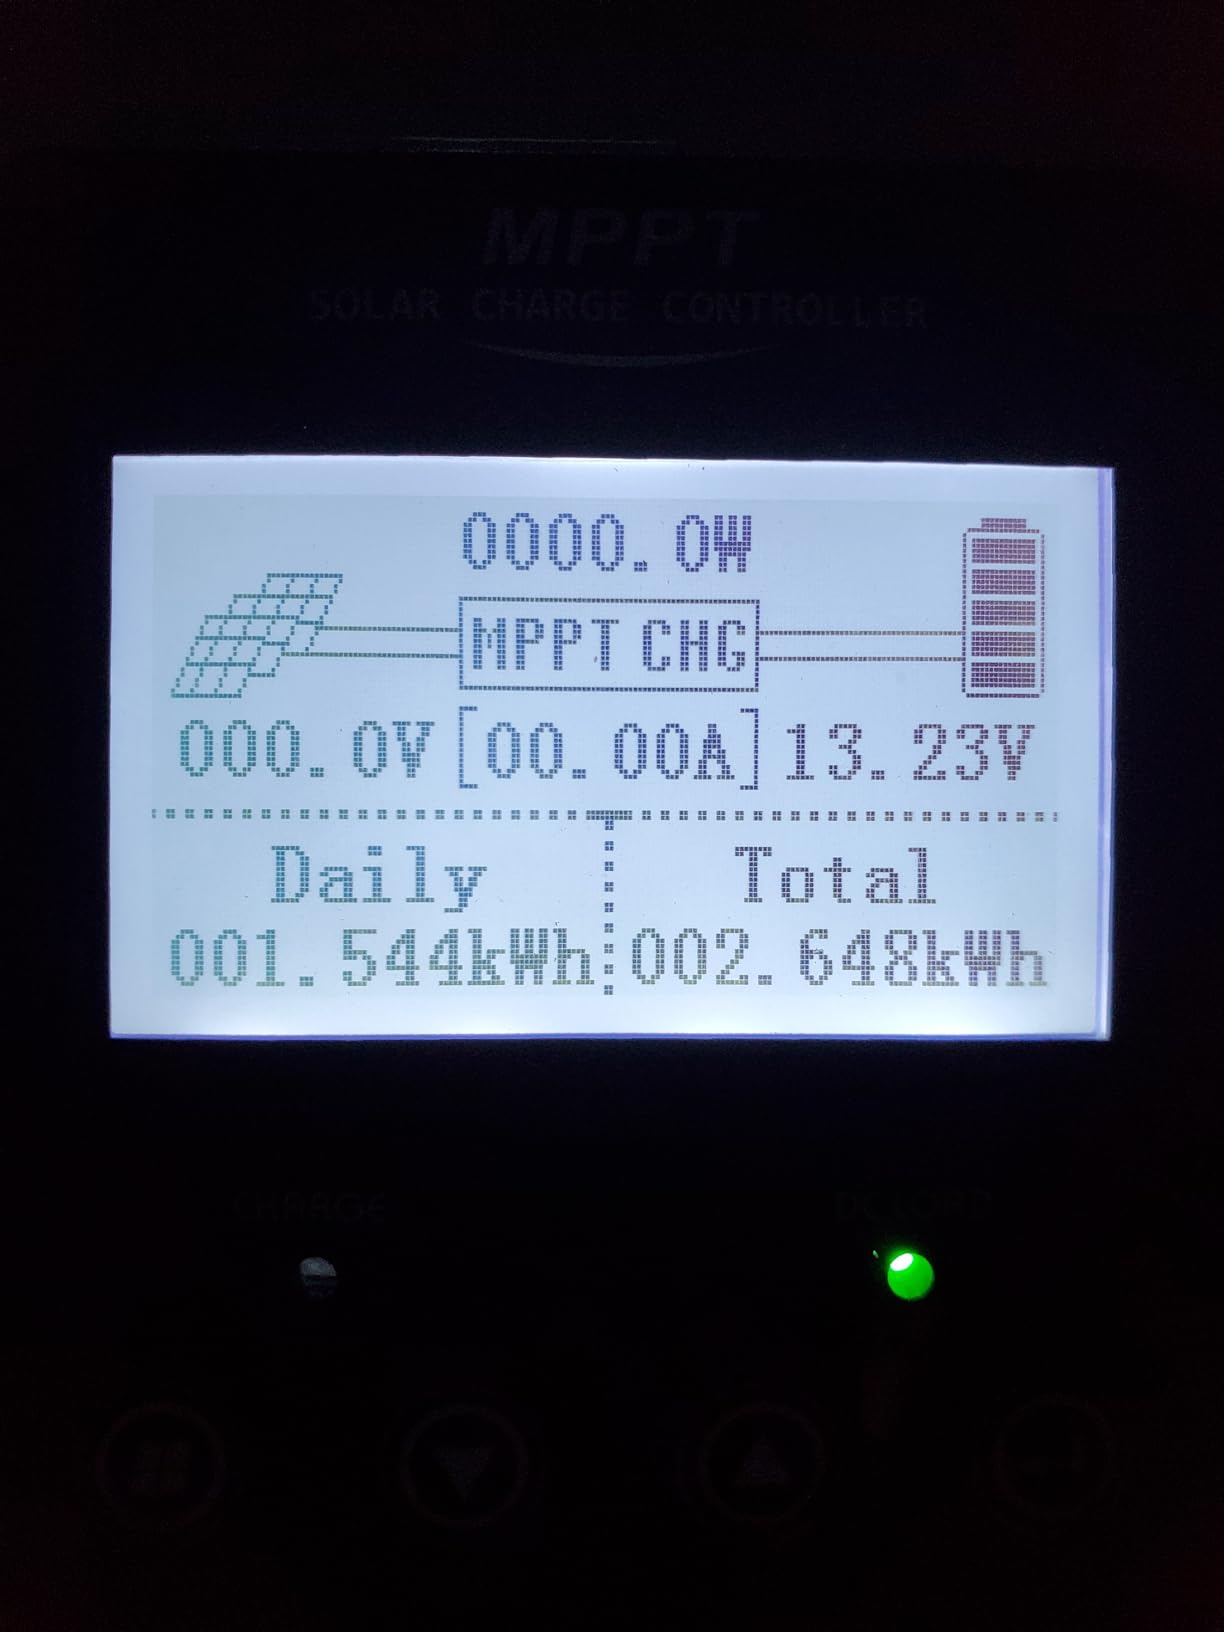
Its strongest result in the field is tracking speed. In instrumented comparisons against Victron and EPEVER units of similar class, owners report the AMPINVT converged on the maximum power point faster after a change in irradiance. The LCD adds daily power generation and current curves, which helps you see whether a cloudy day is a controller problem or weather.
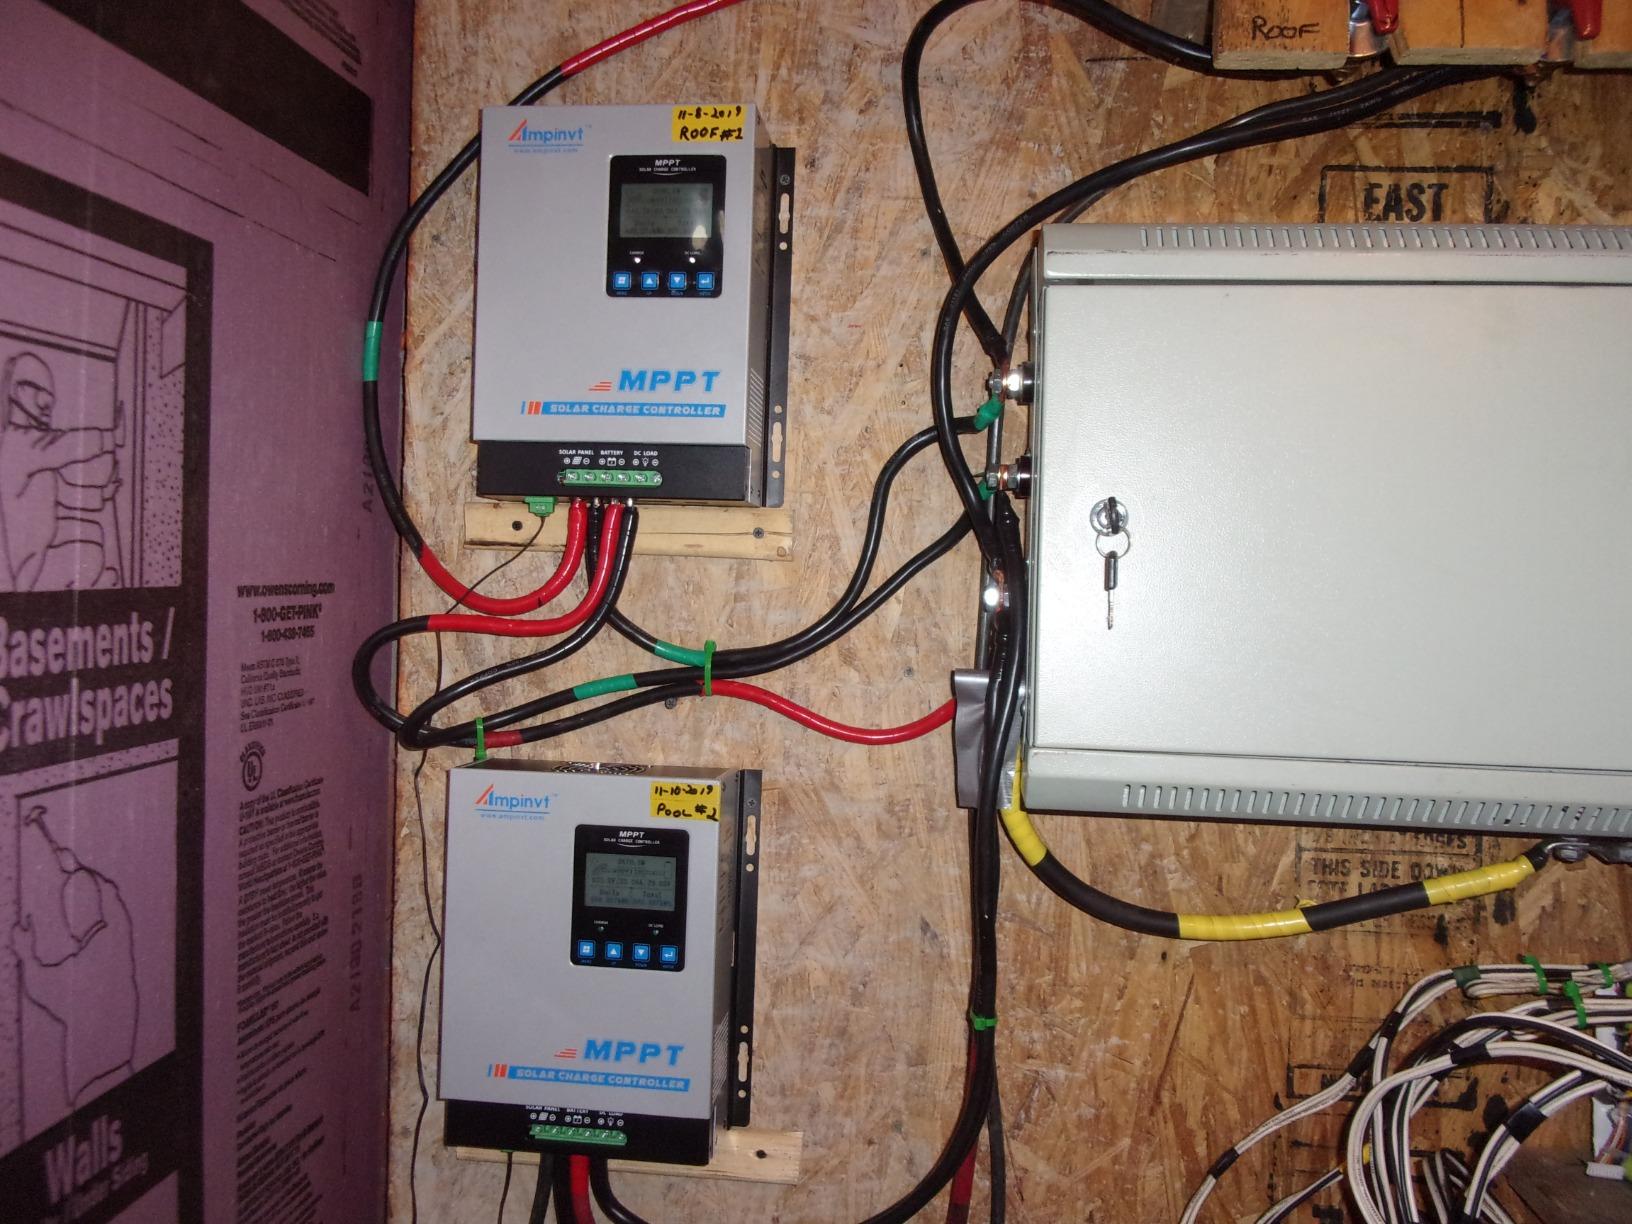
Physically it is solid. The metal construction with full clamp-style battery and PV connectors feels like a step up from plastic cases, the menu is straightforward enough that most owners operate it without the manual, and the large current output at 12V runs heavier loads from the bank without complaint.
Protection covers overcharge, over-discharge, overload, short circuit, reverse polarity, overheat and under-voltage, and the MPPT working window is specified as DC18V to DC80V at 12V, DC30V to DC100V at 24V and DC65V to DC150V at 48V. RS485 communication is available with an optional WiFi monitoring module.
What makes it a serious 48V option
The 150V PV ceiling combined with 48V support means long series strings of 12V panels into a lithium bank, which cuts cable gauge and keeps losses down. The load control modes and the daily generation curves are also genuinely useful on a system with no grid connection, where you are managing everything from the display.
If your build is server rack lithium, a large 48V LiFePO4 bank or a whole-home array, this is one of the few controllers here that covers the voltage range without a separate model. It is a 60A unit, so a 3400W array at 48V is within its reach.
Where it falls short
This is the lowest-rated controller in the group at 4.2, and the reviews explain the gap. Two owners reported units failing outright after roughly nine months of service, and others reported the LCD going blank after a couple of months. The optional WiFi app is described as unreliable with inaccurate data, the DC load output may not switch reliably at high current, and support has been called unresponsive, with no assistance offered beyond the standard return window.
6. LiTime 30A MPPT – Best Built-In Bluetooth at 30A
LiTime 12V/24V 30A MPPT Solar Charge Controller Bluetooth, LCD Display
30A charge current
12V/24V systems
Built-in Bluetooth module
LCD with four buttons
4.4 pounds
Pros
- Die-cast aluminum body stays cool
- Bluetooth included rather than sold as an accessory
- Readable on-device LCD and LED status indicators
- Loads switchable from panel or app
Cons
- One owner reported a unit dead after about eight months
- App loses Bluetooth pairing after shutdown
- Dark grey text hard to read in bright light
- Menu buttons feel cheap
LiTime dominates the shopping results for MPPT controllers, and this 30A model is the one most people meet first. It tracks at 99% efficiency with up to 98% peak conversion, supports 12V and 24V systems, and includes a Bluetooth module in the box rather than selling it as an add-on. That distinction matters more than it sounds.
The die-cast aluminum housing is the physical highlight. It stays cool and dissipates heat well, and one owner running it alongside ham radio gear reported clean charging with no radio interference, which is a real concern on a boat or in a van. Copper wire connectors are included to increase contact area and current transfer.
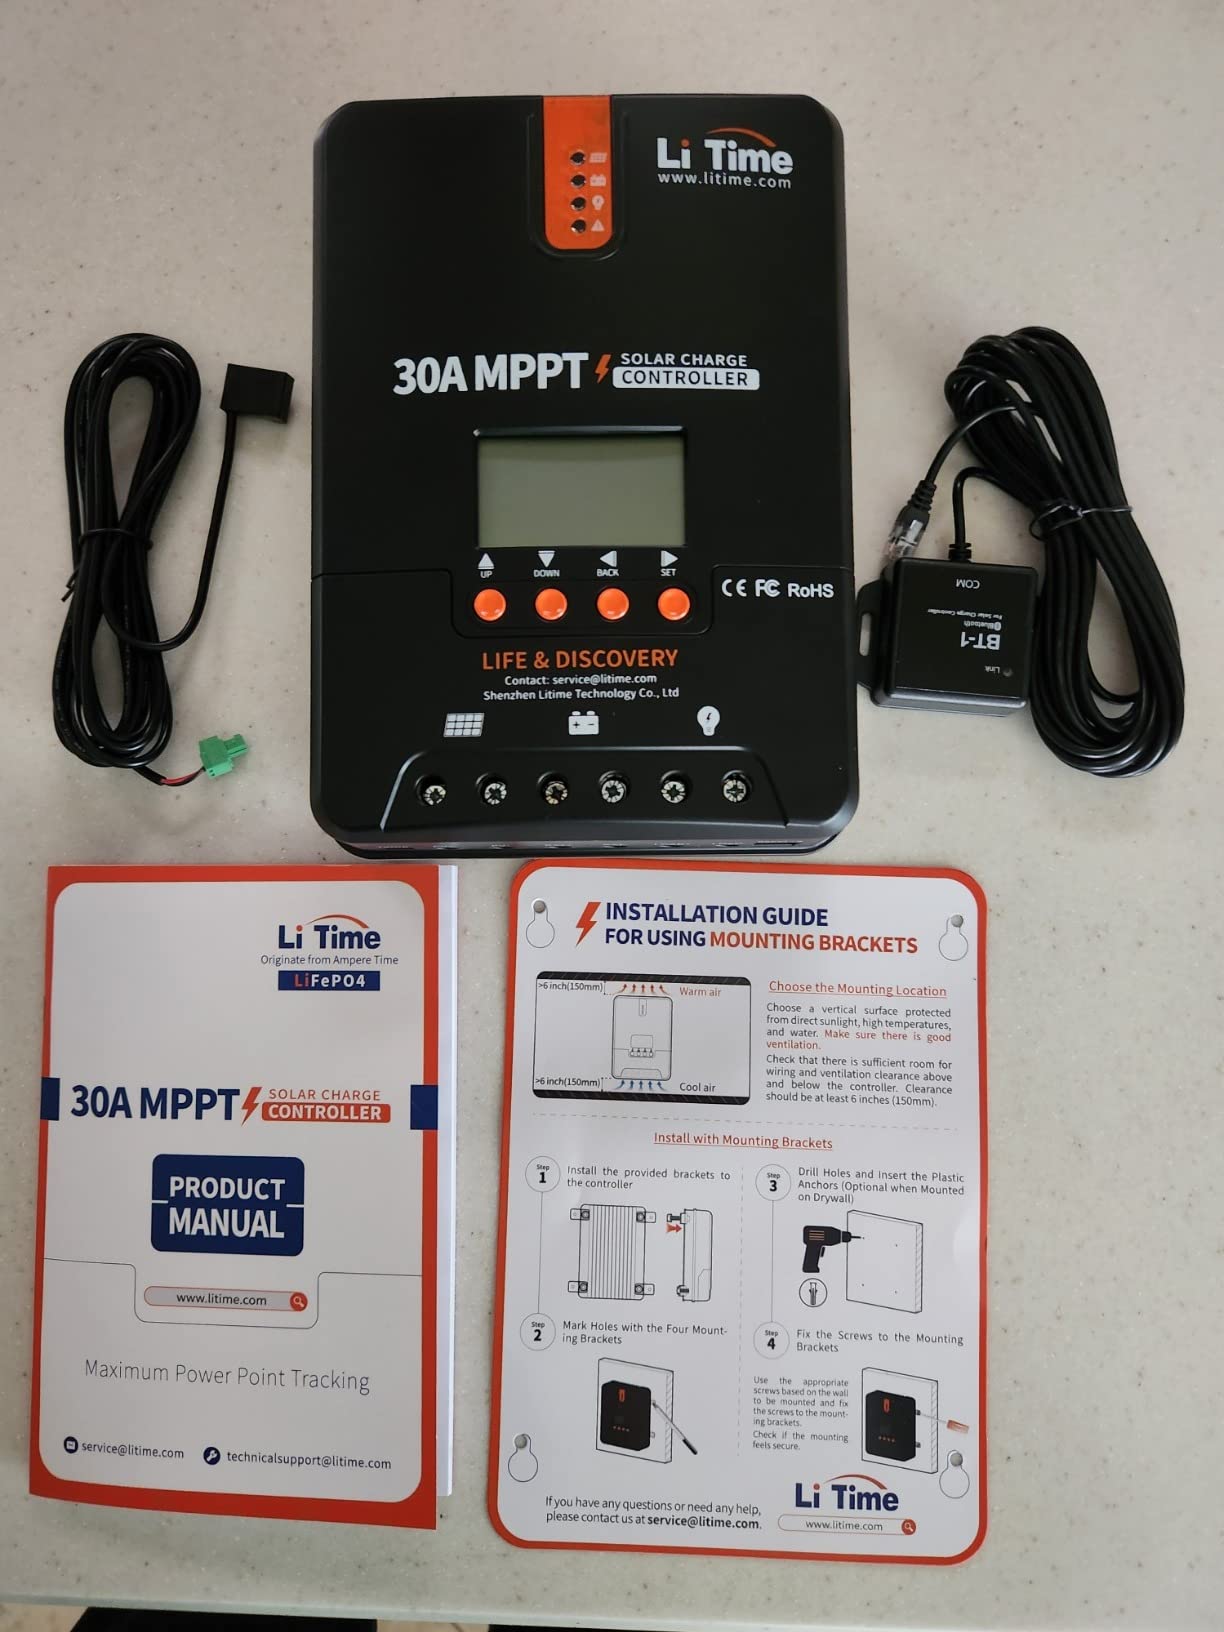
On the panel you get an LCD with four menu buttons and multiple LED status indicators, and loads can be switched from either the panel or the app. Protection covers reverse connection, overpower, overvoltage, short circuit and over-temperature, and there is a dedicated LiFePO4 charging mode with sealed and gel lead-acid compatibility through parameter adjustment.
Owners frequently pair this with LiTime’s own LiFePO4 batteries and cite that as removing the compatibility guesswork. If you are already committed to that battery brand, this pairing removes the compatibility guesswork.
Why the included Bluetooth matters
Three of the controllers here need a separate module before you can see anything on your phone, and owners of those products consistently report connection problems with the add-on. The LiTime ships with the radio built in, so app monitoring works from the box and you can configure the lithium profile without extra hardware.
It is also a straightforward 30A unit for a 300W to 400W array on a 12V bank, which puts it in the same sizing class as the Renogy Rover 40A but with a different emphasis: die-cast cooling and integrated connectivity rather than load output control.
Where it falls short
The app is the weak point. Owners report it forgetting its Bluetooth pairing after shutdown and repeatedly prompting when the app is minimised, and the interface uses dark grey text on black backgrounds that is hard to read in bright light, with several strings of awkward English. One owner reported a unit going completely dead after about eight months with all internal fuses verified good, and the menu buttons feel cheap with short Bluetooth range.
7. POWLAND 120A MPPT – Best for Long Series Panel Strings
POWLAND 120A MPPT Solar Charge Controlle 12V/24V/36V/48V/60V/72V/84V/96V Auto,Max Input 230V Solar Charger, LCD Display Intelligent Regulator for AGM, Gel, Lithium ect
120A charge current
230V max PV input
12V to 96V auto detection
High-resolution LCD
Pros
- Highest PV input voltage in the group at 230V
- Large lug terminals take heavy cable and ferrules
- Runs cool with several kilowatts attached
- LCD graphs three days of production
Cons
- No temperature sensor port despite advertising one
- Battery type is auto-detected and cannot be set manually
- Terminals sealed inside the case
- Sparse manual
The POWLAND covers the widest voltage range here, auto-detecting 12V, 24V, 36V, 48V, 60V, 72V, 84V and 96V systems, with 120 amps of charging capacity and a 230V maximum PV input. If you are building something at the far end of the scale, that combination is hard to find elsewhere.
The 230V ceiling is the reason to look at it. It lets you series a long string of 12V panels without a boost converter or parallel combiner, which cuts the number of MC4 connections and the cable run back to the controller. Owners building larger 48V systems single this out as the reason they bought it.
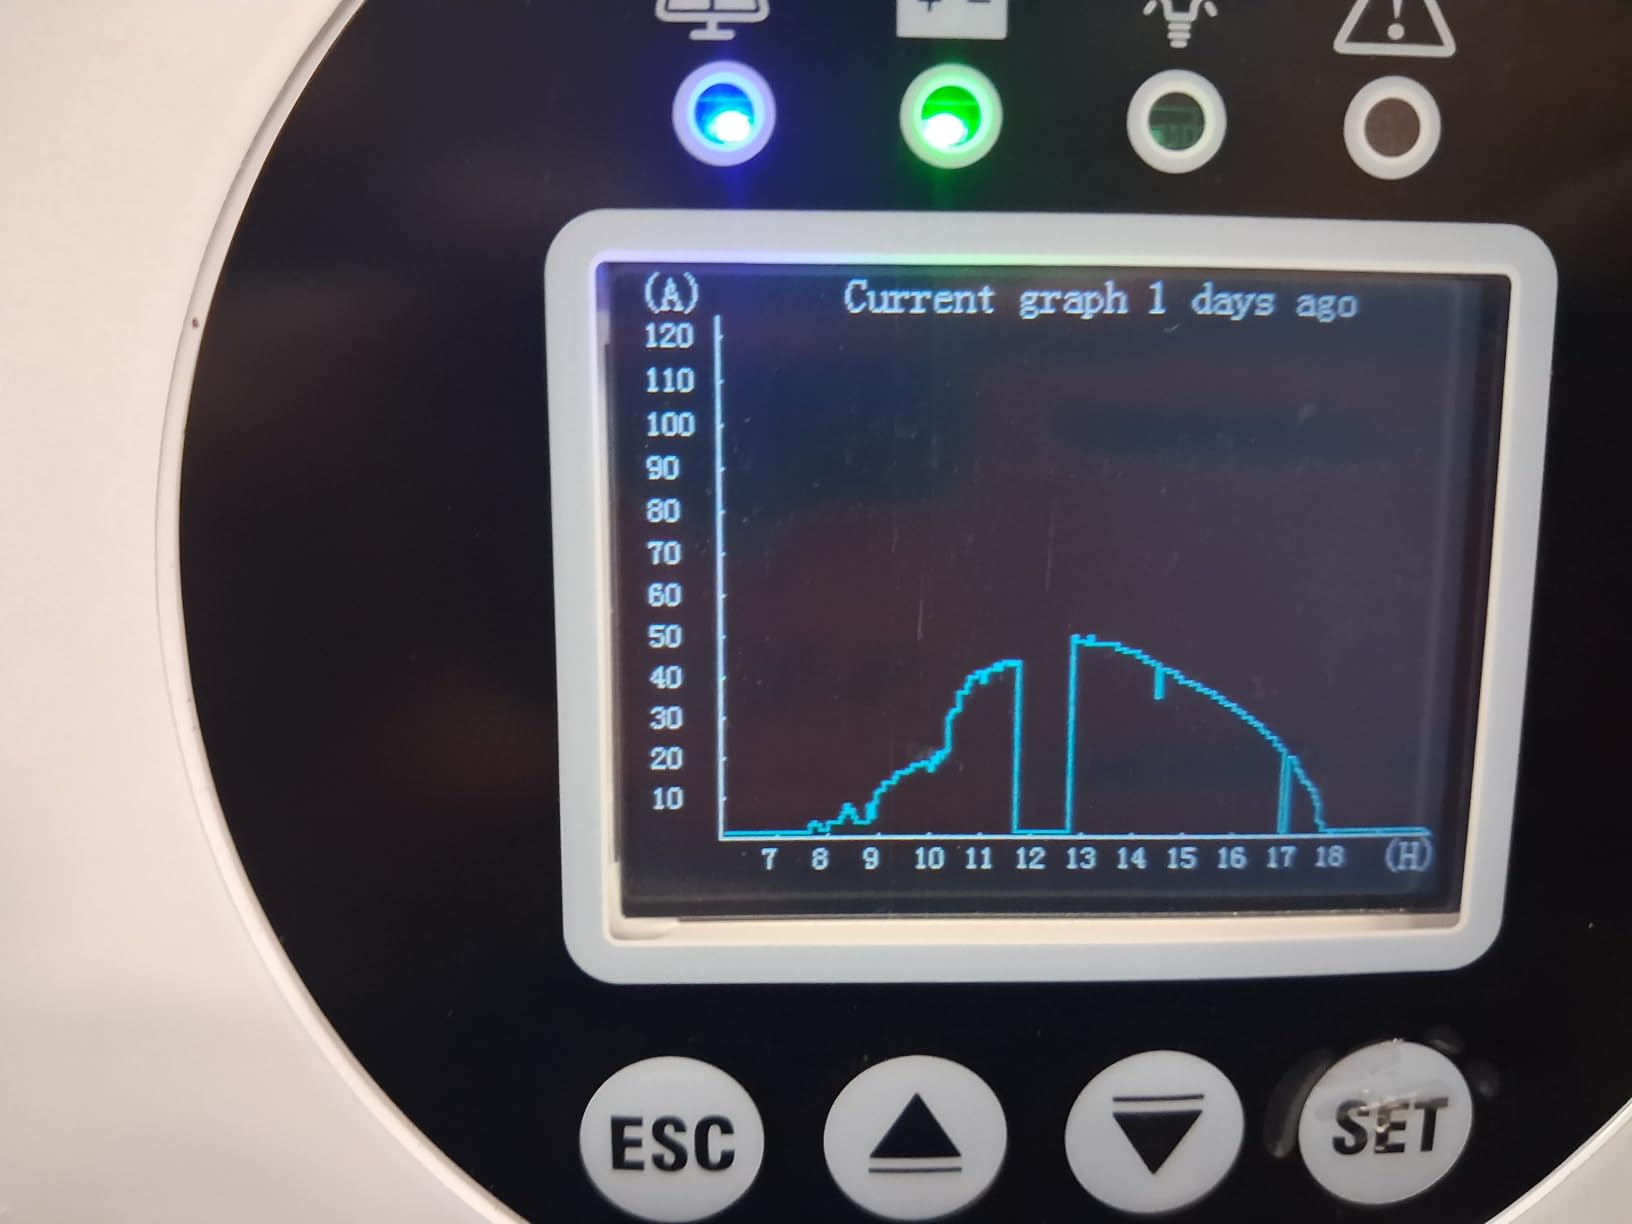
Three-stage bulk, absorption and float charging covers LiFePO4, AGM, GEL and flooded lead-acid, and conversion efficiency is rated up to 98%, which the manufacturer puts roughly 30% above a PWM controller on the same array. The high-resolution LCD shows PV input voltage and current, charge mode and stage, and system warnings.
Physically, the large lug terminals accept heavy cable and E16-12 ferrules without a fight, and owners report it runs cool with several thousand watts of array attached. One owner runs three units side by side without conflict, which is useful for a staged build.
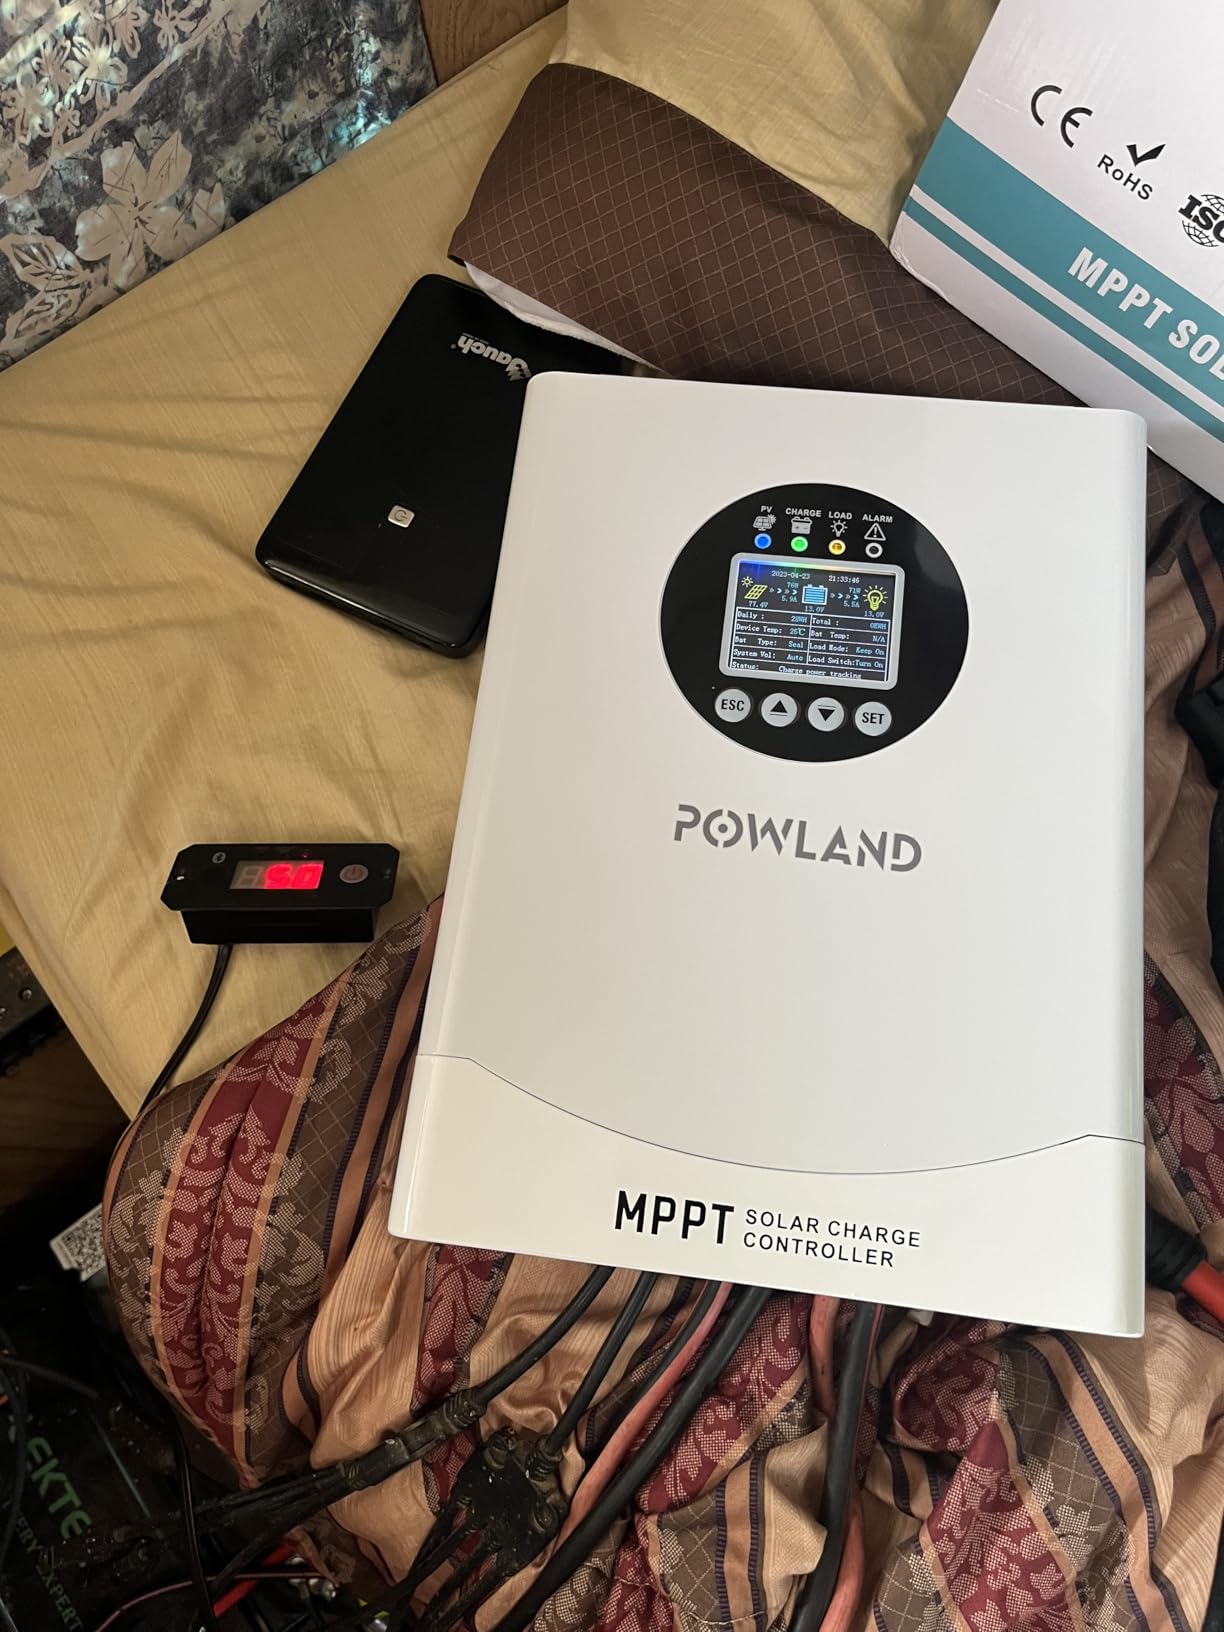
What makes it worth considering for a big array
The LCD is the practical draw for large systems. It graphs the last three days of production and shows watts, amps and volts at a glance, so you can spot a failing string or a shading problem without a laptop. Reverse polarity, overload and open-circuit protection cover the common installation errors, and a detailed user manual is included in the box.
Over-paneling is worth mentioning here, because a 120A controller makes it easy. Deliberately installing more PV capacity than the controller can pass is a legitimate way to harvest more energy, since the controller simply limits current rather than shutting down.
Where it falls short
There is no temperature sensor port despite the product advertising battery temperature monitoring, which means your lithium bank is charged without compensation. Battery type is auto-detected and cannot be manually selected, so LiFePO4 banks may be treated as sealed. The battery and PV terminals sit inside a sealed case, so a failed terminal cannot be replaced, the manual is sparse, and most adjustable settings are hidden behind an undocumented advanced menu.
8. BougeRV 40A MPPT – Best for Cold-Climate RV and Marine Installs
BougeRV MPPT Solar Charge Controller 40A, w/ Low-Temp Cut-Off, APP Control, Backlit LCD, 40 Amp Solar Panel Regulator 12V/24V for LiFePO4, SLD, Gel, FLD, AGM Battery, RV, Marine, Upgraded
40A charge current
95V max PV input
Low-temp cut-off below 32F
Backlit LCD with app control
Pros
- Low-temperature charging cut-off protects LiFePO4 banks
- Large screw terminals with correctly sized spades
- Aluminum heat sink and dual MOS design
- Can wake LiFePO4 banks that have gone dormant
Cons
- App connectivity unreliable or requires a login
- Poor setup documentation
- Some units showed persistent error codes
- Narrow lug insertion slot
Cold weather is where a lot of lithium builds go wrong, and the BougeRV BJ2440N addresses it directly. It cuts charging off below 32F and includes LiFePO4 wake-up capability, meaning it can bring a battery pack that has gone dormant from over-discharge or a short circuit back to life rather than refusing to recognise it.
That single feature is why it keeps coming up in RV and marine forums. Charging a lithium pack below freezing plates the cells, and a bank with a built-in BMS that handles this can leave you with a controller that will not talk to your battery at all.
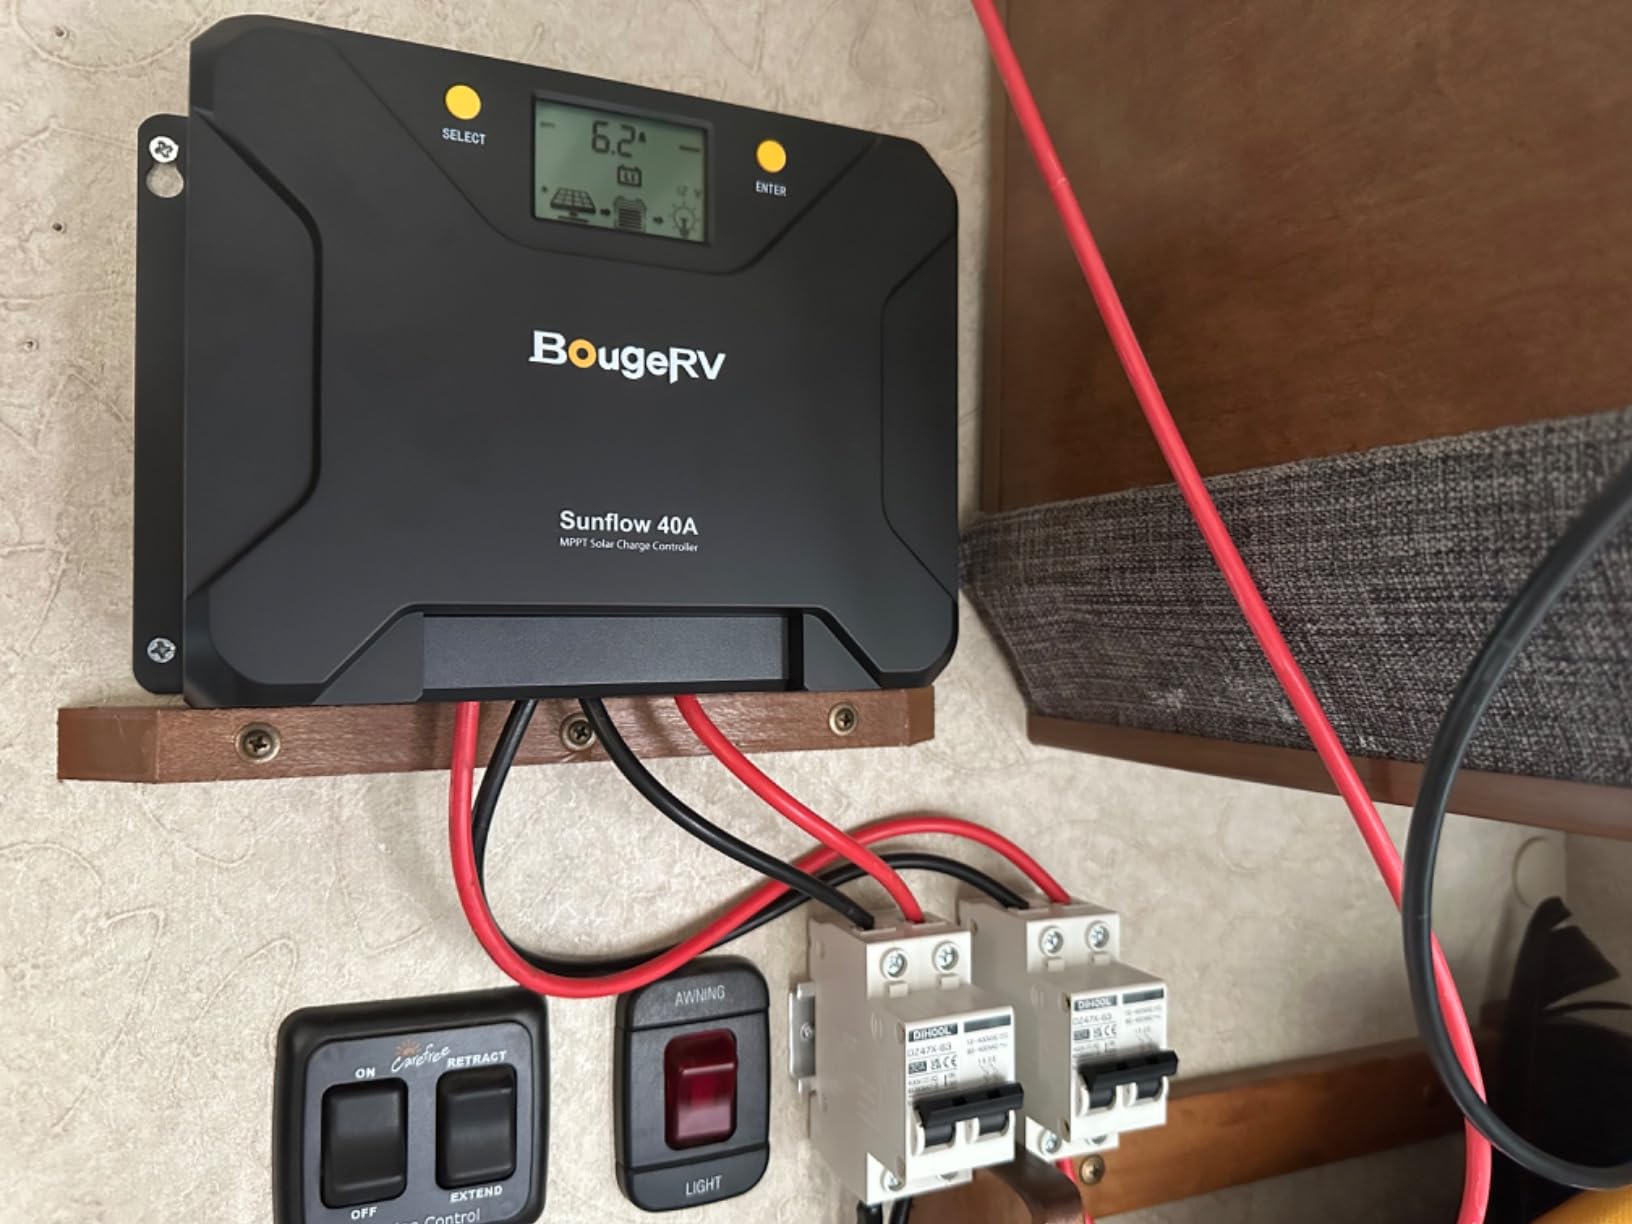
The rest of the package is solid. System voltage is 12V or 24V with 95V maximum PV input, taking 600W of panels at 12V or 1200W at 24V, and the rated load current is 20A on 15-8AWG wiring. Tracking reaches 99.5% with up to 99% peak conversion, and adjustable charge current spans the full 0A to 40A range.
Heat is handled by an aluminum heat sink and a dual MOS circuit that also provides reverse current prevention, backed by six protections: over-temperature, open-circuit, short-circuit, overload, reverse polarity and backflow. The backlit LCD has three display modes including a full-featured view, a no-load view and a viewing mode.
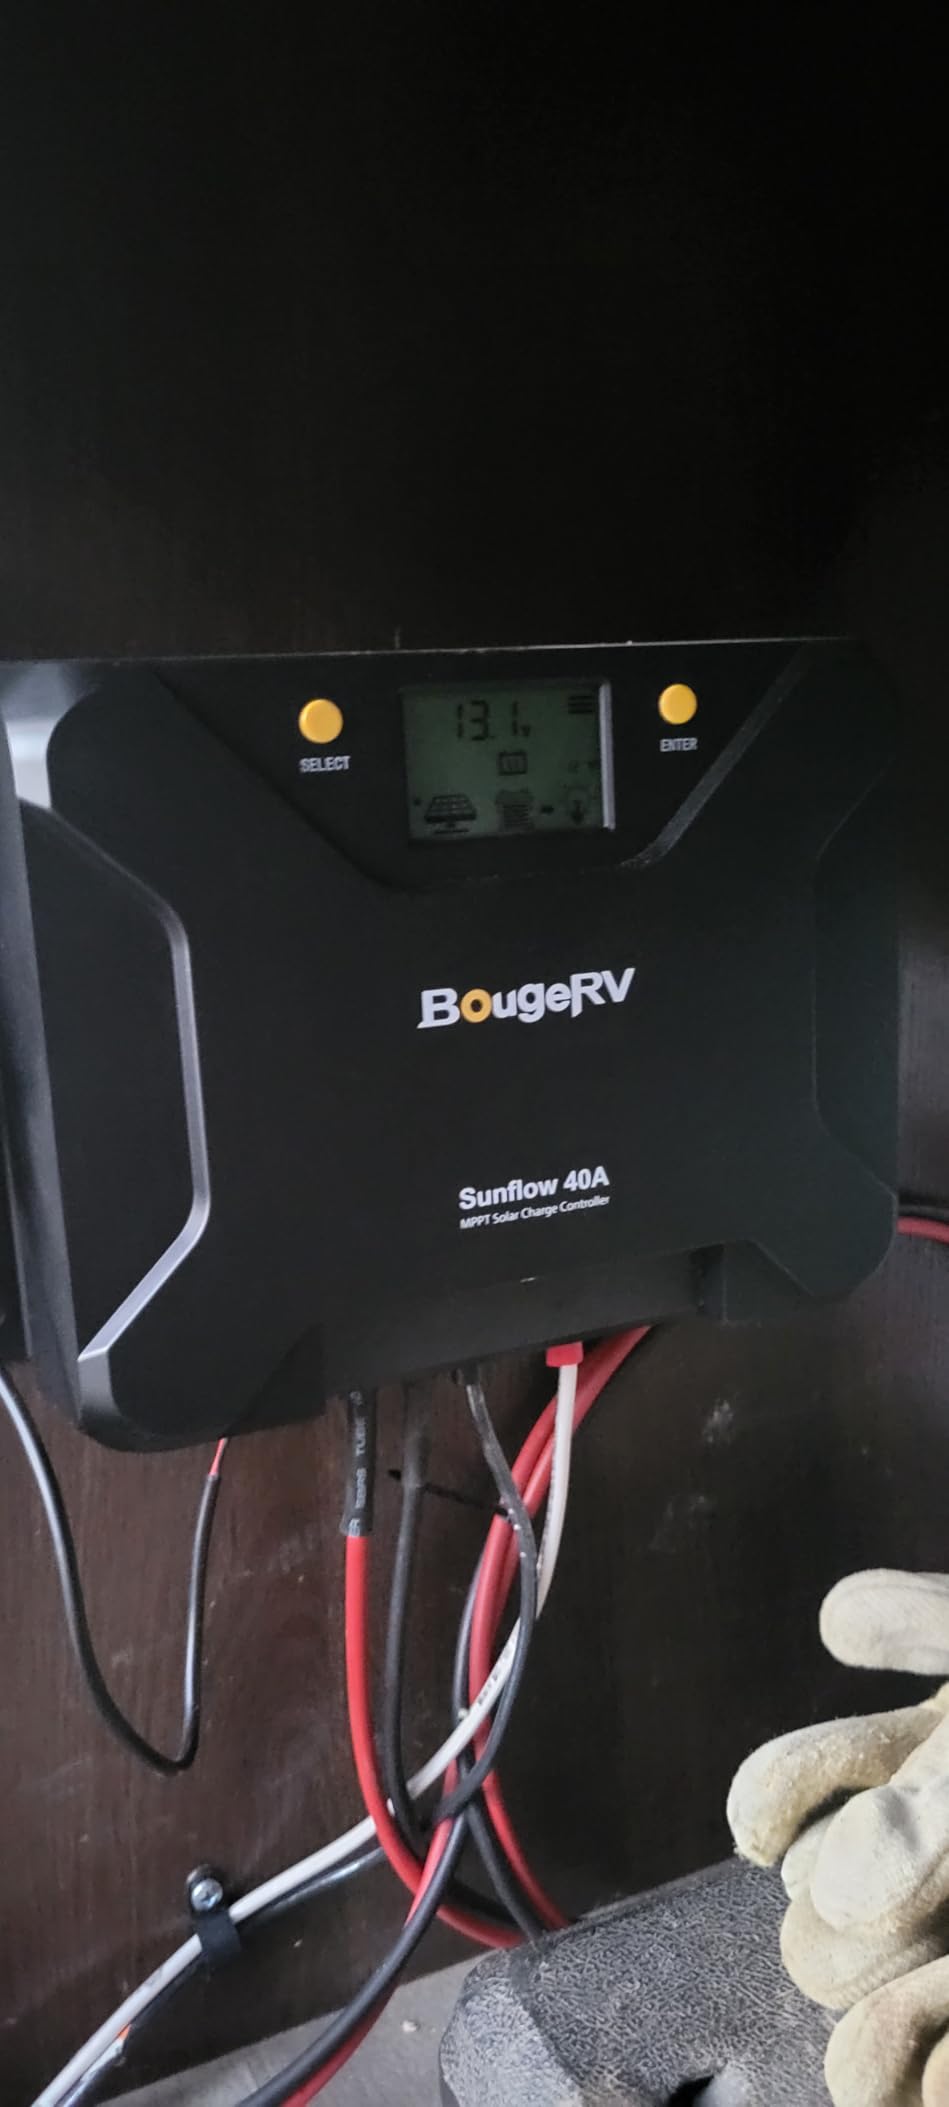
Why low-temperature cut-off is the deciding factor
Not every lithium bank has a low-temperature charging cutoff built in, and the ones that do vary in how they signal it. A controller that handles the cutoff itself removes a whole class of winter problems, and the wake-up function is a genuine rescue when a pack has already been flattened by a weekend of drawing power with no sun.
For a camper running LiFePO4 through a northern winter, that is worth more than a faster tracking algorithm. It is also relevant on a boat in cold water and on any rig where the battery sits in an unheated compartment.
Where it falls short
App connectivity is the main complaint. Some owners cannot connect at all or lose the connection in a nearby room, and the stated range is up to 32 feet. Setup documentation is poor enough that most users rely on community videos, and some units displayed persistent error codes and never charged the connected battery. The lug insertion slot is also narrow, so terminals must be test-fitted before crimping.
9. SUNAPEX 10A MPPT – The Best Budget Pick for Portable 12V Setups
SUNAPEX MPPT Solar Charge Controller 12V 10A for LiFePO4 AGM Gel Batteries
10A charge current
30V open-circuit input limit
12V systems only
0.17 kg, 4.1 by 2 by 0.8 inch
Pros
- Draws zero battery power at night
- SAE plug-and-play connectors
- USB and Type-C outputs for direct device charging
- Very compact at 0.17 kg
Cons
- 30V open-circuit limit causes returns with higher-voltage panels
- 12V only with no 24V or 36V support
- Current reading clears after four to five seconds
- Not weather sealed
The SUNAPEX FX-10AMP is a different category of device from the rest of this list, and that is the point. It is a 10A controller weighing 0.17 kg, measuring 4.1 by 2 by 0.8 inches, aimed at maintaining individual 12V batteries and portable projects rather than running a house.
Its best feature is the zero night drain. Most MPPT controllers draw current from the battery around the clock to run their tracking electronics, which slowly flattens a bank over a week of no sun. The FX-10AMP uses blocking diodes so it consumes nothing when the sun is not shining, and a one-year warranty covers the small print.
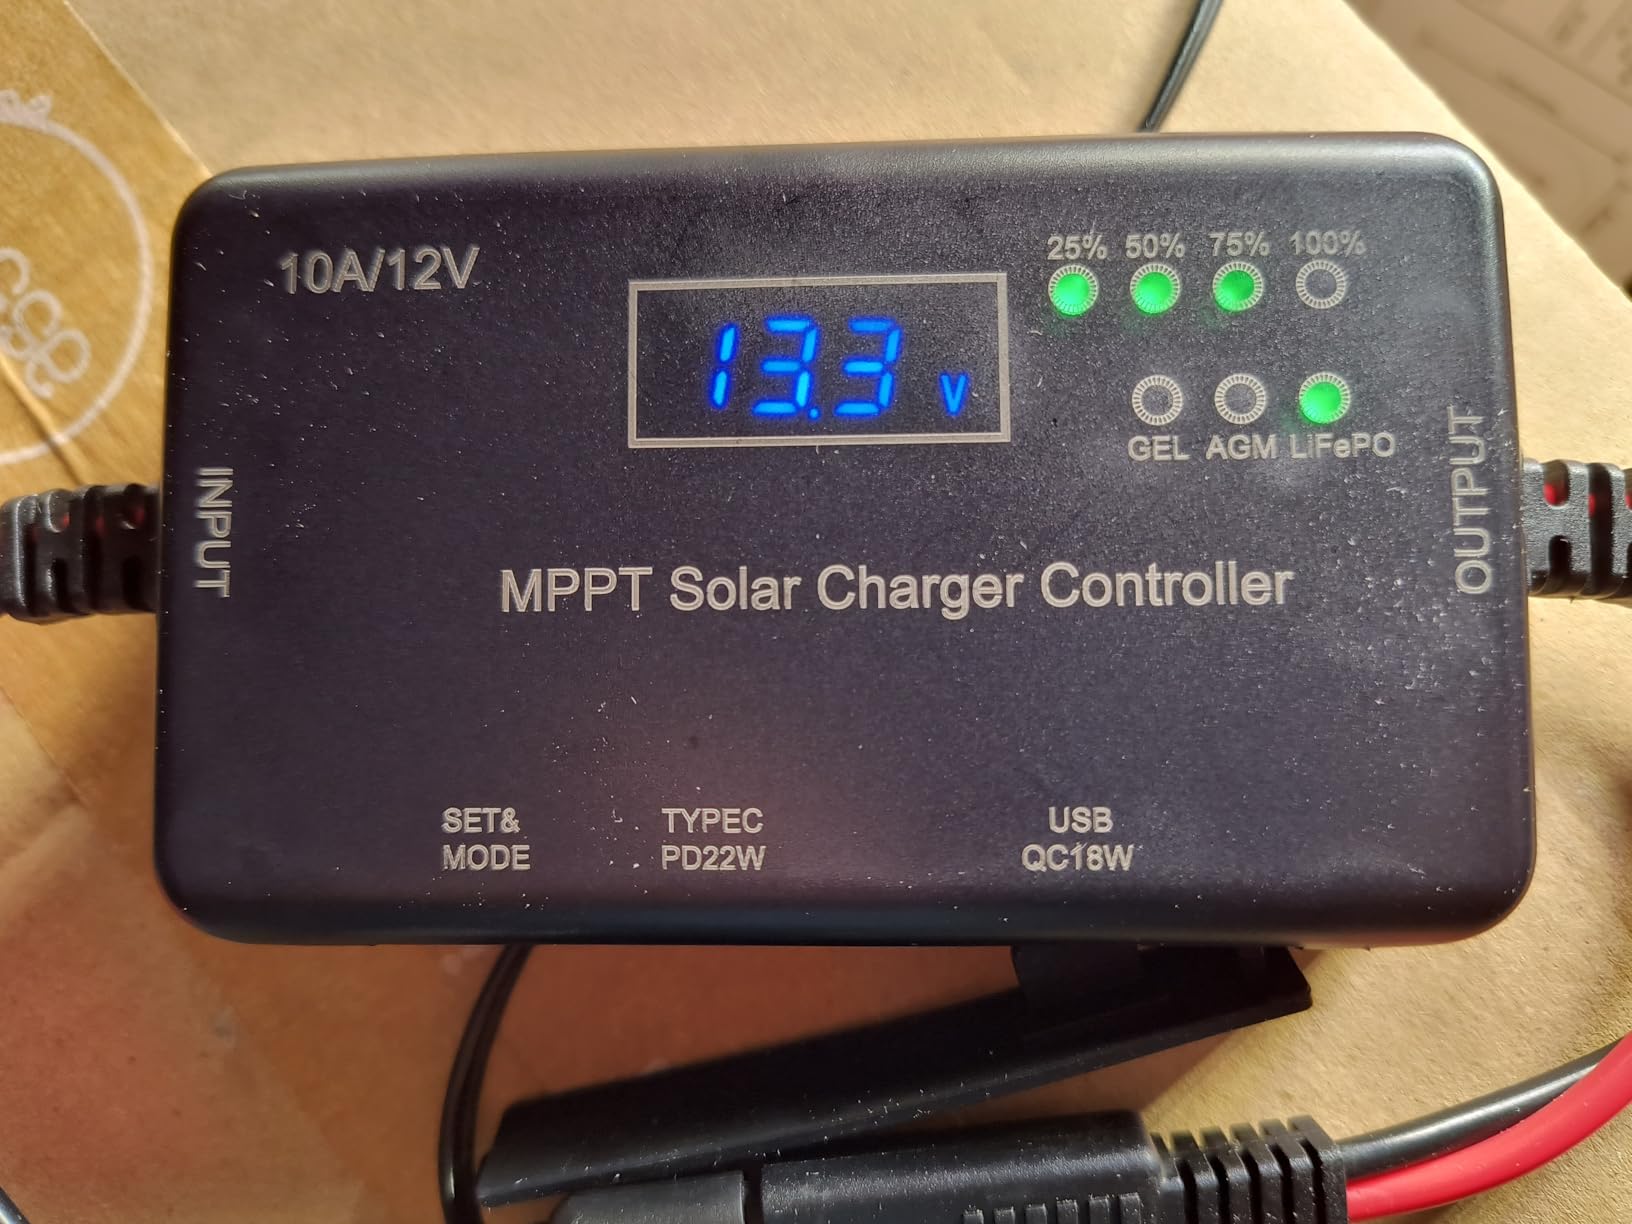
The SAE plug-and-play connectors make installation quick, and the Type-C and USB output ports let you charge phones and small devices directly from sun or battery. Charging runs four stages, bulk, absorption, float and equalization, across lead-acid, gel, AGM and LiFePO4, and a smart charge ramp avoids dumping current into a depleted battery the moment it connects.
Protection covers overcharge, over-voltage, reverse current, reverse polarity, short circuit and over-temperature. It is intended for panels that do not already have an integrated charge controller, which is exactly the case with most portable folding panels.
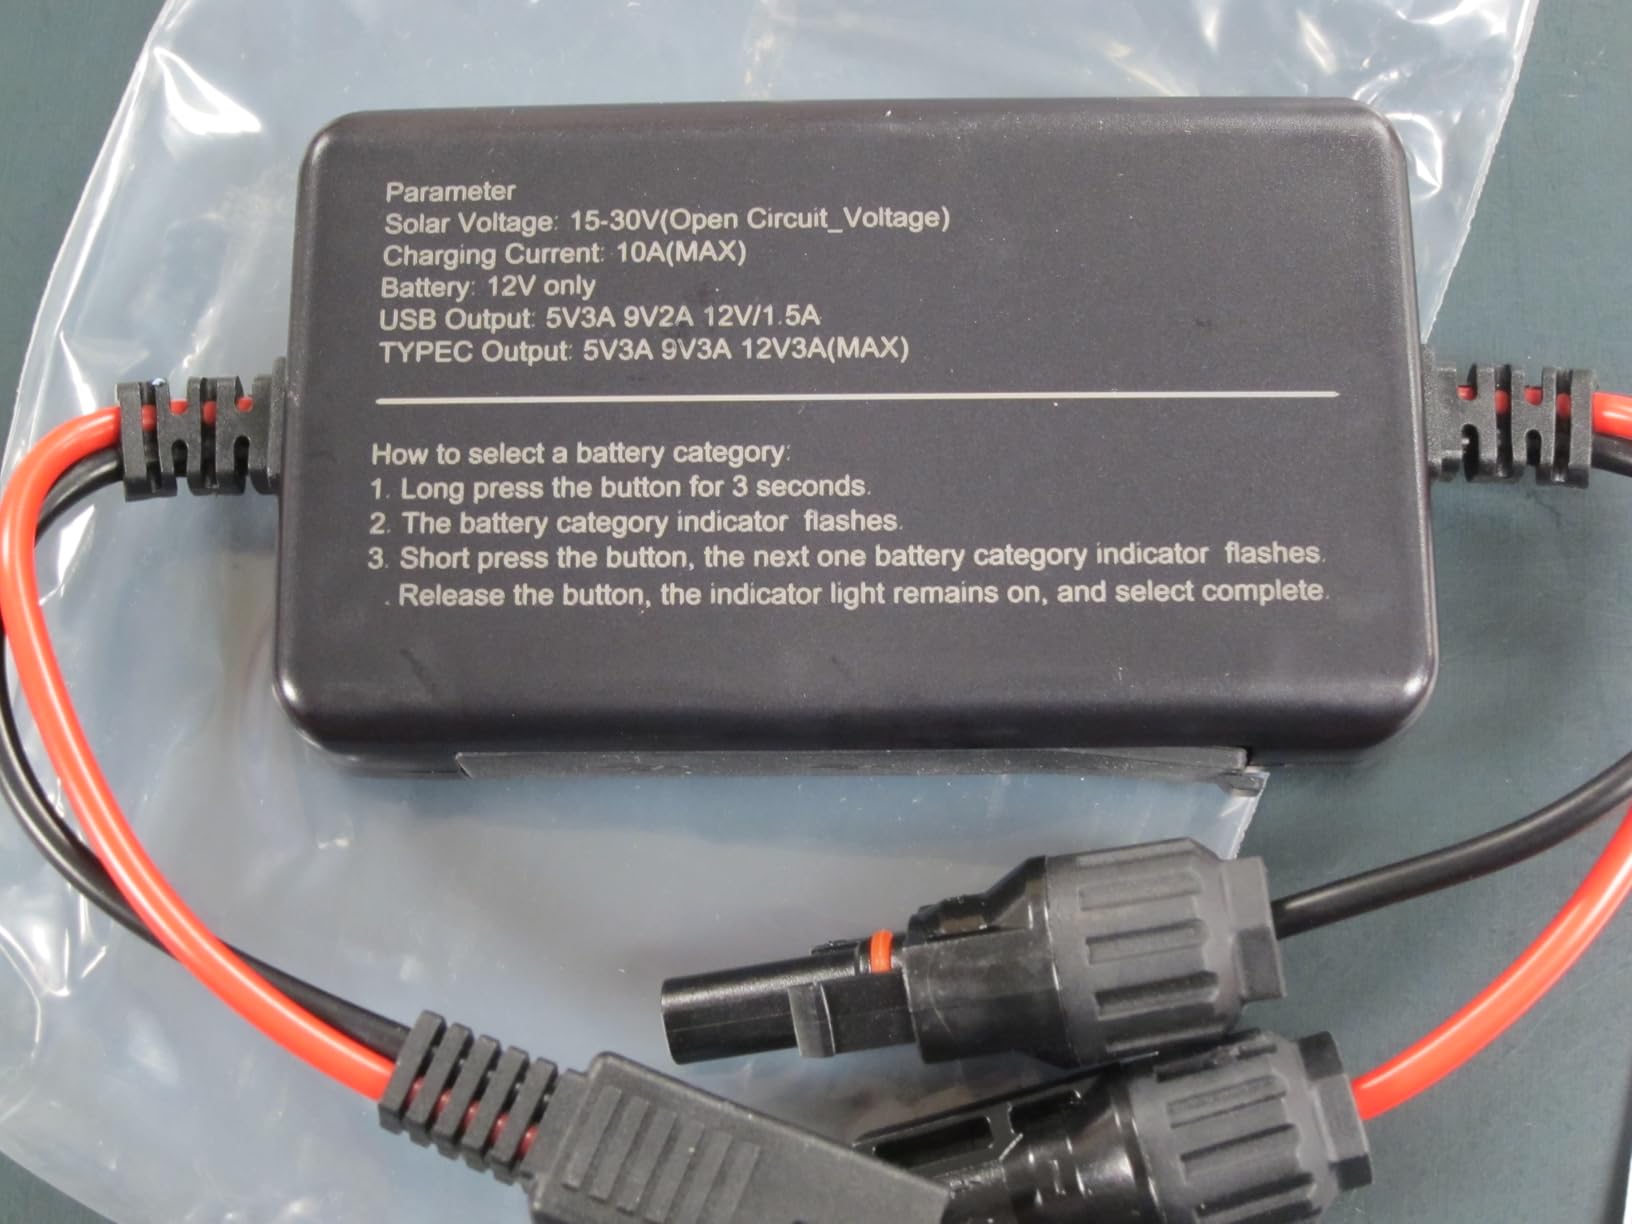
Where a small controller actually makes sense
If you are topping off a 12V starter or leisure battery from a single 40W to 100W panel, a truck bed build, or a small portable kit where every gram and every milliamp of standby draw counts, this class of controller is the right tool. The zero night drain matters far more on a maintenance battery than on a house bank.
It is also a useful learning controller. Nothing is lost if you make a wiring mistake, and the size means a failed unit is a simple replacement rather than an expensive one.
Where it falls short
The 30V open-circuit input limit is the number one reason buyers return these units, because it silently rules out most modern 40V-class panels. It is 12V only, with no support for 24V or 36V packs. The current reading stays on the LED and LCD status screen for only four to five seconds with no wattage display, some buyers report the LCD rendering much darker than advertised, and the housing is not sealed for exposed outdoor mounting.
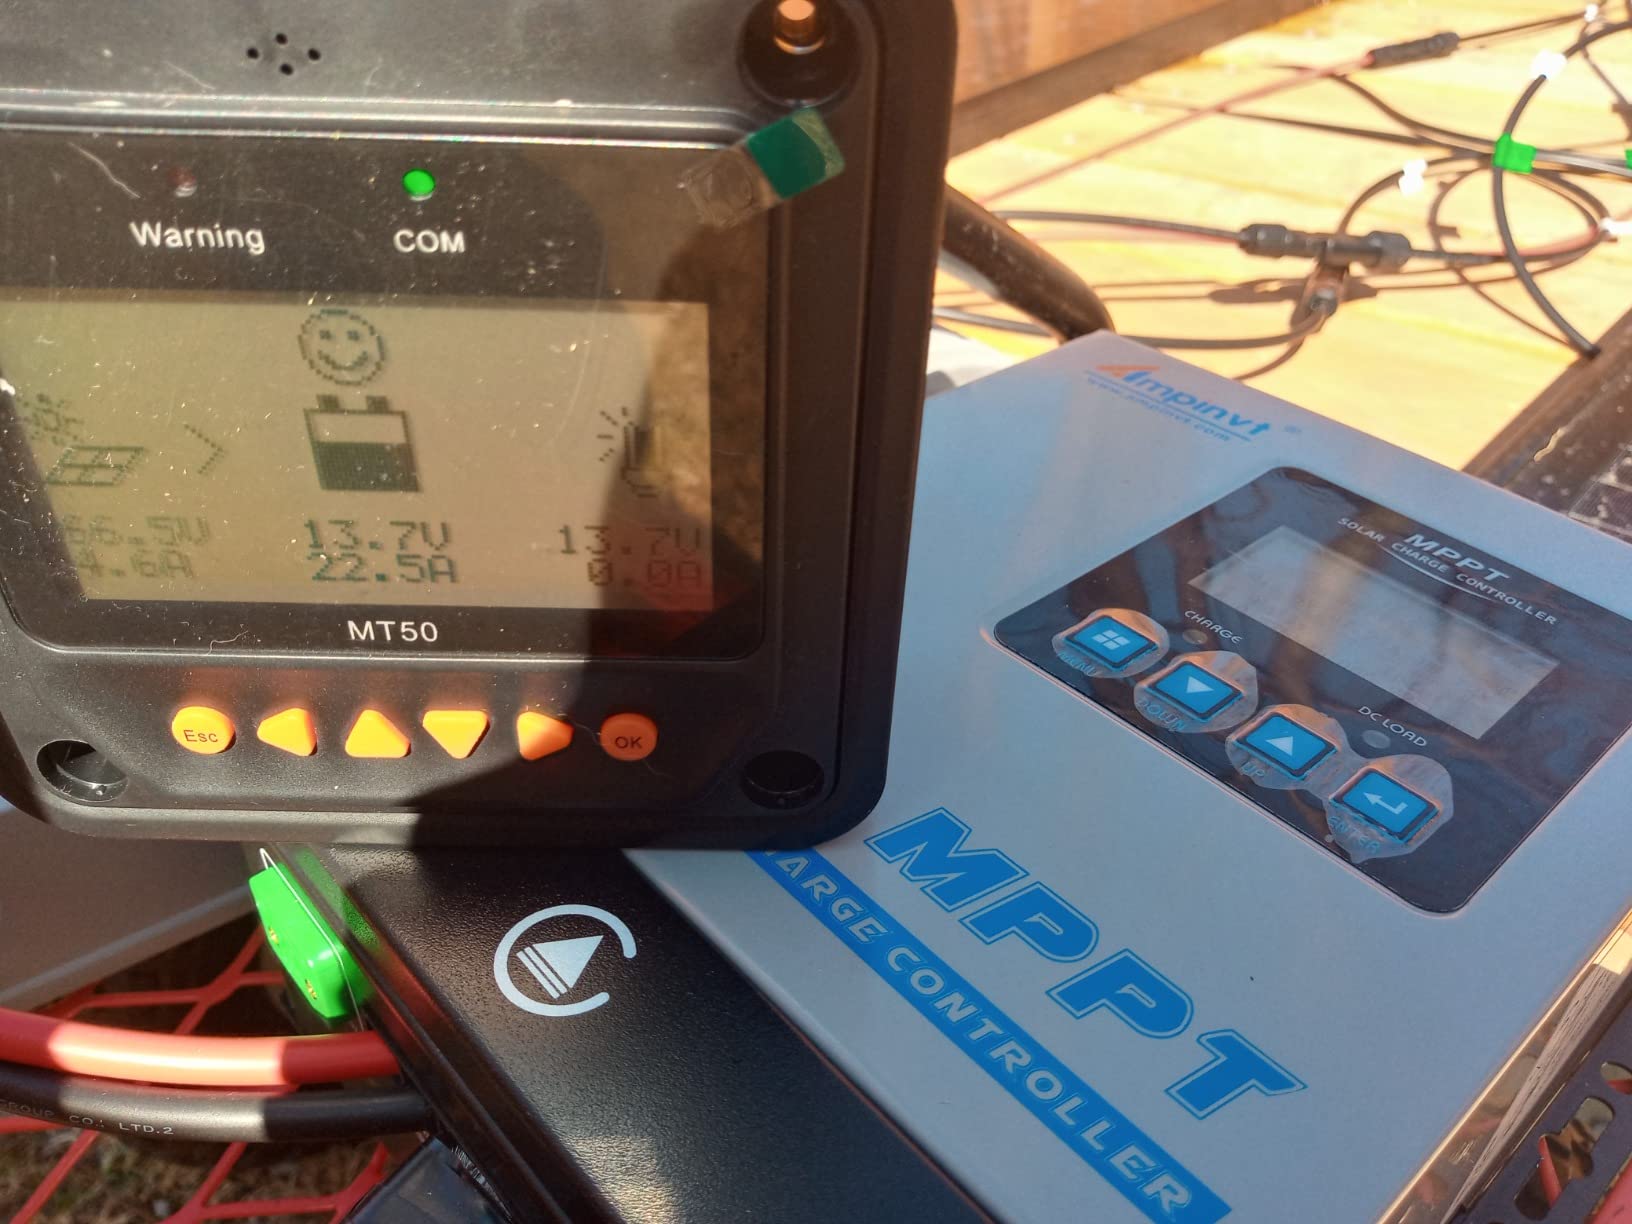
10. EPEVER Tracer BN 40A MPPT – Best Remote Meter Setup
EPEVER 40A MPPT Solar Charge Controller 12V/24V Auto Working Max.PV 150V Solar Panel Charge Regulator Tracer BN Series Negative Ground Solar Controller
40A charge current
150V maximum PV open circuit voltage
Die-cast aluminum housing
3.75 kg
Pros
- Heaviest and most solidly built chassis in the group
- Large terminals take thick cable
- MT50 remote meter shows all operating data
- Users report noticeably higher charging power than the unit it replaced
Cons
- MT50 remote meter is a separate purchase for the base controller
- Remote meter menu takes time to learn
- One owner reported misbehaviour after about a week
- Lighter volume of written customer feedback
The Tracer BN 40A is the die-cast aluminum sibling of the Tracer we reviewed earlier, and it is built for a heavier duty cycle. It takes 150V of maximum PV open circuit voltage, auto-identifies 12V and 24V systems, and reaches tracking efficiency of no less than 99.5% with up to 98% conversion.
The die-cast aluminum housing is what gives it away. At 3.75 kg it is by some margin the heaviest unit here, and owners describe it as a solidly built piece of equipment that dissipates heat well. That mass is a good sign in a controller, because the heatsink is the heatsink.
The remote meter is the reason this particular model is worth a second look. The RS485 interface supports monitoring from a phone app through the eBox module, from PC software, or from the MT50 remote meter, and several owners running larger DIY builds report noticeably higher harvested charging power than the controller they replaced.
Two units can be run in parallel for larger arrays, each with its own remote meter, which is useful if your controllers sit in different compartments. Charge profiles cover sealed, gel, flooded and user-defined battery types, and the product is aimed at RV, household and industrial field monitoring. Temperature compensation and real-time energy statistics come built in.
Why the MT50 remote meter changes the experience
A wired remote meter puts the operating data where you need it. On an RV or a boat the controller itself is often in a sealed compartment while the display needs to be in the living space, and a local LCD on the case is not going to help you check state of charge before you go to bed.
It also solves the app problem. Where the Bluetooth options on cheaper units are reported as unreliable or forget their pairing, a wired RS485 meter keeps working because there is no radio link to drop. The tradeoff is that the MT50 is a separate purchase and its menu takes a little getting used to.
Where it falls short
That extra cost is the main barrier, since the base controller ships with LED indication only and the remote meter is not included. Menu navigation on the MT50 takes time to learn, and one owner reported a unit acting up after about a week and discharging a bank of deep cycle batteries, which is a serious enough report to mention. The written customer feedback on this listing is also thinner than for the larger controllers here.
How We Picked the 10 MPPT Charge Controllers
Every controller here had to meet four basic tests. It had to be a genuine maximum power point tracking design rather than a PWM unit with an MPPT badge, it had to be a real product with documented specifications, and it had to have enough owner feedback that we could judge how it performs rather than relying on the listing page alone.
We then weighted eight criteria against each other: tracking speed and partial-shading behaviour, conversion efficiency, max PV input voltage headroom, LiFePO4 support and setpoint configurability, monitoring method, cooling architecture, documentation and manufacturer support, and warranty length. Documentation and support carry real weight because it is the one criterion that decides whether you can configure the thing when it arrives.
Owner reviews were read closely for patterns rather than for isolated complaints, and instrumented comparisons posted by owners were used where they exist, because tracking speed is the one spec you cannot verify from a brochure. Where a product’s own review file contradicted its marketing, we wrote the contradiction into the review rather than leaving it out.
MPPT vs PWM: Do You Actually Need MPPT?
If your array is under about 150 watts, unshaded, and charging a lead-acid bank on a tight budget, a PWM controller will do the job. That is the honest answer, and it is why budget kits ship with PWM units.
Everything else points toward MPPT. A PWM controller pushes panel current at roughly battery voltage, so a 40V panel charging a 12V bank gives up more than half its potential energy, and that gap widens in cold weather when panel voltage climbs. An MPPT controller finds the peak power point, converts that energy at around 98% efficiency, and then regulates the battery charge profile through bulk, absorption, float and equalize where the chemistry calls for it.
The case gets stronger when your array sees any shading, when you run lithium, or when you plan to add panels later. Lithium needs precise, configurable charge setpoints that a basic PWM controller does not offer, and partial shading is exactly the condition a fast tracker recovers from and a PWM controller never does.
How to Size an MPPT Charge Controller for Your Array
Take your total array wattage, divide it by your system voltage, and that is the charge current you need. The working rule experienced users quote on the DIY Solar Forum is 10 amps of controller per 100 watts of panels at 12V, and the same array needs half that current at 24V.
For the most common question, 400 watts of solar into a 12V bank needs roughly 33 amps, so a 30A controller is the minimum and a 40A unit gives you winter headroom. At 24V the same 400W array needs about 17 amps, so a 20A controller works.
The second half of the sizing job is voltage. Multiply your panel’s open circuit voltage, its Voc, by the number of panels you plan to series, then multiply that by 1.25 for cold weather headroom. That total must stay under the controller’s maximum PV input voltage. This is the rule that catches people out when they add a panel later and start seeing an over-voltage light.
Finally, remember that one big controller and two smaller ones are not equivalent choices. Two 40A units in parallel on a 1000W 12V array give you a second failure point but also partial redundancy and, in most designs, better tracking behaviour on partly shaded strings.
Victron vs Renogy vs EPEVER vs HQST
The head-to-head question comes up constantly, so here is the short version. Victron leads on tracking speed, build quality, documentation, a five-year warranty and ecosystem integration, and it costs the most. Renogy leads on price and ships with a usable local LCD plus load output, and its weakness is that Bluetooth is a paid add-on with a poor app.
EPEVER is placed by experienced forum users as a good brand that is not quite top tier, and clearly better than Renogy, with strong documentation and flexible RS485 monitoring at the cost of menu-based setup and add-on hardware. HQST gives you the most headroom per unit, 100 amps with a 150V input ceiling, but its default lithium presets need manual tuning and the app is weak.
Our take: buy Victron if it is a permanent install and the budget allows, Renogy if you want a capable controller with a display for the money, EPEVER if documentation and monitoring flexibility matter to you, and HQST if you are sizing a large 12V array and plan to grow it.
LiFePO4 Setpoints and Low-Temperature Charging
Lithium changes three things about a controller setup. Absorption voltage and time need to match the chemistry, the low-temperature cutoff has to be right, and the battery management system needs to be able to talk to or at least not confuse the charger.
On EPEVER units the lithium profiles are menu codes, with F04 used for 12V LiFePO4 and F08 for 24V, alongside user-defined types on the Tracer AN series. The HQST supports LiFePO4 across 12V, 24V, 36V and 48V with a charging cutoff below 32F and a discharge cutoff below 5F, both manually switchable. The BougeRV handles the cutoff itself and can wake a dormant pack.
The cold-weather rule is simple: do not charge a lithium pack below freezing unless the controller or the battery has a dedicated cutoff. If your chosen controller has no temperature sensor port at all, check whether your battery’s own BMS covers it before you wire it up in a cold climate.
Why a Charge Controller Throws an Over-Voltage Light
In almost every case we saw, the cause is simple arithmetic rather than a fault. A DIY Solar Forum user reported a Renogy 40A flagging over-voltage once a fifth 100W panel was added in series, because the array’s open circuit voltage climbed to around 110V against a 100V maximum PV input limit.
The fix is to reconfigure the string. Move a panel from series to parallel so the series Voc drops under the limit, or move up to a controller with a 150V or 230V input ceiling. A 150V unit such as the HQST, AMPINVT or EPEVER BN gives you room to add a panel later, which is exactly the scenario that causes this problem.
The second cause is a low or failing battery bank, which can drive the controller’s measured PV voltage above its threshold. Check terminal voltage at the controller with a multimeter rather than trusting the app, since several of the apps here report voltages noticeably higher than the real thing.
Frequently Asked Questions
Which MPPT solar charge controller is the best?
The Victron Energy SmartSolar MPPT 100/50 is the best overall for most permanent installs, thanks to fast optimum power point tracking, silent passive cooling, a published manual and a five-year warranty. For a mid-size RV or cabin array on a tighter budget, the Renogy Rover 40A delivers a genuine four-stage MPPT with a local LCD and load output for far less.
What size MPPT controller do I need for a 400W solar panel?
Divide 400W by your system voltage: at 12V you need about 33 amps, so a 30A controller is the floor and a 40A unit gives winter headroom. At 24V the same array needs about 17 amps. Then check that your panel Voc times the number of series panels times 1.25 stays under the controller’s maximum PV input voltage.
Which brand of solar charge controller is considered the best?
Among the brands available as consumer MPPT controllers, Victron is rated best overall for tracking speed, documentation and warranty length. Experienced off-grid users also repeatedly nominate MidNite, MorningStar, Outback and Schneider as tier-one alternatives worth the extra money. EPEVER is widely regarded as a strong step above entry-level brands.
What is the best value MPPT solar charge controller?
The Renogy Rover 40A is the best value pick, giving you 98% conversion, 99% tracking efficiency, an adjustable LCD, load terminals with a low-voltage disconnect and a wide operating range. The EPEVER Tracer 30A is the alternative if documentation and flexible RS485 remote monitoring matter more to you than a built-in display.
Are EPEVER controllers any good?
Yes. EPEVER is regularly described by long-term off-grid owners as a good brand that is not quite top tier, and clearly better than entry-level alternatives. The Tracer series tracks above 99.5% efficiency, supports LiFePO4 with user-defined profiles, and offers RS485 monitoring through the MT50 remote meter, WiFi or BLE adapters. Expect menu-based setup that takes practice.
Can I use two MPPT charge controllers in parallel?
Yes, and it is often the smarter choice. The HQST supports parallel charge extension for up to nine controllers on one battery bank, and Victron’s synchronized charging makes multiple units share charge stages so they behave as a single controller. Two 40A units often track partly shaded strings better than one 80A unit, and you keep partial redundancy.
Do I need a dump load with an MPPT charge controller?
No. A quality MPPT controller simply stops drawing power from the array when the battery is full, and when there is no other load connected it drops into a low-power standby rather than forcing current anywhere. A dump load is only worth adding if you want to run appliances directly from the panel output or keep a battery bank cycling deliberately.
Do I need MPPT or is PWM enough?
PWM is enough for a small unshaded array under roughly 150 watts charging a lead-acid bank on a strict budget. Move to MPPT for anything larger, any array with partial shade, any LiFePO4 bank that needs precise configurable charge setpoints, or any plan to add panels later. MPPT recovers most of the voltage gap a PWM controller discards, which on a cold 40V panel into a 12V bank is more than half the energy.
Which MPPT Charge Controller Should You Buy in 2026?
For most people, the best MPPT charge controller is still the Victron Energy SmartSolar MPPT 100/50. It held output through cloud and partial shade, runs without a fan, and comes with documentation and support that the cheaper units here simply do not. If your array is 400W or less on a 12V bank and you want the capability without the premium, the Renogy Rover 40A is the sensible middle ground.
Match the controller to three numbers before you buy: your array wattage, your system voltage and the Voc of your panels. Check those against the max PV input voltage first, because that is the mistake that ends with an over-voltage light on a roof you cannot easily reach.